


DIY Scrap Wood Wall Art
3 Materials
$20
4 Hours
Medium
Do you love Barn Quilt, Boho, Mosaic or Tribal Wood Wall Art? But can’t find the right colors or patterns in the stores. Follow these steps to build it!
I am always drawn to wood wall art in the stores. But even if I love it, the colors or design don’t seem quite right for the room I want it for. So, as a power tool junkie, I decided it was time to make my own. And of course, I had to share this DIY Scrap Wood Wall Tutorial with you!
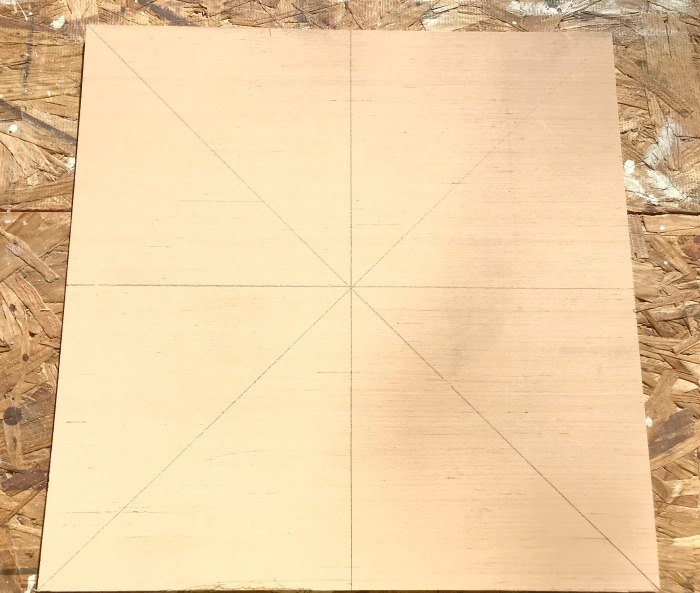
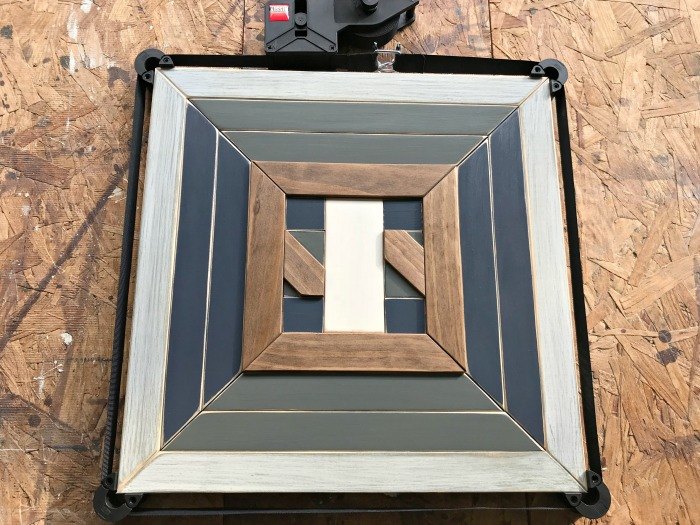
Start by cutting a piece of Plywood to size. I wanted 3 - 18" x 18" squares to fill up a long wall.
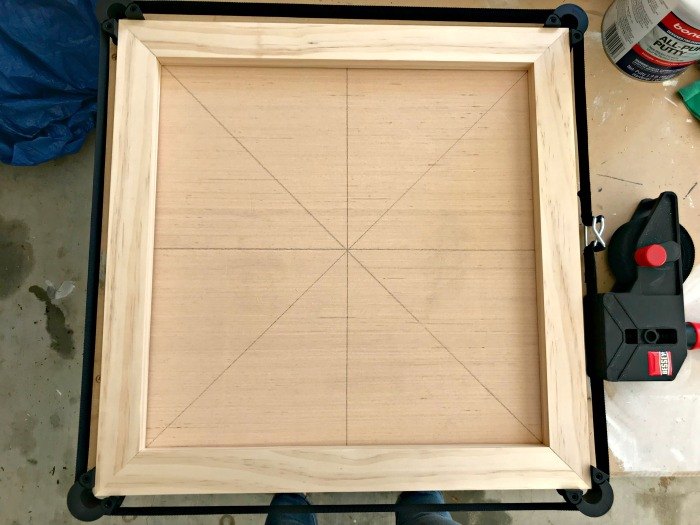
Since I didn't want to use nails to hold each piece in place, I decided to work from the outside-in. I first cut a frame using 45-degree cuts. The outside edge of the frame is 18" long. So, it sits on my plywood.
Then I clamped these boards in place so that I could add pieces to the middle, while making sure I got perfect measurements and a tight fit.
Note: Some people use nails to hold their pieces in place, and work from the inside out on a design. Either way you want to go works.
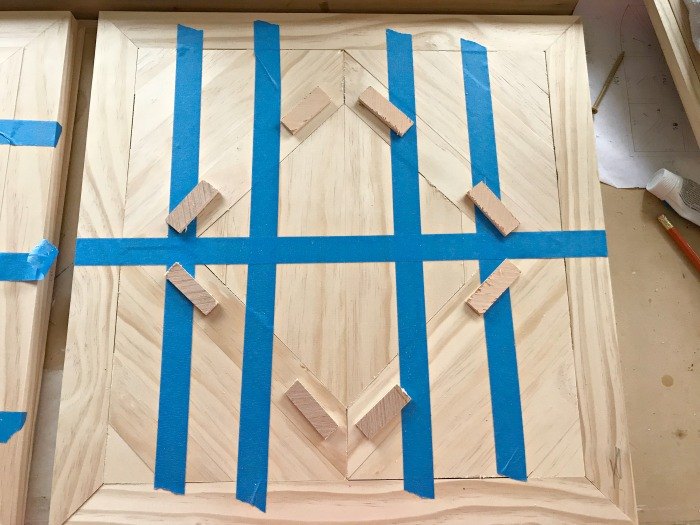
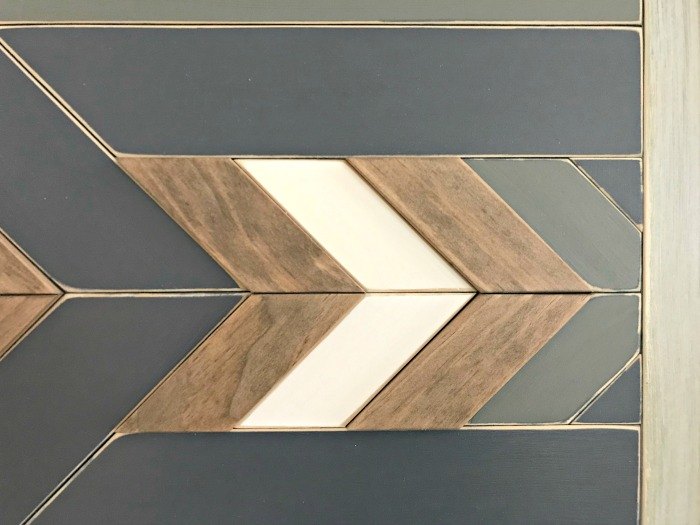
You can make up your own designs or use mine as your guide.
I used 1x2 and 1x3 inch boards for my designs. I wanted to avoid using my Table Saw to cut along the length of a board. So, I started by using full width boards everywhere I could. I also used only 45 - degree angles to keep it simple.
The small triangle pieces on each one are cut to size with whatever saw you feel safest using.
To be safe, I would cut a 45 on a 10" or longer piece of 1x2. Then I'd place that over the opening to mark my next cut. I'd carefully cut at the mark. But if it ended up being the wrong size, I'd only retry the cut on a piece that was long enough to keep my hand safely away from the blade.
You can see more pictures and details on my site.
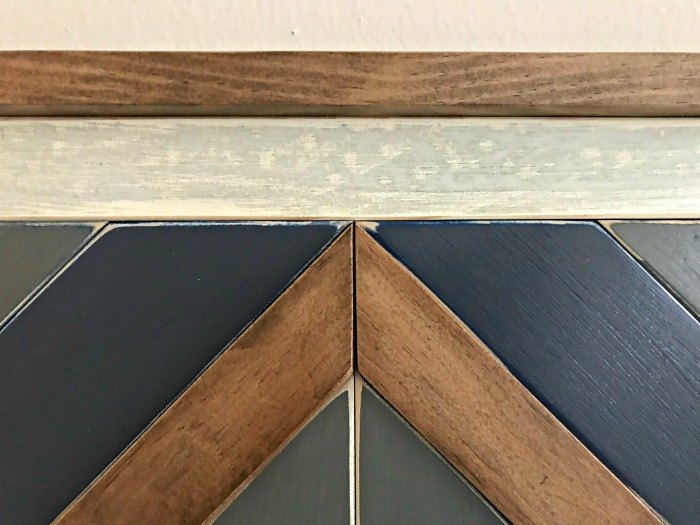
The painter's tape in this picture just holds the pattern in place until I'm ready to paint and glue everything together.
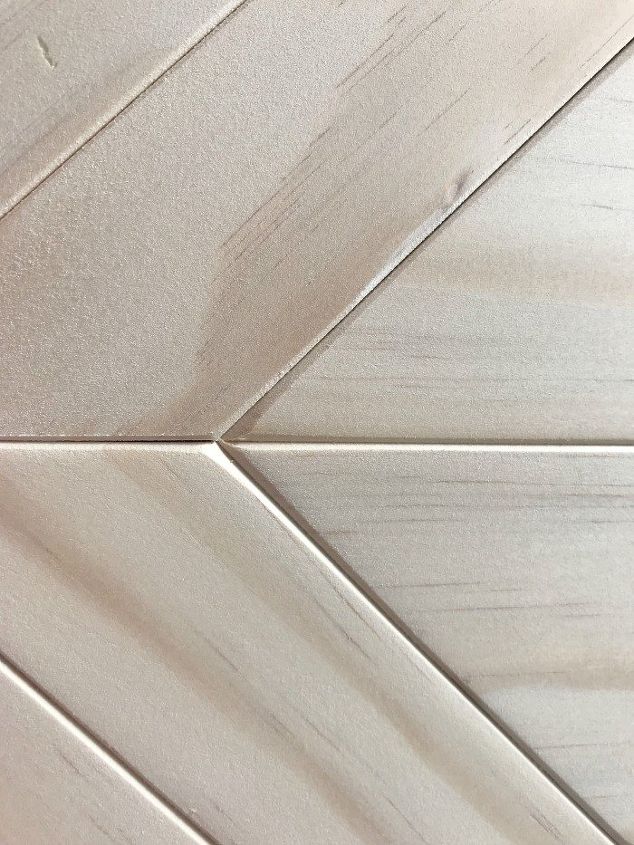
I always round off the edges with my sander. I prefer the look, but it's not necessary.
I played around with different paint colors and techniques before settling on this look. These colors worked with my room, pick any colors that work for you.
I used a mix of stains and paints. For more ideas, see the different looks I tried on my site.
I raised the stained boards, on each art piece, by gluing an 1/8" thick piece of plywood to the bottom.
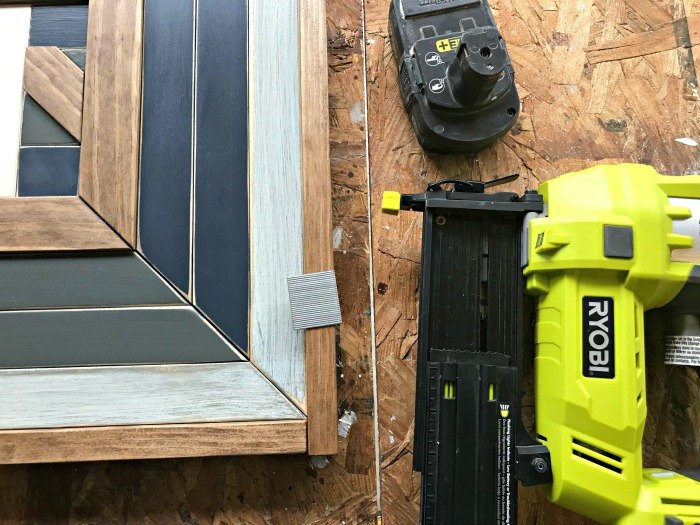
After gluing the painted pieces in place and letting it dry, I added a final frame to the outside. This gives everything a finished look and a little more depth. For the outside frame, I used glue and nails. It's also only straight cuts, instead of a 45.
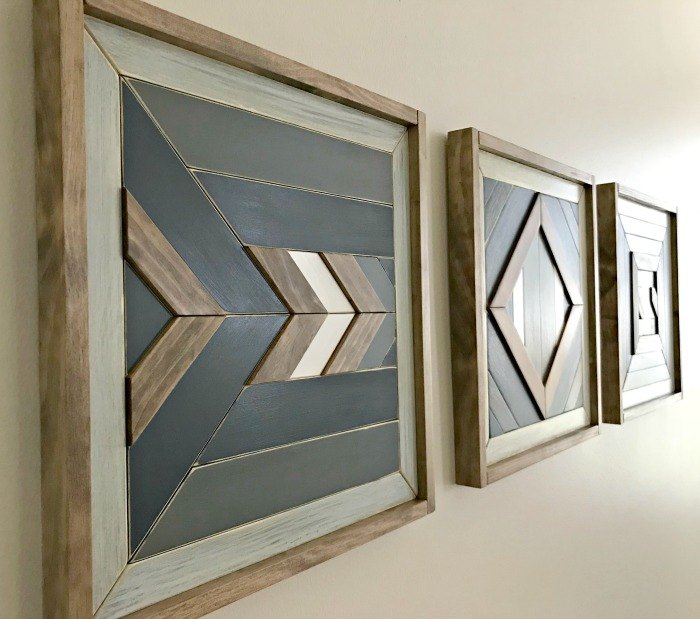
I hung these on my wall with Sawtooth hangers, and Wall Anchors that are the correct strength for the weight of each piece.
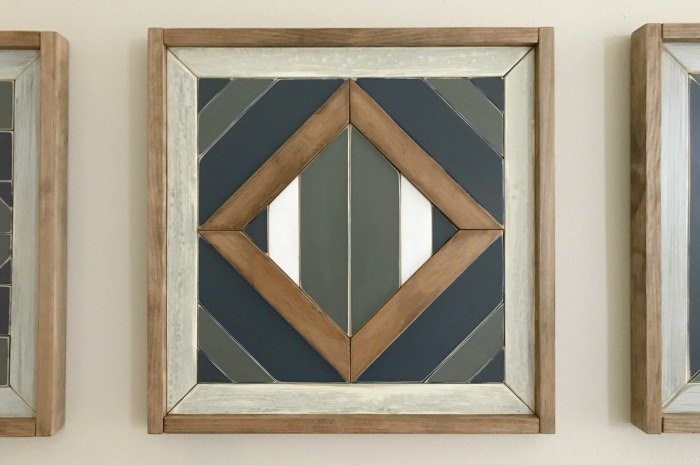
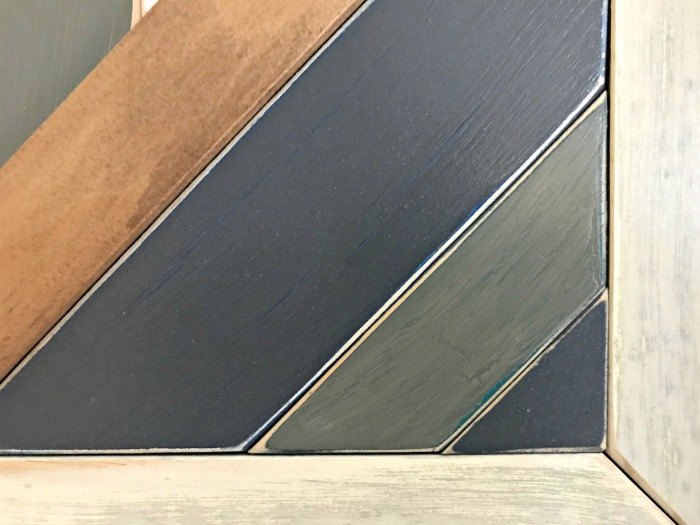
A closer look at some of the paint techniques and colors I used.
I used sanded edges and layered paint colors to give everything a more interesting effect.
{
"id": "4638347",
"alt": "",
"title": "",
"video_link": "https://www.youtube.com/embed/G9v8zcP3j0w",
"youtube_video_id": "G9v8zcP3j0w"
}
{
"width": 634,
"height": 357,
"showRelated": true
}
An overview video of this project.
Resources for this project:


Cherry Lumber 1"x2" 4 pack (1"x2"x24")
Any price and availability information displayed on [relevant Amazon Site(s), as applicable] at the time of purchase will apply to the purchase of this product.
Hometalk may collect a small share of sales from the links on this page.More info

Want more details about this and other DIY projects? Check out my blog post!


Frequently asked questions
Have a question about this project?