


DIY Stained Glass Mason Jars
When I found out that there was an easy alternative to making stained glass, I was super excited! Mason jars were what I had on hand and they quickly became my version of a DIY stained glass project! I grabbed a cute galvanized caddy and a couple of floral stems to complete the look!
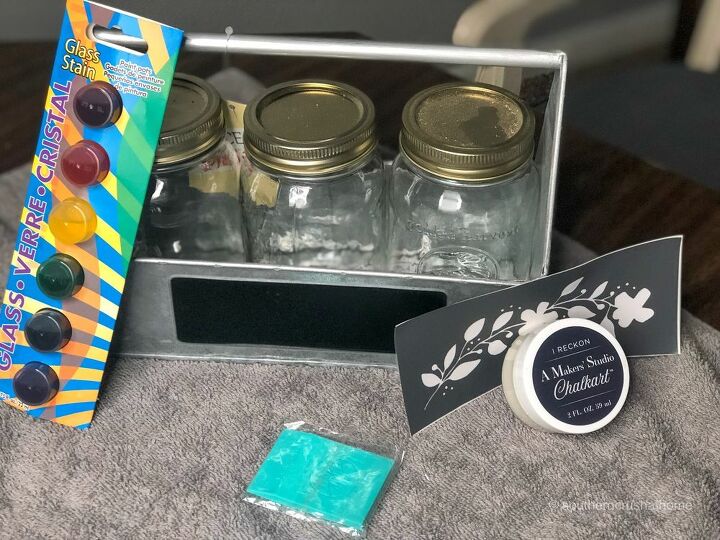
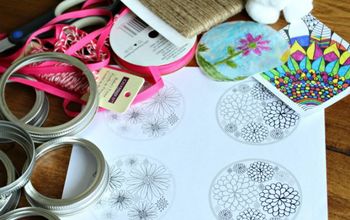
SUPPLIES
- mason jars
- gel stain for glass
- blow dryer
- floral stems
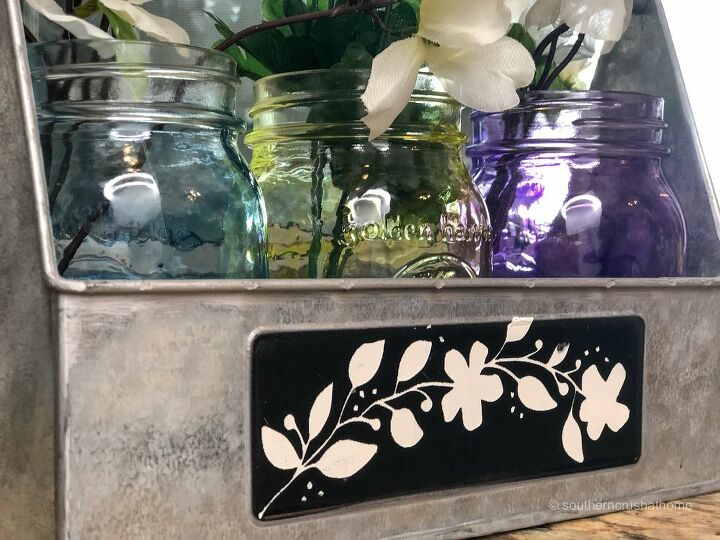
- optional chalk paste and stencil
STEP BY STEP INSTRUCTIONS
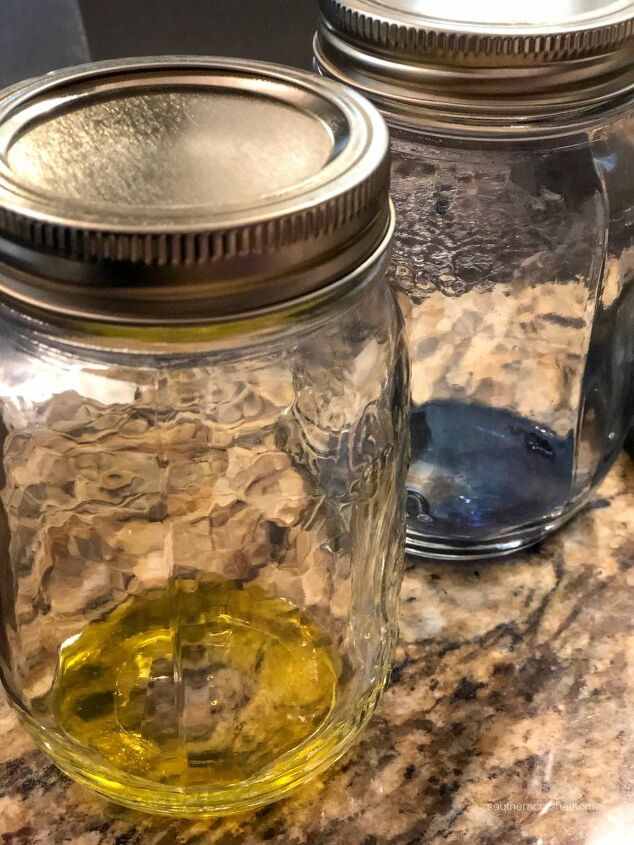
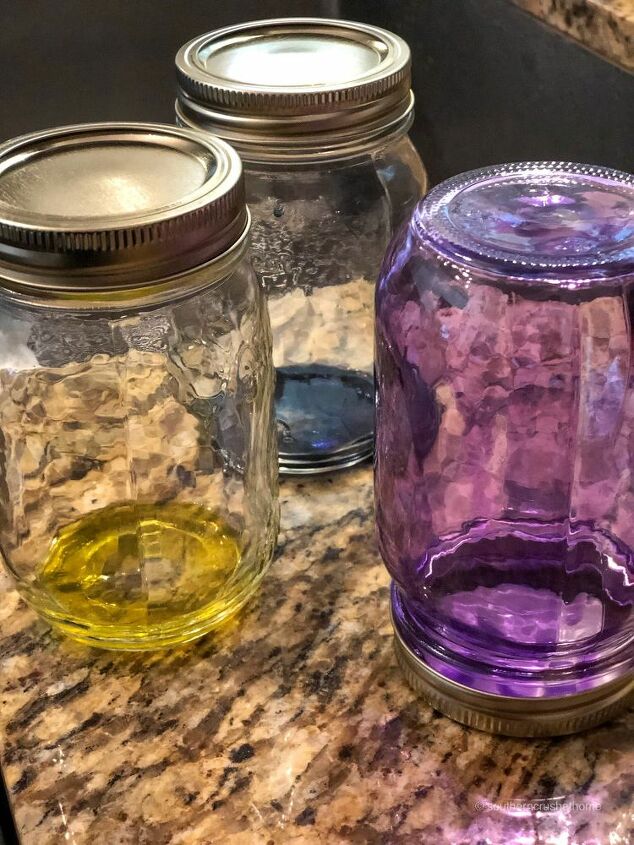
1. Place a few drops of your desired color into the bottom of your glass container and swirl it around.
2. Lay your container upside down until the stain coats the sides. You can also swirl it around making sure to coat the jar thoroughly.
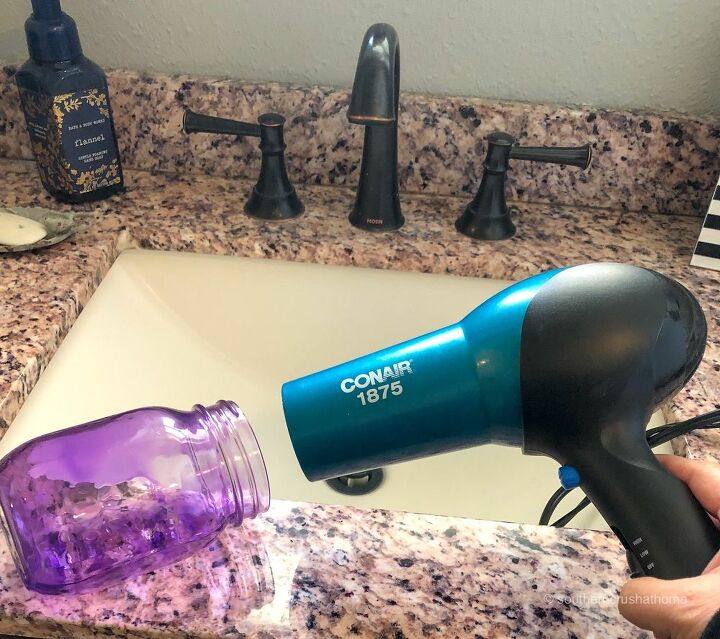
3. Use a blow dryer to help dry your stain. This really helps not only if you’re not patient , but the faster you can dry your stain, the more stain will stay in place on the sides of the glass.
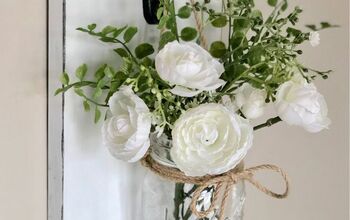
4. Arrange in a container of your choice. I added floral stems to complete the look as a summer centerpiece.
VIOLA!
This was a super easy and fun project for displaying some summer stems with added color!!! Let me know what you end up using this idea on!!
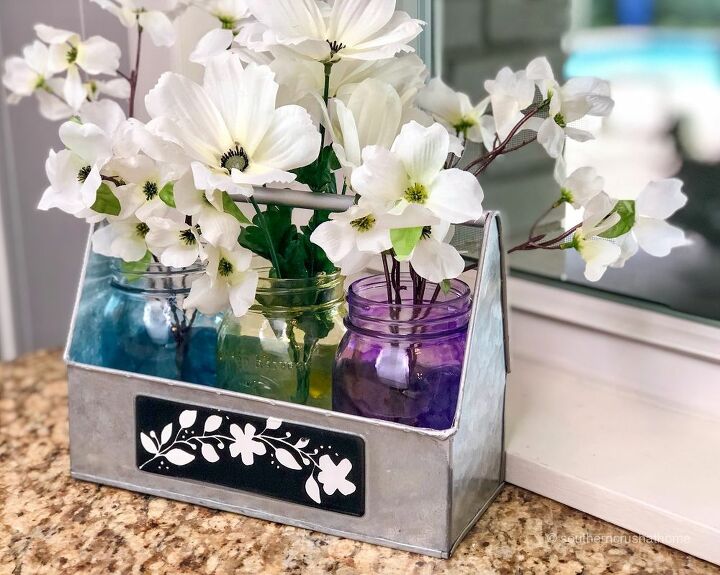
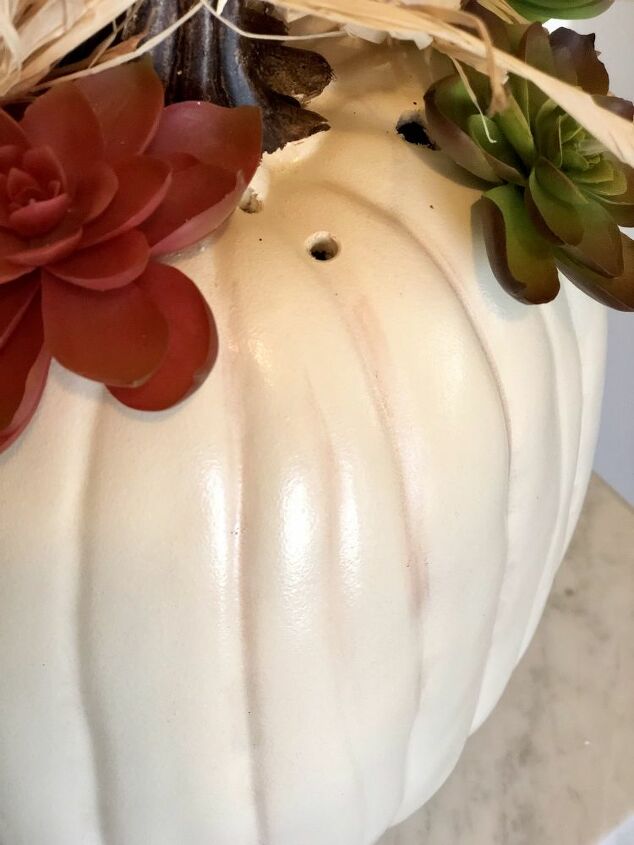
The galvanized tin caddy and floral stems worked great with this project. See another floral arrangement idea here… Faux Succulent Pumpkins
Resources for this project:
See all materials


Frequently asked questions
Have a question about this project?
There was a An article on what to do I with tablecloths and I didn’t see it.