


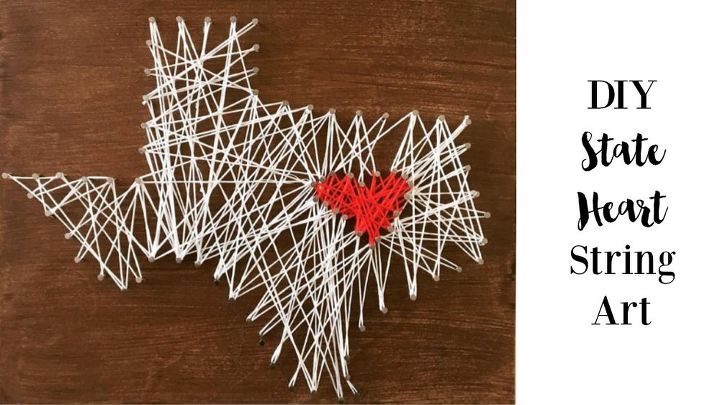
DIY STATE STRING ART

2 Materials
This DIY State String Art Project is so simple to do yet so gorgeous. This is a great gift to someone who loves to travel or as a hostess or housewarming gift!
All the materials you need to create this state string art project are available in a Home Made Luxe project kit.
All the materials you need to create this state string art project are available in a Home Made Luxe project kit.
DIY STATE STRING ART PROJECT TUTORIAL:

3. Hammer nails along the outline of your state, using your little finger to space each nail. Once state outline is complete, hammer nails around the outline of the heart.
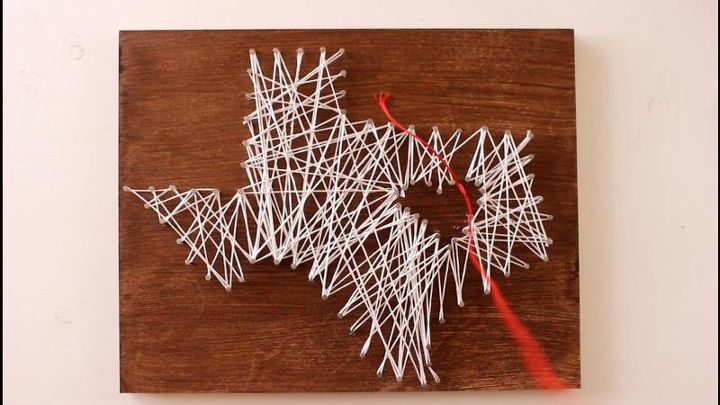
4. Once all nails are around the state and heart, remove the state template from wooden plaque. Starting at one corner of the state, tie a double knot around a nail using the white embroidery floss.
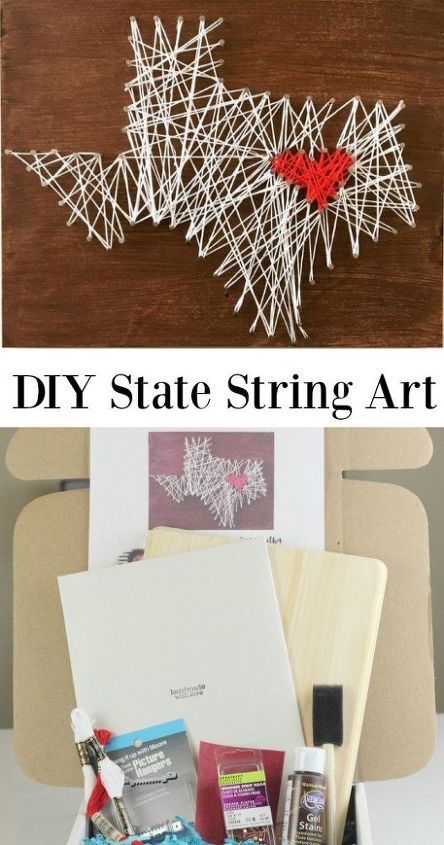
Pin the image to save for later! Hope you enjoyed this project!
{
"id": "3705443",
"alt": "",
"title": "",
"video_link": "https://www.youtube.com/embed/H4J4GZ-04Wg",
"youtube_video_id": "H4J4GZ-04Wg"
}
{
"width": 634,
"height": 357,
"showRelated": true
}
Comments
Join the conversation
4 comments
-
Such a wonderful idea!!
-
I love it!!! BTW, Howdy neighbor!!!


Frequently asked questions
Have a question about this project?
Where can I find a link to the other states?