


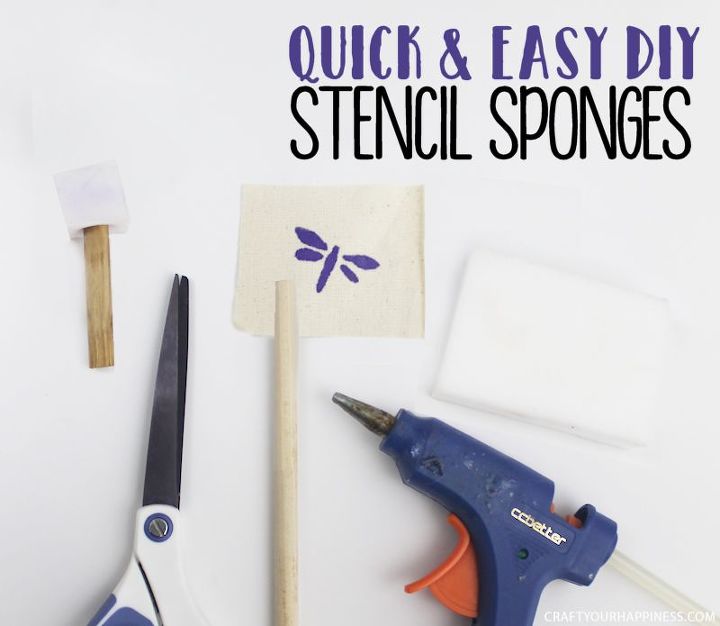
DIY Stencil Sponge (Stipplers)
5 Materials
$1
10 Minutes
Easy
I don’t stencil a lot but on occasion I do so and of course I always try to find the cheapest way to do things. So I looked for a cheap and easy way to make stencil sponges. Which, it ends up is definitely cheap and easy. MORE AWESOME IDEAS HERE!

Gather your tools.
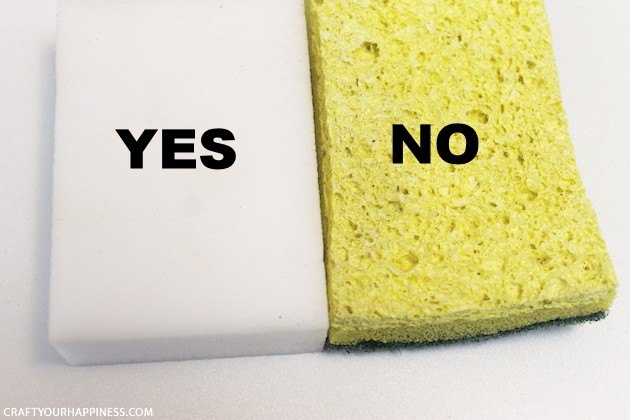
Make sure to get a FOAM sponge and not the kind shown on the right.
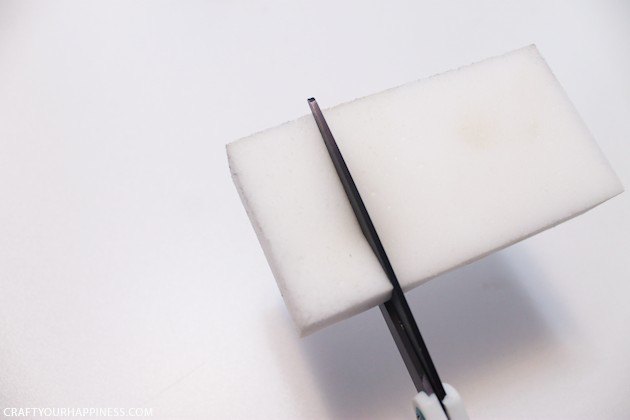
Cut the shapes you want your stencil sponge to be. I suggest not making them more than 1 1/2″ as you cannot get good pressure on anything larger than that.
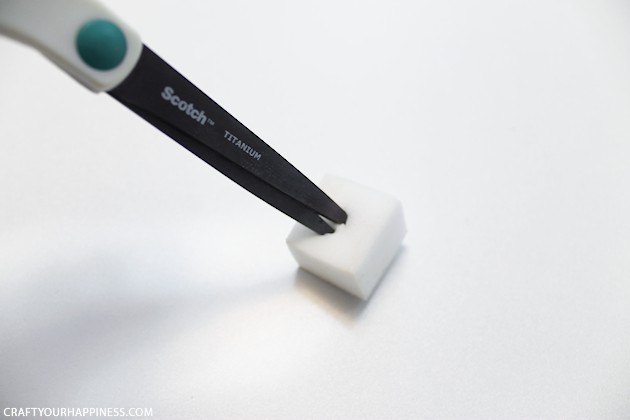
Once you have your sponge, take your scissors and snip down a little less than half way. Snip one way then the other. DO NOT snip too far or the dowel will press through.
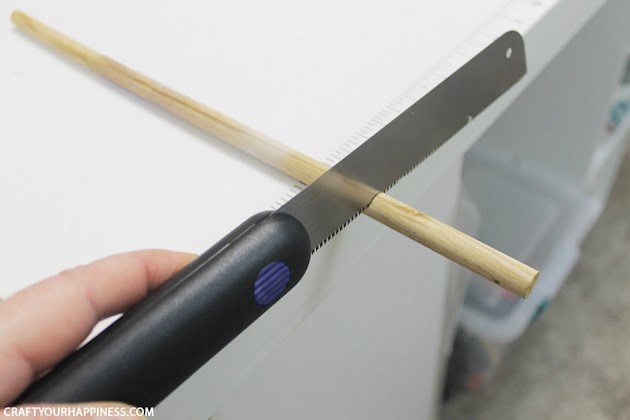
love this small IRWIN saw. It’s great for crafts and cutting small things. Makes a nice smooth cut.
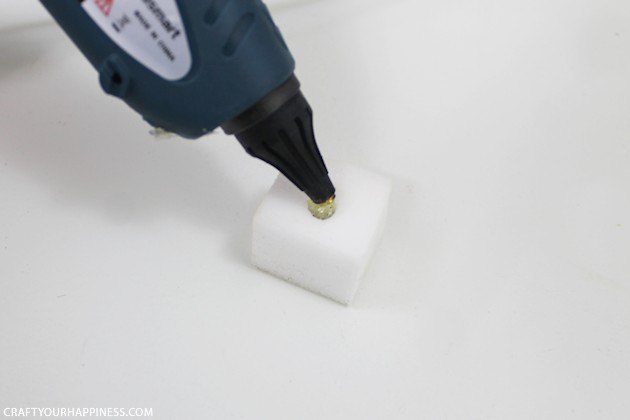
Add a nice dob of glue in the center of where you cut for your dowel to be placed.
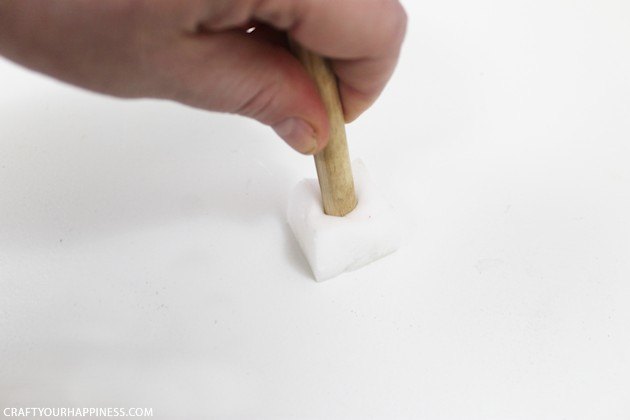
Quickly push the dowel down into the hole, twisting it if needed. Don’t get too much paint or it will seep under the stencil.
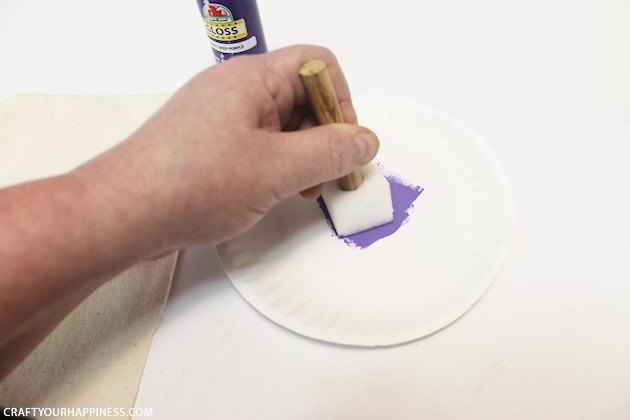
Dab it on the paint covering the bottom.
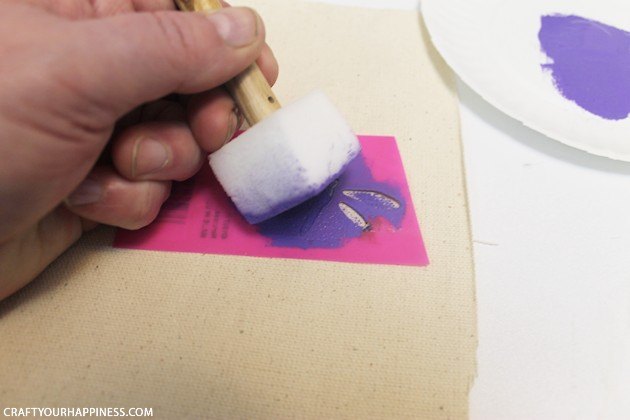
Press it down on your stencil over and over. Re-dip in paint if needed.
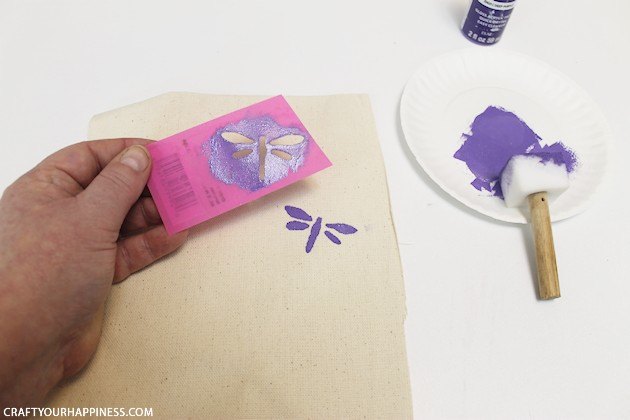
All done!


Want more details about this and other DIY projects? Check out my blog post!


Frequently asked questions
Have a question about this project?
Hi! Is that a magic eraser type of sponge? Awesome idea and thanks for sharing