


DIY Striped Basket

by
Abbey D
3 Materials
$45
45 Minutes
Easy
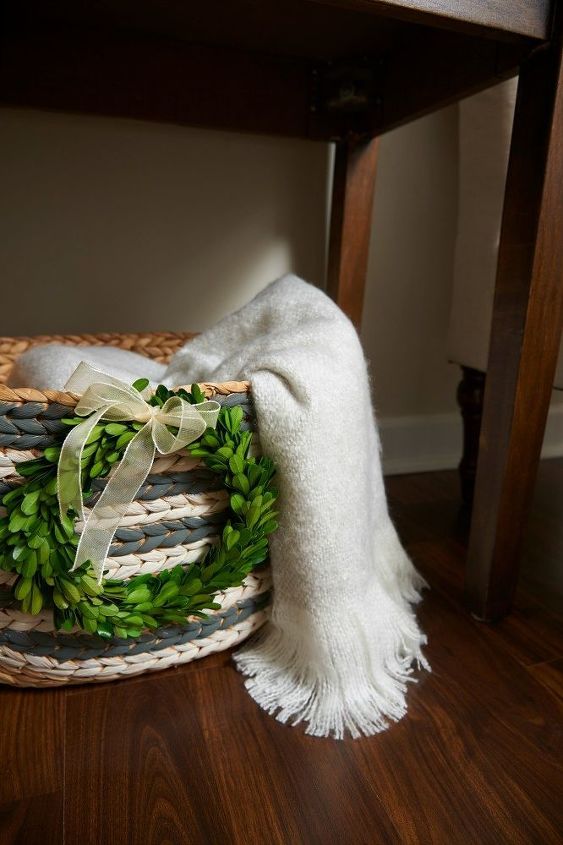
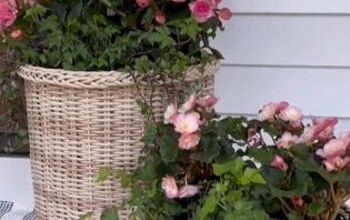
Have you ever been in a store searching for that perfect, elusive piece of decor for your living room and maybe you find the perfect item, but it's not the right color or it's not the right style? Why not try to MAKE it fit your style then with just a little paint and time? Today I'll show you how I took a simple basket I found at World Market and painted it to match my living room decor and add a little flair!
Here’s the simple details on how I created my Striped Basket.
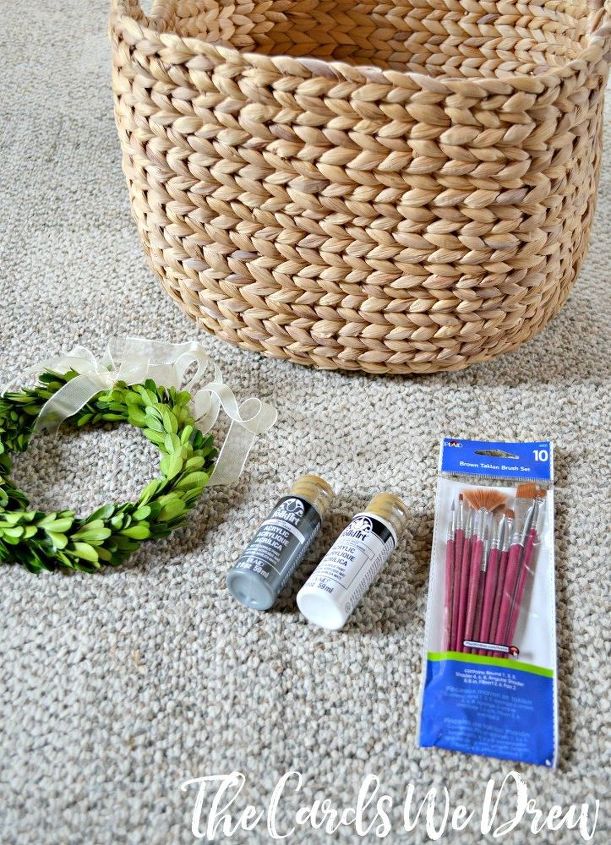
Supplies:
FolkArt Acyrlic Paint in Ash and White
Plaid Brush Set
Basket
Small Boxwood Wreath (found on DecorSteals)
Hot Glue/Glue Gun
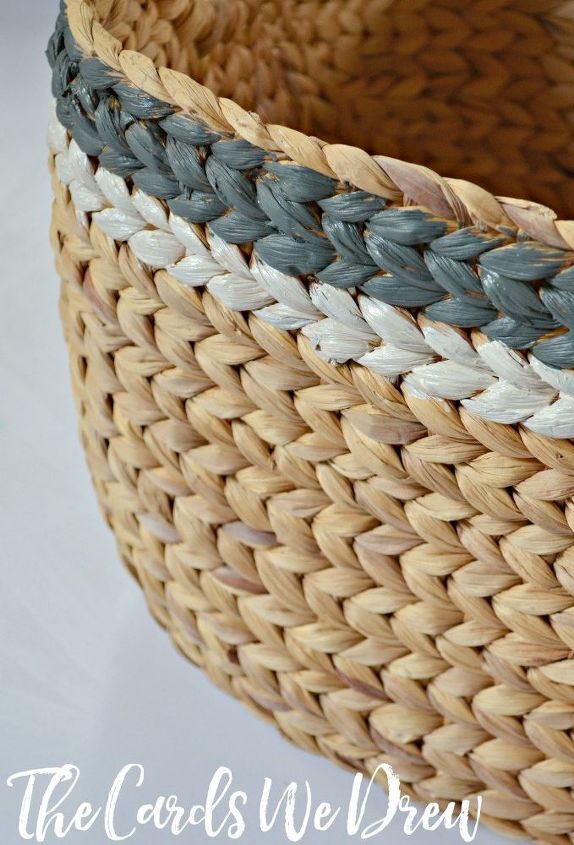
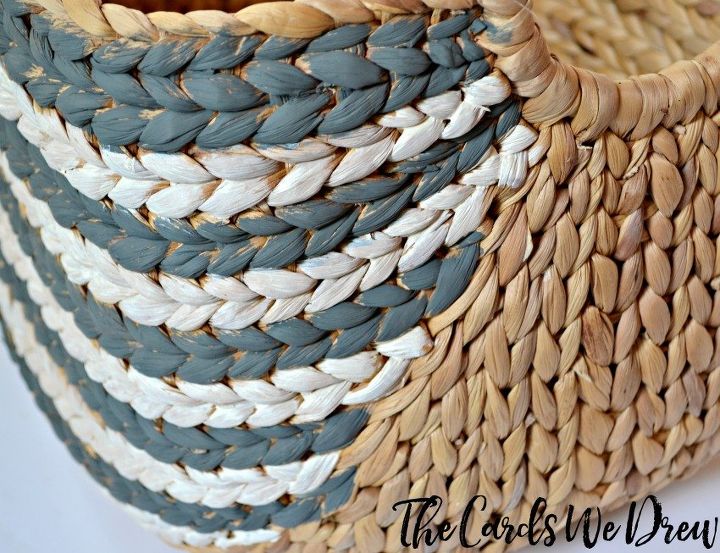
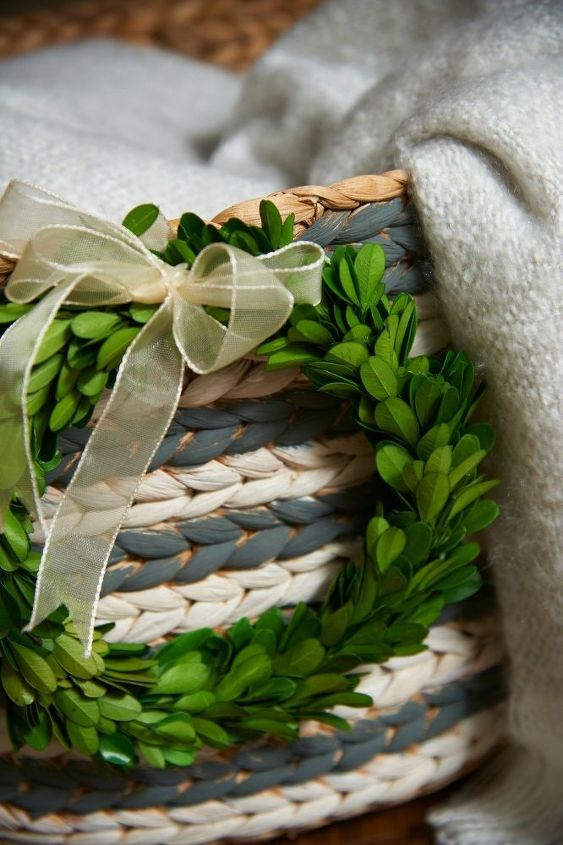
I started by painting the rim of the basket, carefully following the lines that were already woven into the basket.
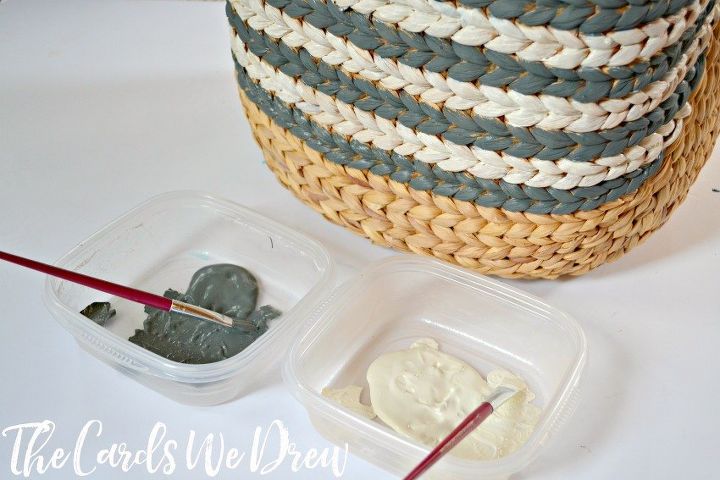
I did every other row all the way down the basket, carefully following the lines that were already woven in.
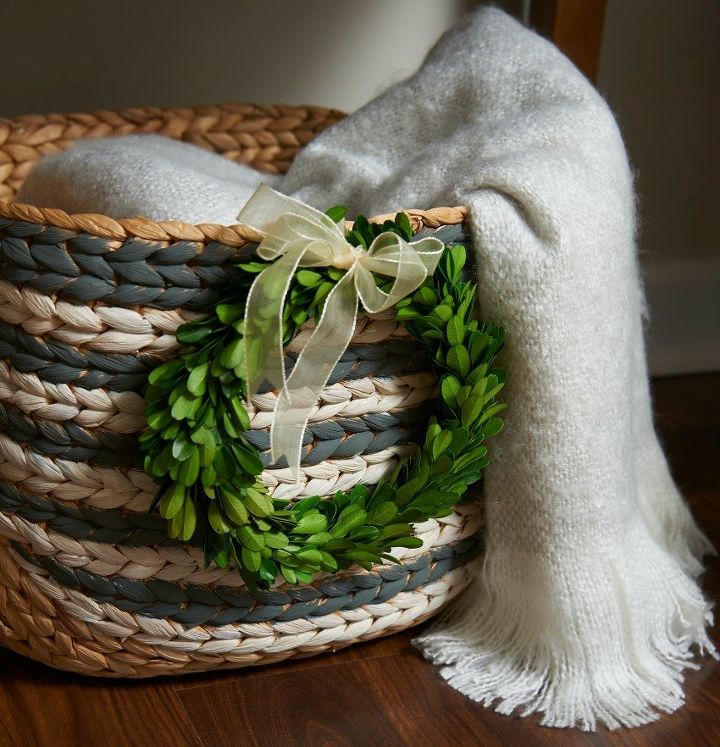
Once I made it all the way down, I hot glued a small boxwood wreath onto the front of the basket. I got the wreath off of Decor Steals some time back and it seemed like the perfect way to finish off the basket and tie in that pop of green we were all using.
The end project was part of a larger project I did with Plaid Crafts and my fellow Plaid Creators where we completely DIY'ed a room with a cohesive color pattern and scheme.
Add a soft, cozy blanket to the basket and you get a nice, comforting addition to your home decor and a great place for storage and hiding things you want out of site!

The whole room was staged with DIY ideas from all the other Plaid Creators. See the full reveal on my blog....
Want more details about this and other DIY projects? Check out my blog post!
Comments
Join the conversation
2 of 29 comments
-
Looks awesome, great taste! :)
-
Very elegant, warm Pottery Barn'ish


Frequently asked questions
Have a question about this project?