


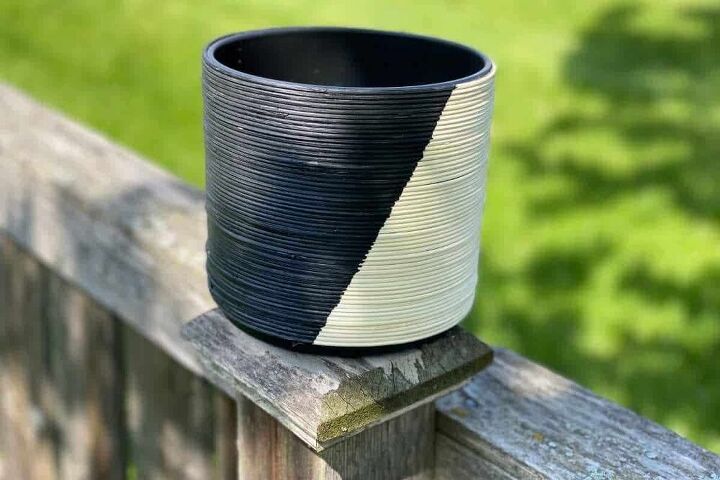
DIY Two-Tone Planter
I was browsing online the other day for new planters, and I came across this awesome one from Target. However, it was over $350 for a set of three! I couldn’t believe it. I also would never spend that much on planters. A few days go by, and I can’t stop thinking about how cute they were. So I set out to see if I could create a DIY two-tone planter myself.
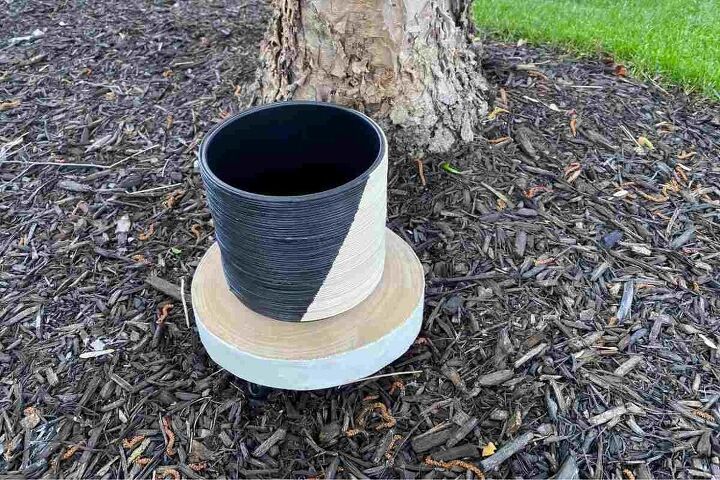
See how I created a similar version of this two-toned wicker planter using only a few supplies.
This post may contain affiliate links, which means I’ll receive a commission if you purchase through my links, at no extra cost to you. Please read full disclosure for more information.
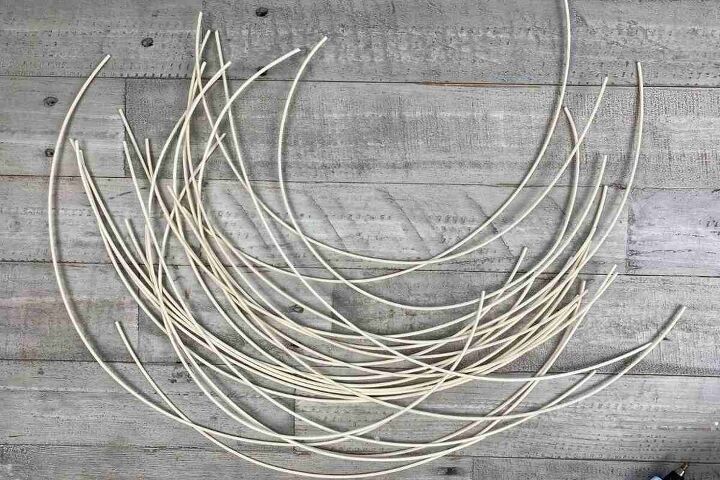
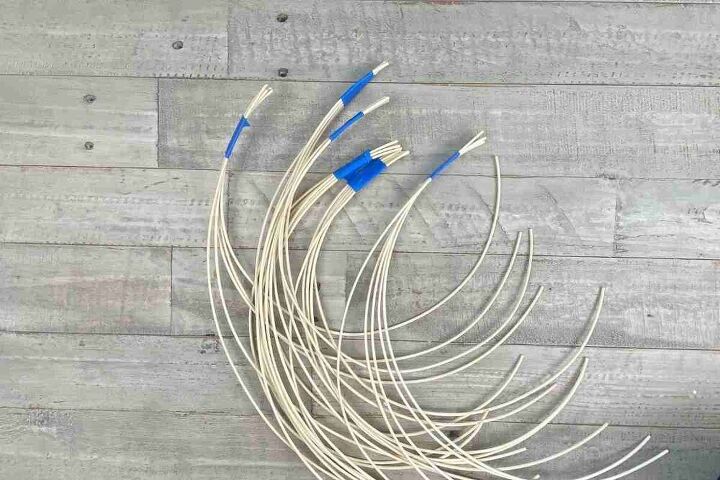
Step 1: Cut Basket Reed To Size
Originally, I thought that I would just wrap the reed around the planter and secure it with some hot glue. I learned pretty quickly that this stuff has quite a spring to it, so it would have taken forever to glue it piece by piece.
Instead, I measured out the length I would need to wrap around the plant pot base and cut them into individual pieces.
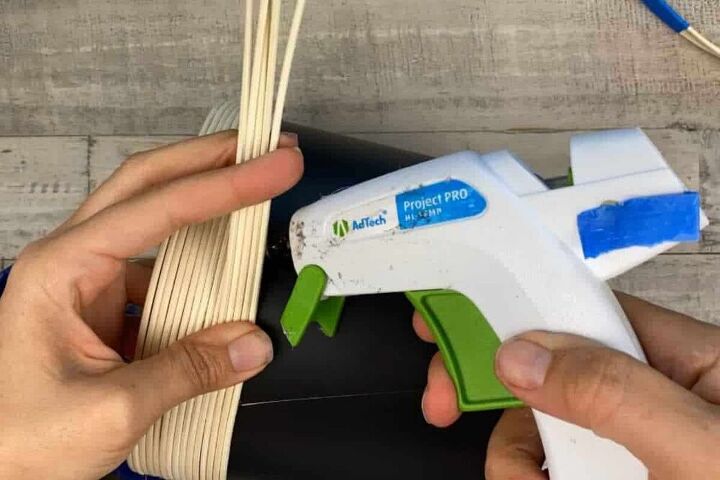
Step 2: Group 5-6 Reeds together
Next, I grabbed about 5 of the reeds, and taped them together using some painters tape.
Once I had them all grouped together, it was time to put them on the plant holder.
Step 3: Hot Glue To Planter
To make it easier, I started by clamping the first group to the planter, and then slowly wrapping it around and hot gluing as I went.
Make sure to fit them snug together as you go so that there are no gaps between the reeds. (I probably could have done a better job at this!)
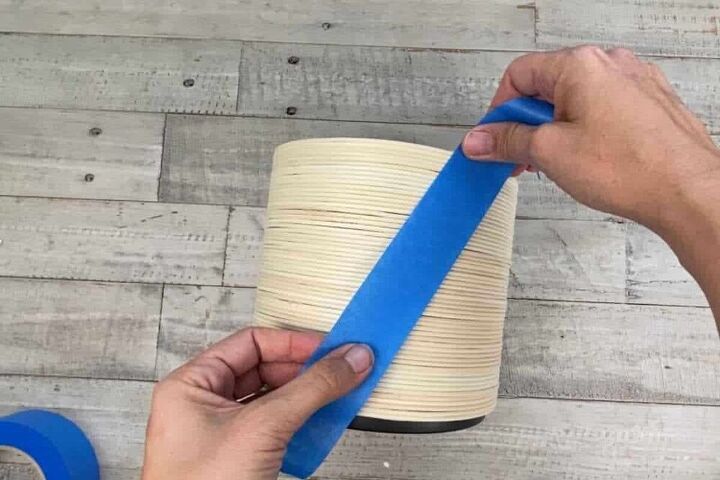
Step 4: Tape Off To Paint
In order to create the DIY two-tone planter look I was going for, I needed to paint part of the planter.
For this, I simply used a piece of painter’s tape to create a diagonal line on the pot.
Then, it was just a simple paint job!
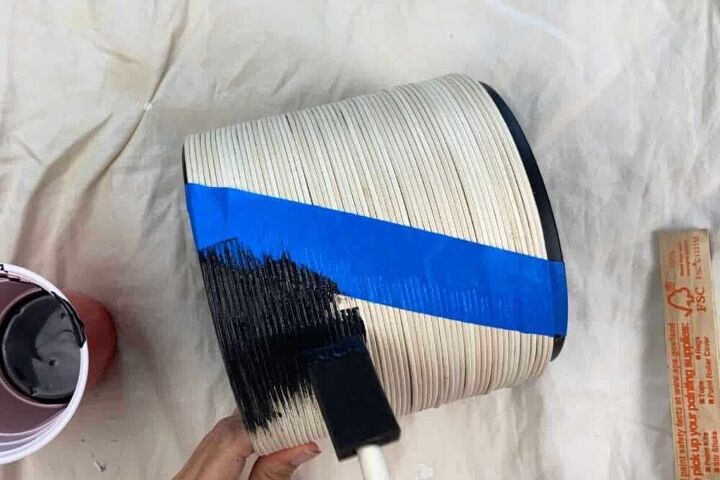
Once it is dry, remove the tape.
Step 5: Add Plant
Now I just have to decide what I’m going to put in it! Any suggestions?
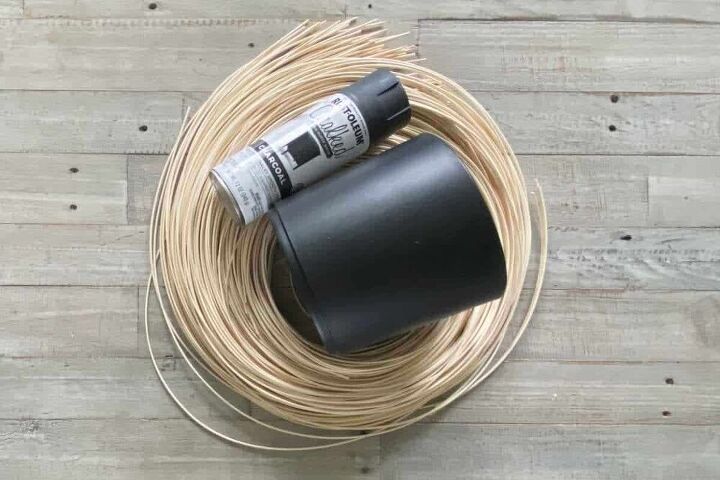
SUPPLIES
Here are the supplies needed for this DIY two-tone planter project:
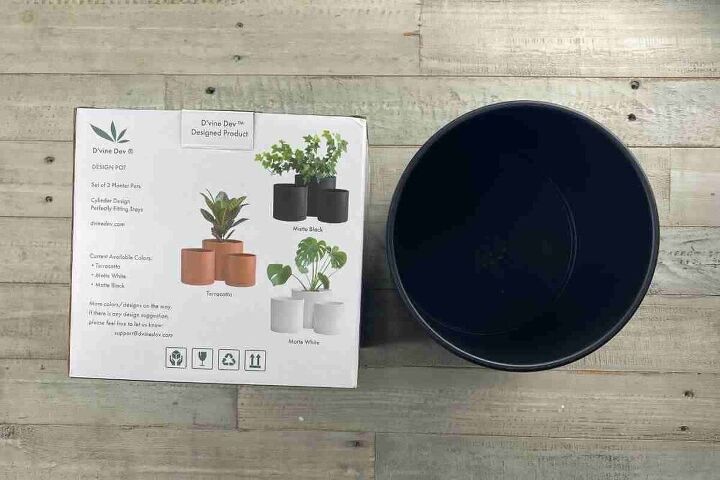
- Cylinder shaped Planters – (I got a great deal on these ones from Amazon)
- Basket Round Reed
- Hot Glue Gun
- Clamp (Optional)
- Black Paint
Thanks for stopping by! Make sure to check out some other DIY Projects…..
Resources for this project:
See all materials


Comments
Join the conversation
-
Your pot came out wonderfully and thank you for sharing your process. I am glad you used what looks like a glazed pot because if it was unglazed the water would evaporate through the ceramic material and most likely discolor the reed and produce mold. I am not sure if you are going to put that pot outside but your glue gun glue unless it is made for being outside will not last one good hot day will make your reeds start tp pop off. You should also seal the reeds with an all weather sealer. The other suggestion is if one decides to use a terra cotta pot to do this you DO need to seal the inside of the pot to keep the water from wicking out of the sides. Michaels I know sells clay pot sealer. The other thing you could have done to save time and energy is to soak the length of reed in warm water without cutting in pieces and when it was pliable enough use a heavy duty clip to hold the reed down on the lip then start to wrap and add a heavy duty glue such as E-6000 as you go along. you can tape the end to the pot with good sticky tape to hold in place. Once the glue has dried ( per instructions ). then you can tape off and paint. There will be no cut lines unless you want them in the reed. After painting and you get the bleed lines under the tape go back and with a fine brush or a Sharpie make a clean line along the black edge. Good luck and hope you don't mind my suggestions.
- See 1 previous
-
Hi Brooke and thanks :)
I love the diagonal idea and the texture look of a tough clay pot. Pretty!


Frequently asked questions
Have a question about this project?
So what does the other side of the pot look like? How did you hide the ends? Very cool looking? Mine doesn't look like yours at all!!!! I used my hot glue gun also and I think I burnt off my fingerprints trying to hold them together. Extra callouses never hurt anyone, right? This is gonna be my only pot, though! Too many blisters.....Ha Ha Ha!