


Diy Washi Tape and Sticker Making

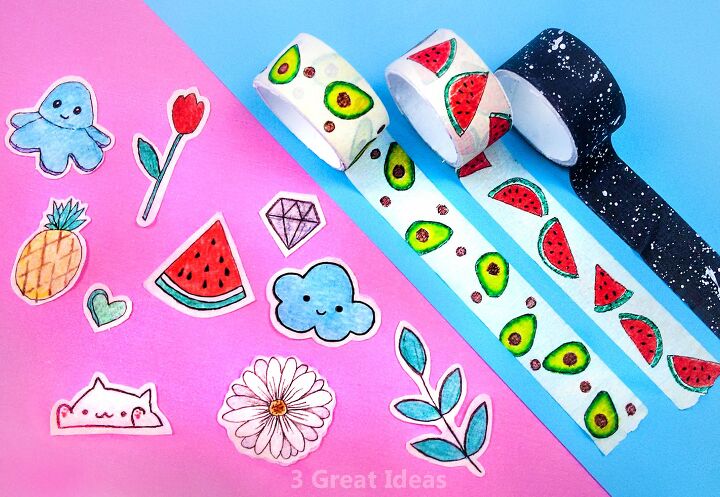
Hello Friends! In this post, I made washi tape and stickers very easily. And I only used 2 main ingredients.
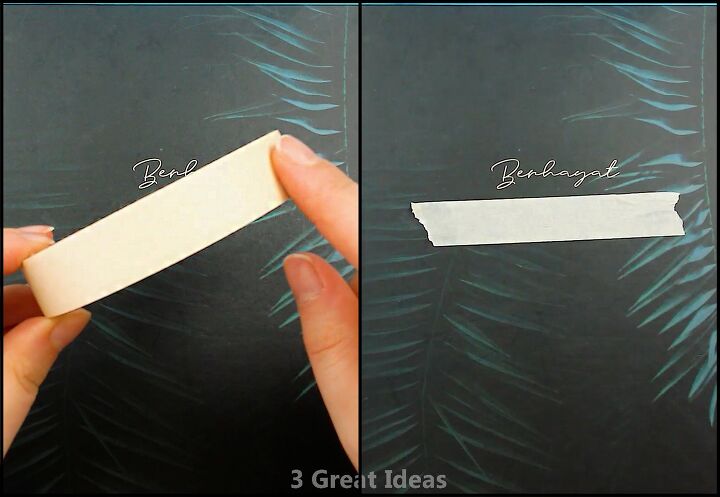
Attach thin paper tape to a non-stick surface or baking paper.
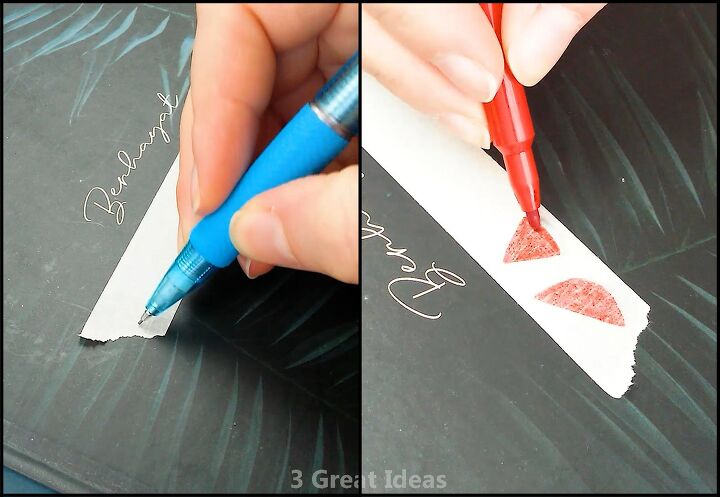
Draw the desired pattern with a pencil. I made a watermelon. For this, draw a watermelon slice with a red felt-tip pen.
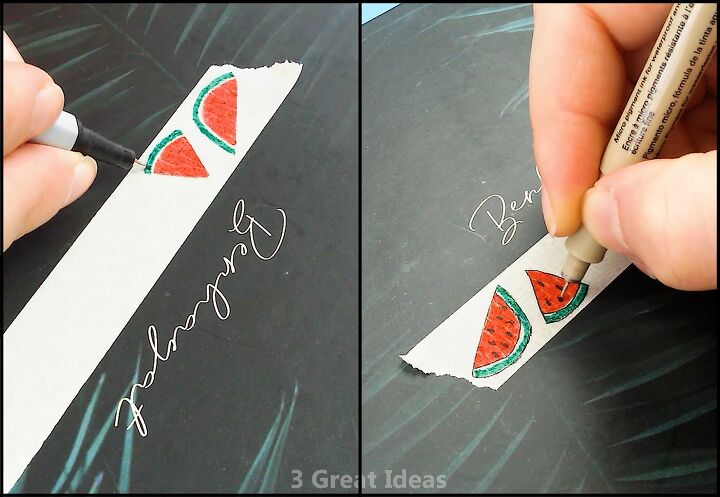
Draw the skin of the watermelon with a green felt-tip pen. Draw around the watermelon with the black drawing pen. It looks better this way. I used a 0.05 tip drawing pen.

This way you can draw watermelon, pineapple, avocado and whatever you want.
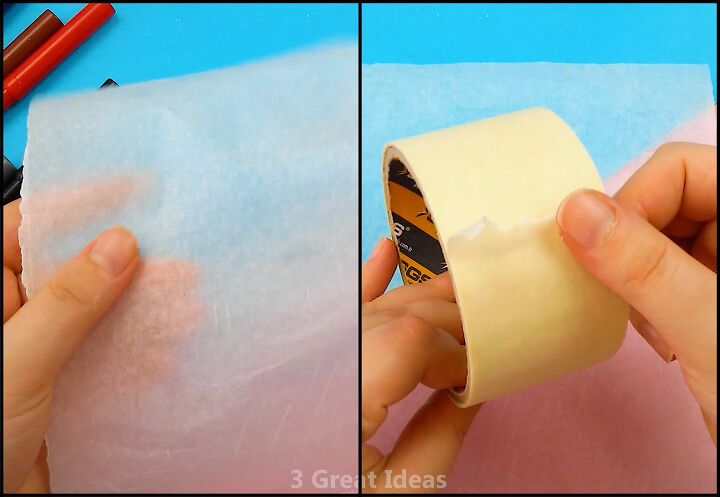
Attach wide paper tape to the baking paper to make stickers.
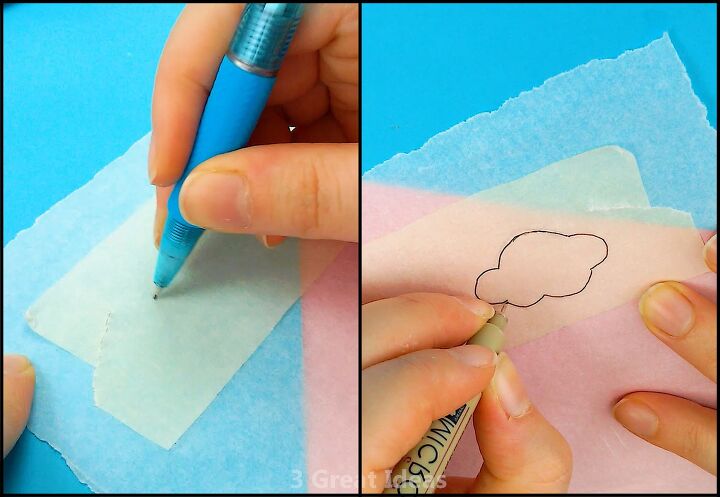
I drew the cloud shape with a pencil. I drew the contours of the cloud with a drawing pen.
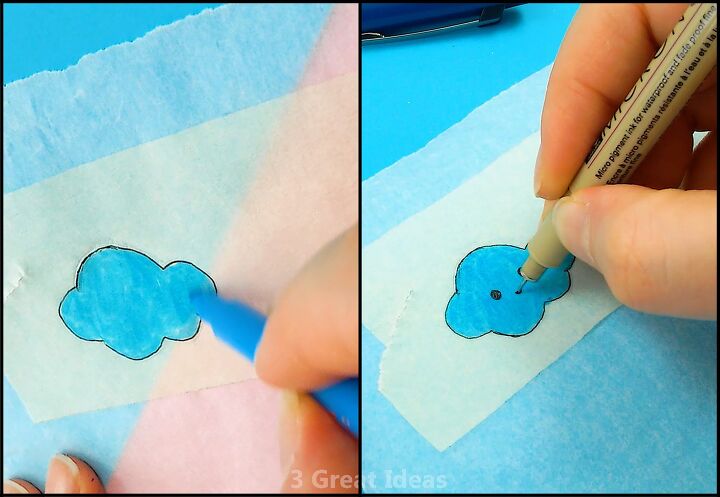
I painted the cloud with a blue felt-tip pen. I drew a cute face on the cloud with a drawing pen.
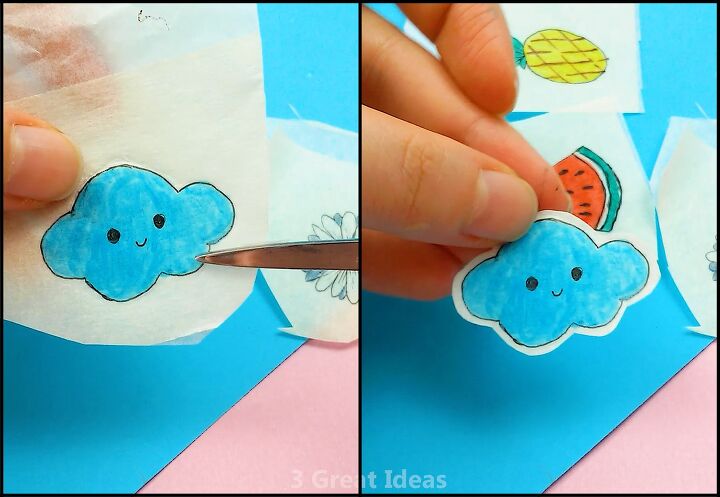
I cut it with a pair of scissors, leaving 2-3 mm of white area from the edge of the cloud. The sticker looks great when you leave a space like this. When you want to use the sticker, it will be enough to remove the baking paper on the back.
With this method, you can make your own beautiful stickers by drawing the shapes you want.
You can also watch my video to see all the stages in more detail. I also showed the construction of other washi tape and stickers in the video. I hope you try and love it too.
Resources for this project:
See all materials


Comments
Join the conversation
-
Well done and your drawings are very cute. Thank you for sharing :)
-
My granddaughter (6) LOVES stickers and she will love this. Thank you.


Frequently asked questions
Have a question about this project?