


DIY Wood Serving Tray
13 Materials
$10
2 Hours
Easy
Need a simple project to use up some of your scrap wood? All you need is scrap wood, cup pulls or rope, left over paint, and stencils (if desired)

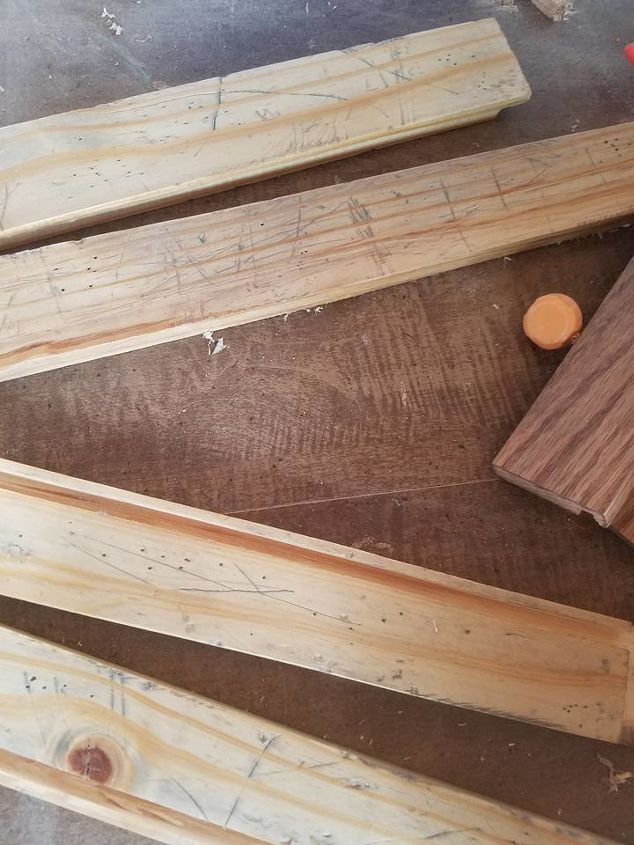
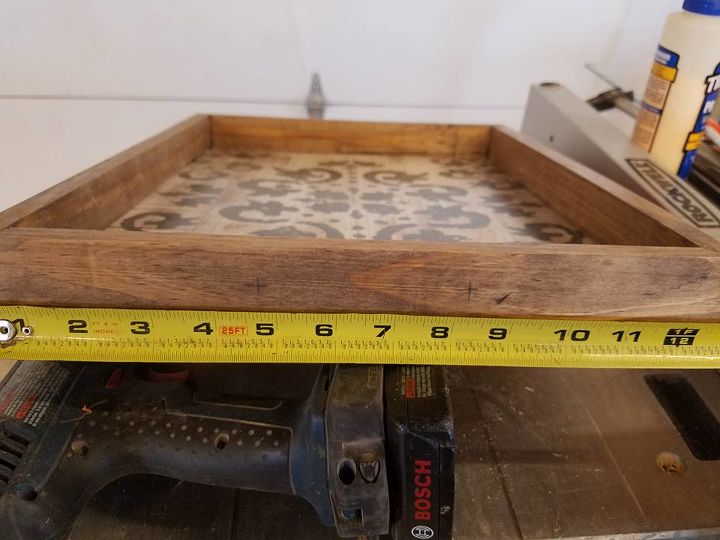
Cut all sides to length. Your would needs to be between 1/2"-3/4" thick by 2" wide. Cut (2) to 13" and (2) to 16".
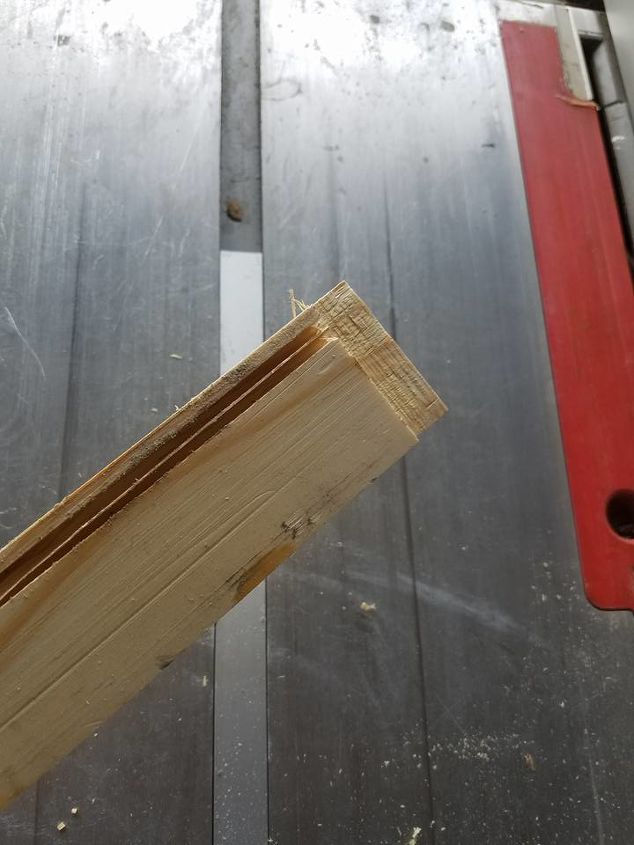
Set the fence on your table saw to 1/4" and the height of your blade to 1/2 the depth of your wood. Cut a groove along the bottom of each piece of wood. Slide your fence down to 3/8" and cut another groove until your groove is wide enough to for the material you are using for the bottom. (I am using 1/4" luan so I barely moved my fence a 3rd time to slightly widen the groove.
Next, set your table saw fence to the thickness of your wood (1/2-3/4"). Use your miter guide to push your short boards through cutting on the grooved side. Pull the wood away from the fence and continue to slide it through until all the wood on the end is shaved off. We are created a rabbet joint.
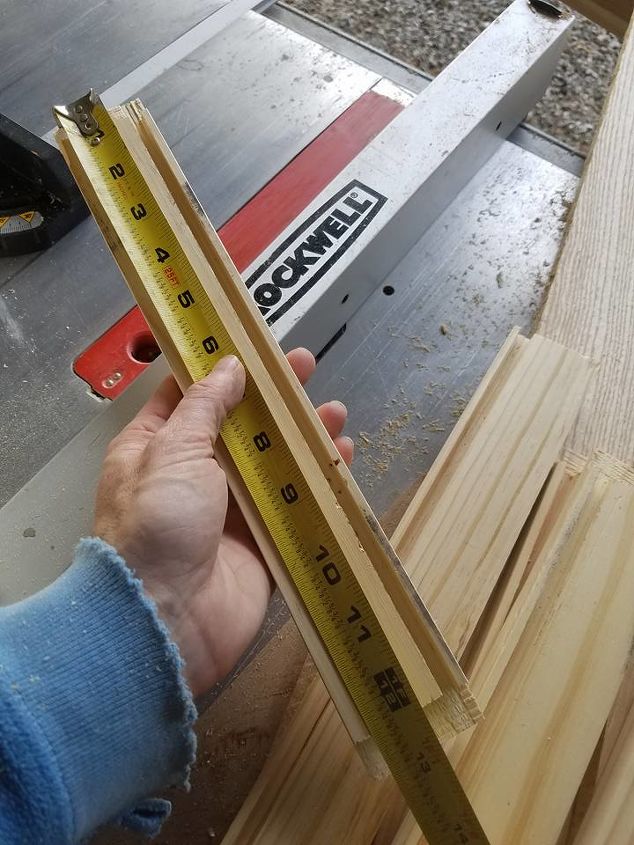
Measure from the edge of you wood to your rabbet edge. Deduct 1/8". That's the width you need to cut your bottom.
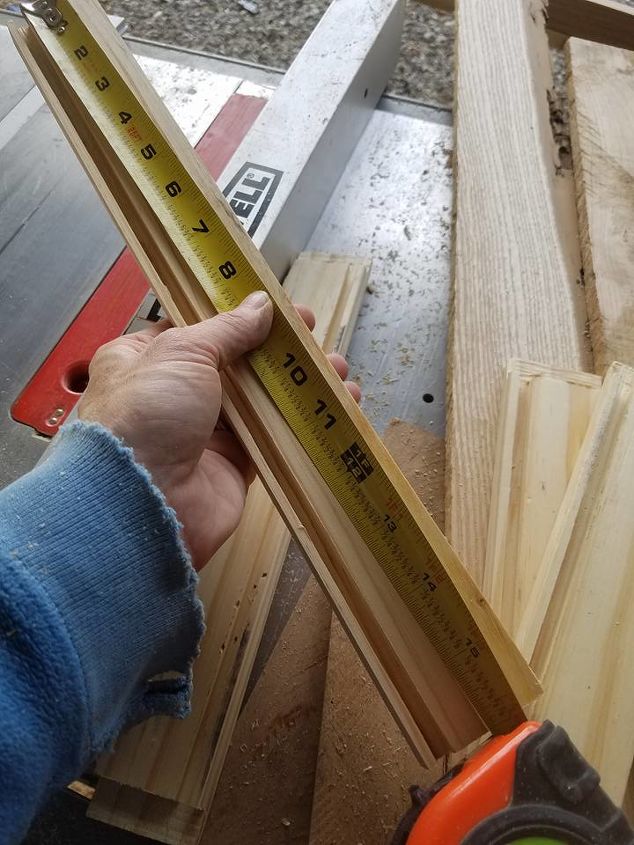
Measure the length of your long piece. Deduct 1/8". That's the length of your bottom. Dry fit your tray together. Your long sides should fit into the rabbet edge of the your short sides. The tray bottom should be able to move slightly. This will allow for expansion/contraction. Make any necessary adjustments.

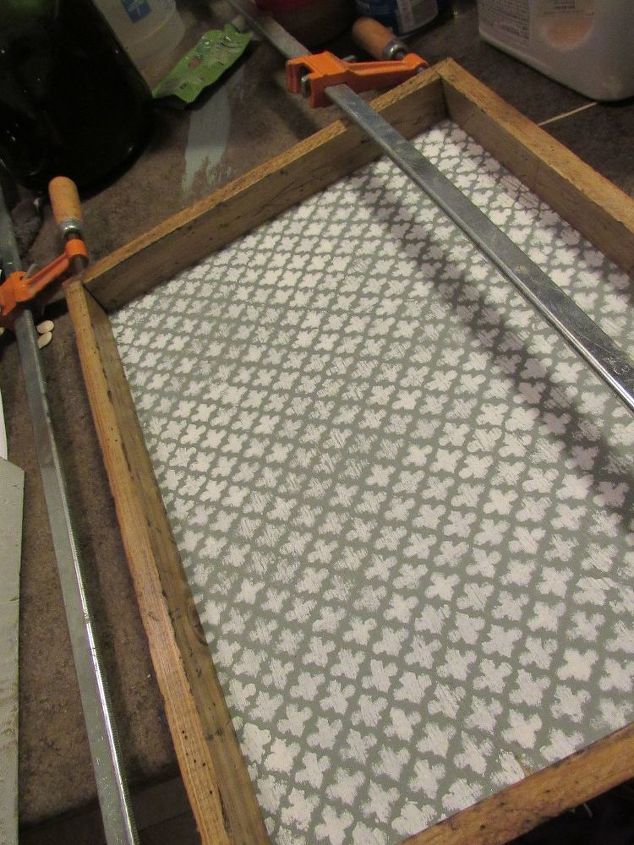
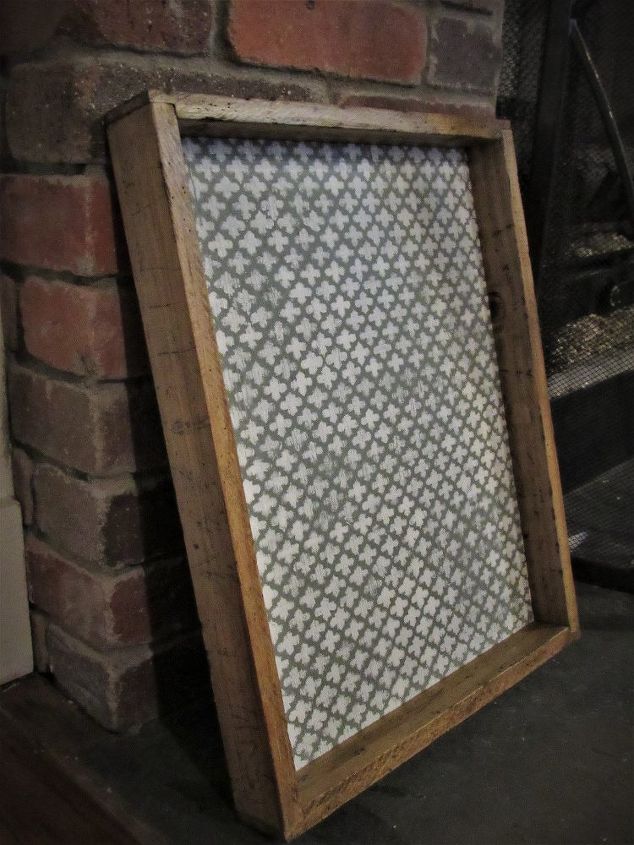
Stain and seal of paint the sides. I used special walnut stain here and two coats of satin polyurethane. After everything is dry, spread glue on the rabbet edges and clamp your tray together. DO NOT ADD GLUE TO THE GROOVE THAT YOUR BOTTOM IS GOING TO SLIDE INTO!! This will prevent expansion and contraction. As long as your sides are glued together, the bottom isn't going anywhere. After it's dry, you can add finish nails if desired.
For rope handles, center a 3 1/2" area on your short sides 1" from the top. Drill with a 1/2" drill bit. Since my hole wasn't wide enough, I rocked my drill back and forth slightly to widen the hole.
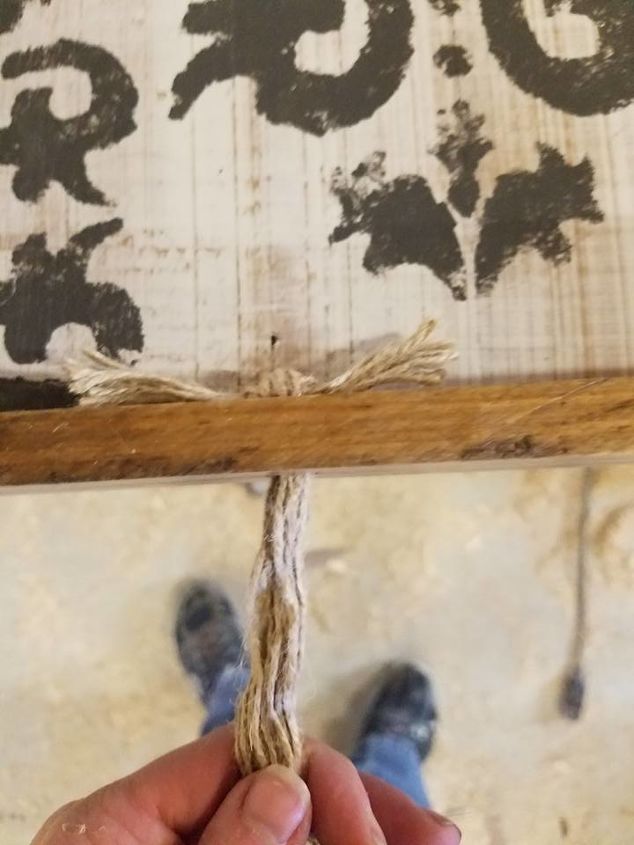
The rope I used was Joann's 3/8" jute craft rope. It was too wide so I only used one strand. Thread your rope into the hole. Divide the fibers and tie a not. Pull it tight. I had to divide the threads and wrap them back around each other to recreate the rope look. Thread it into the other side and tie a knot. Squirt a little fabric glue into the knot and trim the ends.
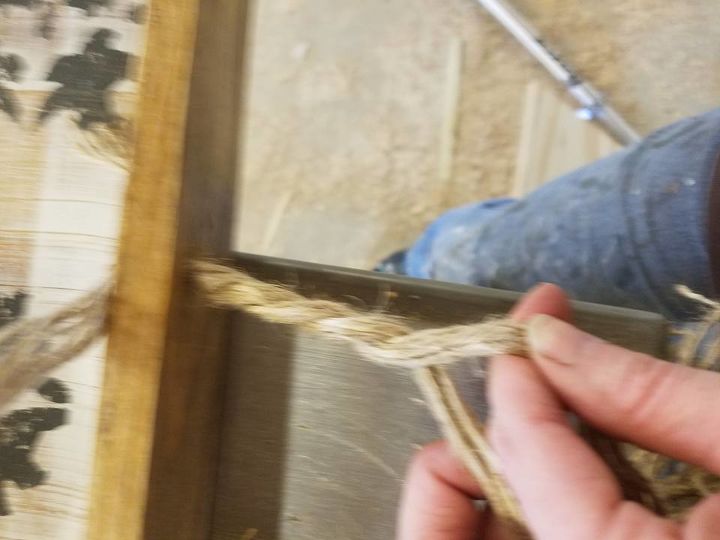
I had to divide the threads and wrap them back around each other to recreate the rope look. Thread it into the other side and tie a knot. Squirt a little fabric glue into the knot and trim the ends.

Want more details about this and other DIY projects? Check out my blog post!


Frequently asked questions
Have a question about this project?