


DIY Yarn Rainbow Diffuser

I've seen a ton of yarn or macrame decor rainbows recently and think they are so cute. I decided to make my own and add a little twist to them and make it a essential oil diffuser too! With a few materials I had on hand and 20-25 minutes of time and I had myself a cute rainbow diffuser!
Links -
beads - https://www.amazon.com/gp/product/B07VB7V6R4/ref=ppx_yo_dt_b_asin_title_o04_s00?ie=UTF8&psc=1
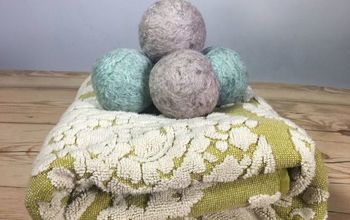
wool balls - https://www.amazon.com/gp/product/B076GV1VVW/ref=ppx_yo_dt_b_asin_title_o06_s00?ie=UTF8&psc=1
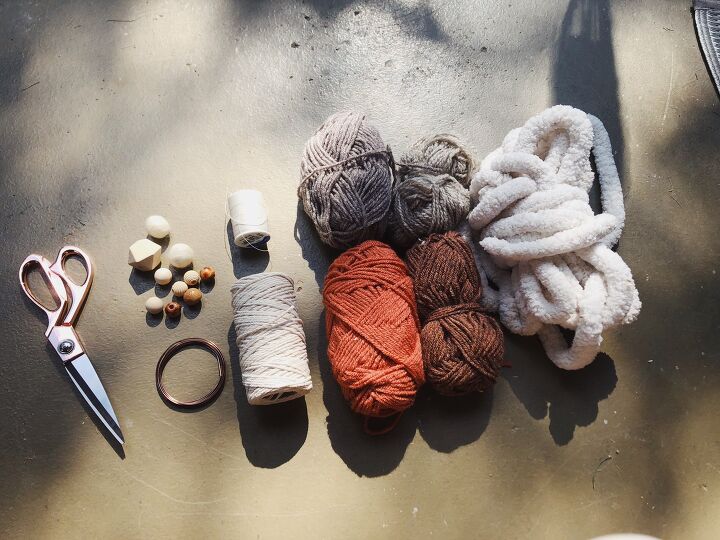
Materials Needed -
- yarn or macrame cord
- beads
- metal wire
- needle + thread
- scissors
I had everything on hand so this project didn't cost me anything. If you were buying everything it would cost around $10-$15.
My yarn was purchased from Walmart and the Dollar Store.
Metal wire was $.98 at Walmart.
Beads and wool ball are from Amazon. You could also get a smaller pack of beads from a local craft store or Walmart.
Links -
beads -
https://www.amazon.com/gp/product/B07VB7V6R4/ref=ppx_yo_dt_b_asin_title_o04_s00?ie=UTF8&psc=1
wool balls -
https://www.amazon.com/gp/product/B076GV1VVW/ref=ppx_yo_dt_b_asin_title_o06_s00?ie=UTF8&psc=1
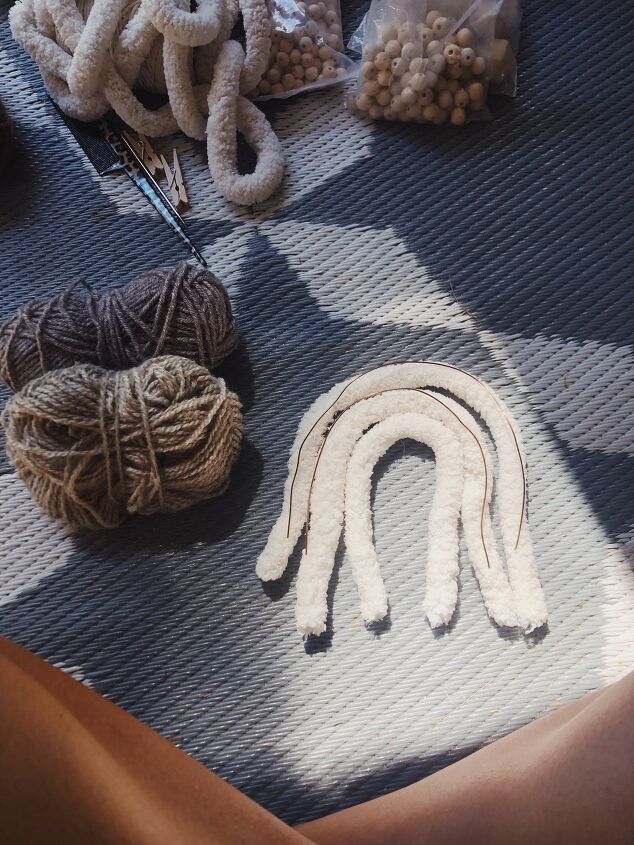
Step One - Lay out yarn
For this rainbow I am using the largest yarn I have. The yarn is from Walmart. I laid out the shape and size of what I wanted the rainbow to be. I also cut the metal wire to size. I added the metal wire to make the rainbow more shape-able, you could leave this step out - but it does help it hold it's shape.
I decided to only use two colors of yarn and leave the smallest arch the original color of the big yarn, so I did not add metal to that arch.
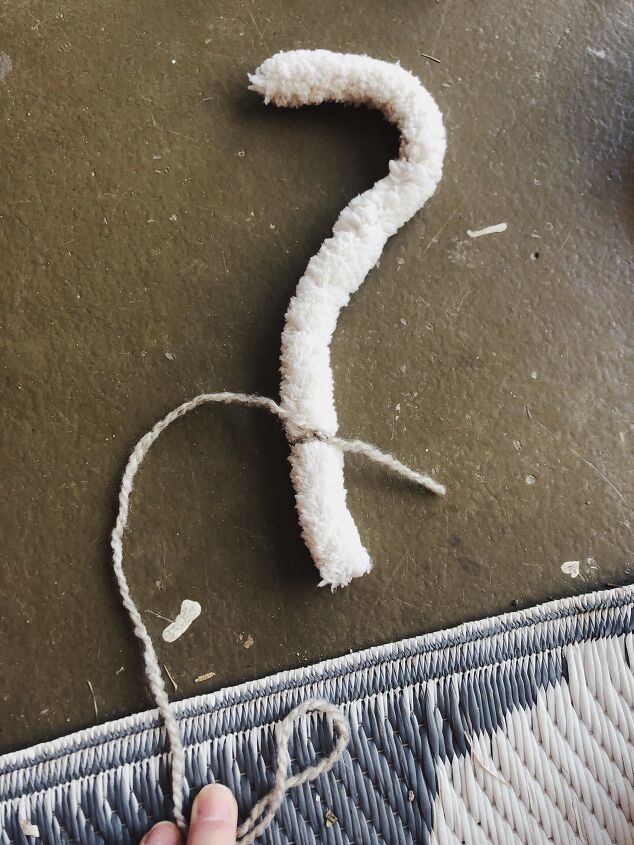
Step Two - Start to wrap yarn
I tied the yarn onto the bigger piece of yarn. I left space at the end where I won't be wrapping the colored yarn around it.
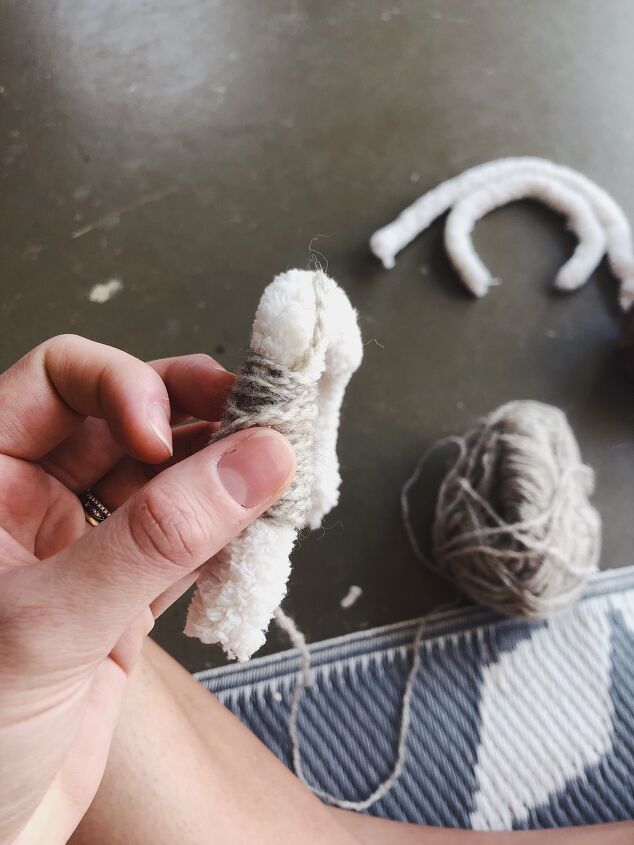
Step Three - Wrap Yarn
Now I began wrapping the colored yarn around the larger yarn. I leave the end of the piece I tied on and just wrap around it. I pull relatively tight on this to make sure the larger yarn is completely covered.
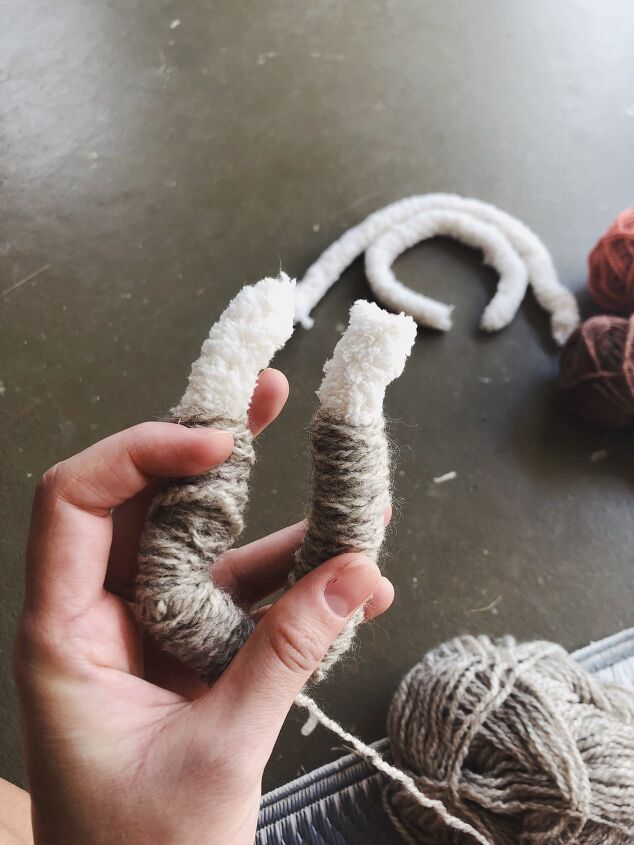
Step Four - Check ends
As I got closer to the end I hold the two ends together to make sure my stopping point will be even with the other.
I repeated wrapping the colored yarn around each large piece until the two of the pieces were done. I simply made a knot at the ends to hold the colored yarn in place.
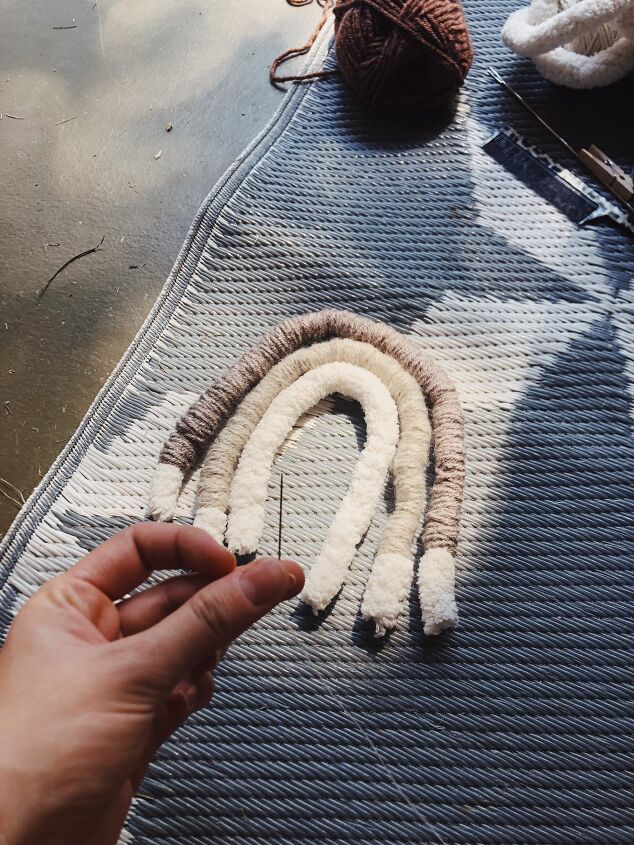
Step Five - Sew arch's together
I used a needle and thread to attach all three arch's together.
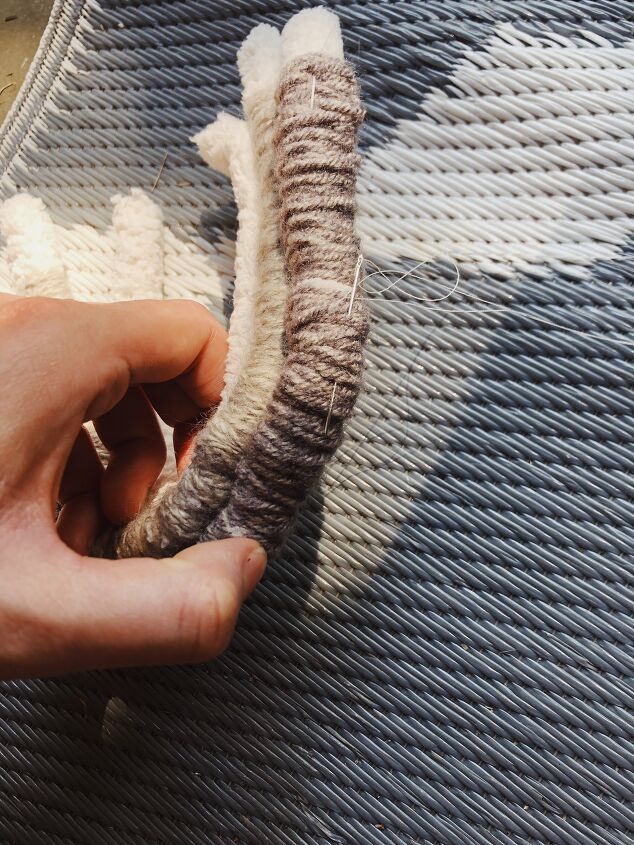
I made sure the thread wasn't going to show on the outer piece by using this method.
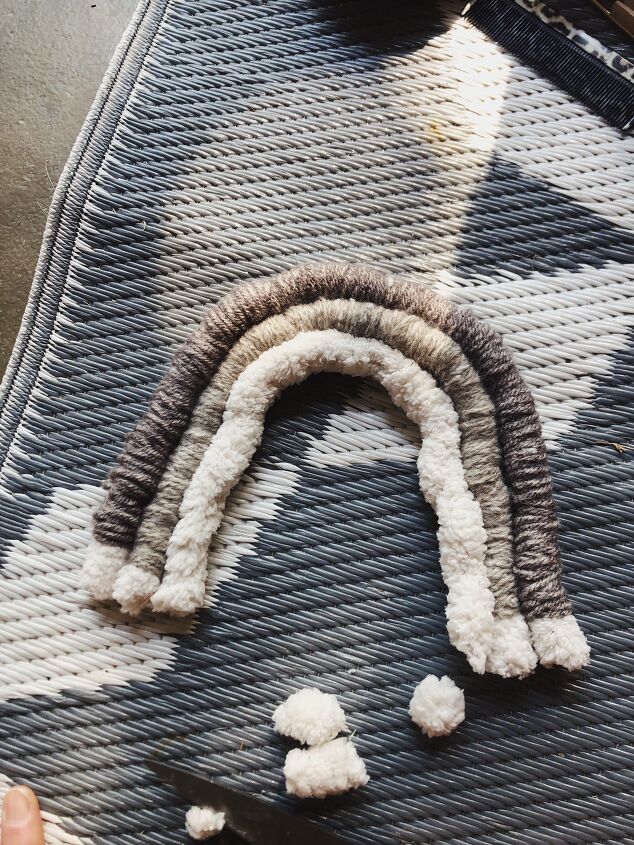
Step Six - Cut ends
I then cut the ends to make sure they were even
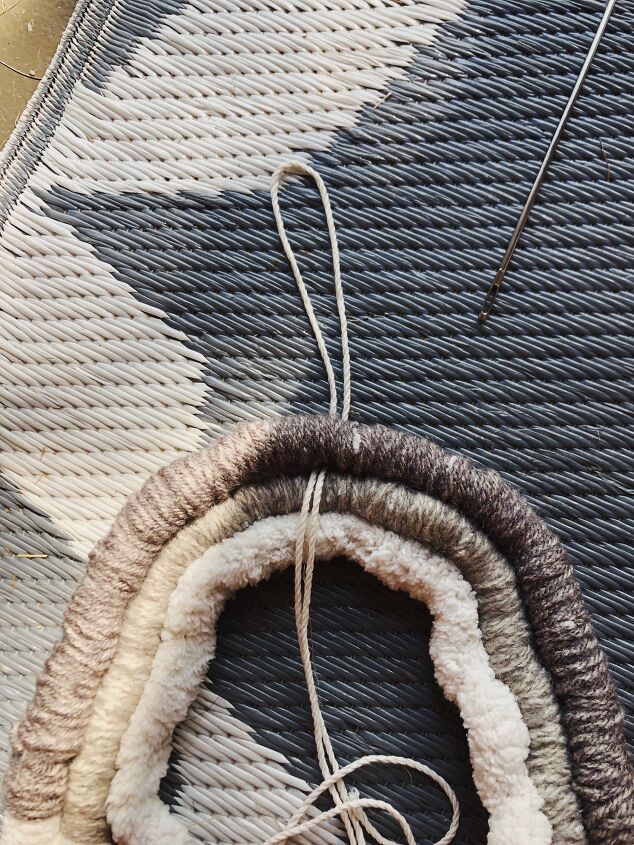
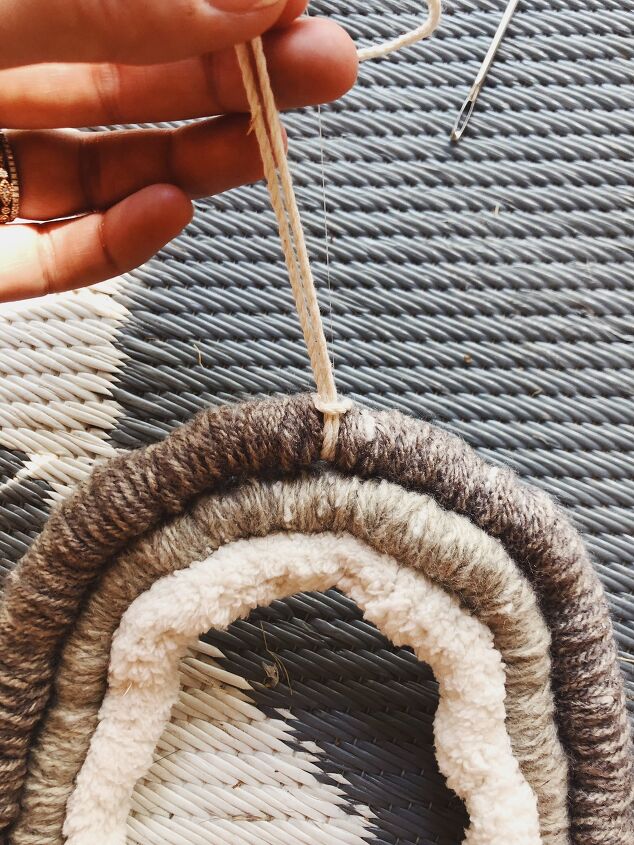
Step Seven - Add yarn to top
I then added some thin macrame cord to the top so I'm able to hang it.

I did this by folding the cord in half, looping it through the top arch, and pulling the ends through the loop.
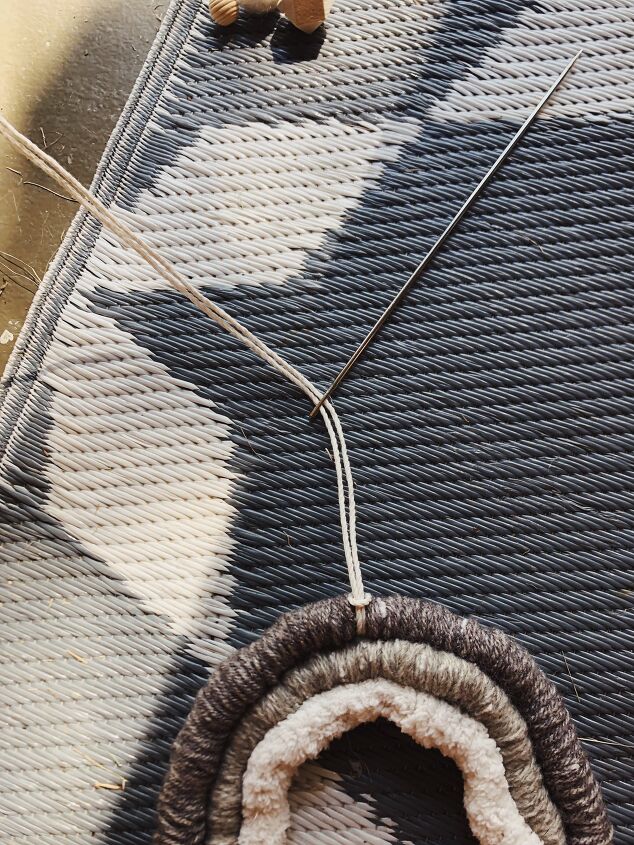
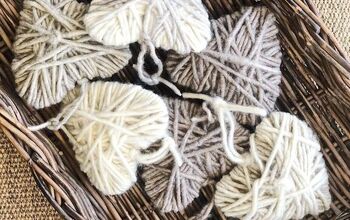
Step Eight - Attach beads + wool ball
I then used this super big needle to add the beads and wool ball on.
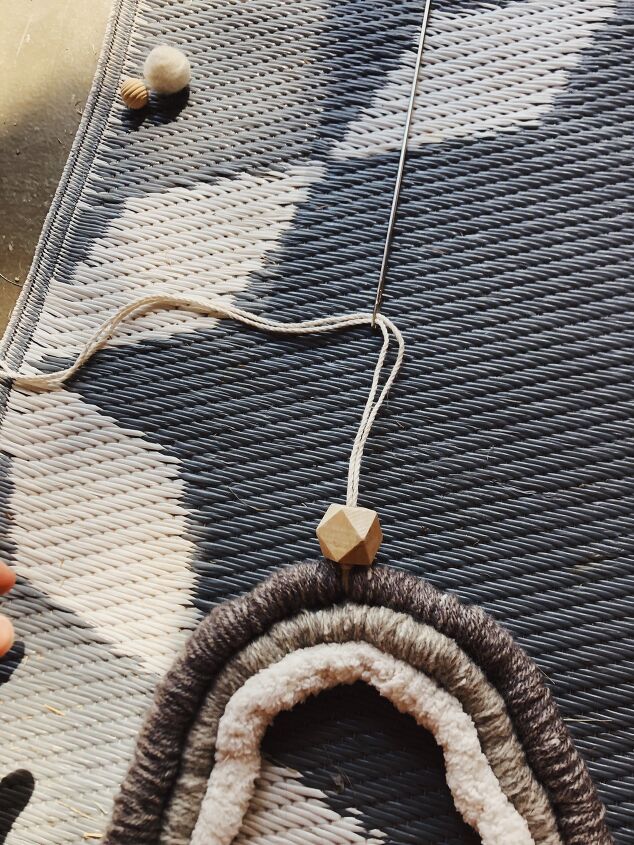
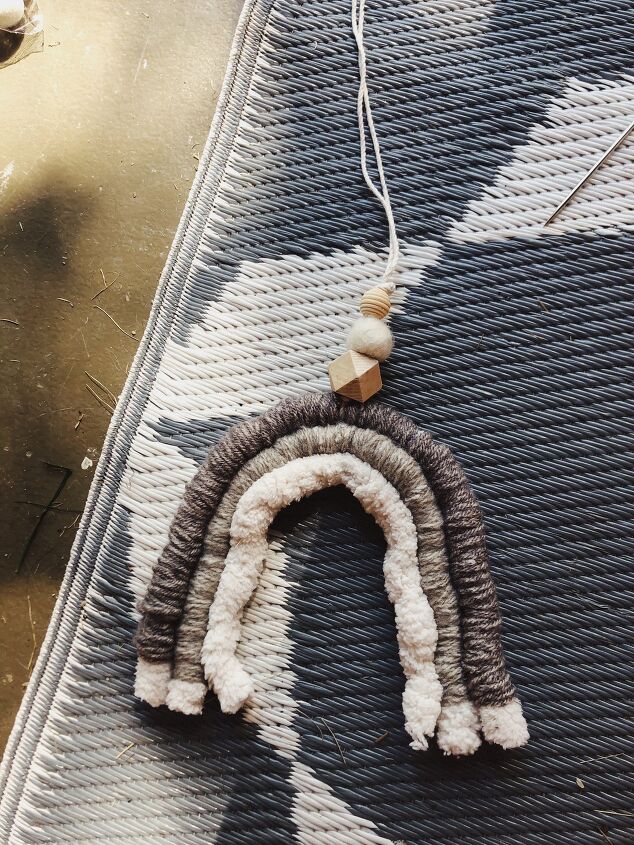
And that's it! I add essential oils to the wool ball and enjoy!
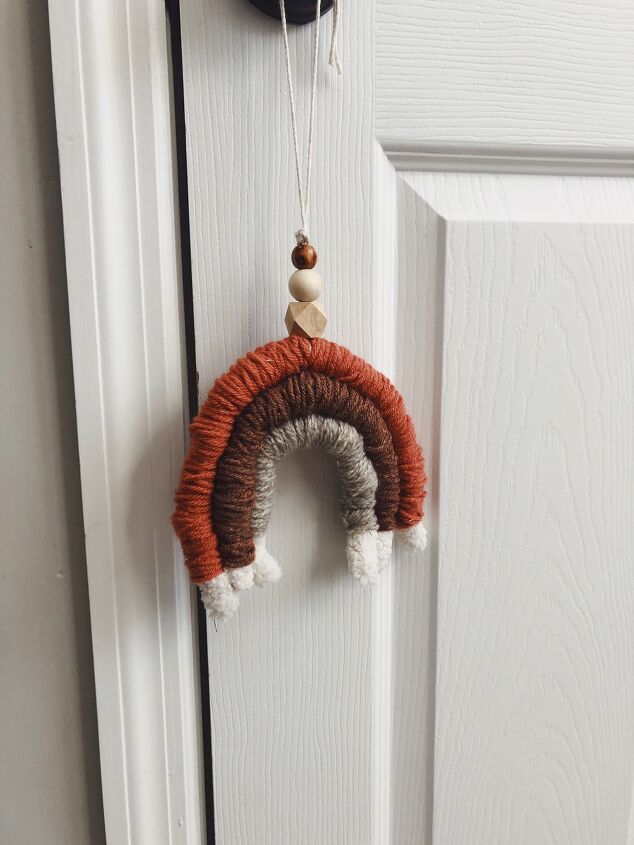
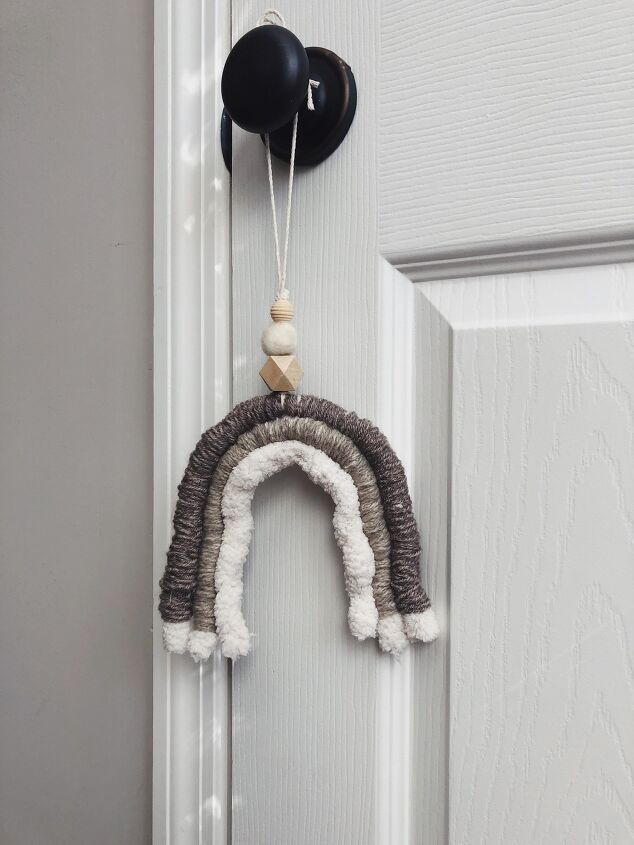
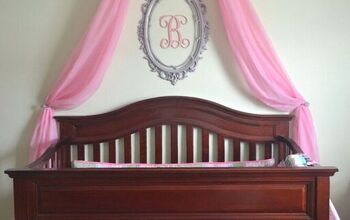
These rainbows are so easy to make and are so cute! You can put them just about anywhere - I have one hanging on my rear view mirror in my car and put these new ones I just made hanging on the door in the nursery!
Resources for this project:
See all materials


Comments
Join the conversation
-
So what did you do to make it smell good?
-
OK, In one of the pictures it does look like a little ball of wool between the wood balls on top. Not sure how that is made though.


Frequently asked questions
Have a question about this project?
She said to put essential oil on the wool ball, but I am not sure what that means. Does she mean the wool arches?