


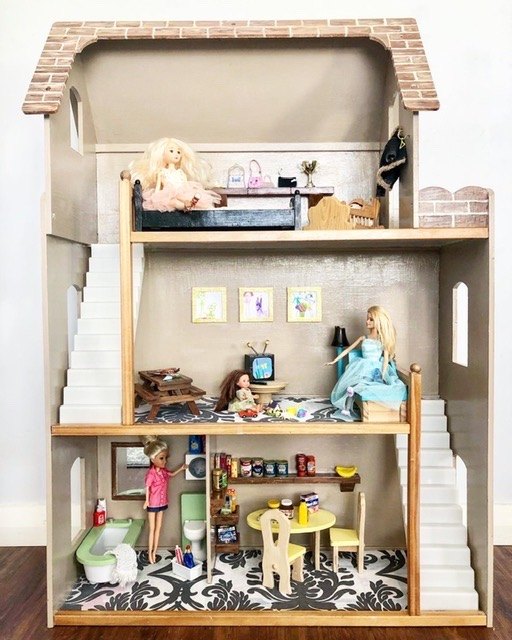
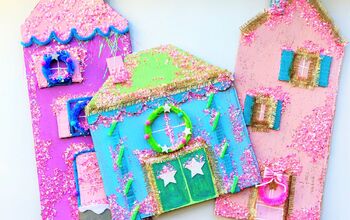
Dollhouse Reno

While we are isolating at home (COVID-19), I decided I would give my daughter’s dollhouse a makeover, using paints & other bits & pieces I had laying around so that I wouldn’t have to leave the house. 👍🏻
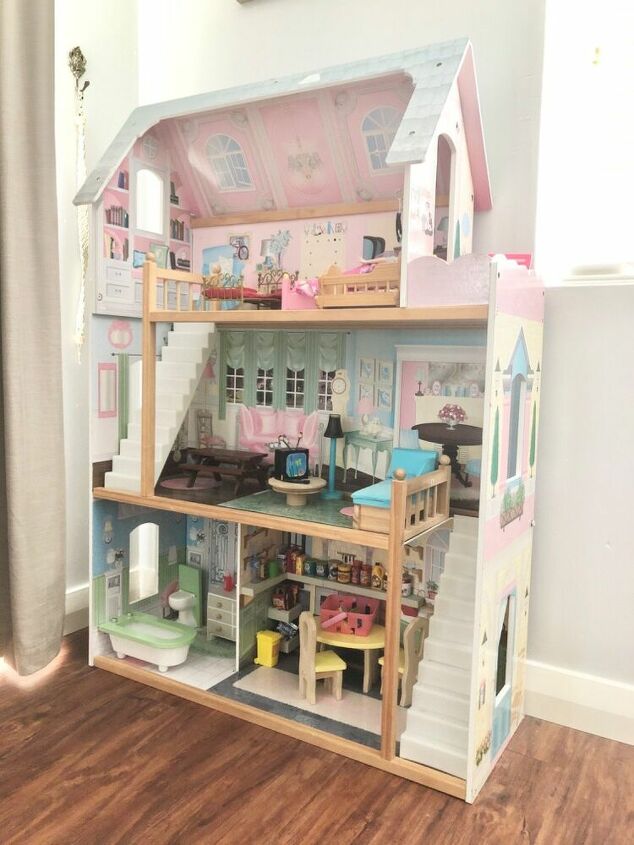
The first thing I did was take everything out and gave the house a good wipe down to get rid of any dust etc.
I then gave it a light sand, wiped it down again, and then did 2 coats of primer* on all the walls & roof. (I waited roughly 4 hours between each coat)
*I used the Zinsser Smart Prime, I had half a tin leftover from a previous project.
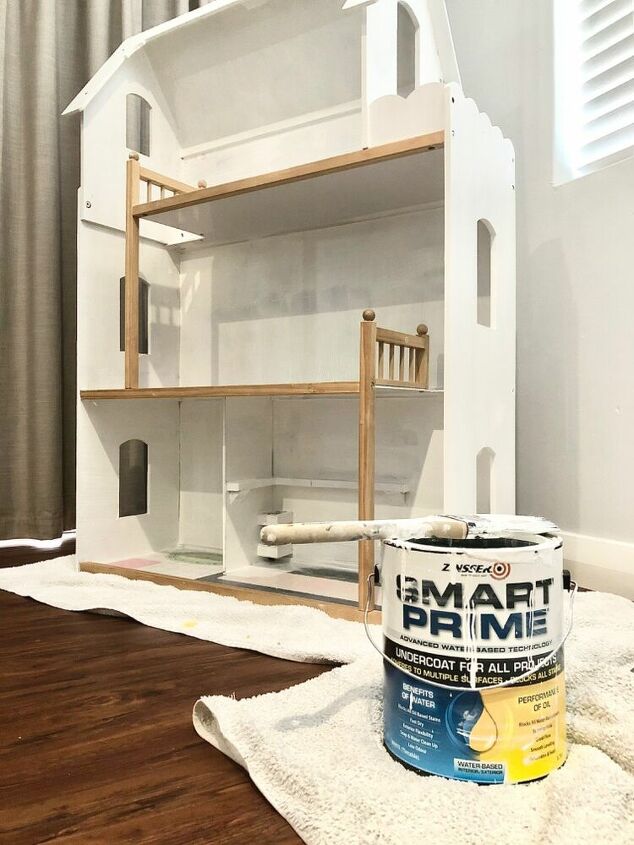
It said on the tin that the primer would be fully cured in 7 days, so I decided to leave it for the full week before painting.
In the meantime I got started on the flooring & accessories.
For the flooring, I dug through all my craft cupboards and found some nice fabric (also leftover from a previous project) that I decided to use.
I measured up the floor space on each level and marked them out onto the fabric.
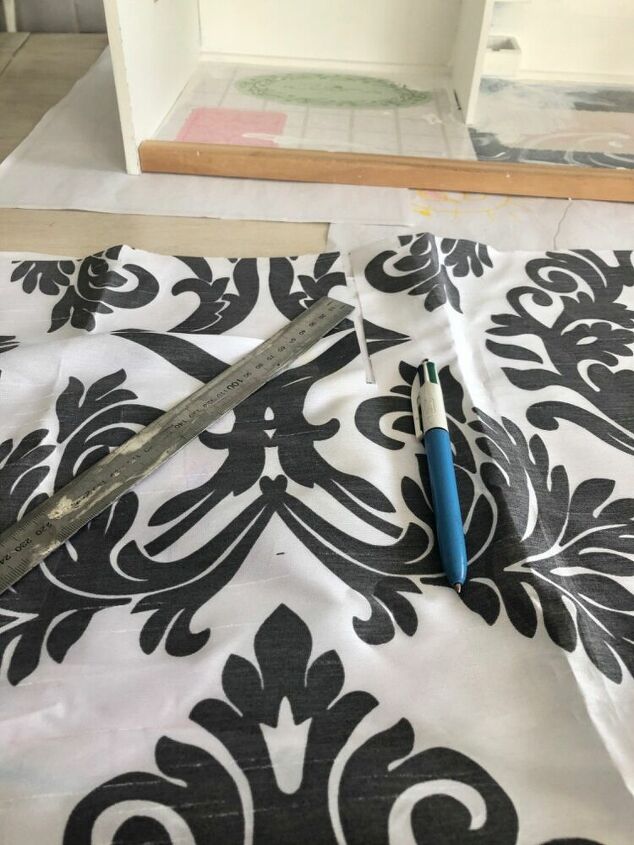
I then cut them out and laid them onto each floor of the house to check they fit perfectly.
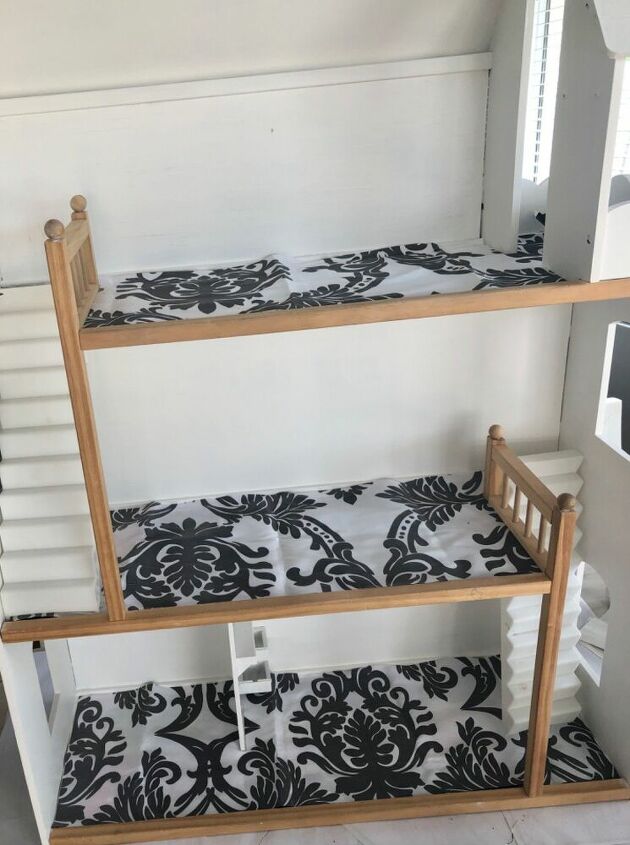
Once I was happy with the fit, I put them aside for later. My plan was to glue them down after I finished painting the house.
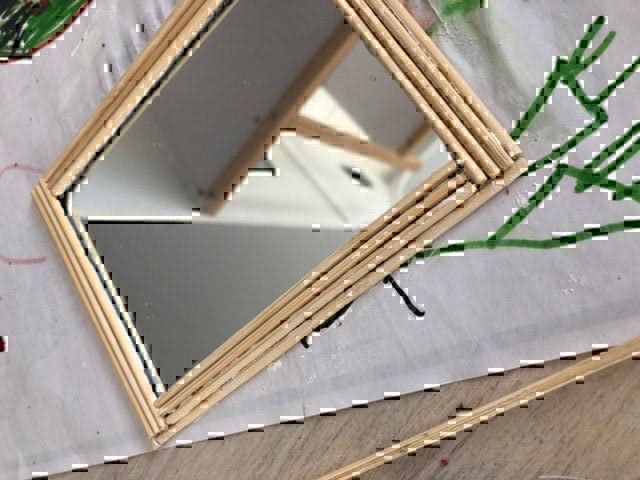
Next, I decided to make a little mirror for in the bathroom. Again, I searched through my cupboards for bits and pieces and came across an old purse of mine that had a mirror attached to the inside. So I ripped out the mirror as it would work perfect. 👌🏻
I decided to make a frame for it using some wooden skewers from the pantry.

I measured the mirror and cut down the skewers to size to make a frame. Once I had all my pieces cut, I glued them onto the edge of the mirror with some Selleys Hold Up.
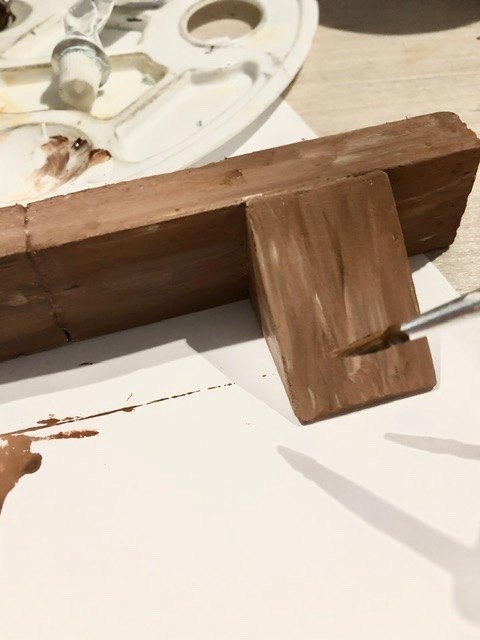
Next, I decided to make some shelves. For this I used some wooden blocks from the kid’s toy room (they have a huge box full of them). I sanded them back and glued them together with Hold Up again. For the paint I used some acrylic paint from my kid’s craft supplies. I first did a coat of dark brown, and then before it dried I went over it with a tiny bit of white paint, mixing it through to give a rustic kind of affect.

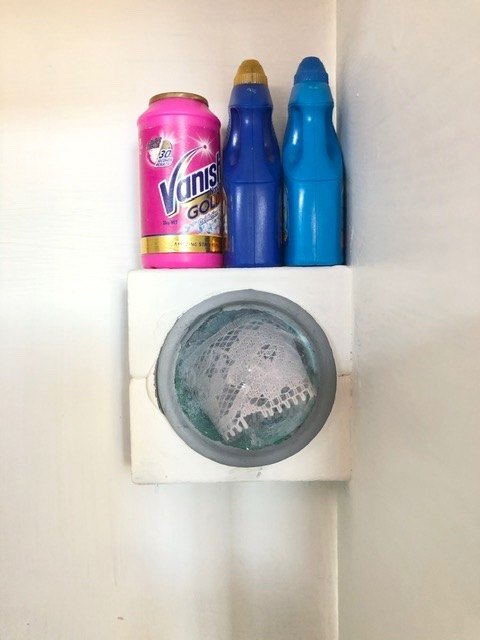
I also decided to make a washer/dryer using some wooden blocks. For this I used two arched blocks, sanded them, glued them together & then painted them.
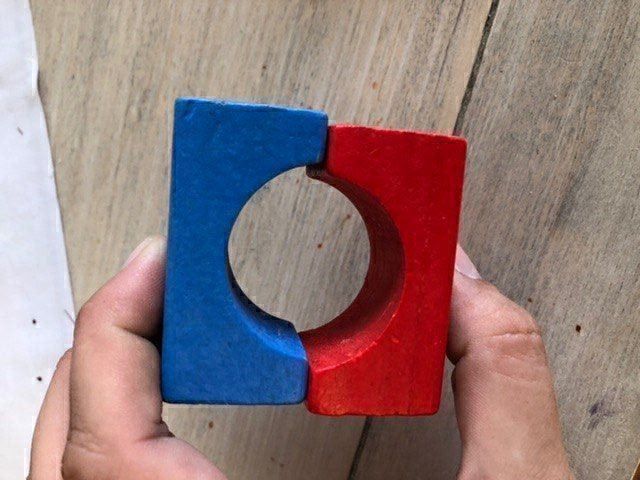
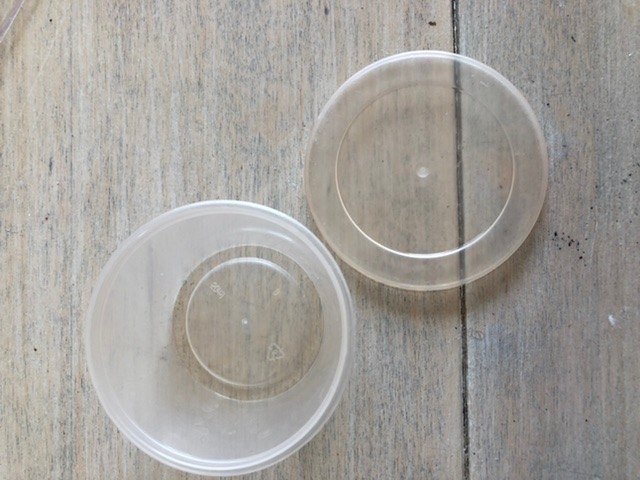
For the door of the washer, I used the lid from a small plastic container I had in the pantry. I glued the lid onto the blocks and painted around the edge of the lid grey. I didn’t actually have any grey paint so I mixed black and white until I got the colour I was after.
Before I glued it to the wall, I put a tiny strip of fabric (I used some lace) inside the hole, to look like washing inside the machine.
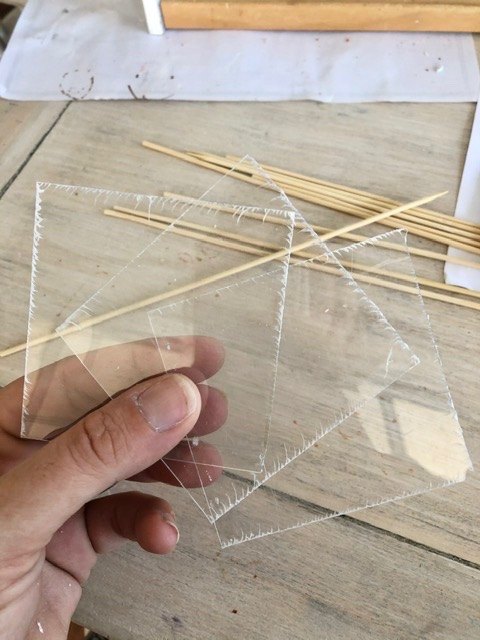
Next, I made up some picture frames. I experimented with this one a little, as I wanted to make it possible to change the pictures in them without taking them off the wall.
I started off cutting some squares out of a clear plastic sheet I had laying around from an old picture frame. (You could also use cutouts from a clear zip lock bag.)
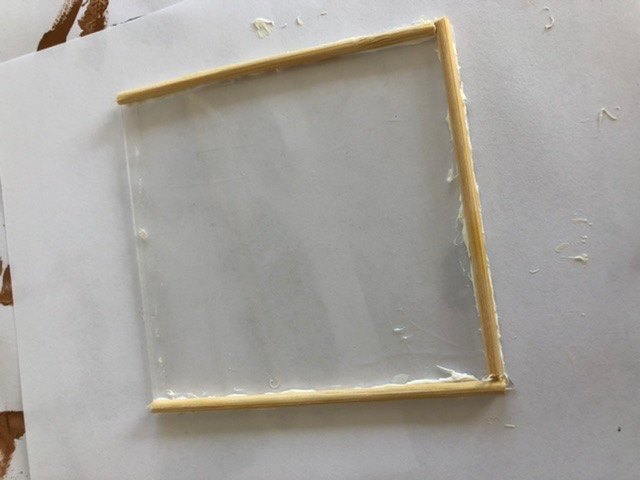
I then cut some wooden skewers and glued them onto THREE sides of the clear cutouts.
Next, I cut out some paper card into strips and glued them onto the opposite side of the clear squares to make the frame.
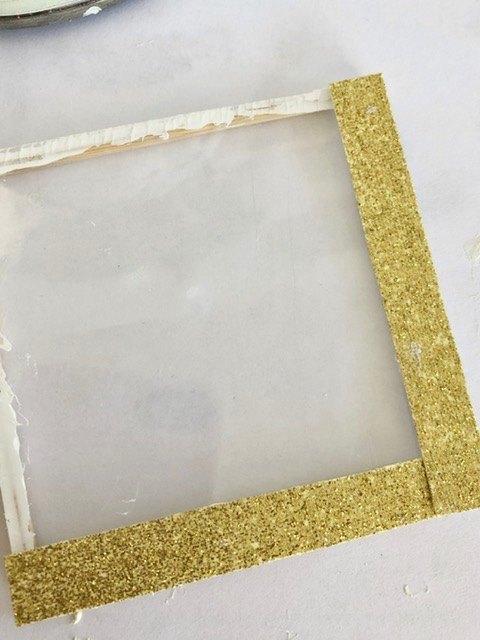
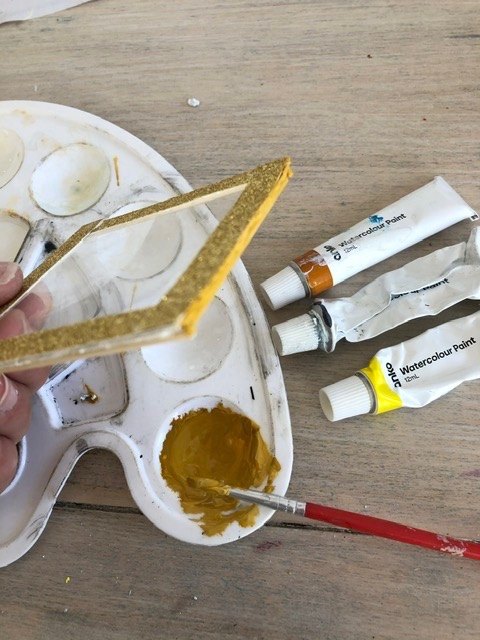
Once my frame was made, I mixed up some paint to make a colour as close as possible to the frame, and then I painted the outside of the skewers to blend them in.
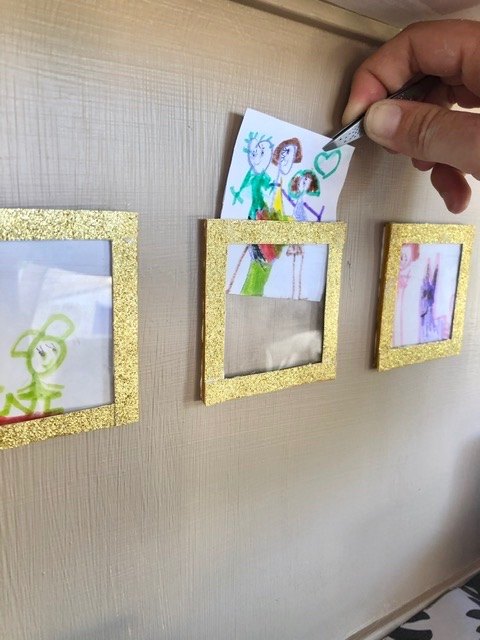
Now when I was ready to glue them to the wall (after I painted the walls), the skewers would create a gap between the clear sheets and the wall, and the side that I didn’t put a skewer on would be open, so I could put pictures in through there and remove when we wanted a change, without taking the frame off the wall. 👍🏻
See next picture for a visual explanation of that. ☺️
*My daughter made the pictures for it ❤️
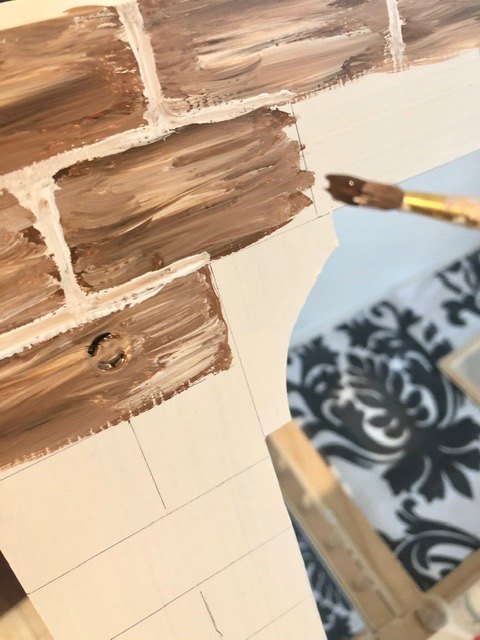
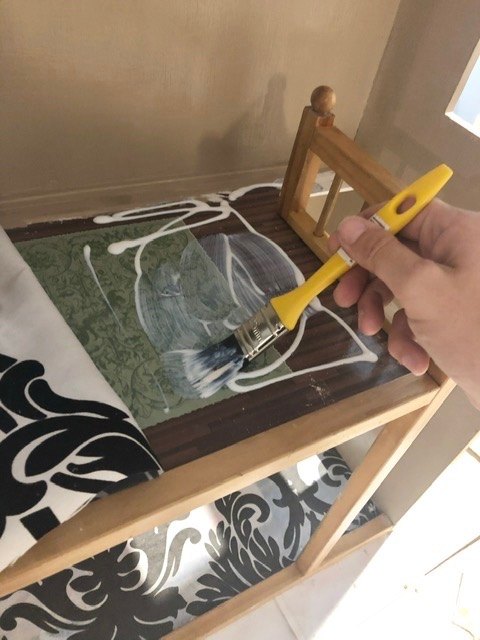
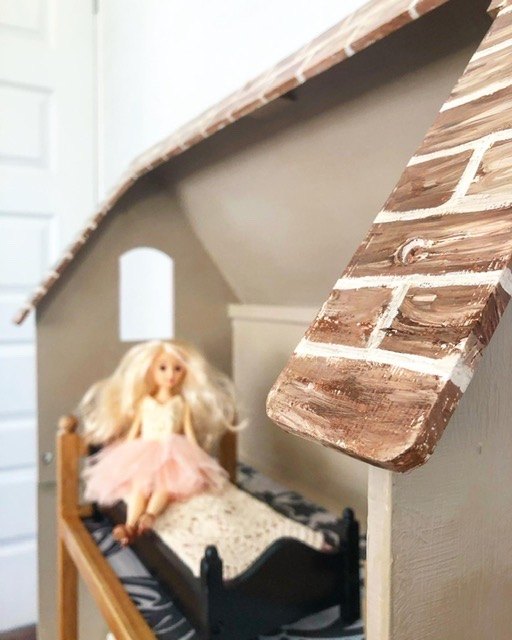
Once the primer on the house was cured (7 days) I then started on the painting. For the roof I painted on some bricks. First I marked out the bricks with a pencil onto the roof. Then I used a brown acrylic paint to do the base and before it dried I went over it with a lighter brown paint (I added some white) blending it in to get a nice textured look. I then went over my pencil markings with a white paint.
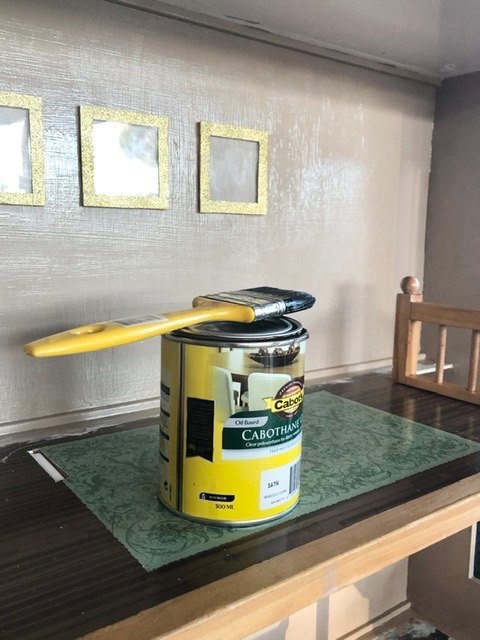
For the rest of the house I used some old paints I had leftover from a cubby house project. The original colour was quite dark so I mixed it with some white to get a lighter shade that I was happy with.

Once all the painting was done, I let it dry for a day and then sealed it with a clear varnish.
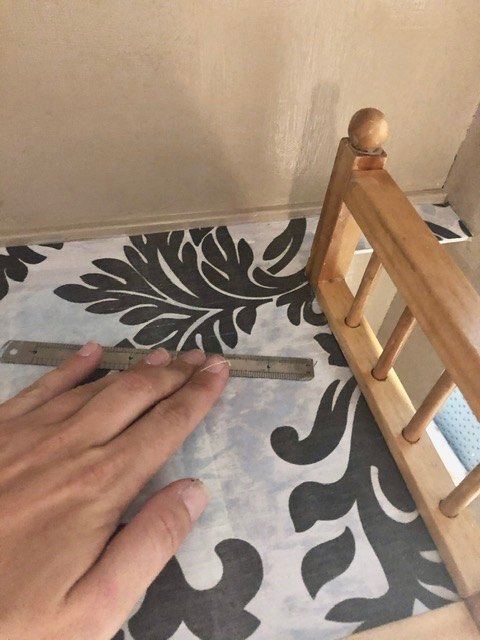
While the varnish was drying I started glueing the flooring down.
I simply applied some multipurpose wood glue onto the floor with a brush and then positioned the fabric I had previously cut out into place. I did a little section at a time and used a small ruler to level it out and press it down into the corners.
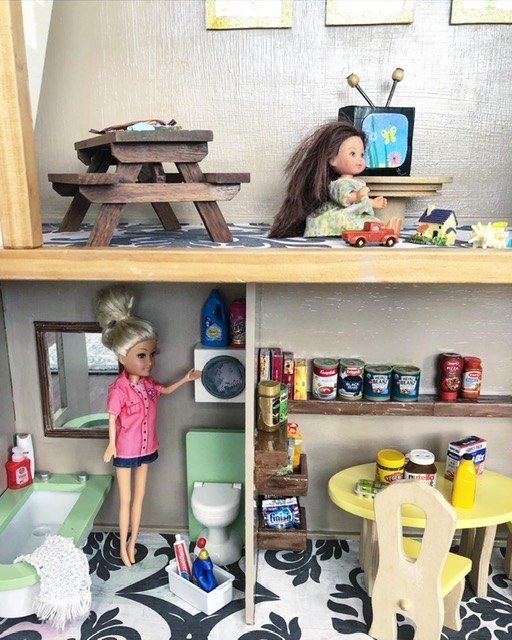
Once the flooring was done and the varnish was dry I glued the last bits and pieces onto the wall like the shelves with some Selleys Hold Up.
And she was done! 👍🏻 Bonus it didn’t actually cost me anything as I was lucky enough to have everything at home already - the joys of being a DIY addict, you build a collection! 😉
For more of my DIY projects, please check out my Instagram page @_prettyliving
Comments
Join the conversation
-
How fun !
-
Love it!!


Frequently asked questions
Have a question about this project?