


Drop Cloth Shower Curtain

6 Materials
$10-25
8 Hours
Medium
I have been on the hunt for a nice new shower curtain, but all the ones that I actually liked were close to $100. I simply couldn't bring myself to pay that much for something so simple so I decided to make my own. Shower curtains are pretty large so I knew buying fabric could also add up so I decided to make one out of a drop cloth. Drop cloths are like a big canvas so I made a design with some tape, painted between the lines and added some grommets and had my own custom curtain.
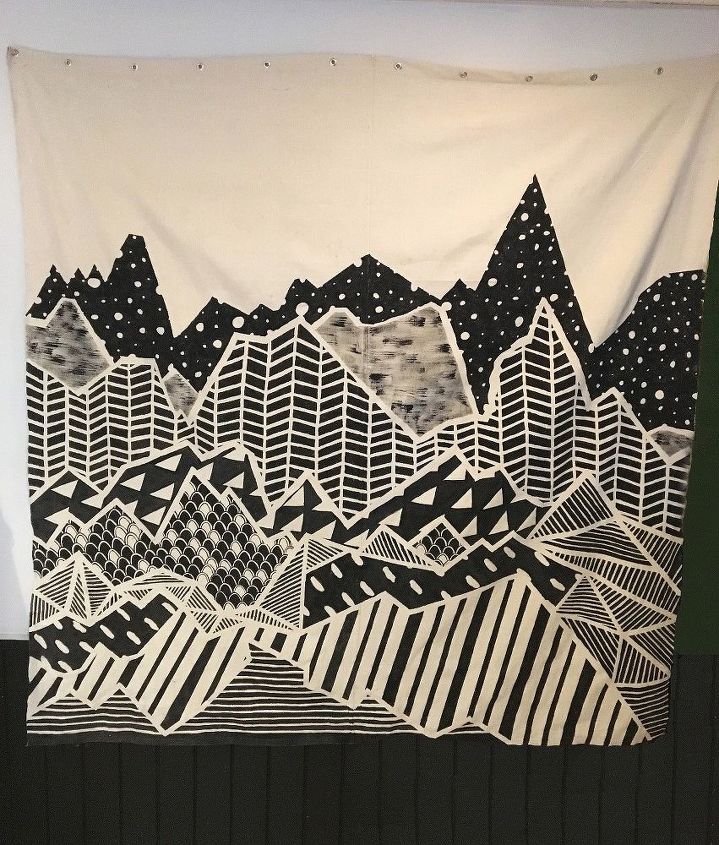
I honestly love how this turned out. I feel like I can super customize my bathroom now too whenever I want!
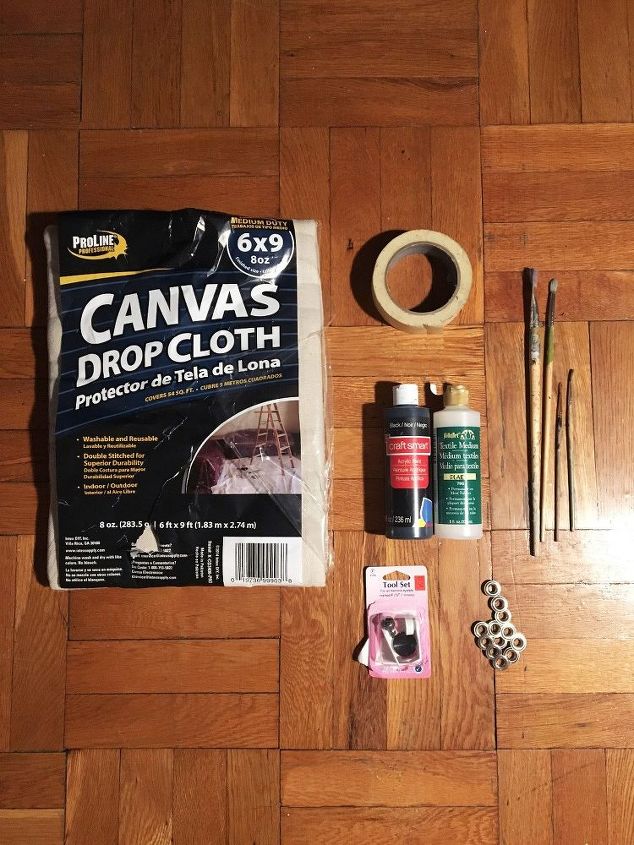
SUPPLIES:
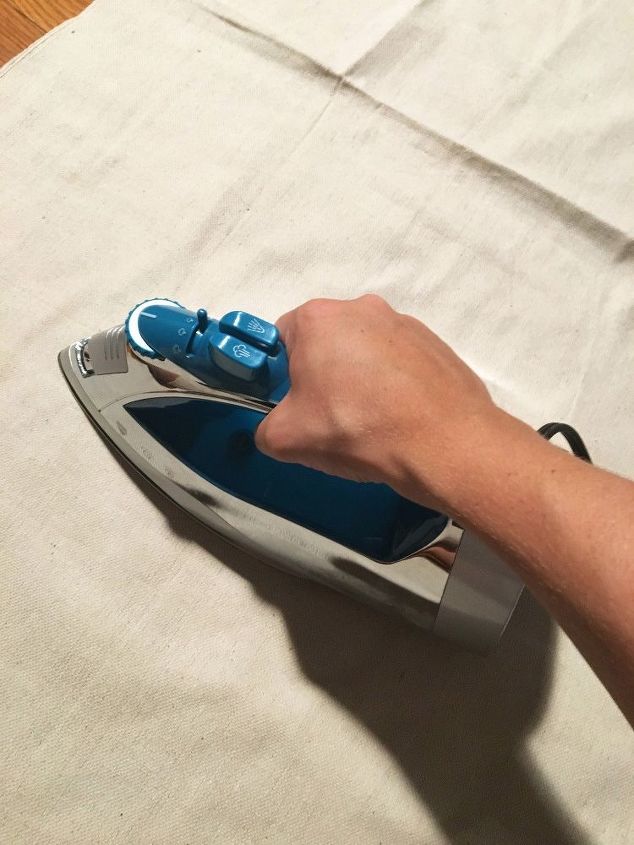
STEP 1: Press your drop cloth to get all of the creases out.
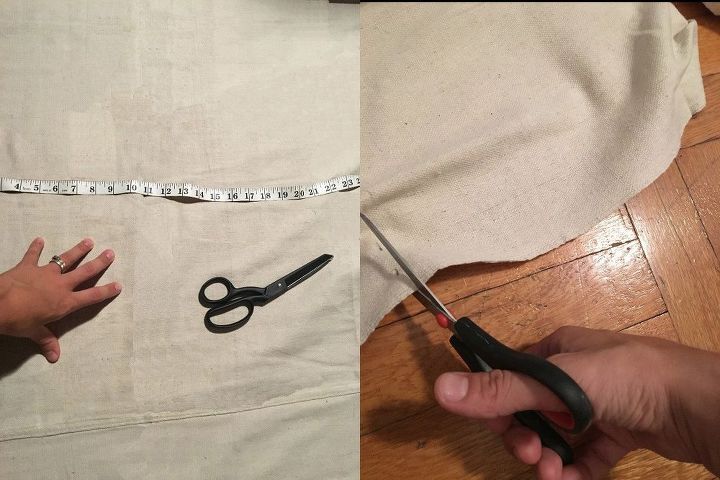
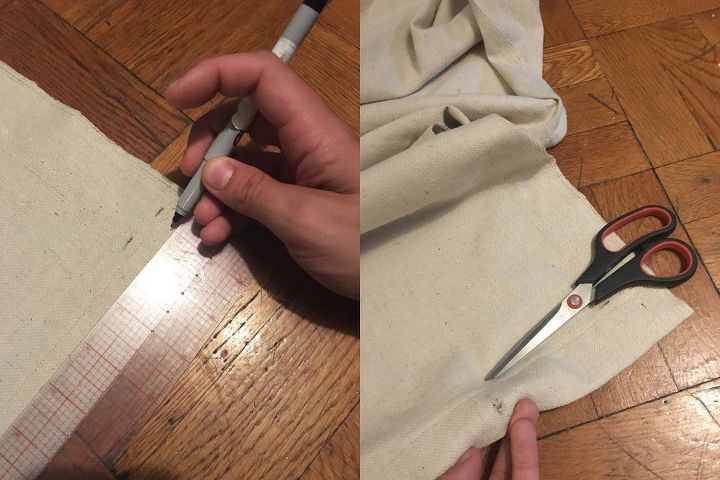
STEP 2: The drop cloth is actually too large for the tub size so you will need to cut off a portion of the fabric. The width of the drop cloth should be fine, but you will need to measure the length of your shower to determine how long you will need your drop cloth to be. Mark out the length on your drop cloth.
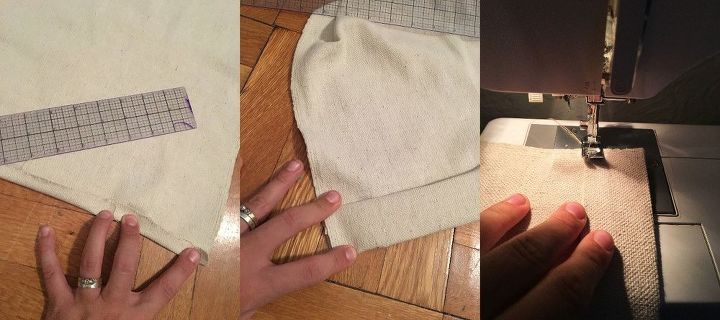
STEP 3: You will need to fold over the top of the curtain (the edge you just cut in step 2) and sew it in place. First fold over 1/2" and press a crease in the fabric.
STEP 4: Measure 12 evenly spaced spots out across the top you just sewed and make a cross mark.
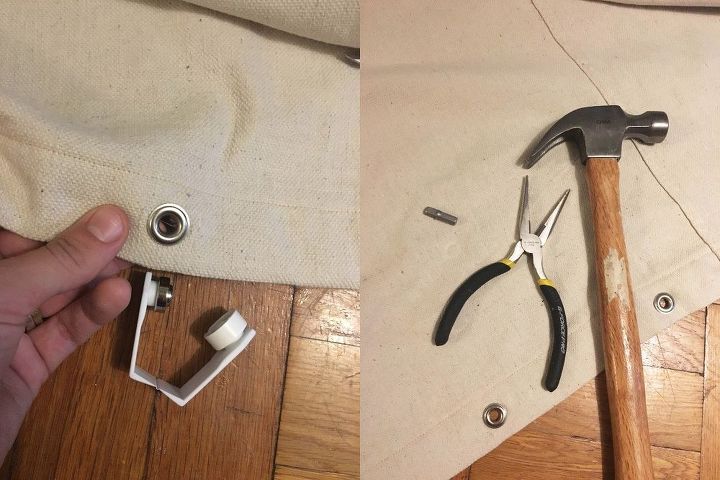
STEP 5: Install a grommet through each of the holes you just made across the top of your drop cloth.
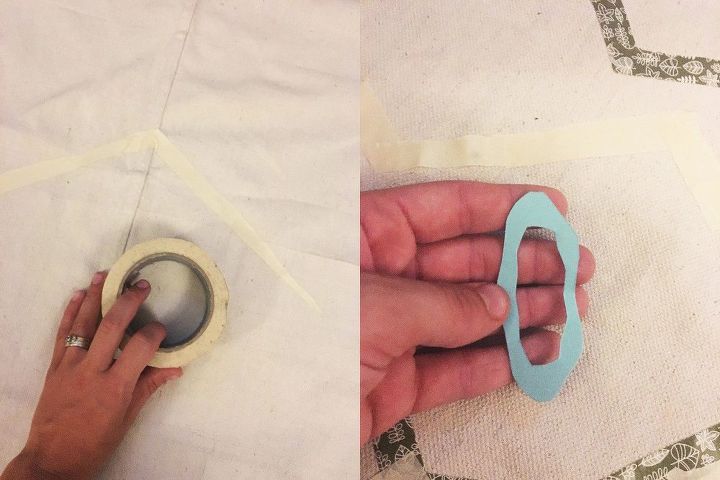
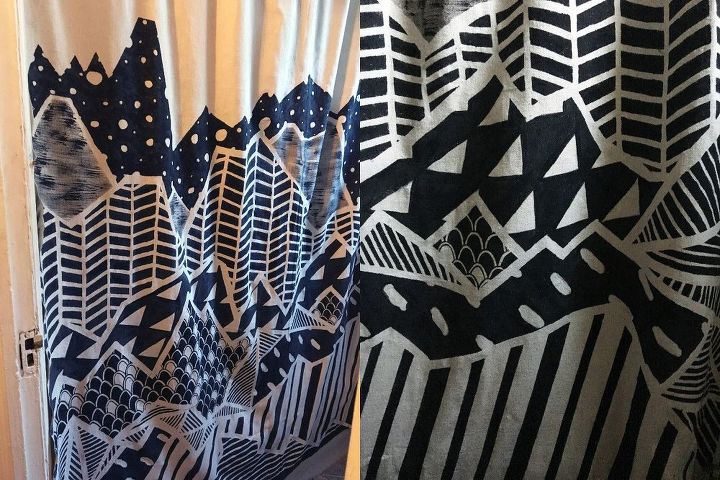
STEP 6: Tape out the design of your choice on your fabric. You can also do a freehand piece if you want.
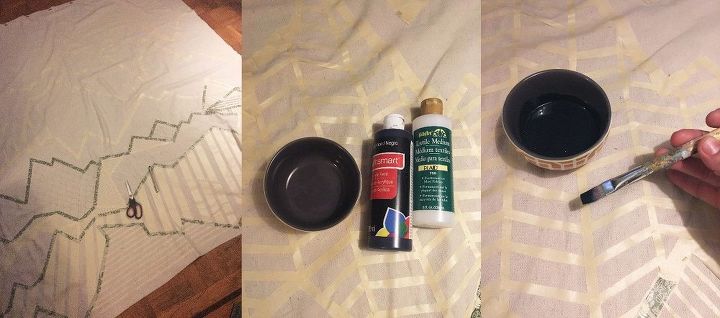
STEP 7: Ok so making this tape shape took crazy long, but once I saw the end result I definitely thought it was worth it.
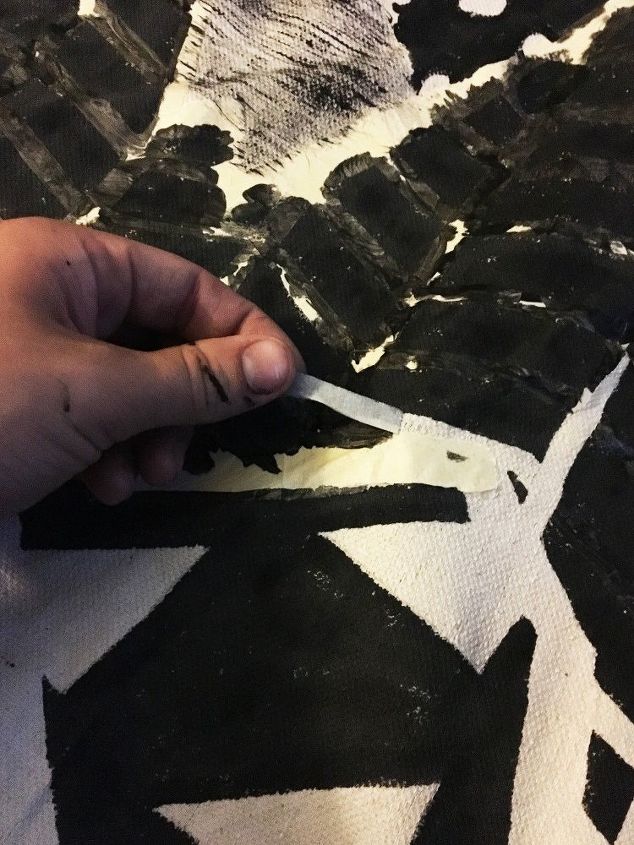
STEP 8: Painting through this takes a LONG time because the canvas soaks up the paint quite a bit, but when you are done let it dry and peel away the tape.
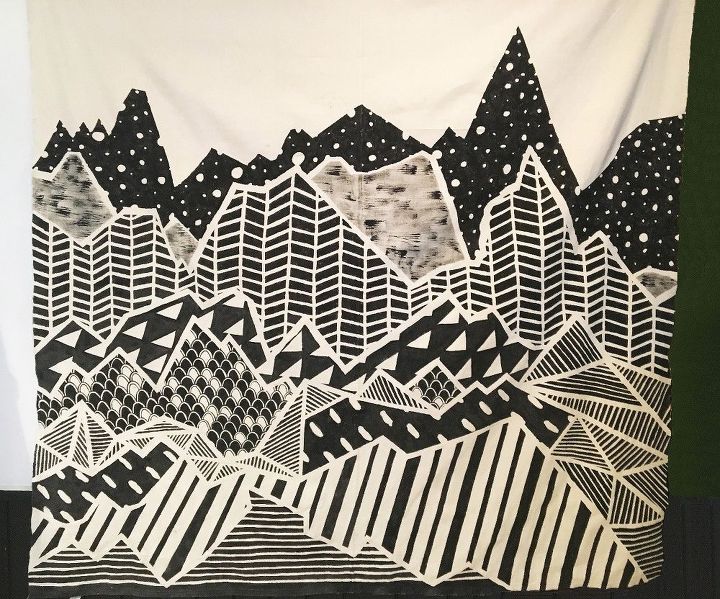
Look at all those CLEAN LINES! Tape work totally worth it!
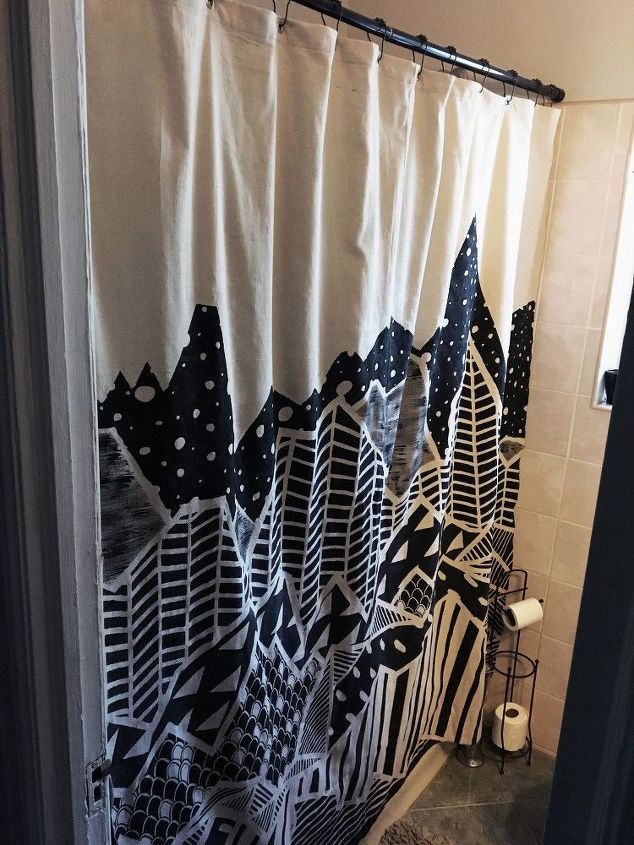
My bathroom is super narrow and I couldn't get a good shot of this beaut once it was hanging, but you get the picture.
You could use this same method with larger grommets to make window curtains as well. Oh so many options.
Comments
Join the conversation
2 of 127 comments
-
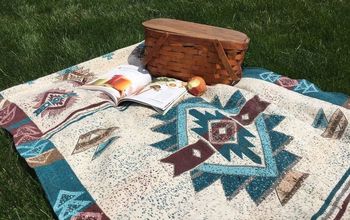
Love the whole idea. Gave me an idea for a quilt I'd like to try!


Frequently asked questions
Have a question about this project?
Couldn’t you just have bought a plain white (or off-white) shower curtain and then do the same thing? Or is there a reason why the canvas was a better option?