


Easy Custom Wooden Coasters

We made these quick DIY coasters as gifts that are easy to customize for any occasion: holidays, birthday presents, a monogram on your coffee table. As I like to say, the options are endless.
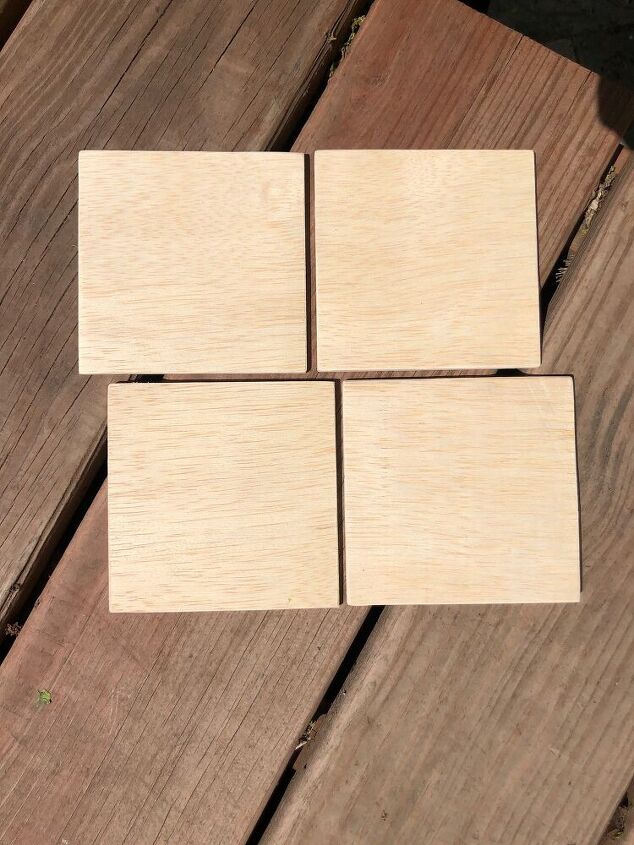
First, you'll want to cut four 4" by 4" squares from whatever wood you have on hand from previous projects. We used 1/4" plywood. Of course, you can choose more quality cuts of wood if you have a particular style you're going for or want a wood grain that really pops. Do a quick rough sand across all sides and edges. Depending on the design you're going for - a smooth surface will ensure more precise paint lines.
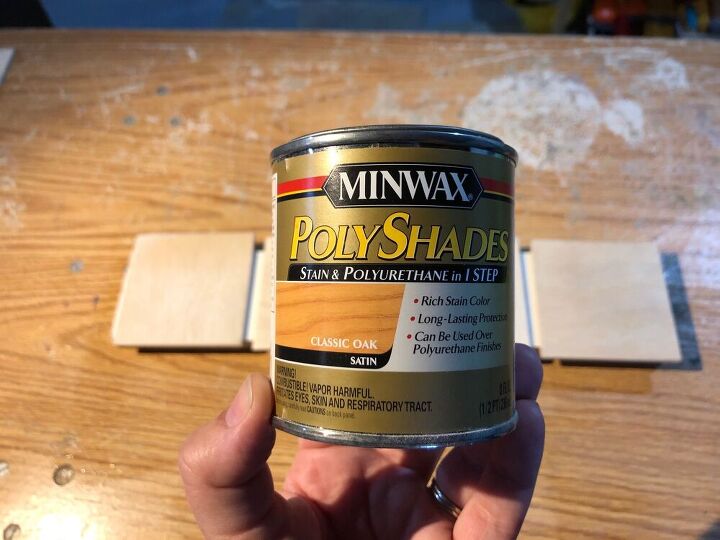
We wanted the coasters slightly darker and warmer than the original scrap wood color so we used a layer of classic oak polyshade first. We loved how it made the wood gain pop.
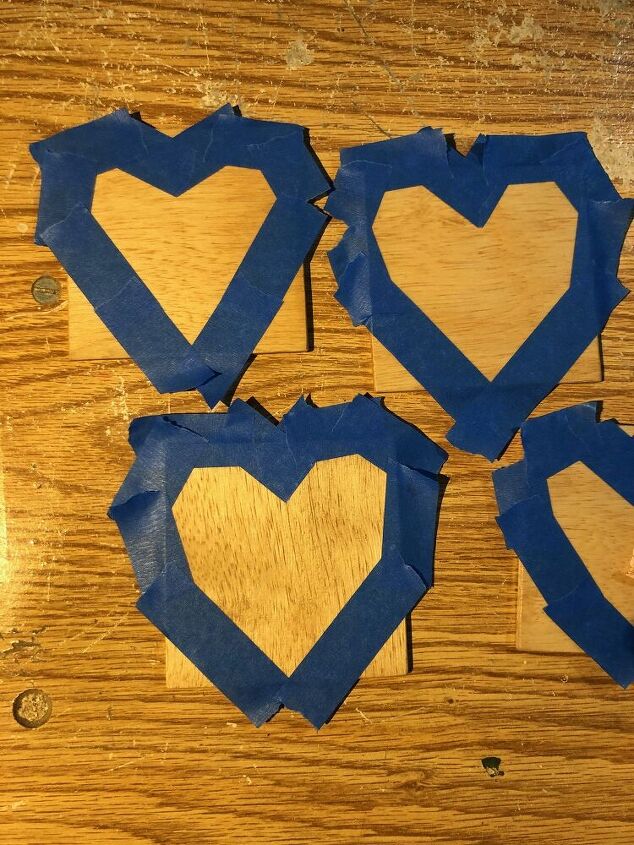
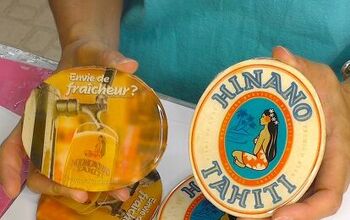
Take painters tape and outline your design. For our Mother's Day gifts, we wanted hearts on each coaster. Press the tape down firmly to the wood so paint doesn't seep underneath.
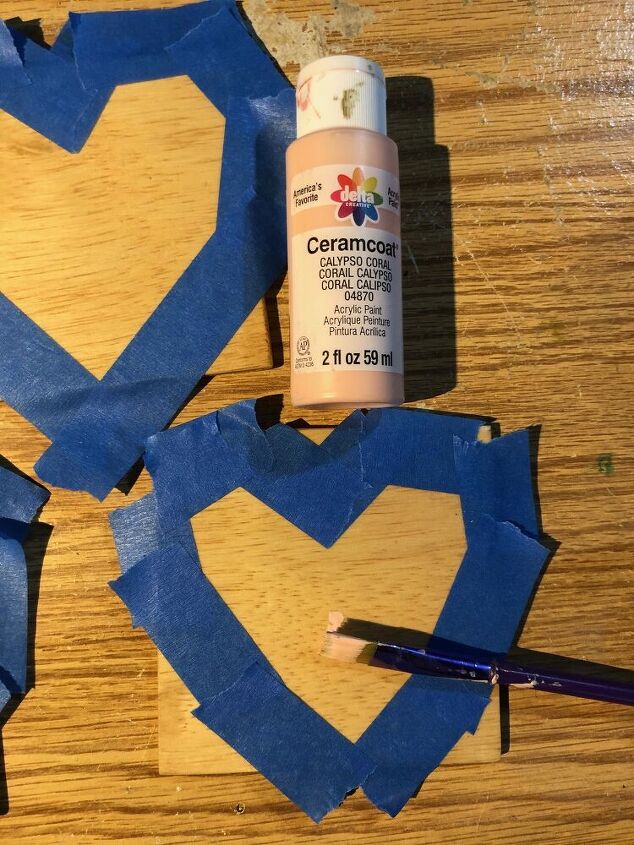
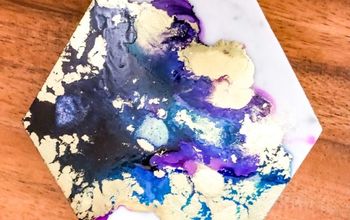
Here is where we got our kids involved - painting and glitter! Choose your color and coat the inside thoroughly. After the first coat dries, you can get as creative as you want: add other coats of secondary colors or use Mod Podge to glue sprinkled glitter or stickers on top!
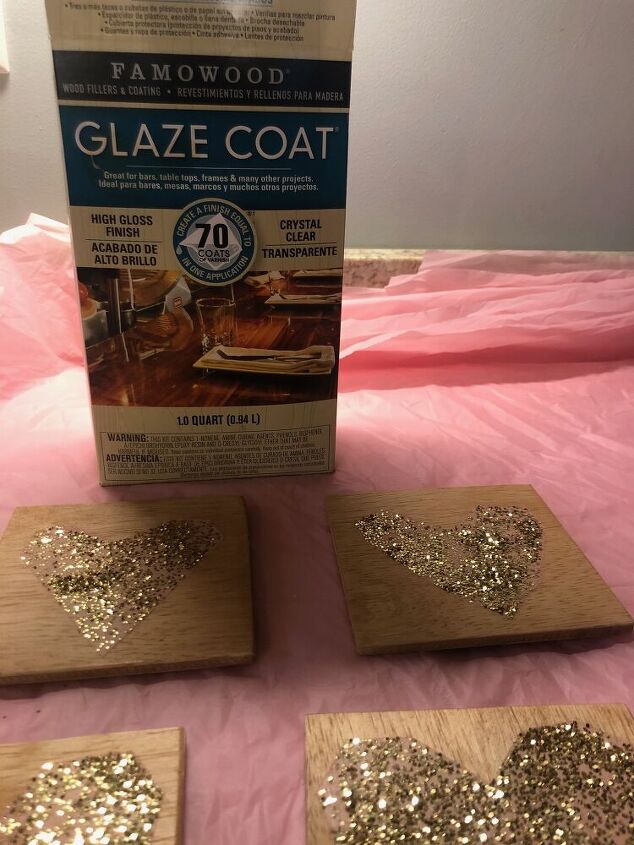
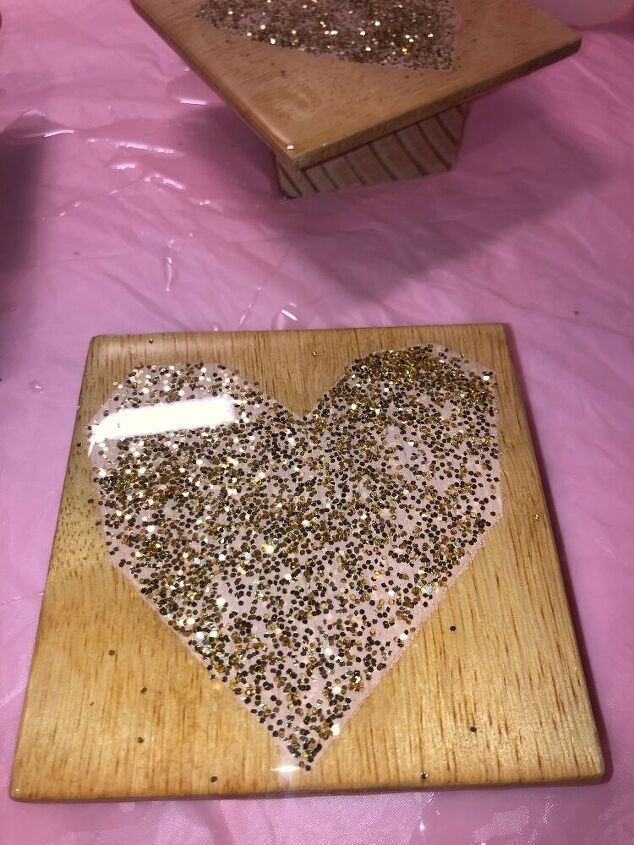
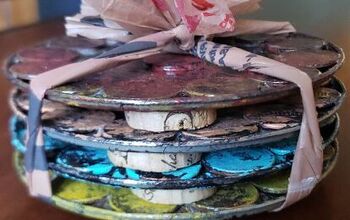
Once your design is fully dry, gently remove the painter's tape, touch up any spots and get excited about your nearly finished gifts! To seal and waterproof our coasters, we used epoxy. First elevate each coaster on top of small cups or on 2" pieces of scrap wood as we did. Mix the epoxy according to directions and pour evenly over the top of each coaster. With a popsicle stick, smooth the top of each coaster and ensure the full top and all edges are well covered.
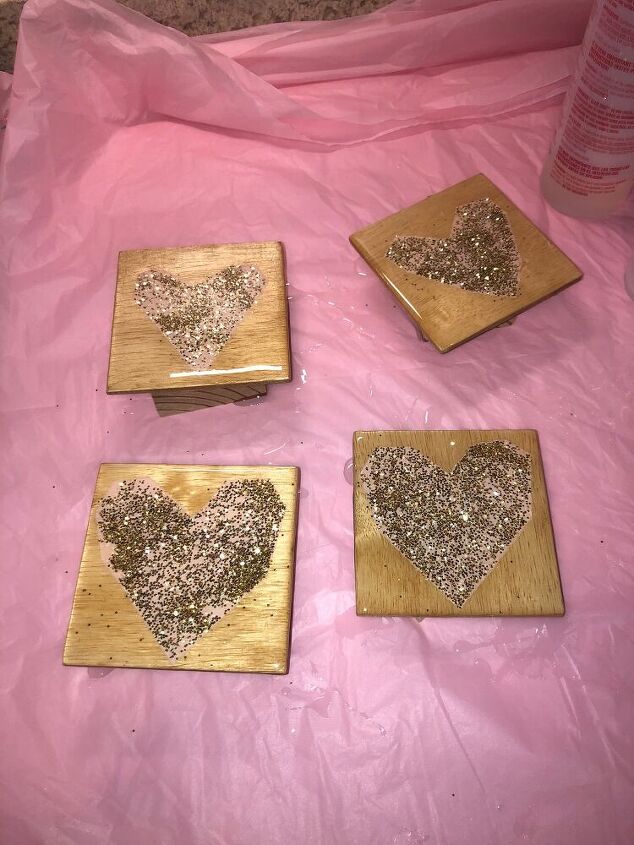
After letting the epoxy dry for about 5 minutes, carefully run a new popsicle stick along the underside of each coaster to remove excess epoxy drips. Once the epoxy is fully dry, you can also sand any drips down for a smooth bottom.
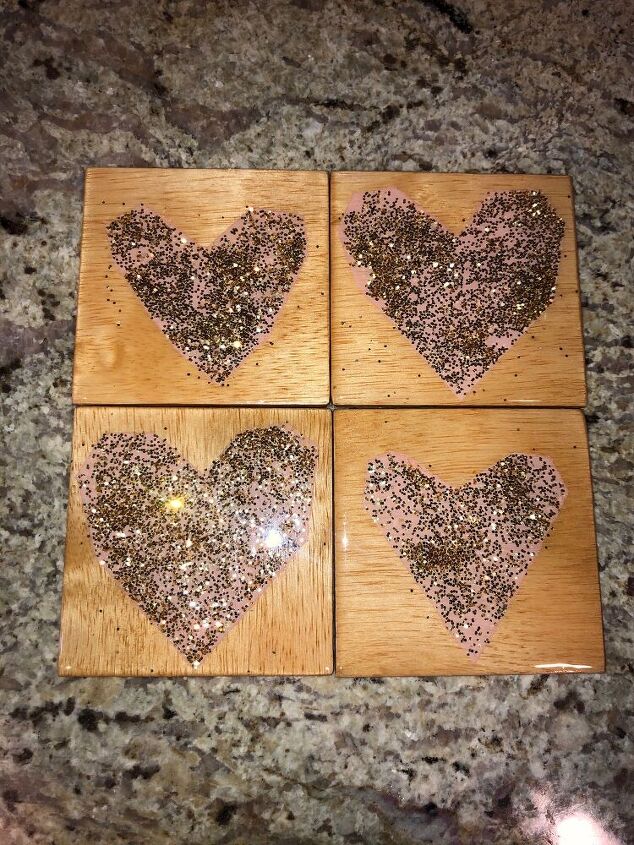
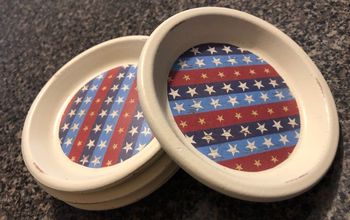
After drying for a full 24 hours, your coasters are ready for wrapping or your favorite cool beverage!
Follow me on Instagram at @woodyworking for more simple woodworking DIY or home improvement projects, and share your photos with me. It's always fun to see the variations you come up with! Happy building everyone!
Resources for this project:
See all materials


Comments
Join the conversation
-
Great idea! So sweet.
-
They're cute and lovely.


Frequently asked questions
Have a question about this project?