


Easy DIY Farmhouse Style Cake Pan Tiered Tray
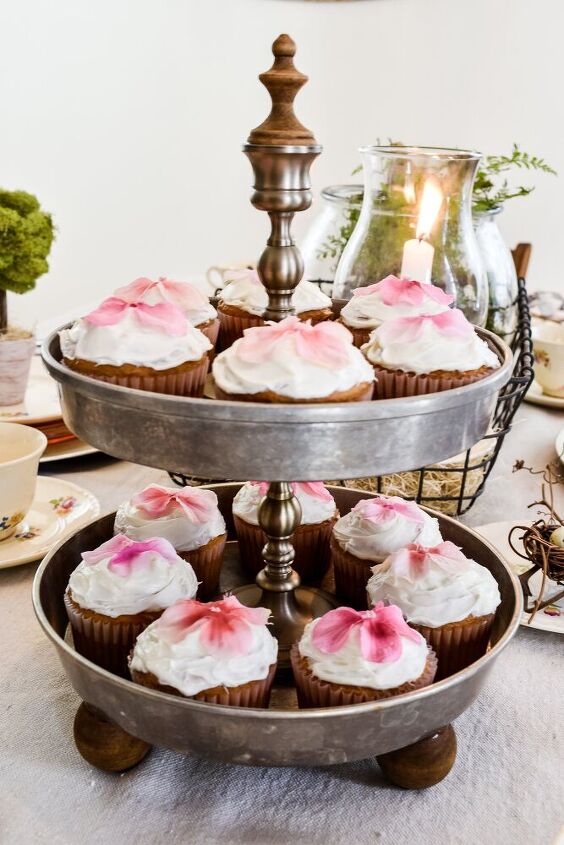
Hello friends! Today I’m going to share my tutorial for the easy DIY tiered tray that I used to hold cupcakes in my Spring Tablescape.
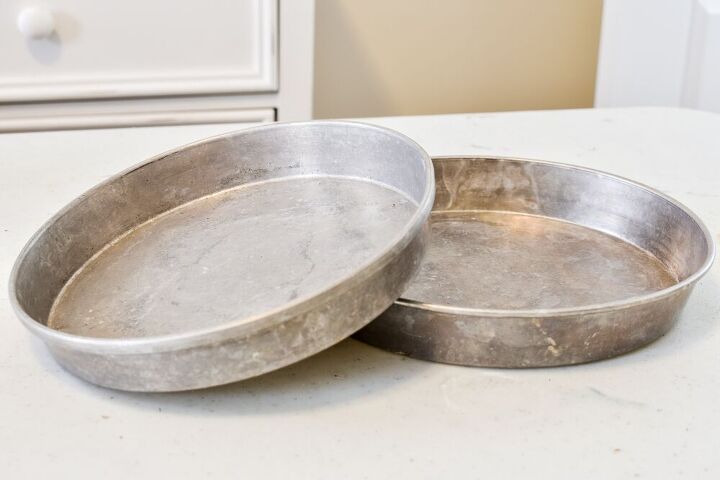
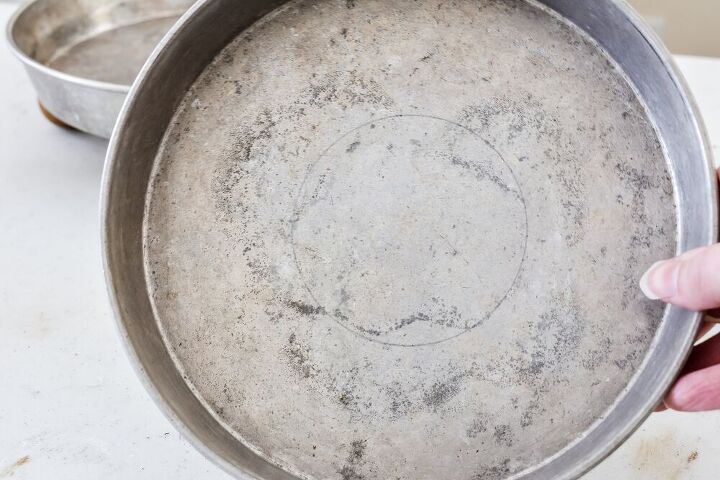
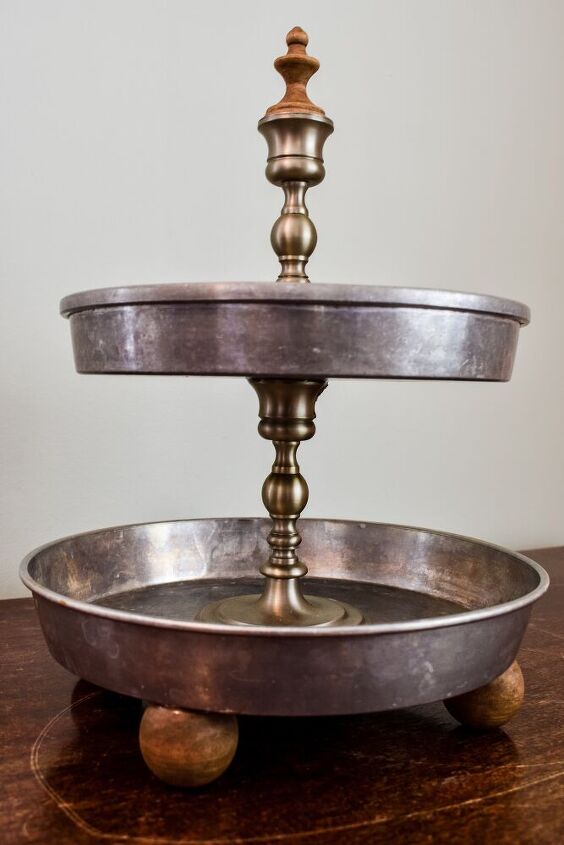
I’ve seen many versions of these trays, including some made from dollar store materials. But I wanted to make one that was going to be sturdy, so when I spotted two vintage cake pans in the basement of an estate sale recently I snatched them up!
One was slightly larger than the other, which was perfect. I also loved that they were well worn and slightly beat up. It just gave them more character.
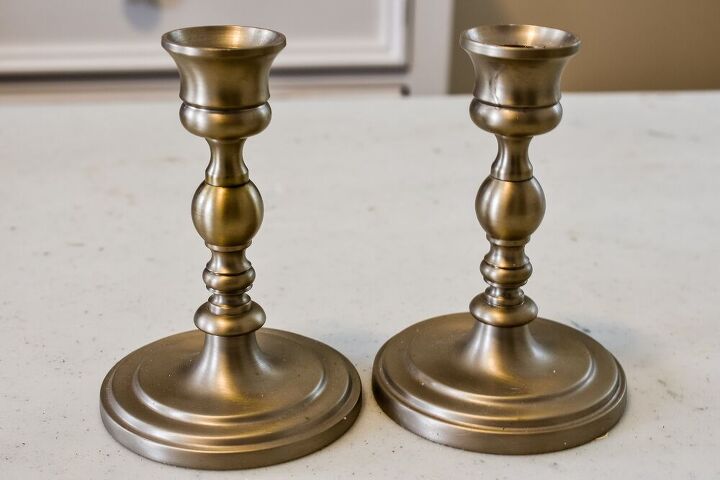
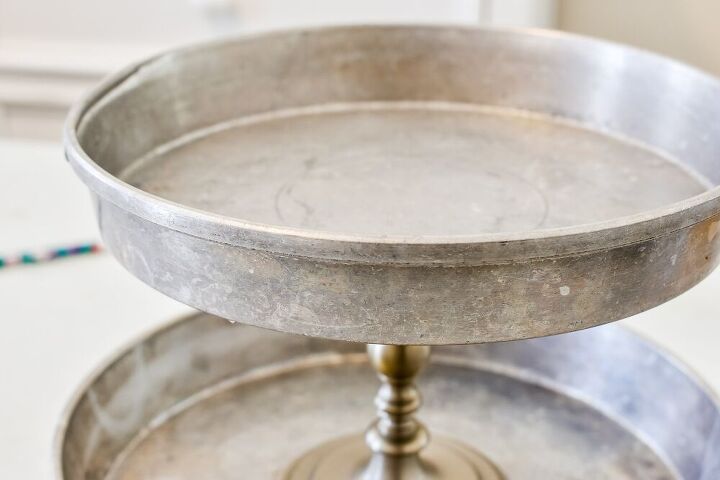
I also had these candlesticks in my stash, and the color was a nice match.
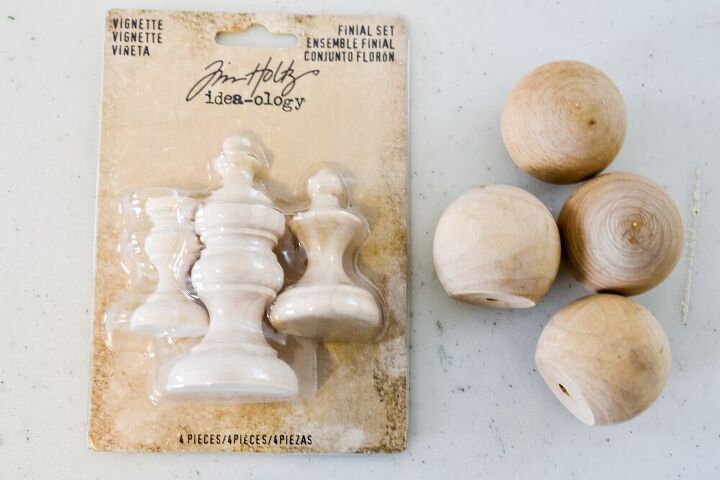
The only other materials I used were wooden knobs to elevate the base and a mini wooden finial to cover the top candlestick hole. I bought the knobs at AC Moore with a half off coupon, and the finials are from Joann Fabric and Crafts.
While easy, this project takes a few days to complete due to glue drying times.
How to Make an Easy DIY Tiered Tray
Step 1.
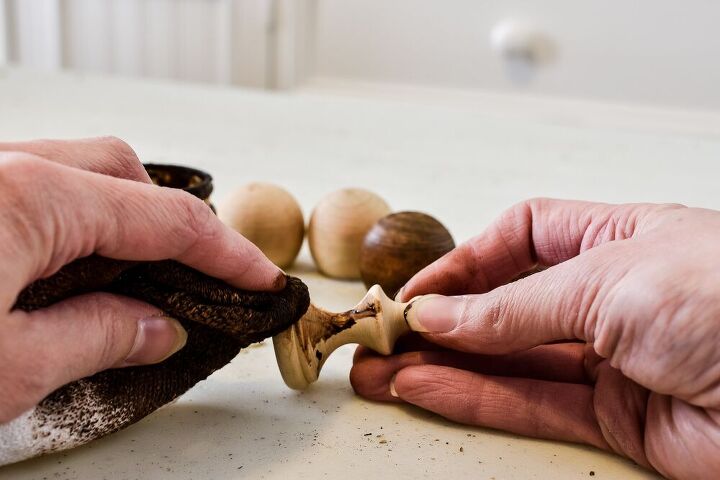
Stain the wooden knobs and finial. I used Gel Stain in Hazel Mahogany from A Maker’s Studio. It’s non- toxic, smells great and you don’t even need gloves! I also used these finials and the Gel Stain on my DIY cloche, which you can see in my post about faux succulent decor projects.
Step 2.
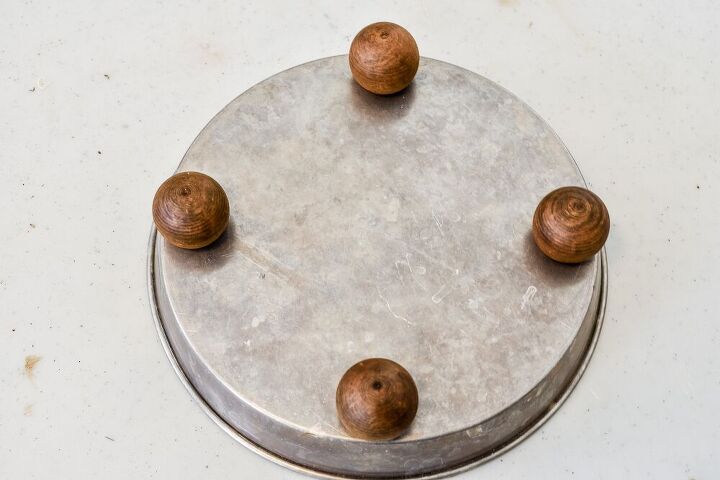
Glue the stained wooden knobs to the bottom of the larger cake pan. I measured first to space them out as evenly as possible. I used gorilla glue, but another strong adhesive would also work.
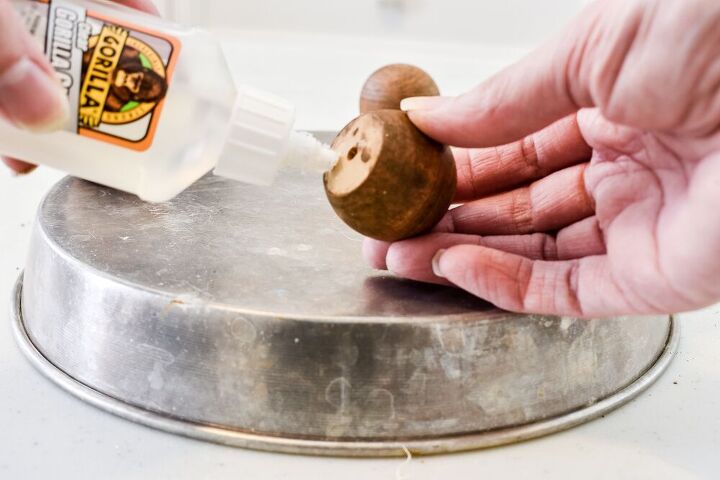
Let the glue dry before you proceed to the next step. I waited until the next day.
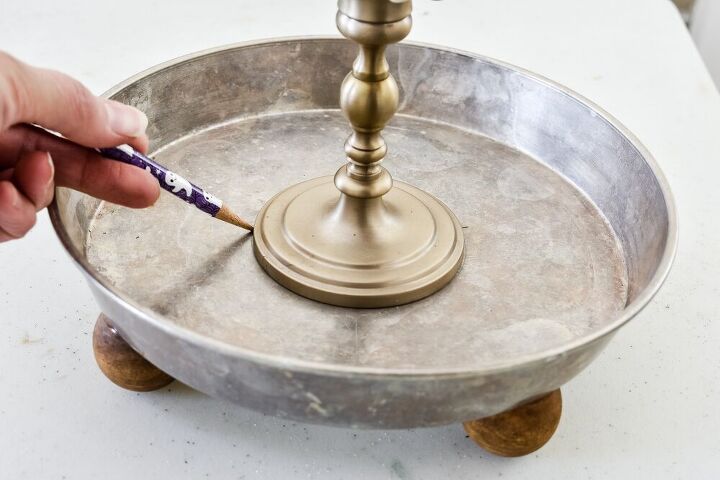
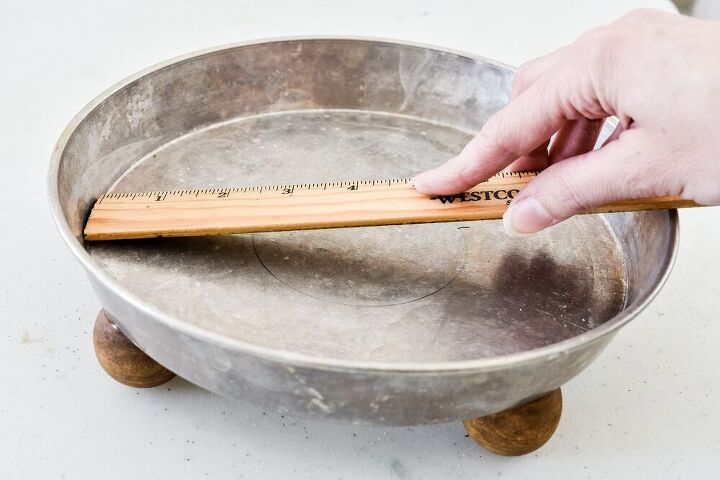
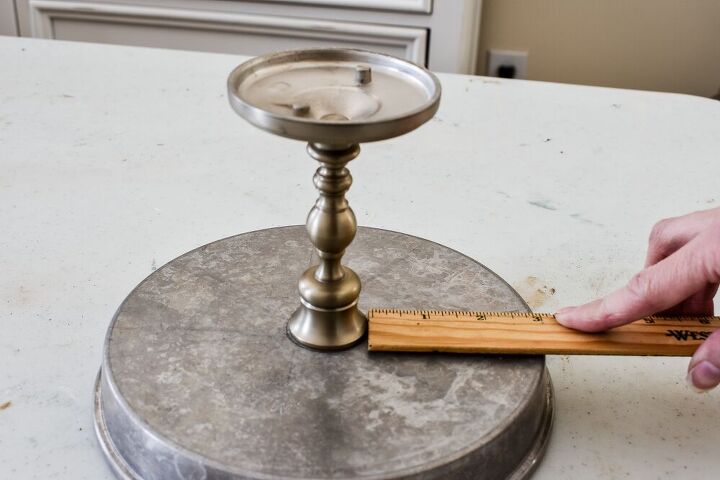
Step 3.
Turn the cake pan back over and put a candlestick in the center. Using a ruler or tape measure, determine where to place the candlestick that’s closest to the center all around. You’ll need to measure the distance from candlestick to cake pan on four sides. Then trace around the candlestick with a pencil.
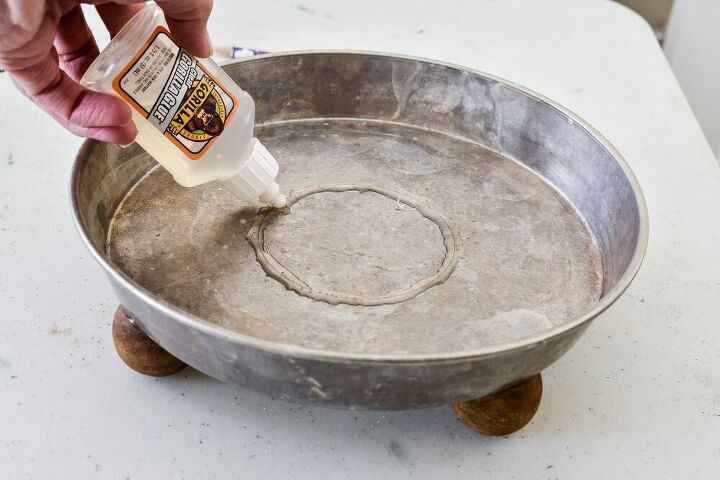
Step 4.
If using Gorilla Glue, dampen the cake pan with a few drops of water around the penciled candlestick outline. Then follow the outline with a generous amount of Gorilla Glue.
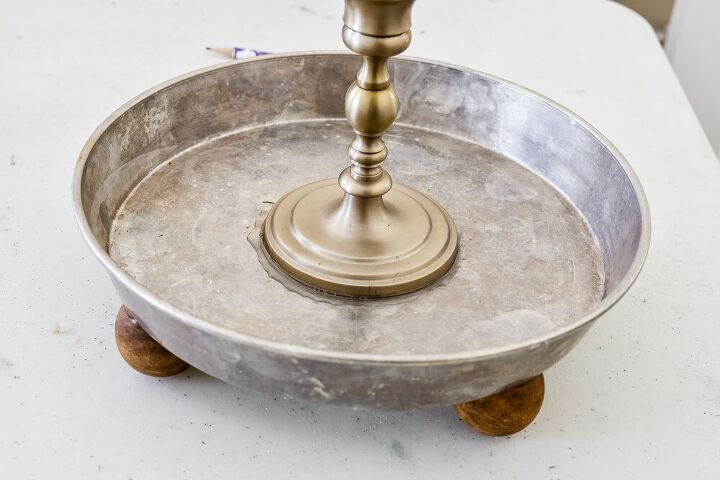
Step 5.
Place a candlestick atop the glue and over the outline. Then put it aside and let it dry for at least 12 hours.
Step 6.
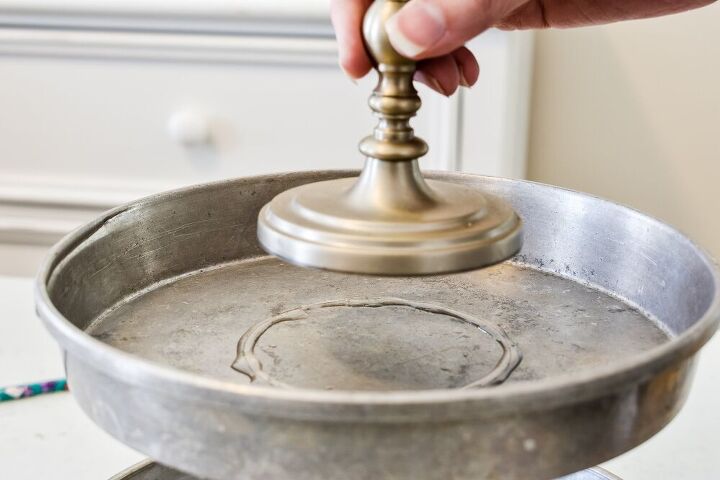
Turn the smaller cake pan upside down and place the other candlestick on top upside down. Measure again like in step 3. Then trace the candle onto the bottom of the cake pan.

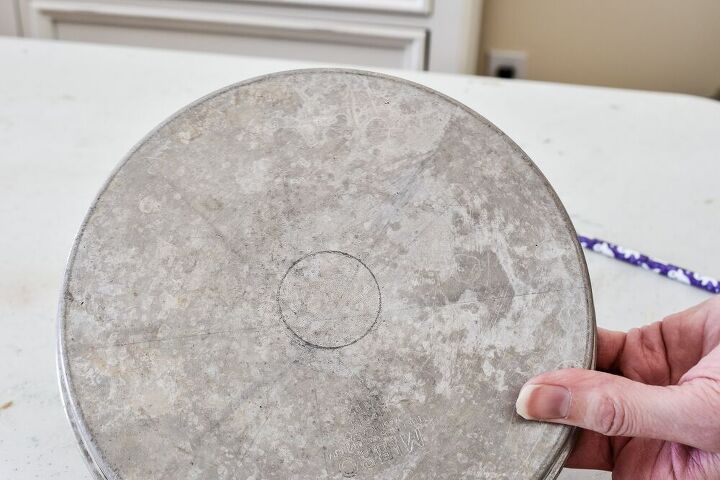
Step 7.
Turn the smaller cake pan right side up. Repeat the process of measuring and tracing from step 3.
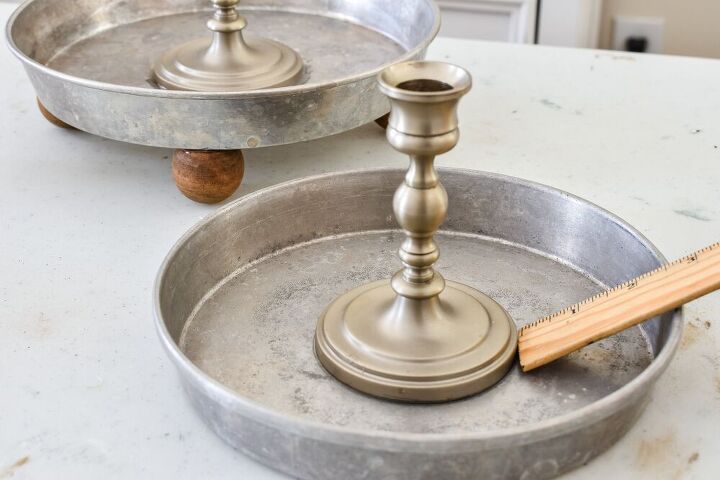
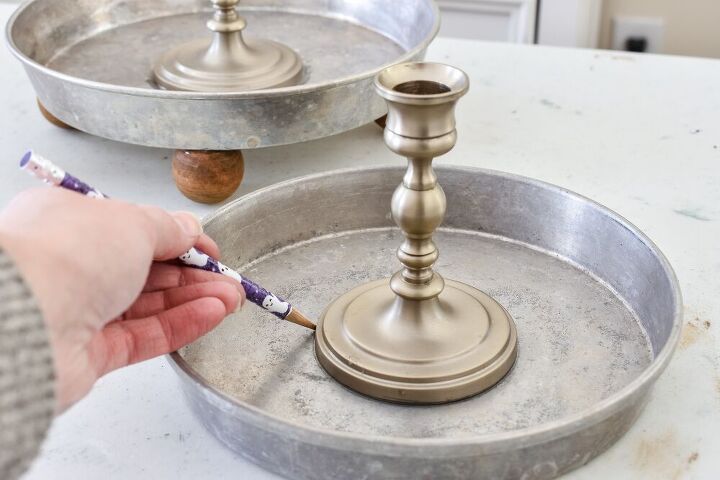
Step 8.
Turn the smaller cake pan back over and apply glue around the quarter sized pencil outline. Glue the small cake pan onto the candlestick of the larger cake pan. Again, let it dry for at least 12 hours.
Step 9.
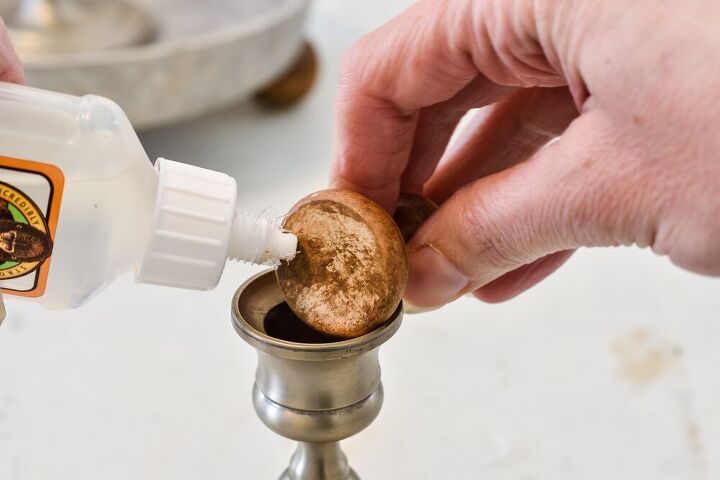
Apply glue to the bottom of the finial and glue it to the top of the remaining candlestick.
Step 10.
Apply glue around the pencil outline of the upper cake pan. Line up the candlestick along the pencil outline and glue onto the cake pan. Allow glue to dry for at least 12 hours.
And voila! You have your very own farmhouse style two tiered tray.
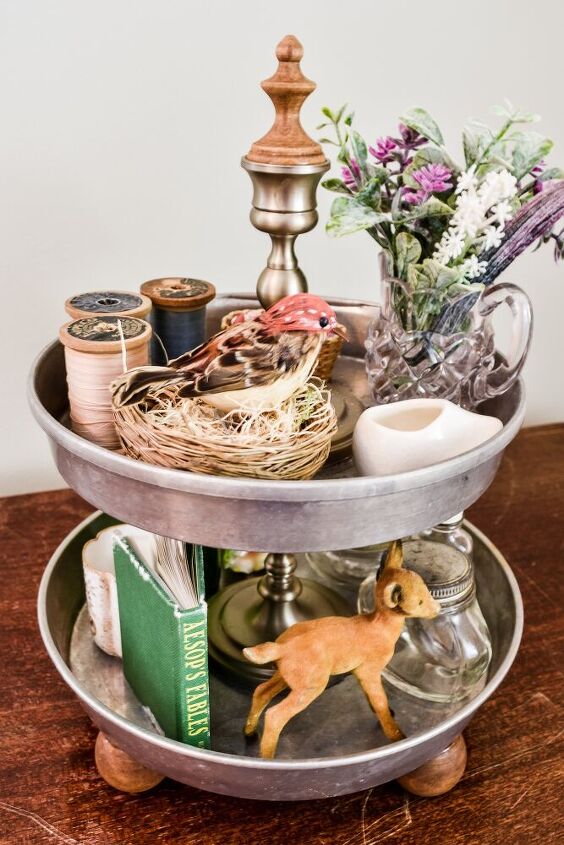
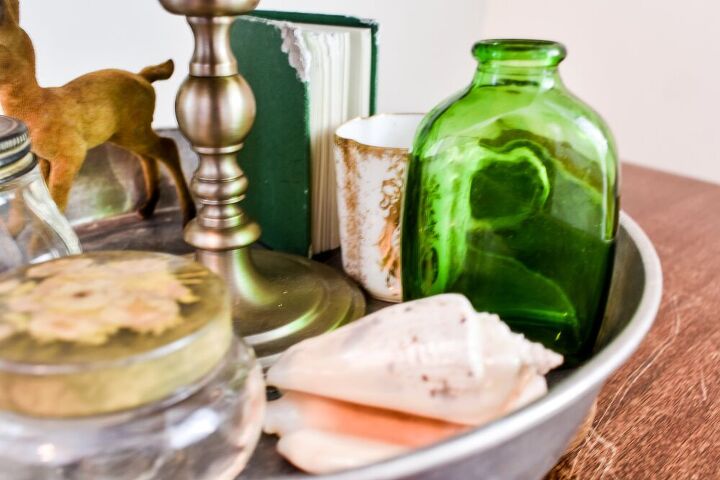
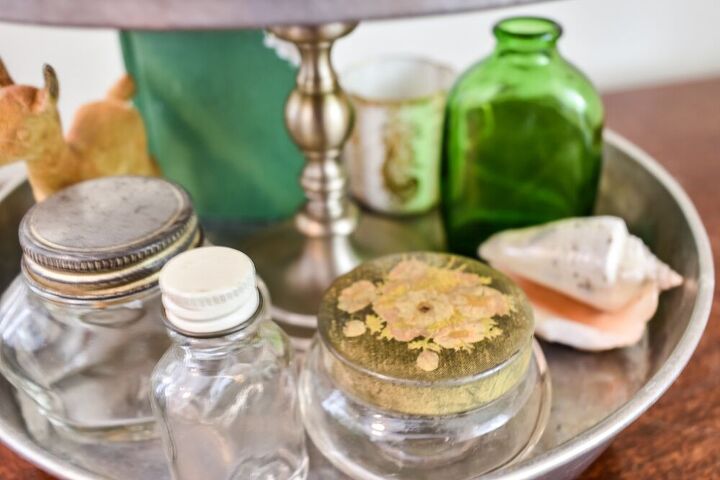
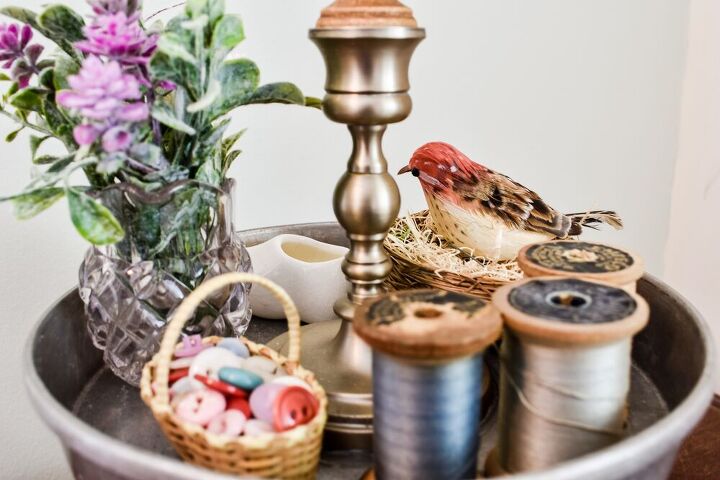
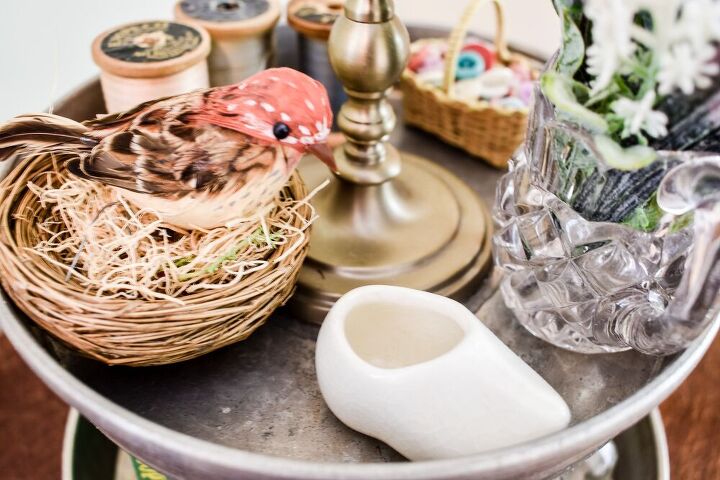
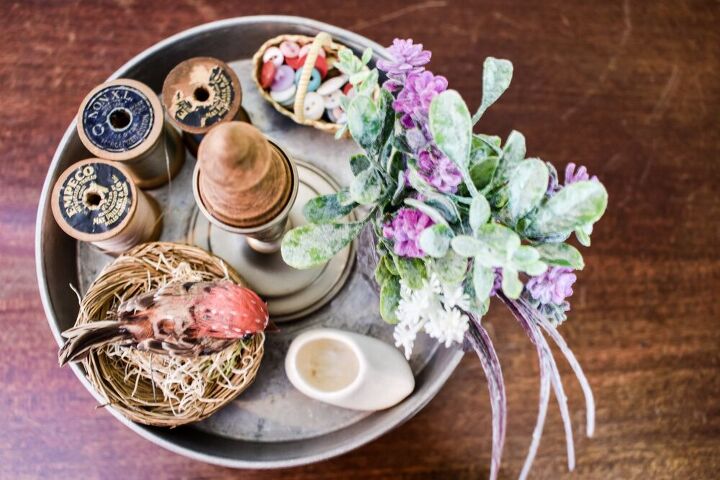
These are so fun to style with seasonal decor or for just creating cute vignettes. I collected some small items from around the house to create a Spring look.
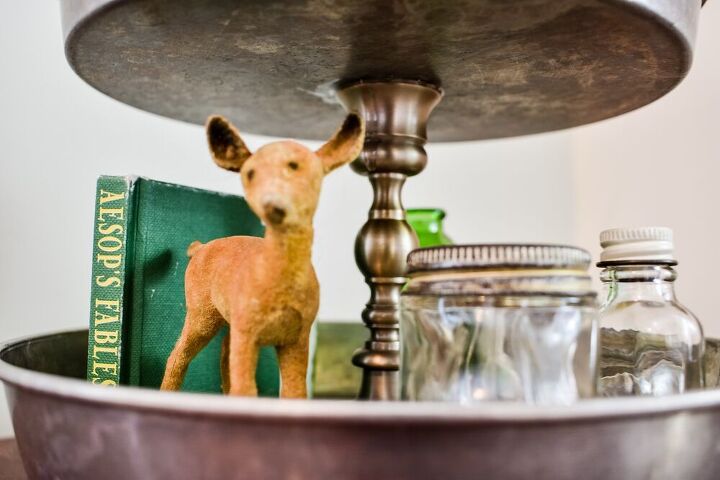
I started at the bottom with a vintage deer, some old bottles, a tiny book, a shell and a mini teacup.
I layered the top with spools of thread, faux Spring flowers (from Dollar Tree), a shoe planter, a tiny basket of buttons, and a bird in a nest.
I really love my easy diy tiered tray! I was going to take it to the antique booth, but I don’t think I can part with it. I’ll have to look for more old cake pans and candlesticks so I can make some more! I love to decorate tiered trays for every season!
Thank you so much for visiting! Have a great day!
Rebecca
Resources for this project:
See all materials


Comments
Join the conversation
-
The trays are so awesome and I love all the little decorations you used. Very nice!
-
I love this idea! Very Creative


Frequently asked questions
Have a question about this project?
Very cute. Might have to find some cake pans. Could you also paint the pans?