


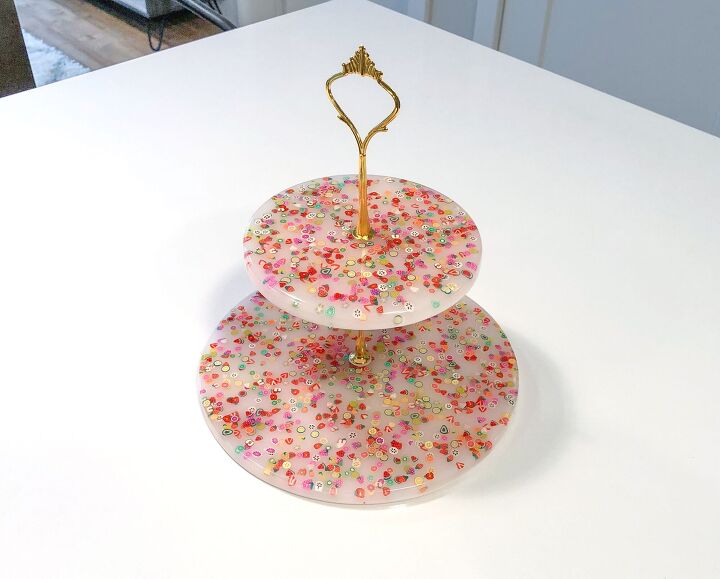
Easy Fruity Cake Stand

Is it just me or is anyone else thinking about the summer already?
I love the snow but as soon as Christmas is over, I can't help but look forward to the warmer days, garden parties and going to the pool!
With this very much in mind, here's one of the easiest DIY cake stands out there, perfect for those summer days.
It's also completely customizable so if you're like 'No! I want the winter to last forever!' then you're in luck, you can theme your cake stand to entirely suit you.
As always, I have an accompanying YouTube tutorial for this project, details and link below.
WHAT YOU'LL NEED
- Food safe resin - For 10% off this food safe brand, use this link and code HANNAH at checkout - they do free delivery too
- Cake stand kit
- Themed confetti pieces
- Round silicone molds (mine are 9 inches and 6 inches)
- Mixing containers and sticks
- Heat source i.e heat gun/blow torch/long stemmed lighter
- White pigment or acrylic paint
- Drill
- Felt feet
Hometalk may have added links below but if not, all the actual product links are in the description of my YouTube video.
STEP ONE - FOLLOW MY YOUTUBE VIDEO
I have this exact tutorial up on my YouTube channel now to view. Click the video above to watch.
Please also consider subscribing to my channel for a range of crafty content from soft furnishings to decorative resin pieces.
Feel free to ask me questions about any of my videos, old and new, and I'll happily get back to you ☺️
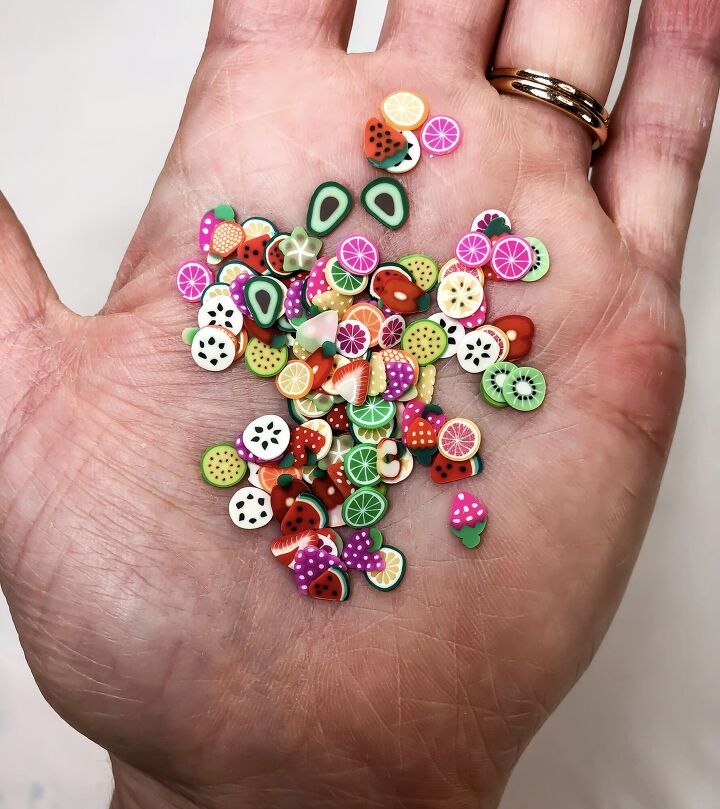
These adorable little fruit pieces were really cheap on Amazon and they came in a surprisingly big bag too! I thought it'd be tiny for the price but nope, you get loads!
STEP TWO - FIRST LAYER
It can be expensive first getting into resin but once you've got all the bits and pieces, it really doesn't have to be.
Molds last ages, the containers and mixing tools are all reusable and a large pack of resin seems to last forever, even for someone like me who uses it regularly. It's also very fun!
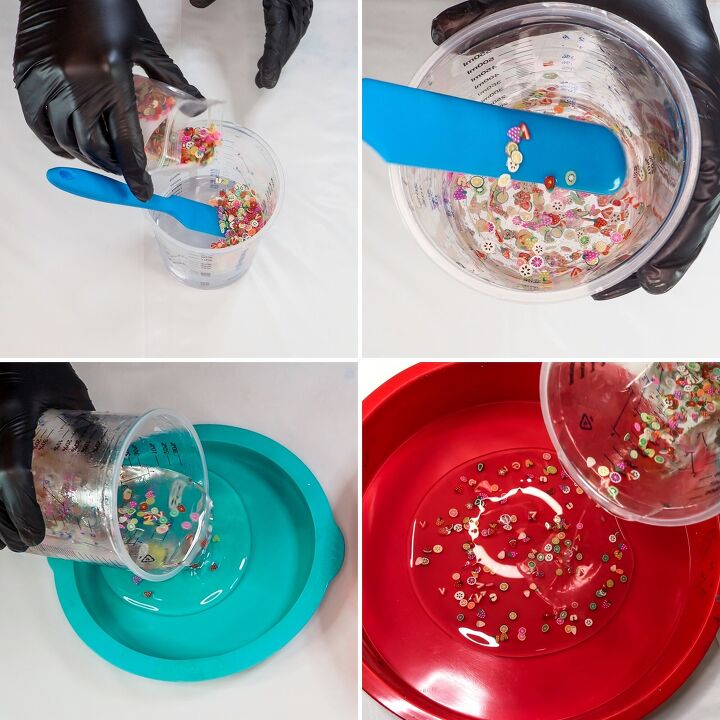
Anyway, first mix together 200mls of resin (that's 100mls of hardener and 100mls of epoxy resin). Mix thoroughly until the resin is completely clear, I suggest for at least 5 mins. This amount is based on the size of my molds, 9 inches and 6 inches.
Add a generous portion of confetti pieces. This is where you get to start customizing your cake stand. Instead, you could add glitter pieces, rose petals, gold leaf, anything basically, it doesn't have to be the same as mine!
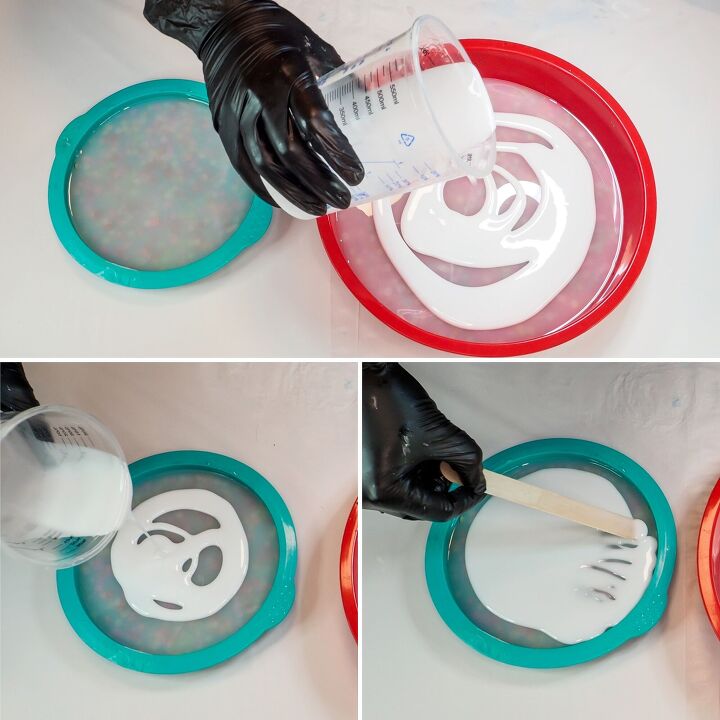
Mix in your chosen decorations and then split the resin between the 2 molds.

The layers are meant to be thin so try to evenly spread the resin across the entire base of each mold.
Use a craft stick to help push the resin up to the edges if needed. You may also want to take this opportunity to distribute your decorations evenly in case they clumped together a bit.
Once the resin covers both bases, use a heat source to pop any bubbles. If you don't have a blow torch or heat gun and really don't want to invest in them then a long stemmed lighter should also work.
Use sweeping motions across the resin and don't hold the heat in one place too long or you may singe the resin or damage your molds.
Once your bubbles are popped, leave the resin to cure.
STEP THREE - SECOND LAYER
Once your first layer has cured, mix another batch of resin, this time 250mls.
Please note that in my YouTube video I mix 300mls of resin at this point but this gives me bases that are a little too thick, so I advise reducing this by approx 50mls.
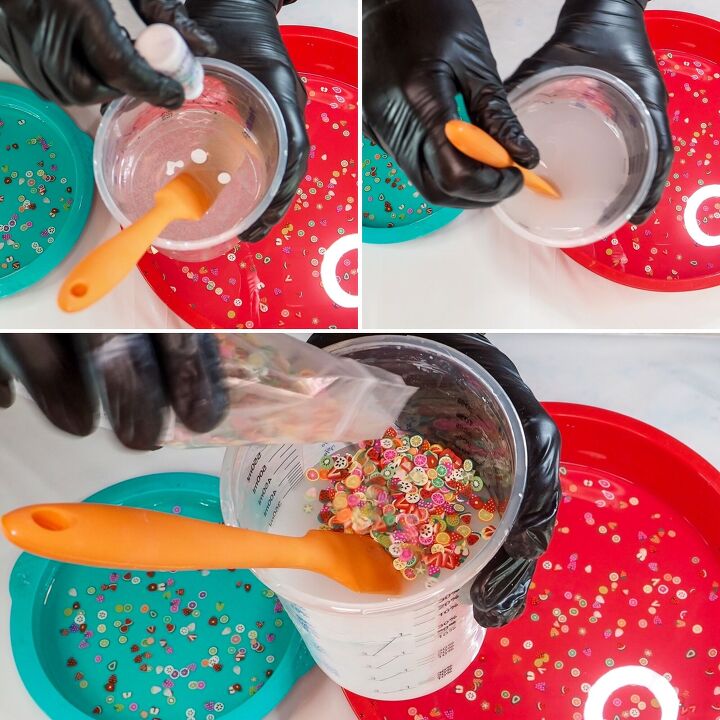
Before adding another lot of confetti/decorations into the resin, add a very small amount of white liquid pigment (or white acrylic paint) to the resin.
You want a semi-opaque effect from adding the white. Again, you can customize your cake stand however you want here, so instead of white, you could add pink, gold, or whatever you like! The idea though is to still be able to see the decorations through that colour.
Now add the confetti/decorations and mix them in.
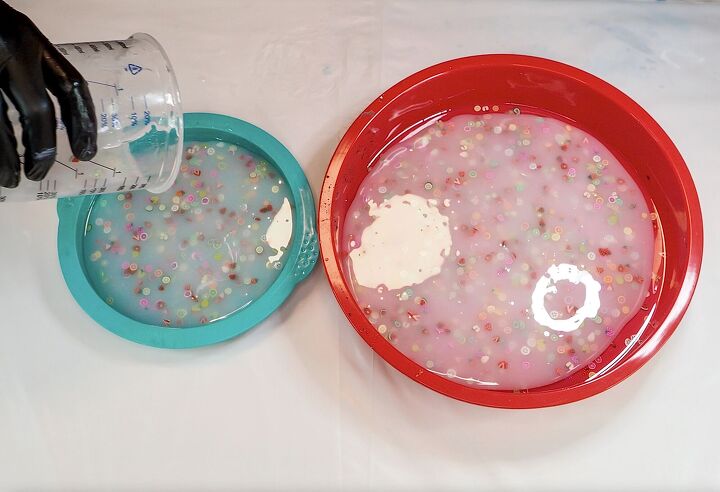
Now in the same way as you did with the first layer, split the resin between the 2 molds, spread it evenly across both bases and break up any big clumps or concentrated areas of confetti.
Pop bubbles and then leave to cure.
STEP FOUR - FINAL LAYER
This final layer will be fully opaque. Mix together 200mls of resin and add only white pigment this time, more than you did for the last layer.
Again, you can of course add whatever colour you like or indeed you could make all your layers fully transparent - it's completely up to you. But to achieve the look of my cake stand, go fully opaque.
Split this final batch of resin between the 2 molds like before and spread across both bases. Pop bubbles and leave to cure.
STEP FIVE - ASSEMBLY
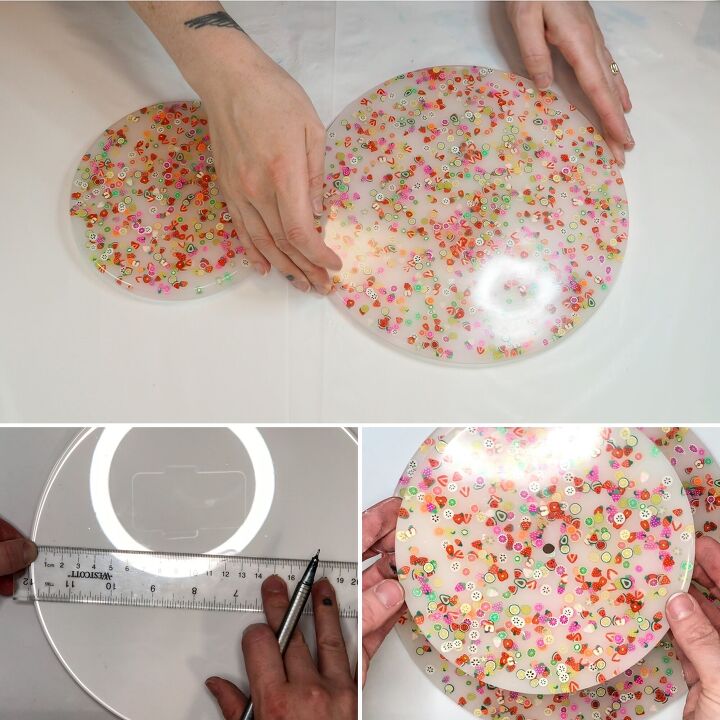
Once the resin bases have fully cured, demold them.
The process of adding the clear resin and confetti first followed by semi-opaque then opaque resin layers gives the illusion that the confetti pieces are suspended at different depths during one pour and within different intensities of white. This wouldn't be achievable in one pour because the pieces would likely sink and float on their own terms and the graduated white colour isn't possible in one pour because the resin layers would blend with each other.
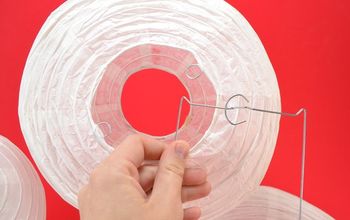
Drill holes in the centre of each base large enough for the cake stand fixtures to fit.
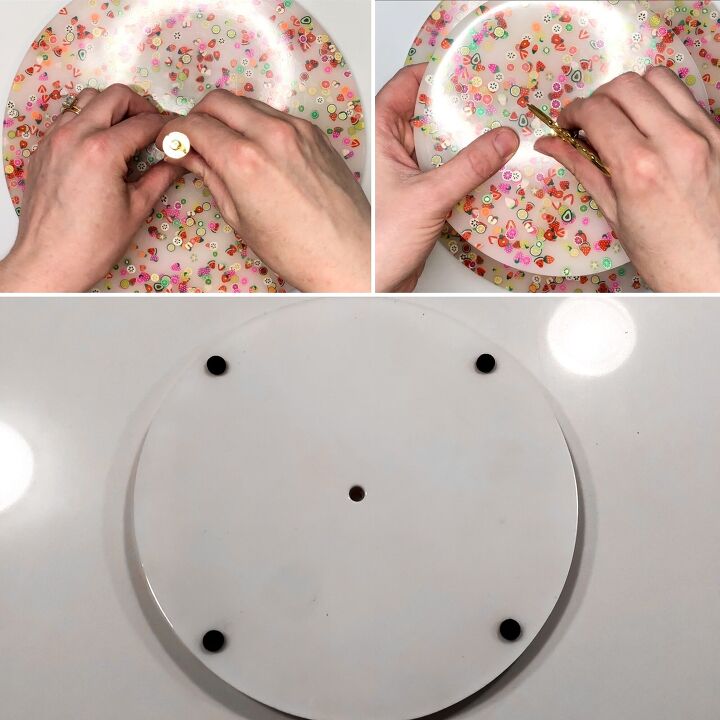
Assemble the cake stand pieces and add felt feel to the bottom of the base to raise it up slightly from ground so that the screw on the bottom doesn't scratch your surfaces.
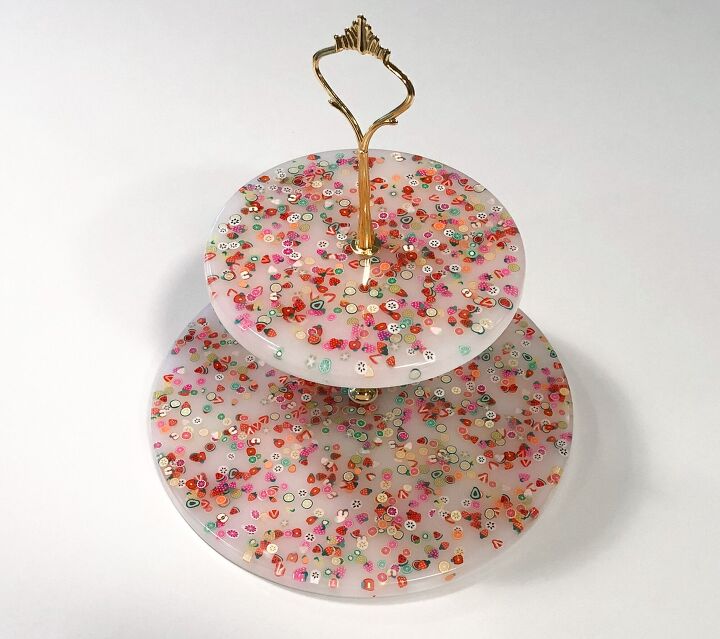
And that's it. A lovely, professional looking, fully customizable cake stand for any occasion!
I hope you enjoyed this project, thanks for taking the time to view it.
Please remember to check out my YouTube channel and consider subscribing too! 👍🏻
I also have an Etsy Store where I sell lots of handmade pieces. I'll add this cake stand in case anyone is interested in buying it (I have quite a few of my own now 😳😅).
Thanks again and until next time,
Happy crafting! x

Resources for this project:
See all materials


Comments
Join the conversation
-
Wow! What a spectacular project, love it!
-
So very cute!!


Frequently asked questions
Have a question about this project?
could you have done it in clear?