


Easy Mod Podge Tissue Box Cover
5 Materials
So far this summer we’ve already had 4 different sets of house guests. It’s been wonderful, because I’ve gotten to show off our guest bedroom makeover that I finished early in the summer for the One Room Challenge. I thought I’d share with you today an easy DIY project that I realized was missing from the makeover. We worked so hard to get this room ready, and I noticed that something as simple as a tissue box didn’t really go with everything else in the room that we put so much thought and time into in the makeover. While I know this is really minor, it bugged me, and I thought I could come up with something to help it blend in a little more than it was.
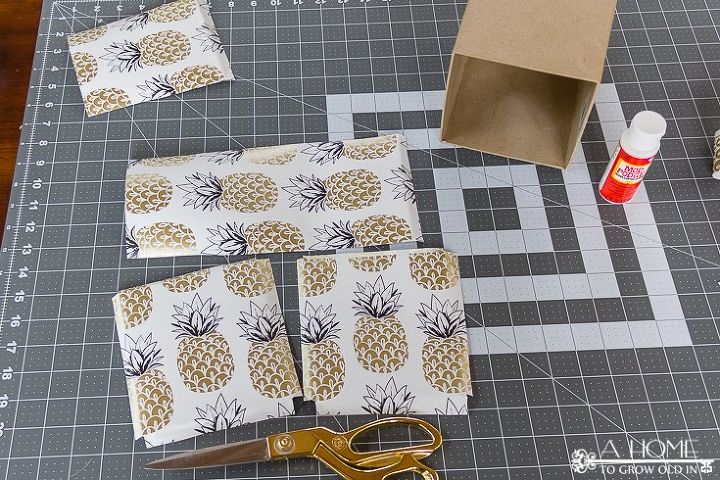
To start this simple project, I cut out 4 pieces of wrapping paper to cover each of the sides. I cut 2 pieces with a little overlap on all 4 sides, another piece with overlap only at the top and bottom, and the final piece was long enough to cover the top and one side of the cover with a small amount of overlap for the bottom. You can check out the blog post for the actual dimensions I cut from the wrapping paper. I cut small notches in all of the corners of the 2 pieces of wrapping paper tha had overlap on all 4 sides so that the corners would crease smoothly.
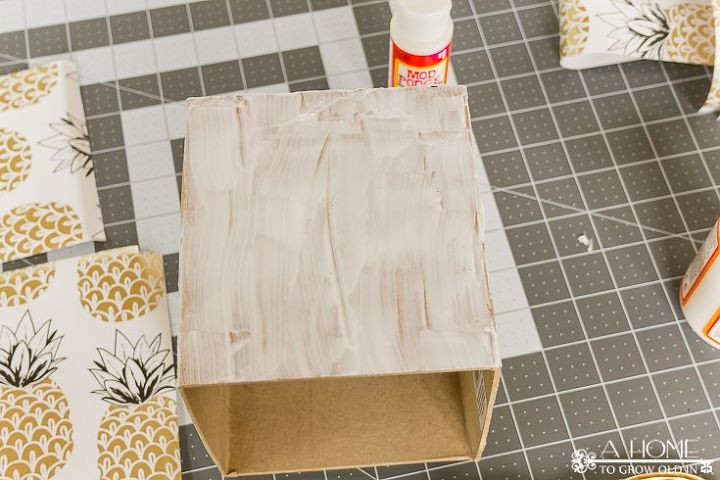
Apply a medium layer of Mod Podge with a paint or foam brush. It's better to have too much than too little. You can always wip off the excess after you smooth out the wrapping paper.
The 2 sides with overlap on all 4 sides were adhered first on opposite sides of the tissue box. Gently smooth out any wrinkles in the wrapping paper and wipe away any excess Mod Podge. Wrap the overlap around the edges and adher it with a small amount of Mod Podge. Next, the small piece with overlap only at the top and bottom was applied to a side and smoothed out.
The longest piece of wrapping paper was applied last to the top and remaining side. I applied Mod Podge and wrapping paper to the top of the box first, smoothed out any wrinkles, and then did the same thing to the remaining side.

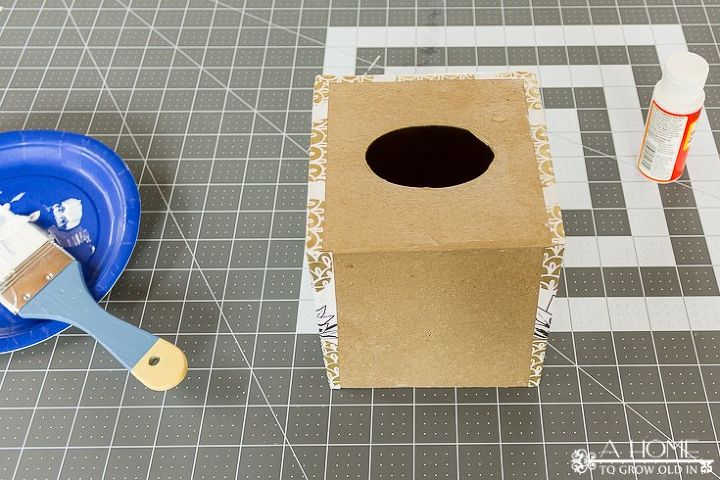
Once the last piece was on, I cut an oval about a quarter of an inch smaller than the opening on top of the box. I also cut about 6 small slits to make it easier to wrap the excess wrapping paper around the opening and adhered it with a little Mod Podge on the underside.
Once the box felt dry, I applied 3 coats of Mod Podge with a brush on top of the wrapping paper, allowing it to dry in between coats. Its' ready to use as soon as the final coat feels dry.
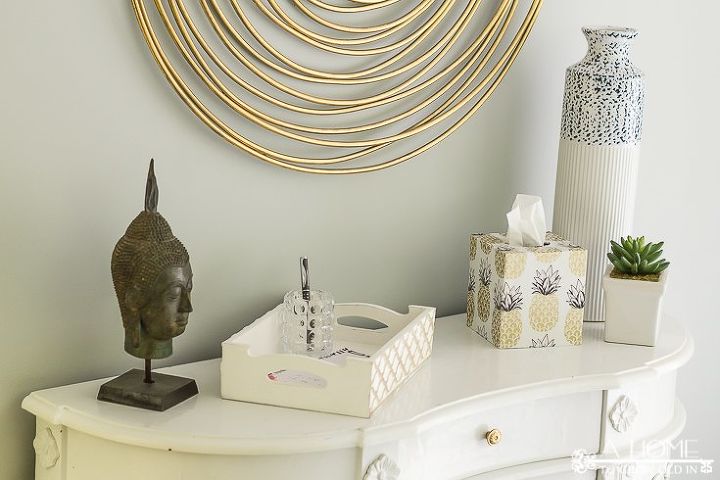
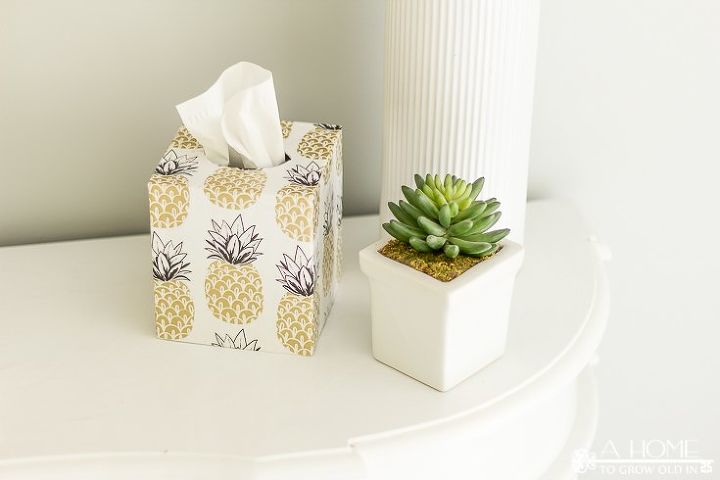
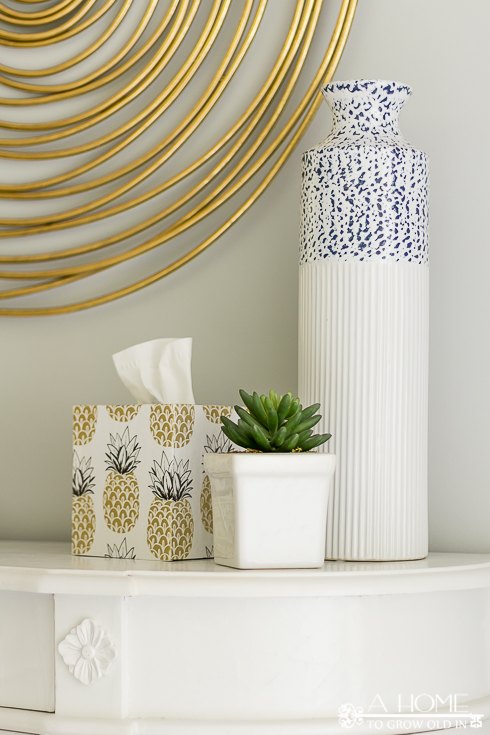
I love how the tissue box blends in with the decor of the room now! You barely even notice that it's a tissue box.

Want more details about this and other DIY projects? Check out my blog post!
Comments
Join the conversation
3 comments
-
Aw I love this!
-
So pretty. And what lovely paper covering it. Love the pineapples!


Frequently asked questions
Have a question about this project?
Did you have to empty out the tissues and put them back after finishing the project, or did you manage to cover the top with the tissues still in the box?