


Easy Tissue Paper Flowers


Do you want to make tissue paper flowers that look real? This post will show you how to create authentic looking flowers from tissue paper.
A quick note that this post includes affiliate links and I will receive a commission but at no additional cost to you. I am presenting you with my own opinion and honest review of the information provided. If you want to read the entire disclosure statement, please click HERE.
If you have been reading this blog for more than 1 minute – you know that I love flowers. You will also know that I live in upstate New York and presently there is about 6 inches of snow on the ground. We won’t be getting any flowers until May.
So, this weather situation resulted in creative spark. I decided to make my own flowers and wanted to share this technique with you. They are easy to make and require very basic supplies.
First, let me reassure you, making these flowers should only take about 30 minutes. It might take an hour if you decide to make a lot of flowers.
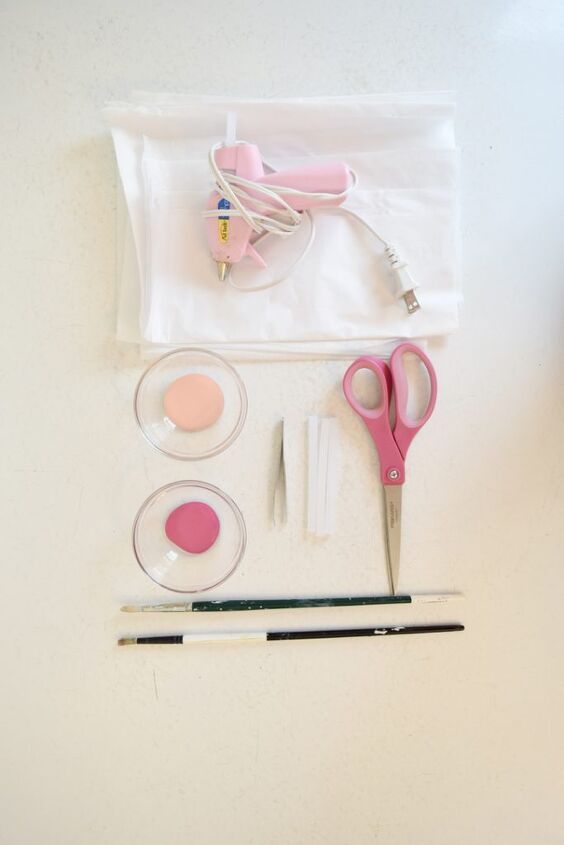
Here are the supplies you will need:
- 8-10 sheets of tissue paper – cut into 3 inch squares
- 2 craft paint colors. I used a soft pink and a raspberry pink
- 2 small paint brushes. One for each paint color.
- Branches from outside. If you prefer you can order artificial branches.
- Hot glue gun and glue sticks
- Tweezers. These are optional but they helped prevent my fingers from being burned by hot glue.
- Scissors
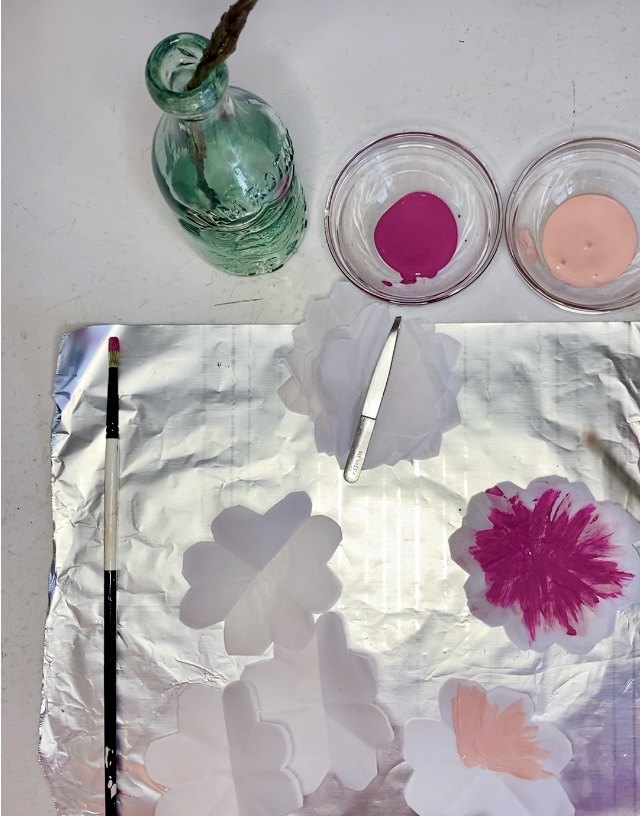
- A sheet of aluminum foil for painting on.
First, plug in your hot glue gun so it has time to heat up.
If you haven’t done so already stack 8-10 sheets of tissue paper and then cut out 10 squares that are about 3 inches in width and height. Again, each square should consist of 8-10 pieces of tissue paper. Fold the square on the diagonal to make a triangle. Then fold the triangle in half again.
Use your scissors to trim the end of the triangle into a semi-circle.
Unfold the tissue paper square and you should now have a square of tissue paper with rounded “petals” on the edges. In the photo above, there is a small pile of previously trimmed tissue paper that it has “petals” on the edges
Repeat this process for 10 squares with stacked sheets of tissue paper. The goal is to have a total of 80-100 sheets of individual squares trimmed to have petals.
Lay down a sheet of aluminum foil. Really, you can use any thing to protect the surface you are working on – paper or cardboard or wax paper would work just as well. I just prefer aluminum foil.
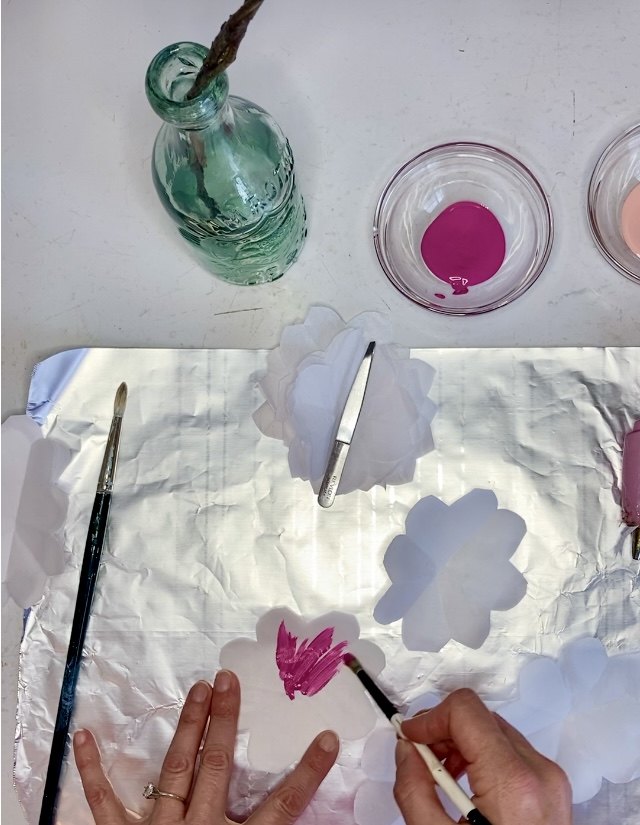
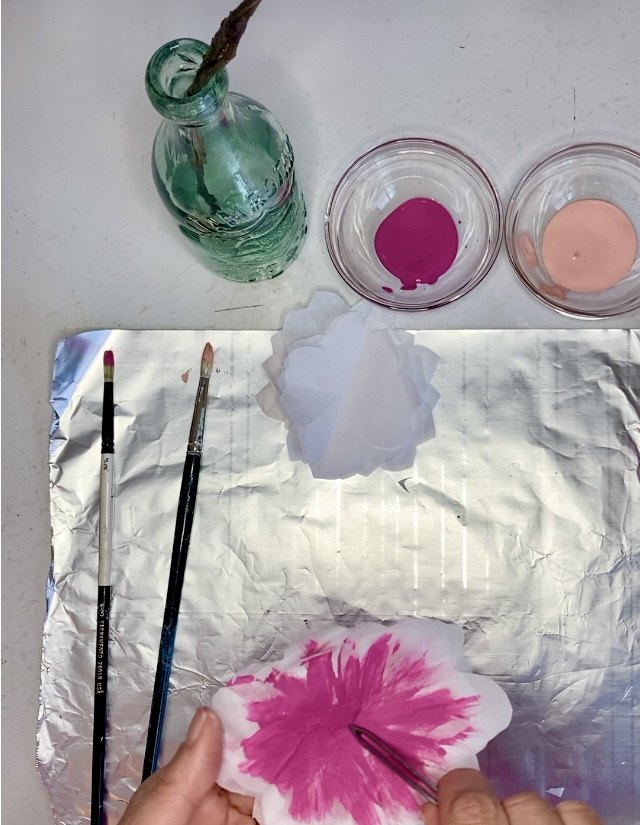
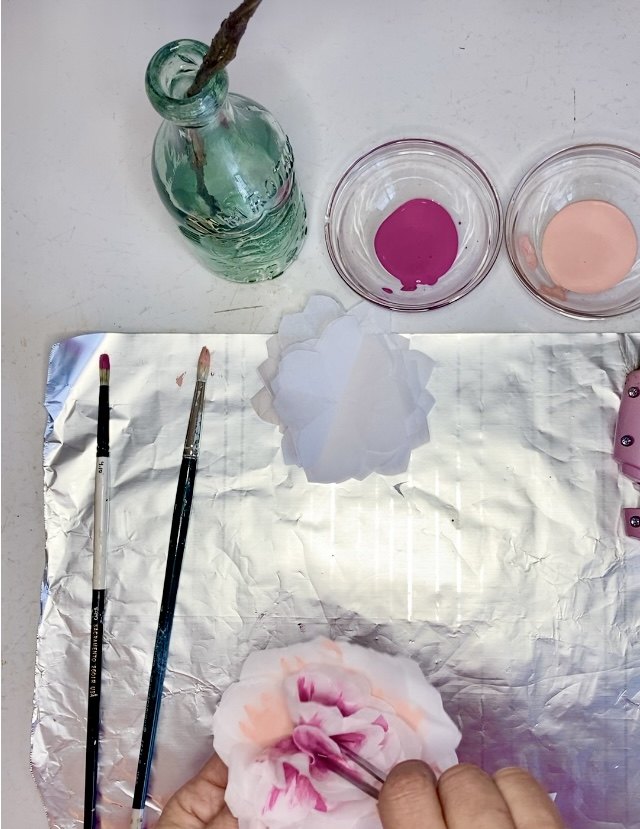
Take 4 individual sheets of tissue paper and set them on your work surface area. Using a paint brush with the darker of your two paint colors on it, apply brush strokes from the center of the tissue paper out toward the petal edges.
Stack another piece of tissue paper on top the recently painted tissue paper. Apply paint to the new piece of tissue paper in the same fashion. Repeat this process stacking each piece of tissue paper on a painted piece of tissue paper – until all 4 sheets are stacked up and painted.
Set this stack of painted flower petals aside.
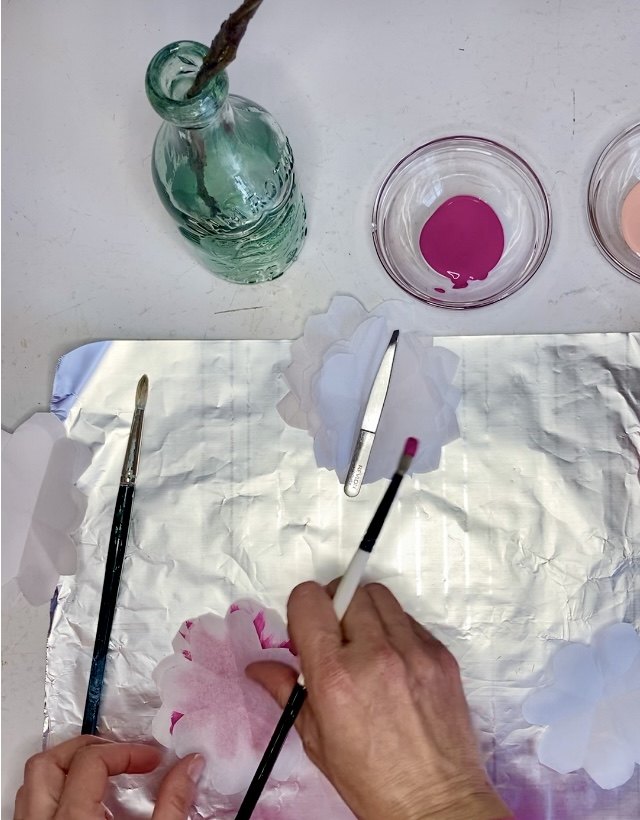
Using the lighter color of paint – repeat the same steps above for a separate stack of flower petals. Paint one piece of tissue paper, then stack on a new piece of tissue paper to the painted flower petals, apply paint to the new tissue paper flower petals and then stack on a new piece of tissue paper flower petals. Repeat this process until you have a second stack of 4-6 painted tissue paper petals.
Now you should have two stacks of tissue paper flower petals. One stack with a darker pink color and a second stack in a lighter pink color. We are going to combine these two stacks to make a single flower.
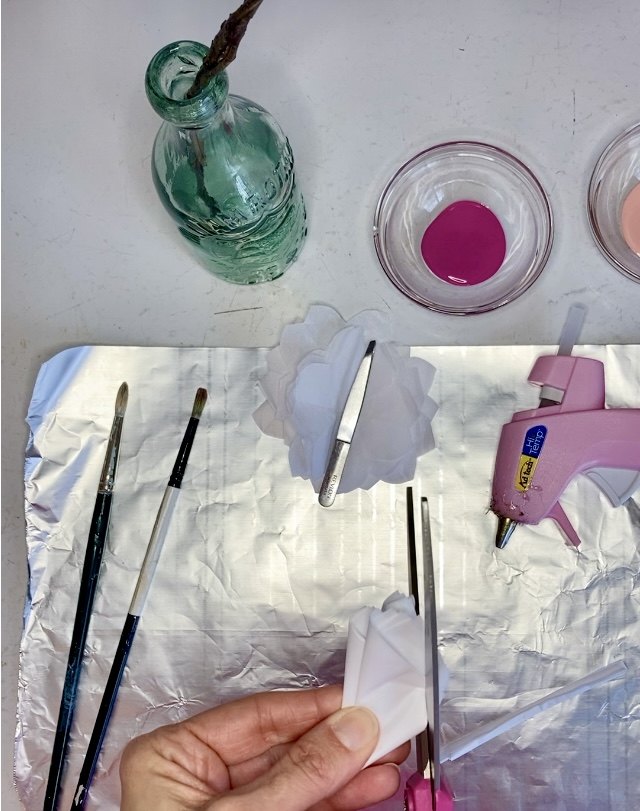
Using your tweezers, find the approximate center of the darker pink stack of tissue paper petals. Upon finding the center, pinch the underside of the tissue paper petals and gather all the petals toward the center.
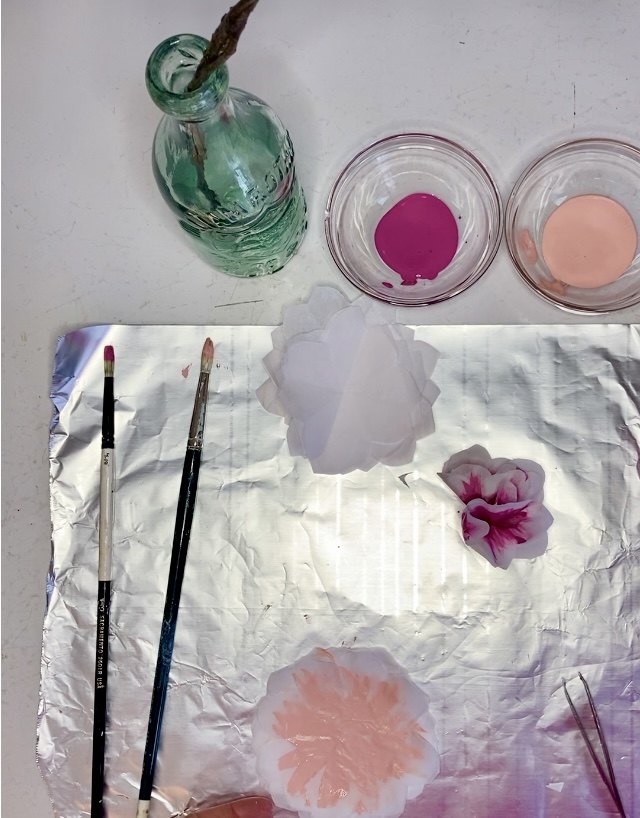
After you have pinched the underside of the flower petals – the tissue paper flower petals should look similar to the image above. (The flower in the upper right corner). The darker pink tissue paper petals will be the center of our flower.
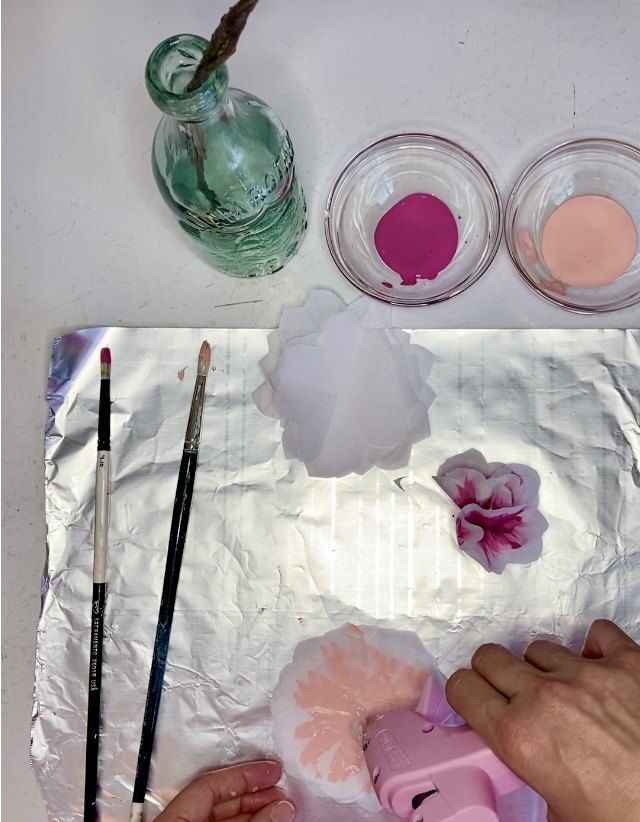
Next, we are going to apply a drop of hot glue in the center of the light pink tissue paper petals. Then using your tweezers, so you don’t burn your fingers, place the darker pink petals on top of the hot glue.
The you will pinch the underside of the light pink tissue paper petals and gather everything toward the center. At this point your flower is done.
Simply repeat these step to create 9 more flowers. You can make as many or as few flowers as you see fit. Ten flowers just seemed like a reasonable number to me.
You can use any branches for this project. I have been known to wander into the woods to trim branches from some bushes. However, if you don’t feel comfortable wandering into the “wilds” – you can also order artificial branches.
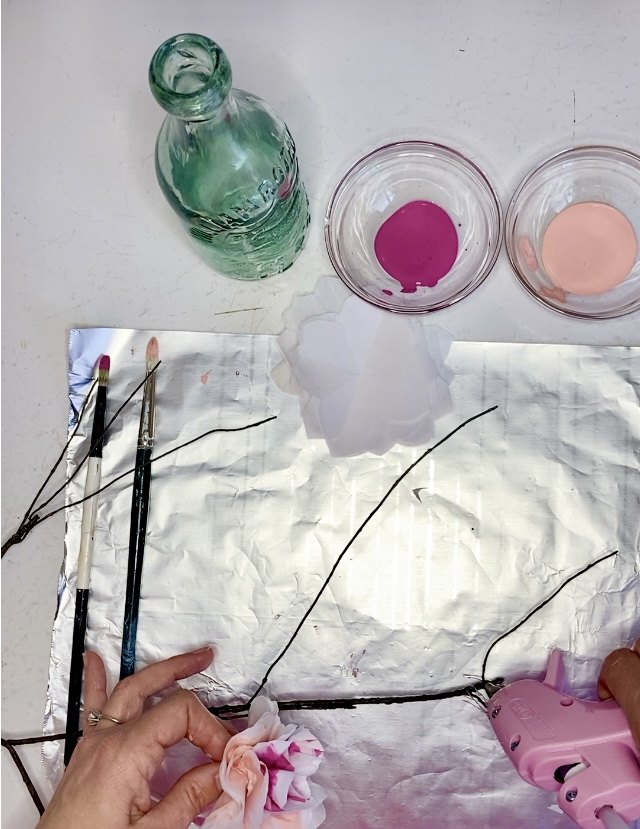
If you ever look closely at flowering branches, the flower buds tend to be located at the base of a stem near the main branch. To mimic this, I decided to locate the tissue paper flowers in similar locations. Find an area where you want to attach the flower and apply hot glue.
Again, using your tweezers, so that you don’t burn your fingers, place the tissue paper flower on to the hot glue. Wait for a bit for the hot glue to set up.
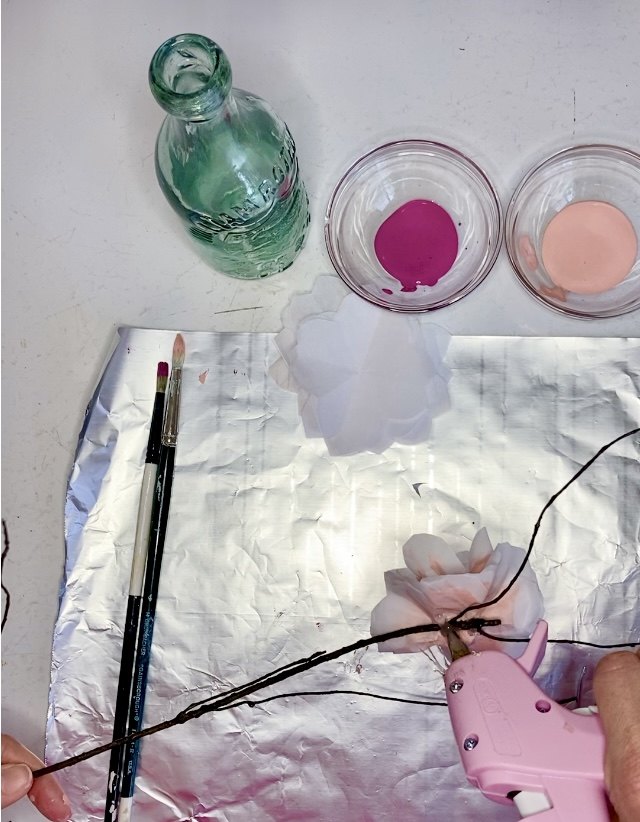
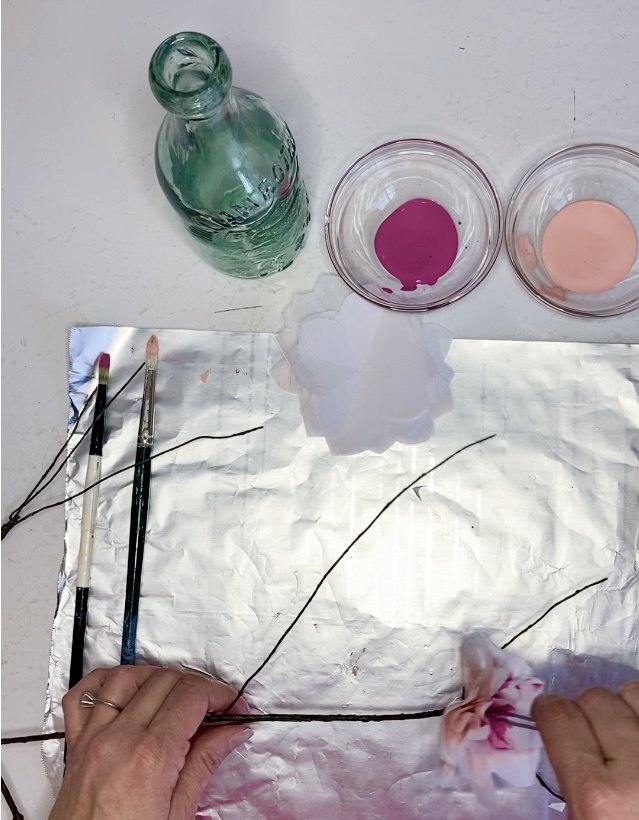
To ensure your flower is securely attached to the branch, apply some extra glue to the back of the flower and the branch.
I used an old glass bottle to hold my branch so I could see how the branch looked as I glued on the tissue paper flowers.
Simply repeat this for the remaining tissue paper flowers you created.
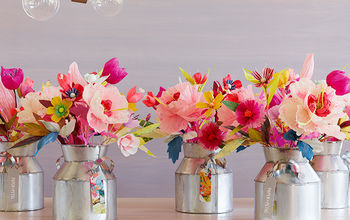
Here are some photos of the tissue paper flowers that I made. If you want to remember this project for the future, simply pin one of the images below. That way it will be easy for you to find.
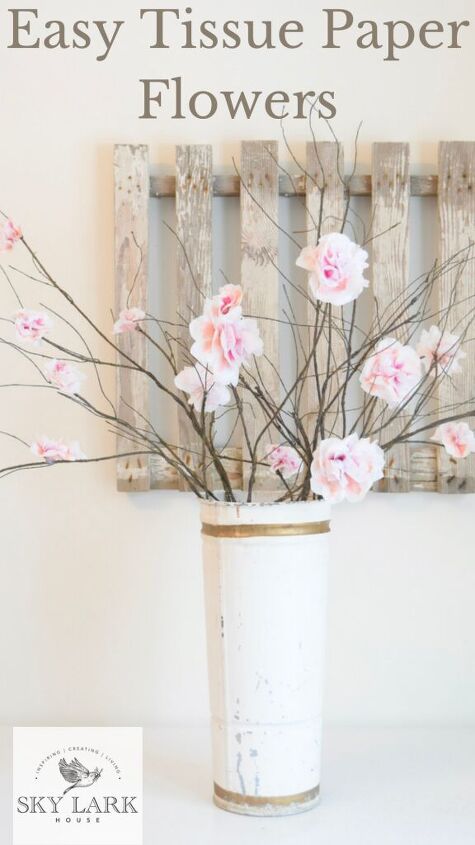
This is the end result of your work. The tissue paper works perfectly because real flower petals are very thin and delicate. Most flowers are have darker pigmentation in the center, which is why we painted the center bud a darker pink.
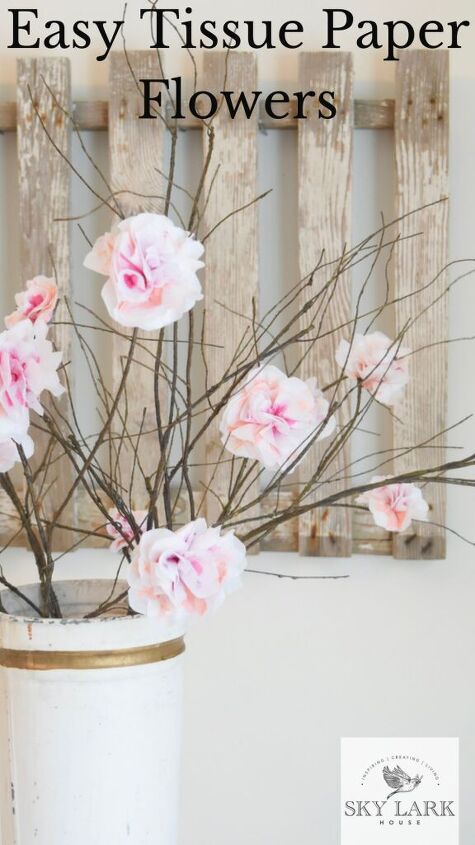
Here is another photo with a close up so you can see how the painted tissue paper petals look.
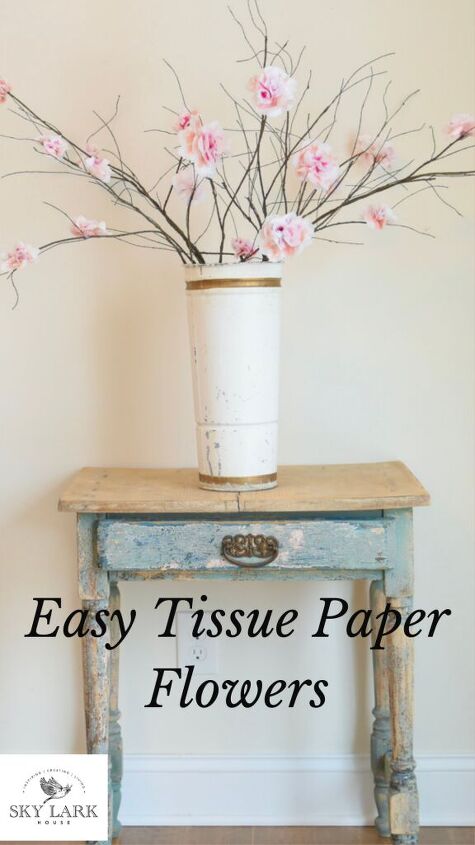
Here is one final photo which I shared with some of you who read my post last week on this antique blue small table.
Also, because a video is worth 1,000,000 words, I create a short video showing you how to make these flowers. You can always hit the pause button and rewind if you need more visual information for specific steps.
Thank you for stopping by the blog today and every day. I hope you are inspired to start thinking about spring.
Join our mailing list to receive the latest news and updates from our team.
- Easy Moss Wreath
- Easy Tissue Paper Flowers
- The Small Antique Blue Table
- DIY Garden Tool Wall Rack
- Tips for Buying Vintage Furniture


Frequently asked questions
Have a question about this project?
Did you let the paint dry before layering the next tissue petal? Did you attach each petal to the next with a drop of glue?