


Everyday Farmhouse Chic Planter

Get ready to create an easy yet gorgeous planter with items I'm sure you already have! I absolutely love taking pieces that are meant for one thing but can be used in a completely different way. This is still one of my favorite DIYs that I've ever made and love changing up the florals. Enjoy friends! Let's get started!
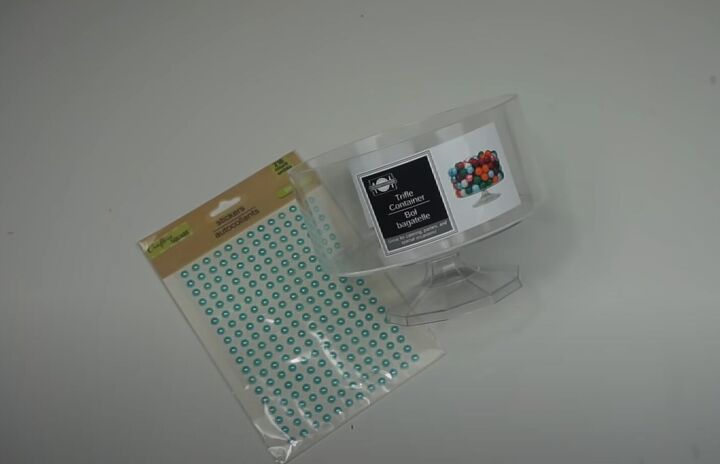
The supplies needed are gem stickers and a candy dish from The Dollar Tree. You'll also need your choice of scrapbook paper with your favorite design along with white and brown paint.
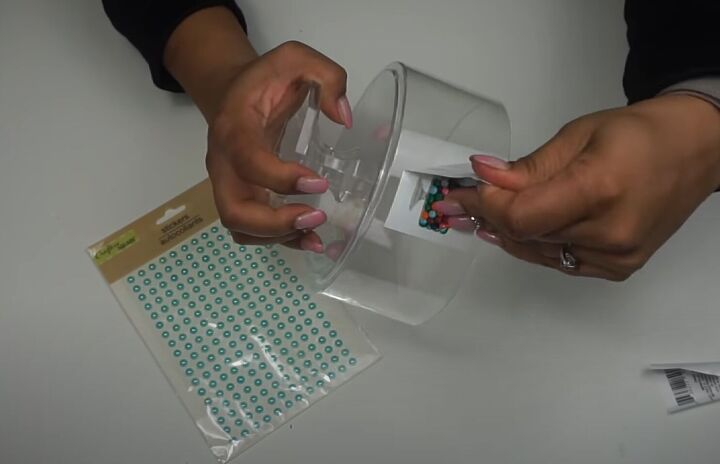
First let's remove all the sticker tags on the candy dish and open the sticker gems pack.
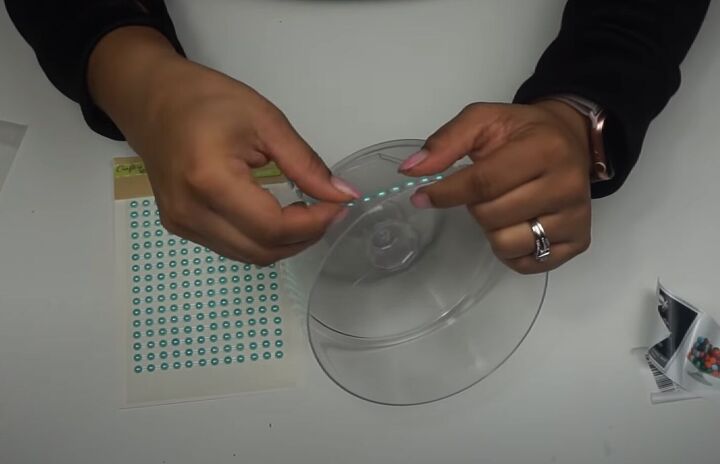
Next, we'll take a row of the sticker gems and line them up on the top and bottom rim of the candy dish. No need for any glue for these as they have an adhesive backing and stick pretty well to the plastic dish.
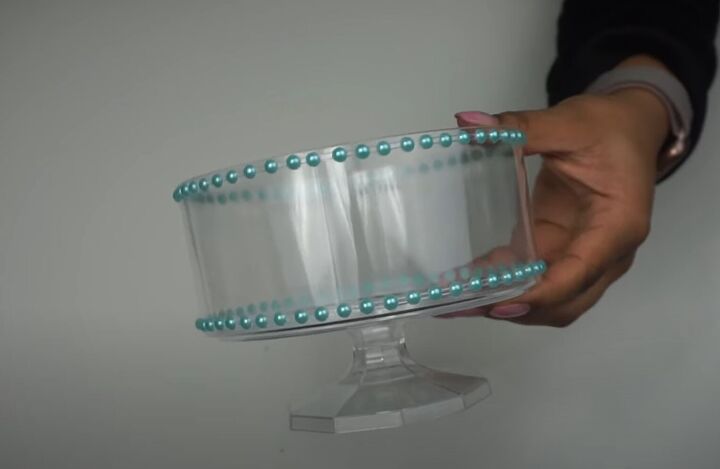
This is what your dish will look like once covered with the gems.
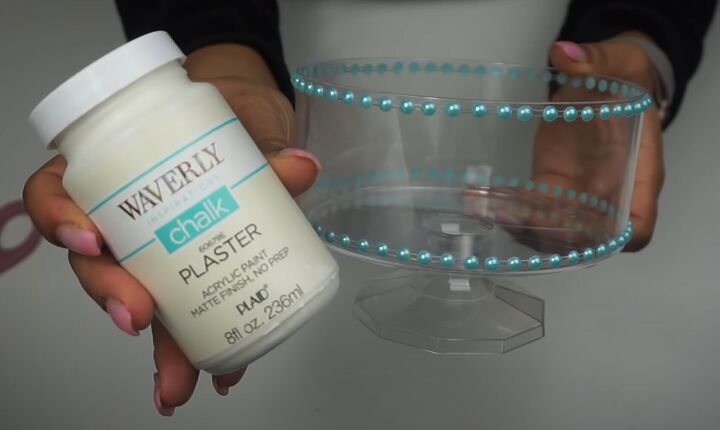
Next, we'll use this Plaster chalk paint from Waverly. You can also use white or ivory if that is what you have on hand.
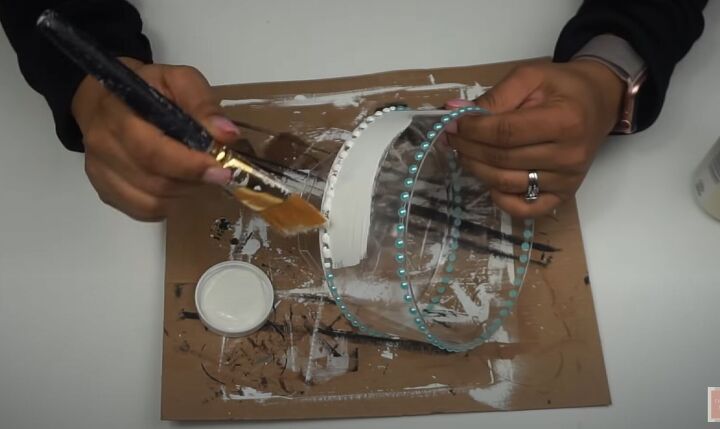
Paint all around the dish and keeping good attention to in between the gems.
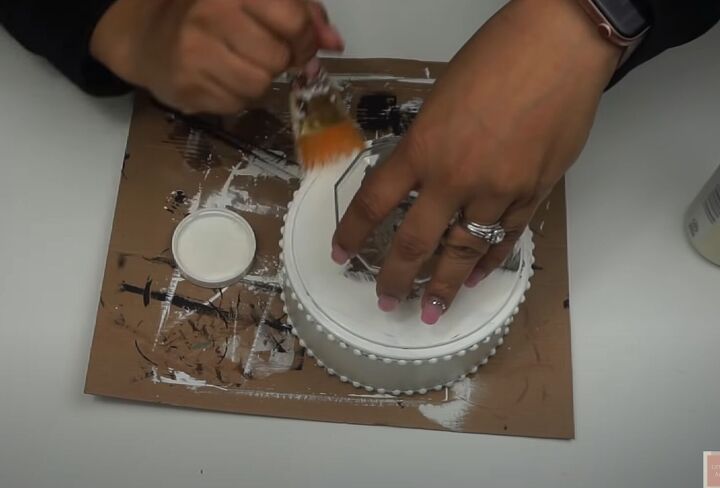
You'll also paint the bottom of the dish and stand part. Two coats should do the trick along with letting them dry for 10-12 minutes in between.
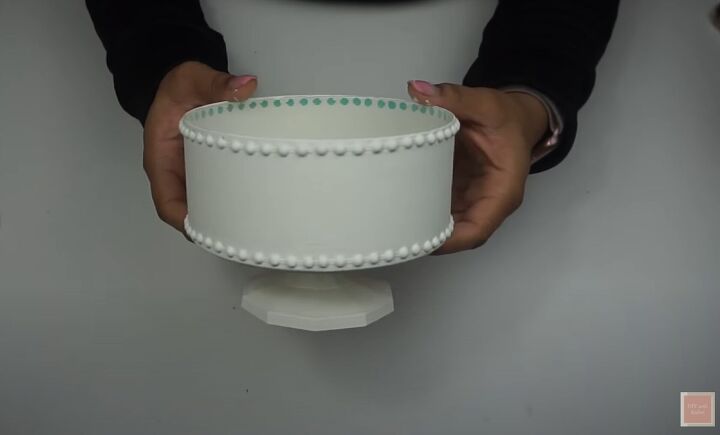
This is what your newly painted planter will look like. And don't worry about the blue beads on the inside. Once you dress this up and style it, you won't even see them. 
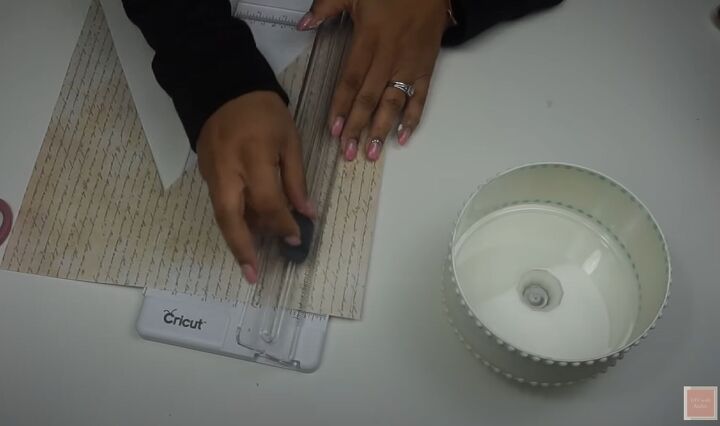
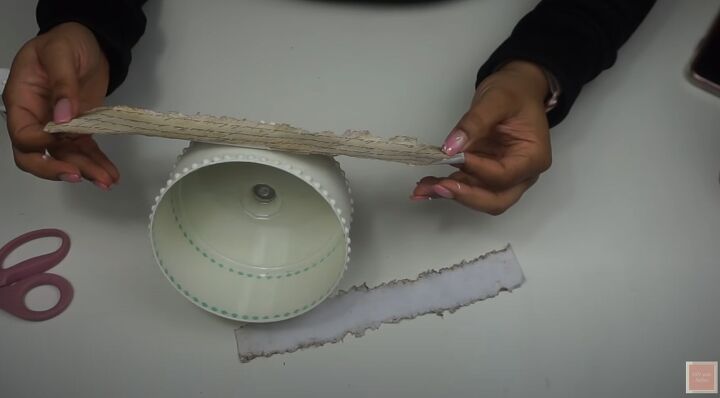
Now it's time for your scrapbook paper. I took this one that has a really pretty cursive print and that vintage background look. I got mine from Walmart that came in a book, but Hobby Lobby and Michael's has tons of options. I cut it down to size so that it fits around my planter. I used my Cricut paper trimmer so use what you have to cut.
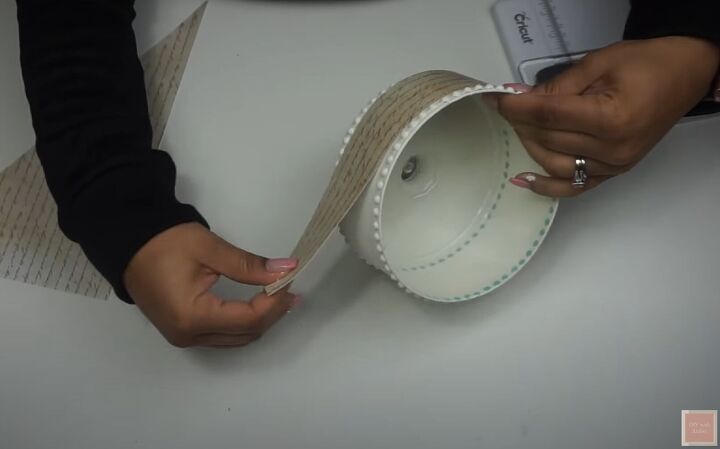
Once I have my paper size, I measure it against the planter to make sure it fits in between my row of beads on the top and bottom. I had to cut two pieces of the paper to fit around the entire planter.
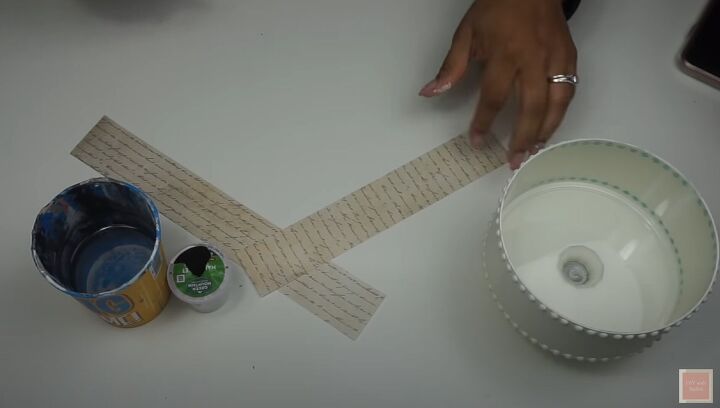
Now you will need some water and coffee grounds. I have Keurig so I have a used pod from my morning coffee. LOL. It's time for some fun (and messy) distressing.
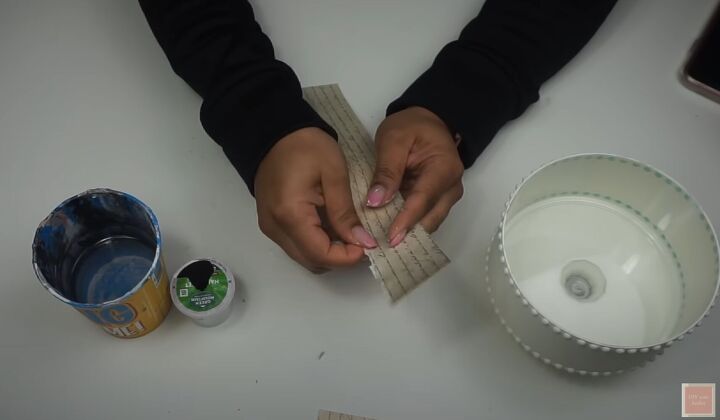
You can either choose to dip your fingertips in the water or use a spray bottle. With the edges of the paper damp, begin to rub the edges until you have a desired ripping of the paper. (I hope that makes sense lol)
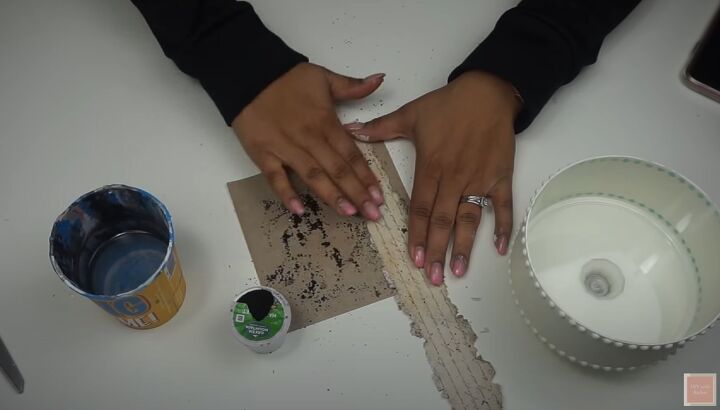
Next, you'll take the coffee grounds and rub it along the damp, ripped edges to give it some browning. Keep going until your eyes are happy with the look of it. This is definitely a fun way to get this vintage look, but you can also use an ink or distressing pad if you have it. I don't so I used what I knew would work.
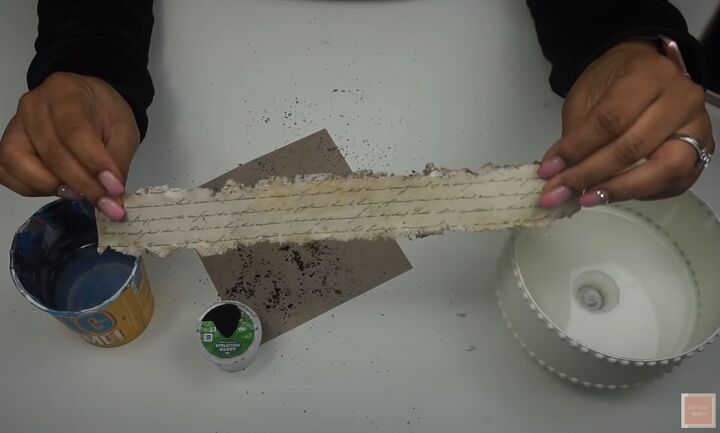
Once complete with the coffee, this is what your paper will look like. FANCY! 
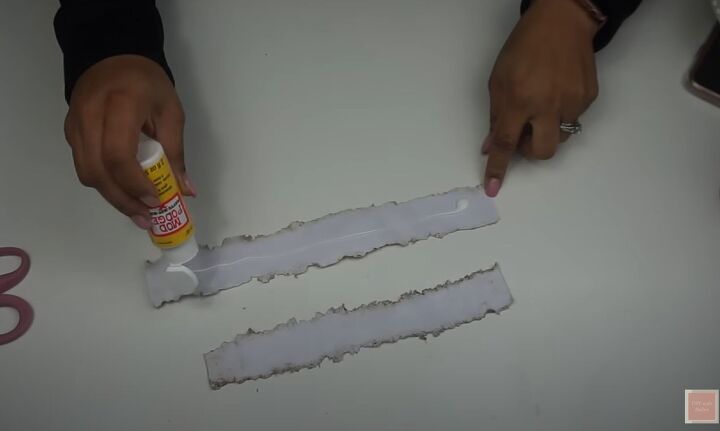
Next, add a good amount of Mod Podge to the back.
Then smooth it out with a paint brush.
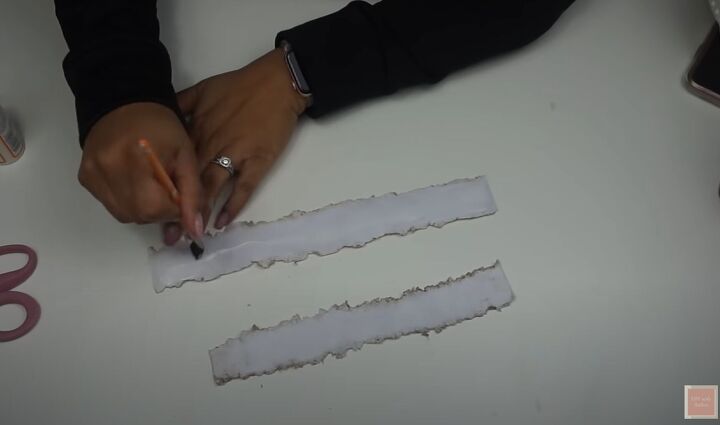
Adhere it to your planter and smooth it out so you have no bubbles.
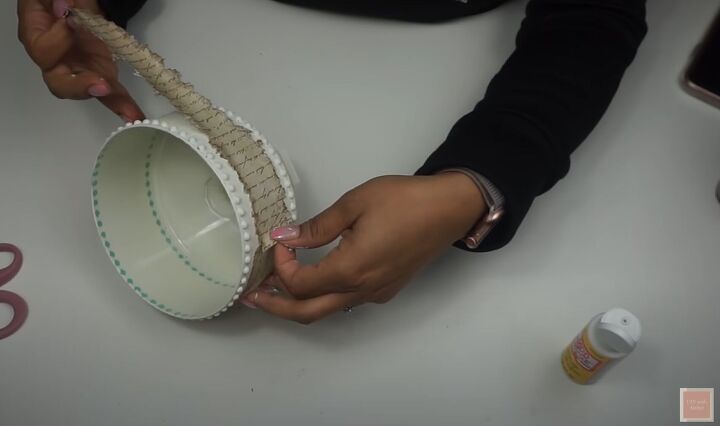
Be sure to line the 2nd paper up so it matches and cut off any excess you have. You can also add more mod podge on top if necessary.
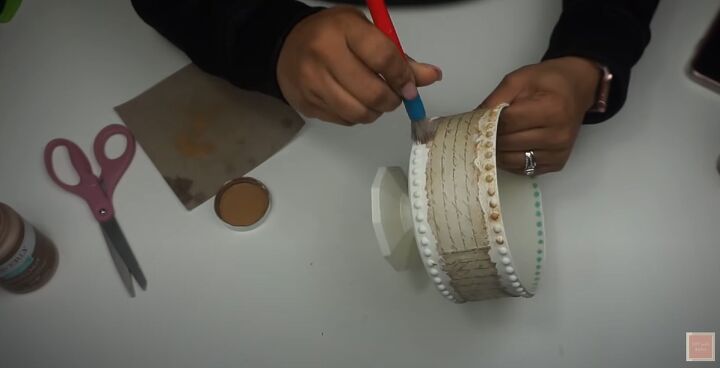
Next, take your choice of brown paint. I am using Hazelnut chalk paint by Waverly, and with a chippy or chunky brush give the gems so distressing color. I just used a small amount of paint and pounced my brush along the gems.
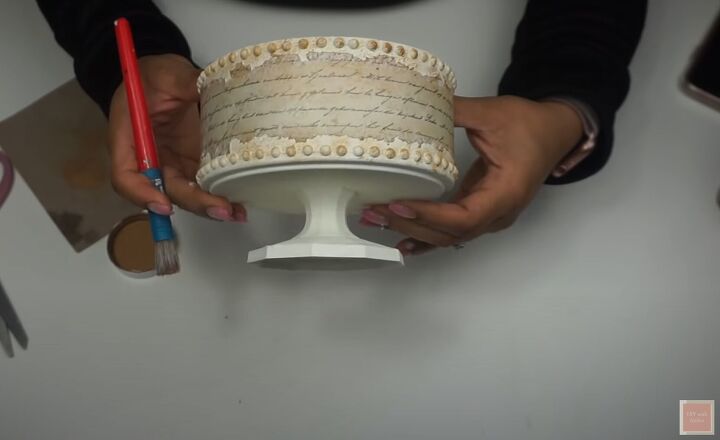
This is what your planter will look like once complete. You can also distress the bottom stand part if you choose.

And there you have it a simple, inexpensive but gorgeous (and what I can) Farmhouse Chic planter. I styled mine with florals from Walmart, but you could totally put a real plant in here and watch it flourish!
Enjoy and Happy Crafting Friends! Be sure to follow me on all social media platforms I'm on!
Farmhouse Chic DIY Decor | Shabby Chic | Dollar Tree DIY
Resources for this project:
See all materials


Comments
Join the conversation
-
I love how imaginative your approach to distressing the paper was. I love the look of this.
-
Amber, I LOVE this project! …especially the way you literally distressed the paper and used coffee grounds to give it some more vintage color!
Thank you so much for sharing your creativity with the rest of us. I’m looking forward to using your clear instructions for my own “Coffee Pot!”


Frequently asked questions
Have a question about this project?