


Farmhouse Bread Basket From a Thrift Store Find
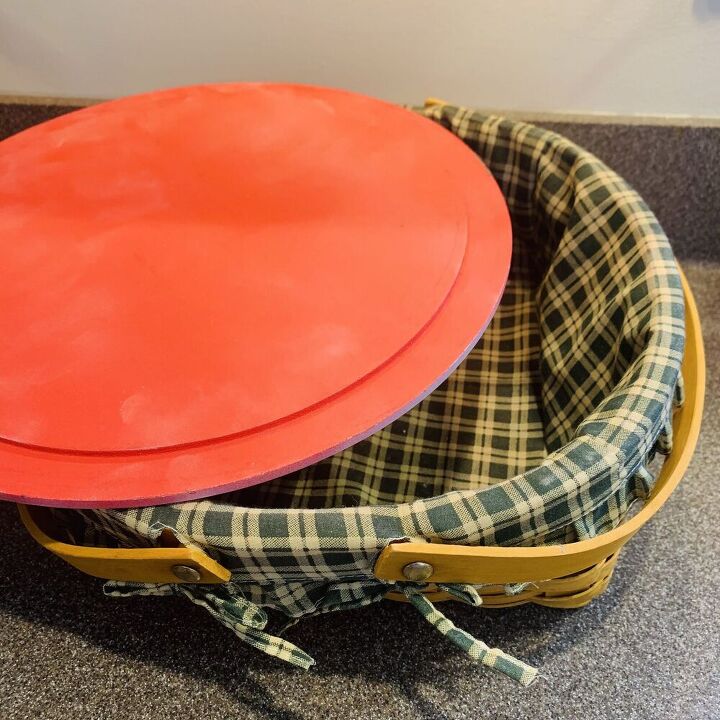
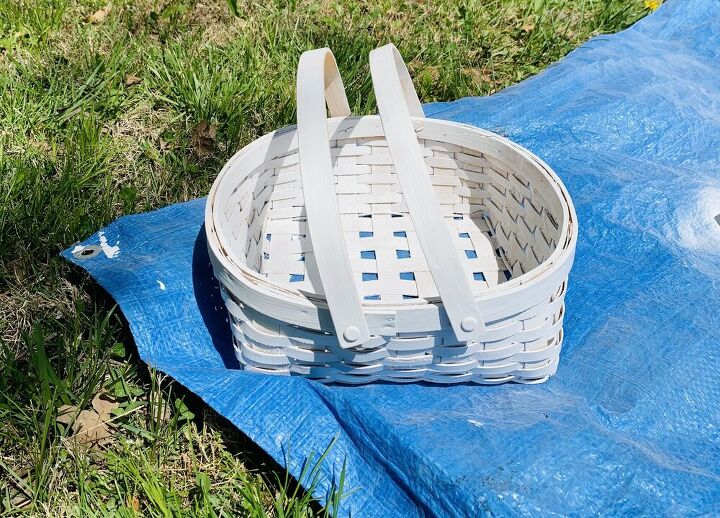
Its time for another round of my favorite game… Thrift Store Roulette. Sometimes, I just feel like going on a treasure hunt, even though I’m not sure at all what I’m looking for. I know you can relate. The last time I played, I found this lidded basket for $4.99. I’m pretty sure was originally made to be used for pies. Hopefully, it got some good use for that its first time around, because I was more than ready to change it up. As a project piece, this one has great bones, but the look of it was no where near my usual aesthetic.
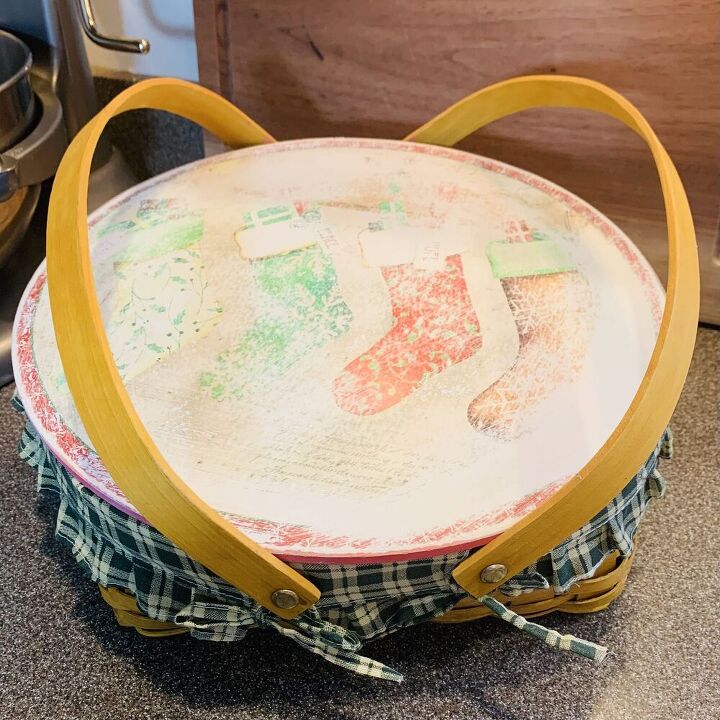
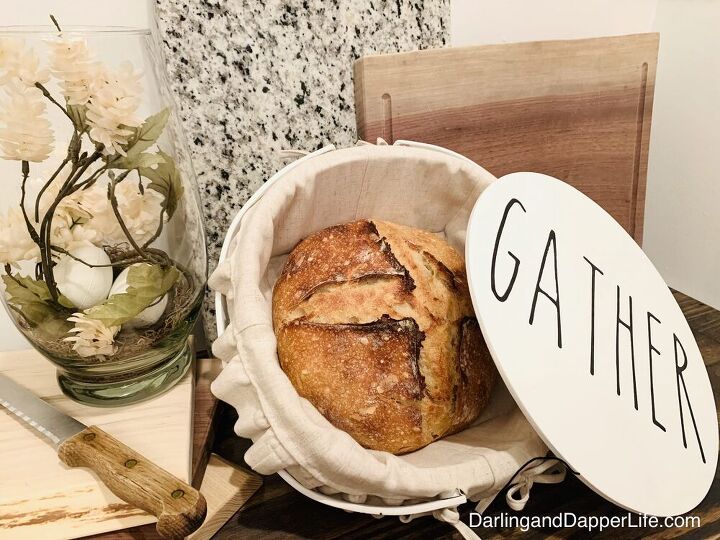
The perfect piece to completely transform and I’m so happy with how it came out! I think this is one of my favorite remake projects so far. And, its going to see some heavy use in this house, sharing all of the sourdough bread I’ve been making.
Don’t skip the goodwill basket section, there’s gold hiding there!
DISCLOSURE: THIS POST MAY CONTAIN AFFILIATE LINKS. MEANING, I WILL EARN A COMMISSION IF YOU GO THROUGH THEM AND CHOSE TO MAKE A PURCHASE. PLEASE NOTE, THAT I ONLY INCLUDE LINKS TO PRODUCTS THAT I BELIEVE WILL BE HELPFUL TO YOU, NOT BECAUSE OF THE COMMISSION I RECEIVE. REST ASSURED THAT THERE WILL BE NO ADDITIONAL COST INCURRED TO YOU IF YOU CHOSE TO MAKE A PURCHASE THROUGH ONE OF MY LINKS.supplies
- thrift store basket
- flat white spray paint
- matte acrylic paint (white and black)
- mini roller and round foam brush
- Circuit Explore Air 2, cutting mat, tools, any color vinyl, and transfer tape
- rotary cutter, cutting mat, and straight edge
- sewing machine, needle, pins, and thread
- linen fabric, I got mine at the thrift store!
- iron and ironing board
*Don’t have a Cricut: don’t worry, you can pick a chic stencil or premade decal to use instead.
*And if you’re not ready for a sewing DIY, you can always use a cloth napkin as the fabric liner.
Phew, oh my goodness, that supply list was way longer than I thought. Don’t worry though, this the project is actually fairly easy and breaks down into a few manageable steps.
how to paint basket and lid
First things first, hit that old basket with your favorite white spray paint. Make sure you get it from all angles. I started with my basket upside down and did the bottom and sides from this angle first.
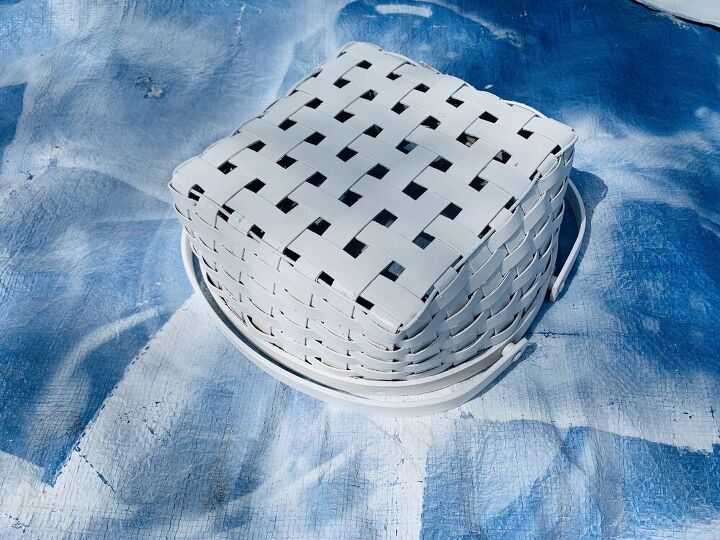
Then, I turned it over and did the top, inside, and sides again from this angle.
For the lid, I spray painted the bottom first and the top second.
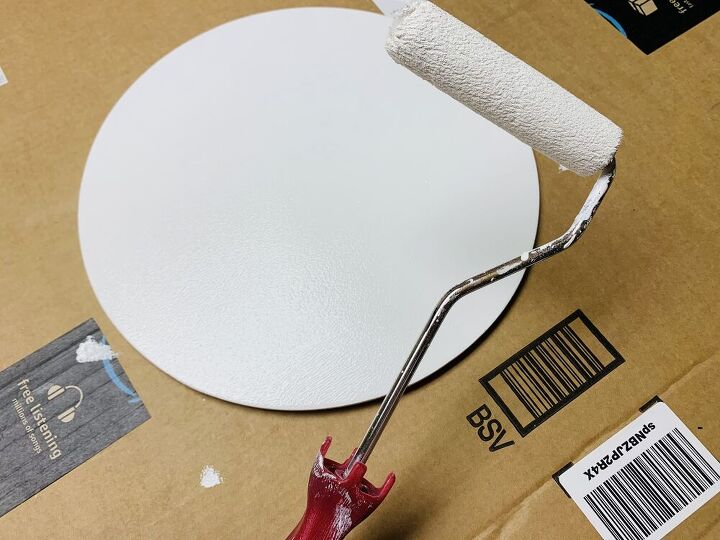
I decided to do two coats of basic white spray paint, anticipating that I would do a final, light coat, using a chalk paint spray paint, but in the end I thought the basket looked great without it. The lid, however, needed a tiny bit more. I used a small paint roller to apply some matte acrylic paint to the top and edges.
*PRO TIP: Make sure you wait 24 hours before applying your stencil to ensure that your stencil will stick well and will not pull all of your paint back up when you remove it.
painting a design on your lid
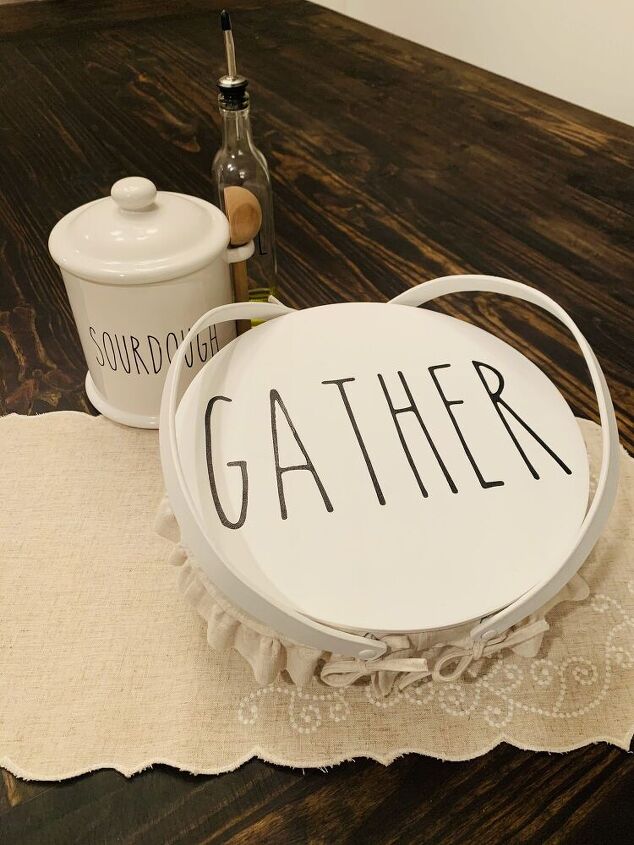
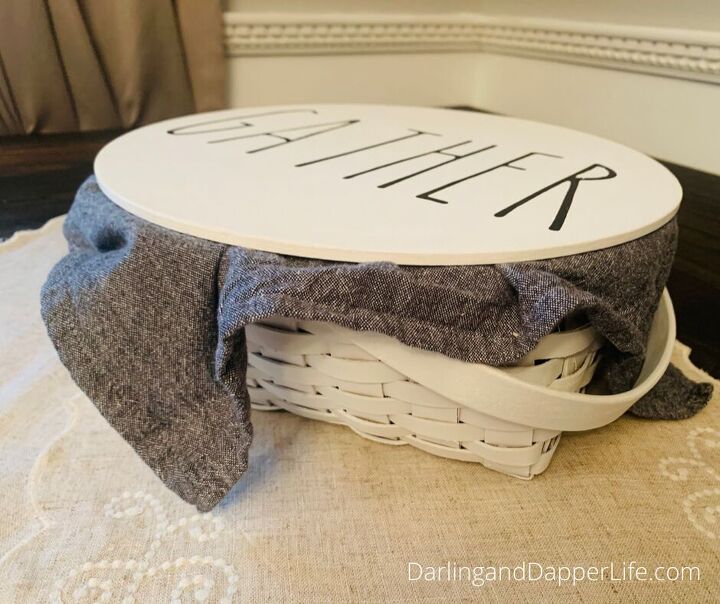
Next, decide on your design for the top. I have a lot of Rae Dunn or Rae Dunn esque items in my kitchen so I chose to make my design mimic that style by using a simple one word design with the skinny font. I find myself using this font a LOT, luckily, its free to download and use, for personal use, and if you need commercial permissions, like I do, it’s a small $20, one time, fee.
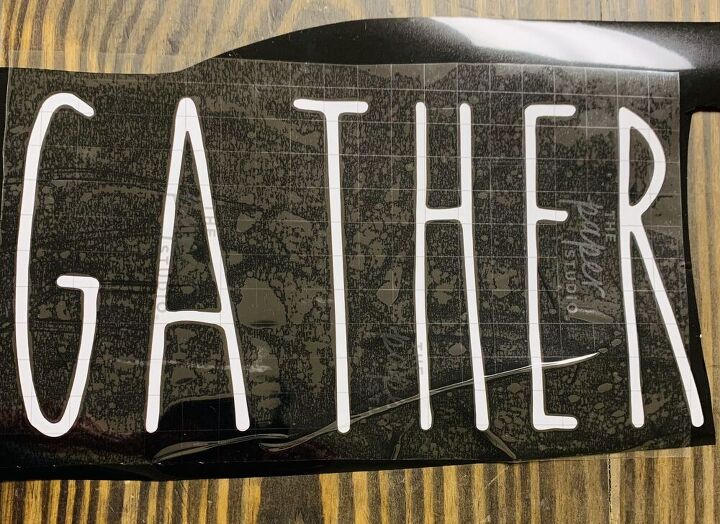
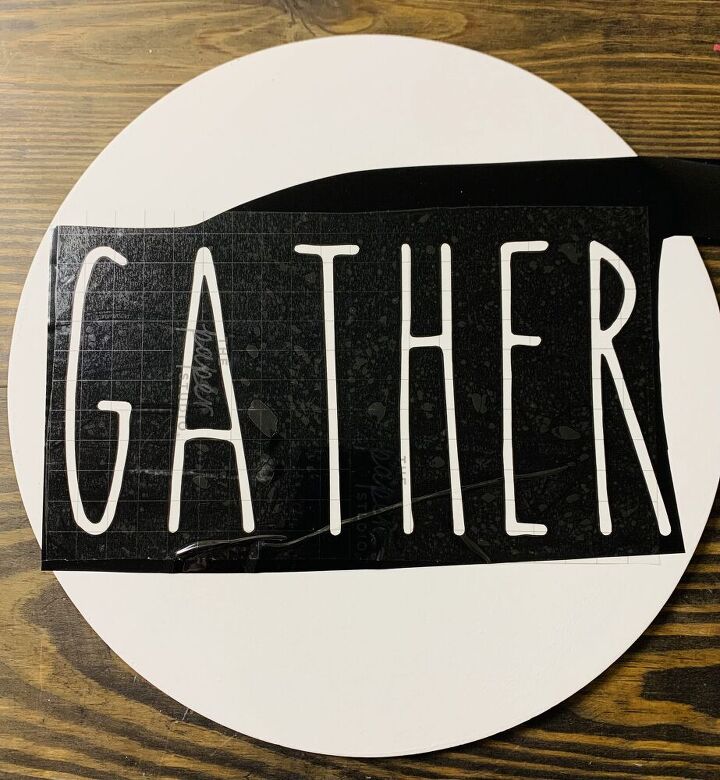
Now for my word choice… y’all, this was by far the most time consuming part of this whole project! I tossed around so many ideas: tasty, yum, delicious, treats, gather, blessed, indulge… They all sounded so good, I had a really hard time settling on just one. I honestly still hadn’t decided when I cut out my Cricut stencil, so I had to cut out two! I cut my design using black permanent vinyl, my Cricut Explore Air 2, and my 12X24 cutting mat.
I knew that I wanted to paint my design on top for more long term durability, so I actually weeded out my letters so I could use the negative image as my stencil. Side note: Cricut does make a stencil vinyl, but I’ve found, in my personal experience, that it doesn’t stick as well, and I’ve had some paint bleeding issues with it in the past. So, I chose to use permanent black vinyl this time instead.

I then applied transfer tape to lift my stencil off of the backing
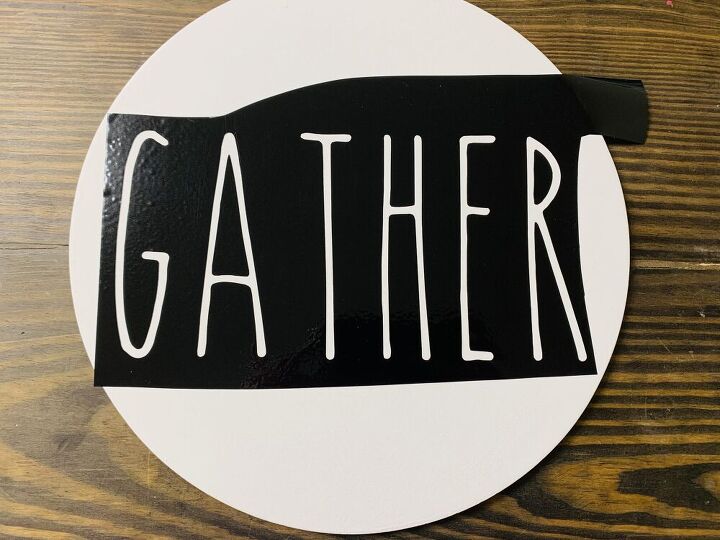
and applied it to the lid
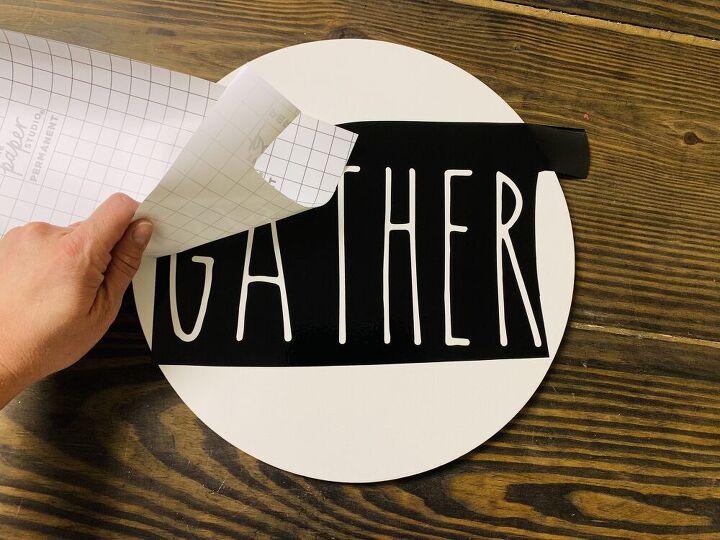
Here I use my scraping tool before peeling the transfer tape off. Don’t throw that transfer tape away just yet, set it aside, we’ll use it again in a minute.
Once I remove the transfer tape, I like to go back with the shiny side of the vinyl lining and apply some additional friction to ensure things adhere really well.
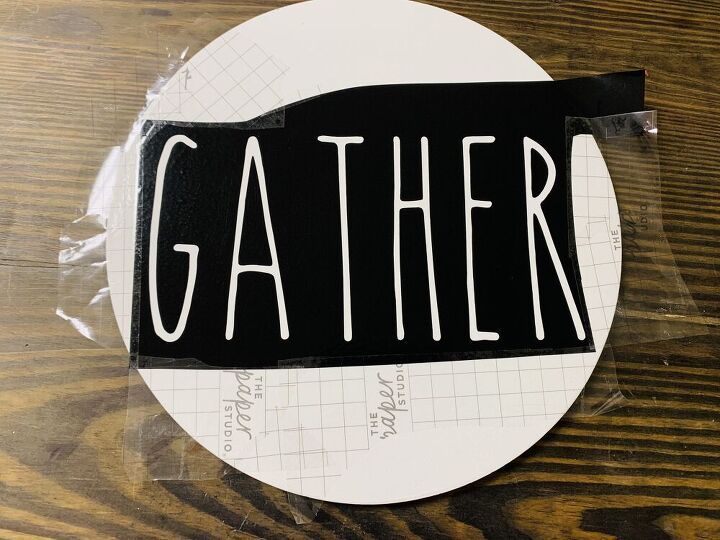
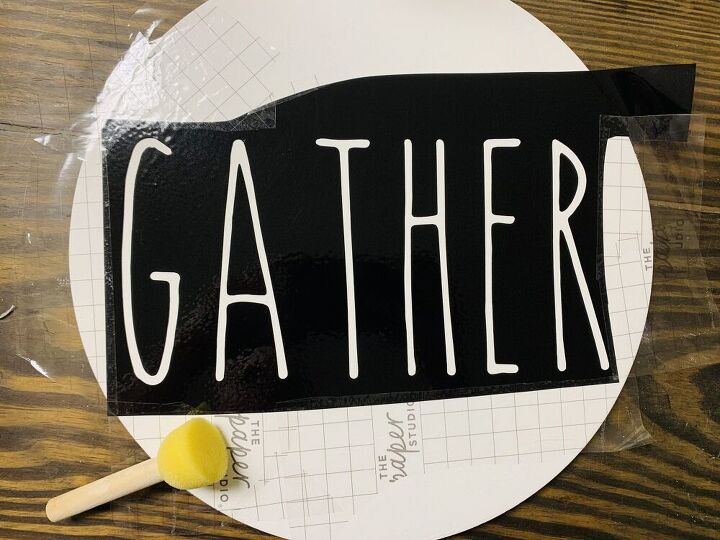
I then cut up pieces of the transfer tape that I just used and applied them to the edges of my vinyl stencil, so I wouldn’t have to be too careful when applying the paint.
how to stencil
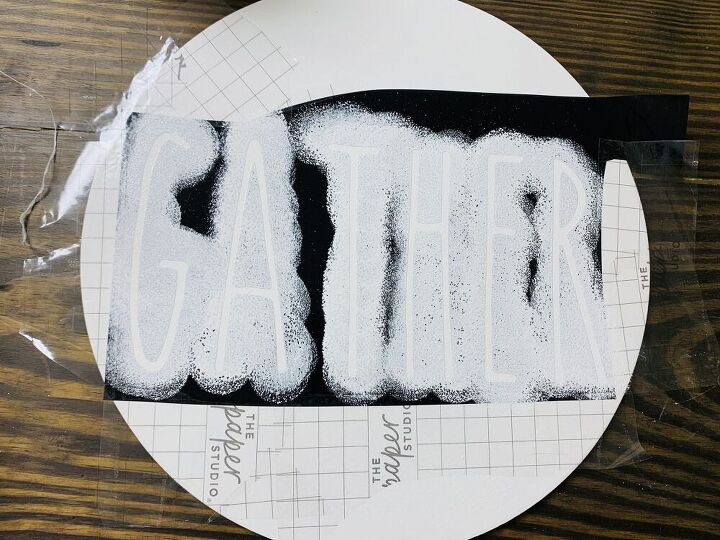
Now that you have your stencil firmly in place, it’s time to paint it. A round foam brush is the best for this task. You want to apply the paint using a tapping motion and not a stroke motion. Dip your foam brush in the paint and then tap it off on scrap cardboard or your paper plate or whatever it is you are using as your palette. Keep tapping it off until your foam brush is damp/wet with paint but not dripping or pooling. Then, using that same tapping motion, apply the paint to the stencil.
To ensure that I don’t have paint bleeding issues, I like to do two light coats using the same paint that I used for my background. I usually allow the paint to dry for about an hour in between coats.
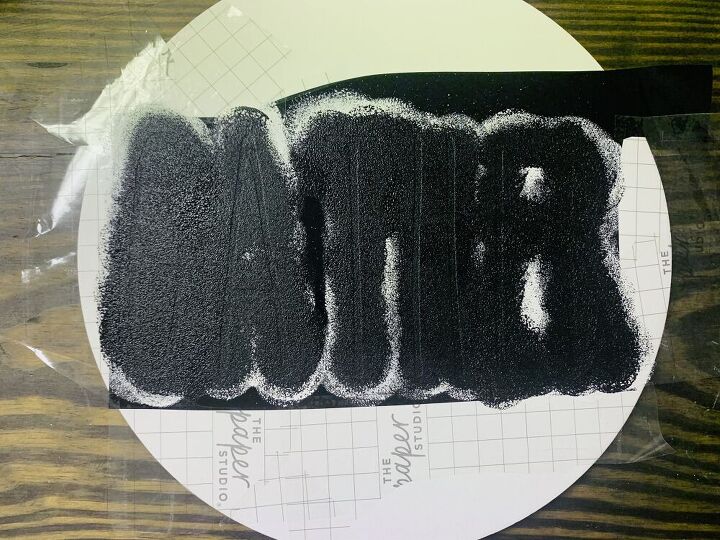
Next, apply two coats of matte black paint using the same tapping motion.
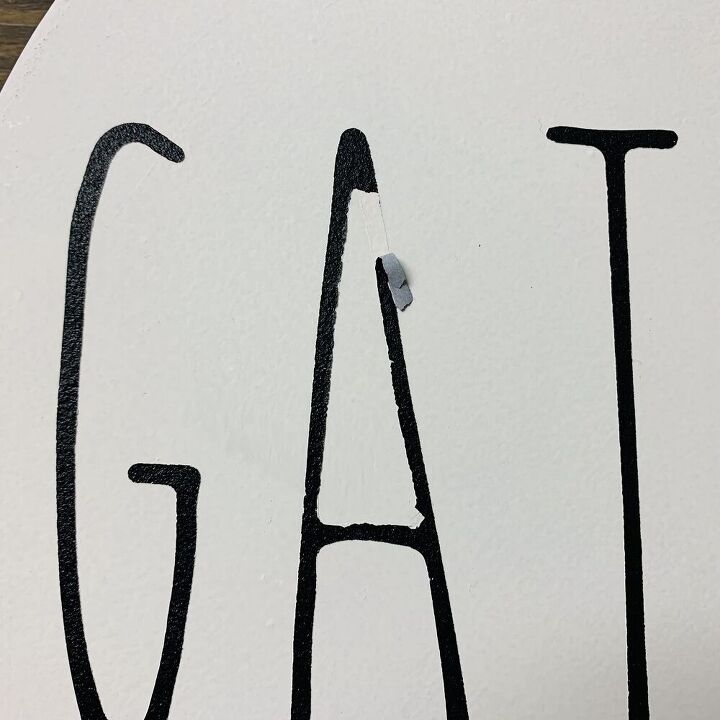
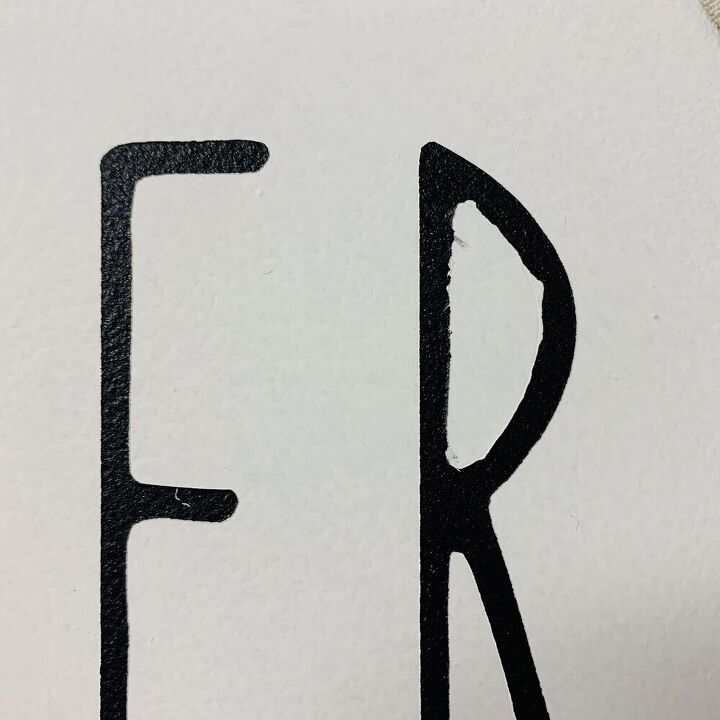
*PRO TIP: Remove your stencil while the paint is still wet. You will have much cleaner edges this way. I removed most of my stencil wet, but chose to leave the inside of the A and R applied until it dried and deeply regretted it. When I went to remove these pieces, the black paint started to pull up with them and my edges were no where near as clear. I actually had to go back with a fine paint brush and touch it up…Lesson learned. This is mistake I will not be making again any time soon.
MAKING YOUR BASKET LINER
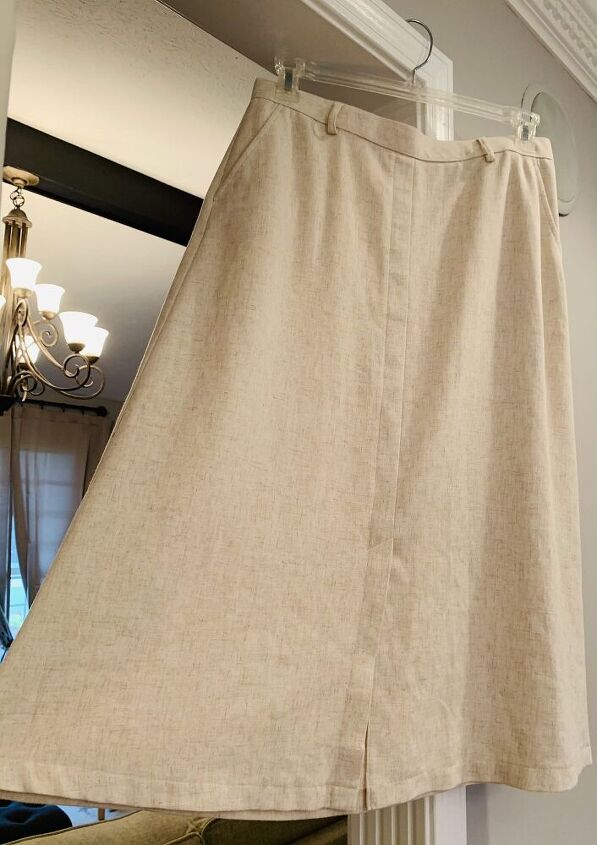
Now it’s time to sew a new basket liner. For this I used a thrifted linen skirt as my fabric. Side note, if you are not using the thrift store to buy fabric, you need to start ASAP, it’s a gold mine! Check out my article on why and how to shop for fabric at the thrift store, the ultimate guide, for all the best tips.
Cutting your fabric
I like to cut my fabric using a rotary cutter and a cutting mat. If you haven’t tried this method yet, you are really missing out. I spent years cutting out fabric with scissors, because I just didn’t want to justify one more craft purchase but y’all, this is not a product to skip over. Your time is so much more valuable than that! It has dropped my cutting time down by more than half.
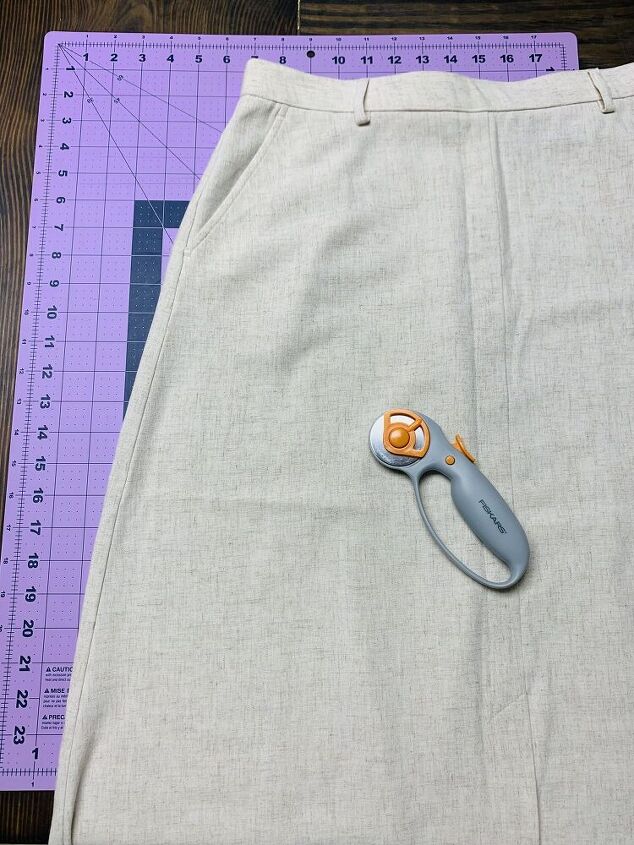
To cut the skirt, I was actually able to place the cutting mat inside the skirt, so I knew I was only cutting through one layer. Then, I disassembled a few pieces from the original basket liner to use as my pattern.
Next, I laid them on top of my fabric and used my clear straight edge tool on top of that.
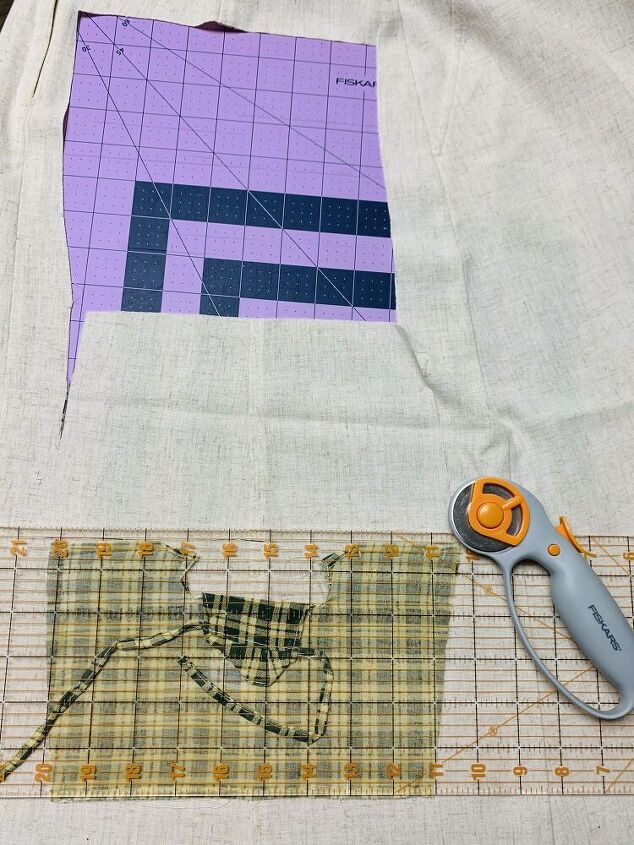
One of the things I love best about using thrifted clothing as my starting fabric is that I can choose to feature existing garment details in my design. For the basket liner, I chose to cut my pieces so that there was a seam running down the middle. I love the additional design element with no additional time on my part! Win win!
I also cut my fabric for my ruffle edge along the hem of the skirt, so I could use the existing finished edge and not have to finish an edge myself. This saved me time as well!

The last thing I needed to cut was fabric strips for those cute little ties under the handles. For this I needed 8, 1″ strips about 7″ long. I choose to leave mine in longer 1″ strips until after my ironing and sewing was done, you’ll see why later.

assembling and sewing
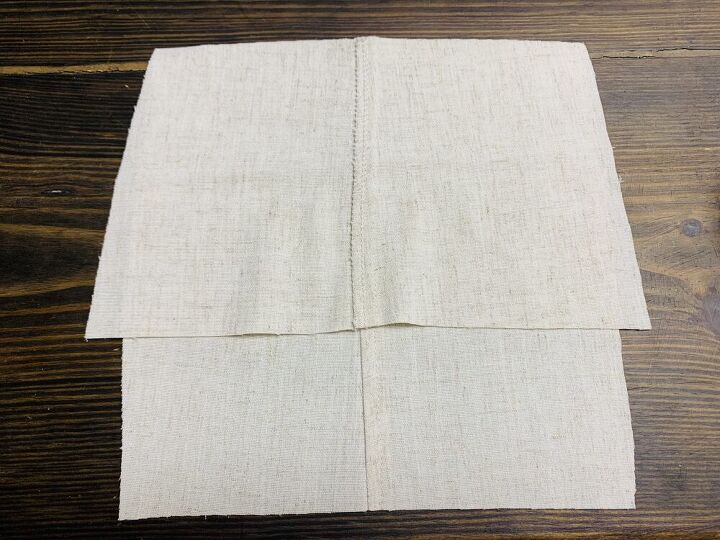
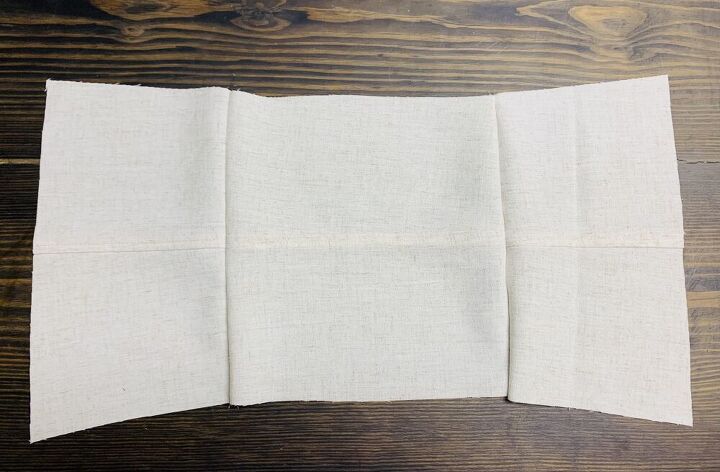
Lay out your bottom square piece (good side up) and put one of your side pieces (good side down)
and pin along the seam.
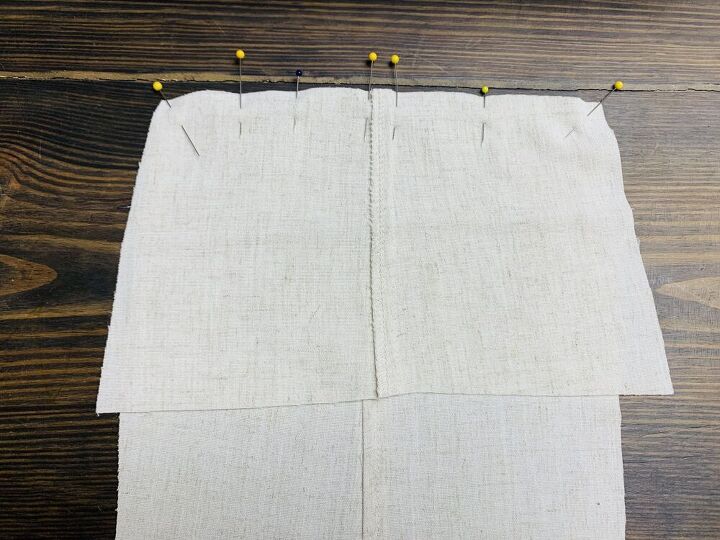
Now, lay out a second side piece (good side down) and pin along the seam.
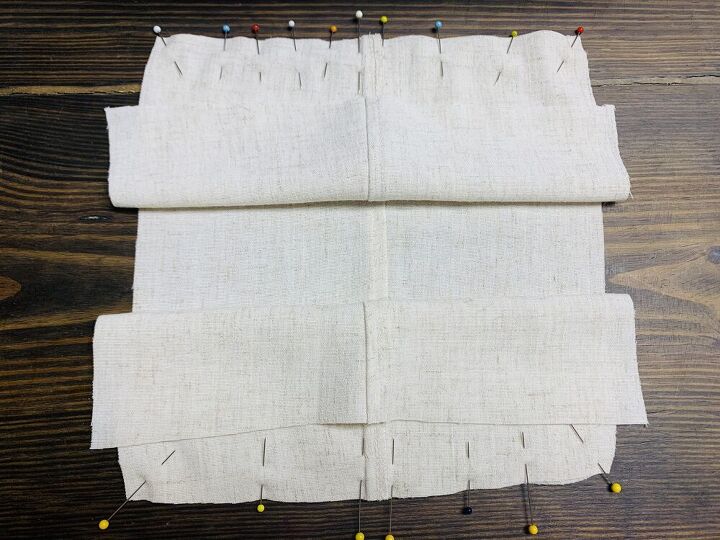
Sew both seams in place.
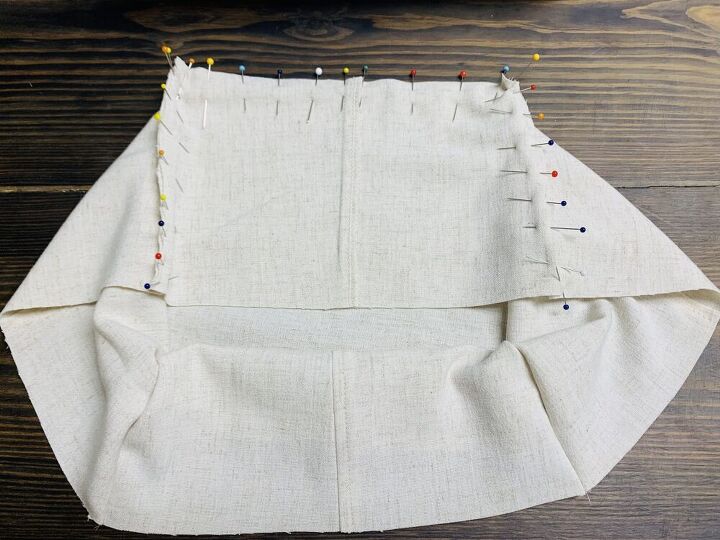
Lay out the three sewn together pieces (good side up) and lay out another side piece (good side down). This time pin all three seams along the bottom and both of the side edges of the side piece and sew in place.
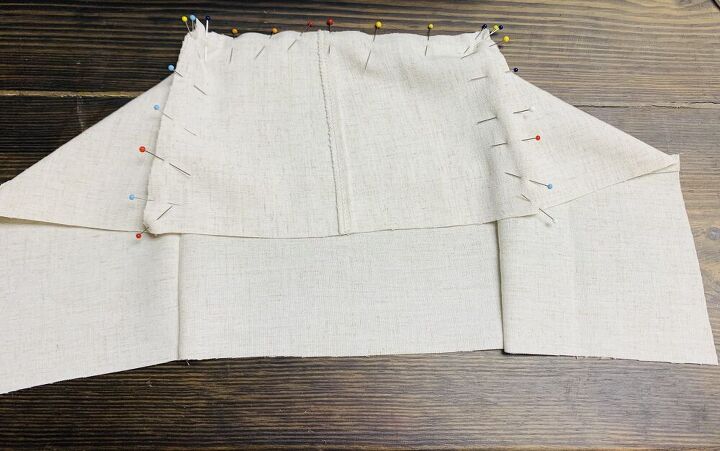
Repeat with the remaining side piece.
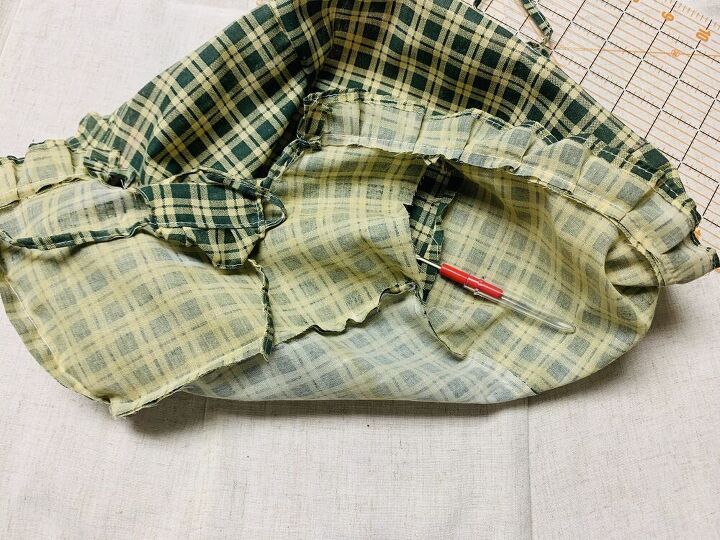
Next, switch your machine to as wide a stitch as it will go and sew along the cut edge of the ruffle piece. DO NOT back pedal at the beginning or end to create a knot.
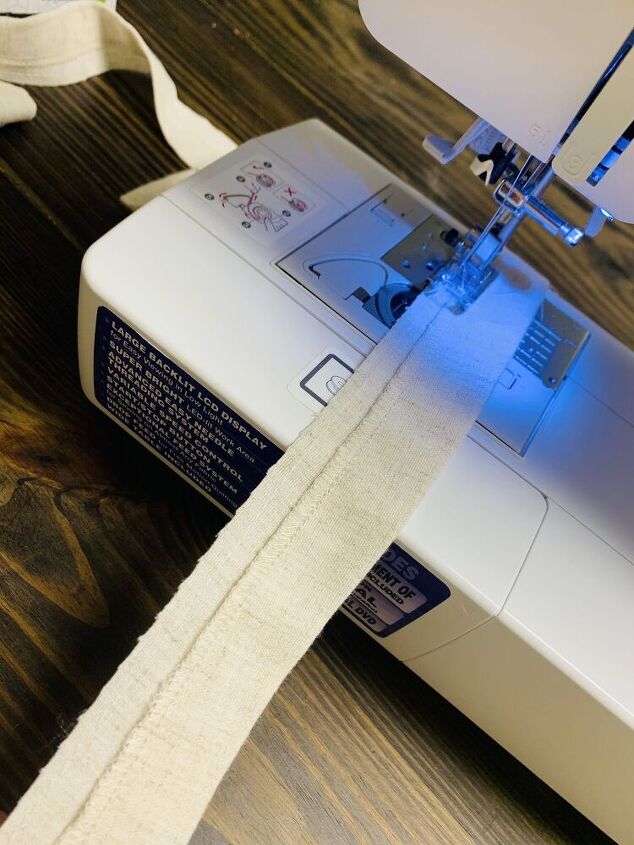
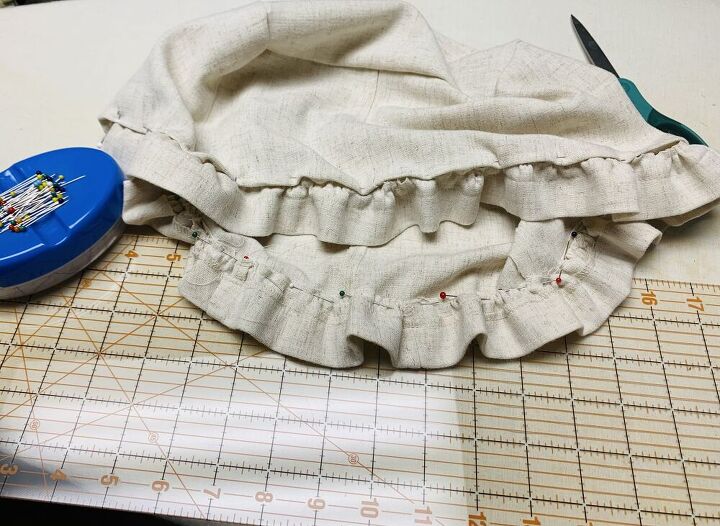
Leave long tails on your thread on both sides. Then pull one of the pieces of thread so the fabric bunches up slightly. Carefully work the fabric along the thread so you have even bunching creating a nice ruffle effect. Pin to top edge of basket liner with (good sides facing each other) and sew in place.
*PRO TIP: use a high quality thread here. There’s nothing more frustrating than your thread breaking halfway through bunching it.
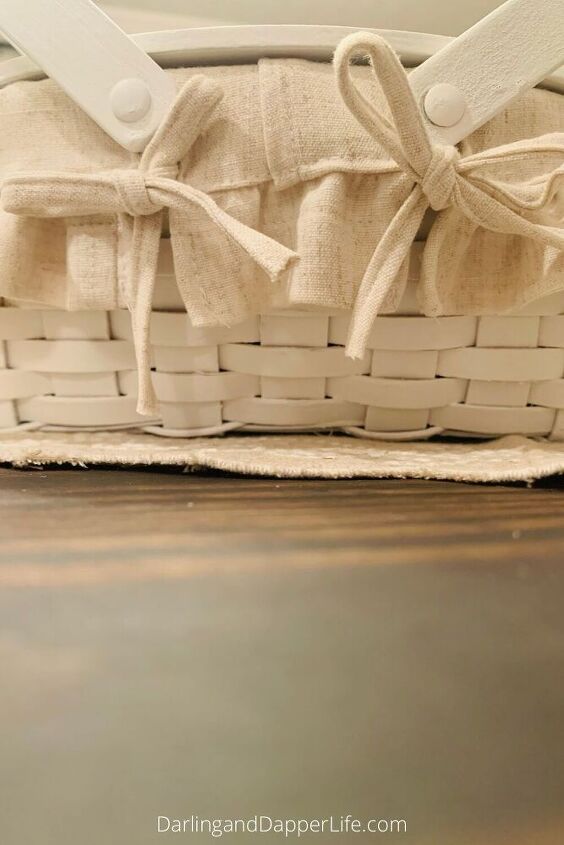
Now, add your basket liner ties. Want to make your own matching ties? It's easy and takes just a few minutes, see the steps here.
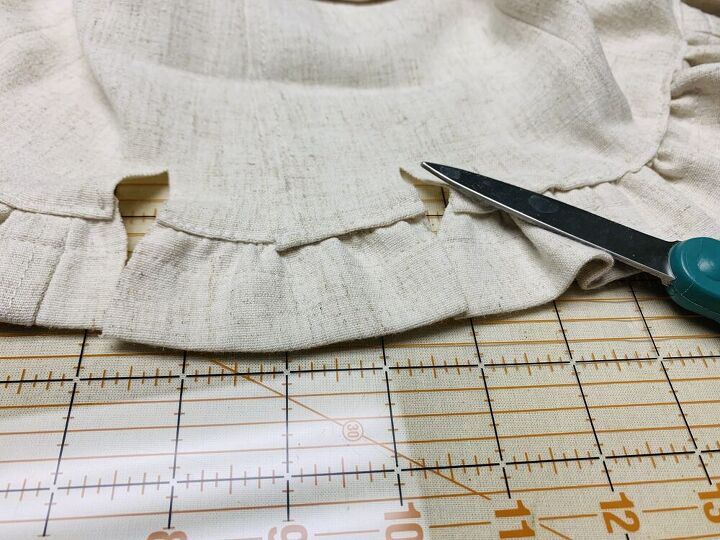
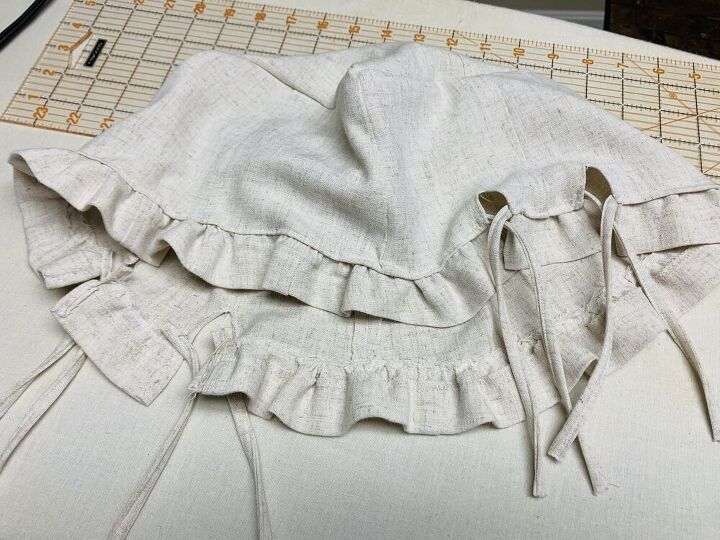
Place good side down and pin the raw edge back on itself. Pin one tie in place on either side and sew in place. Repeat 3 more times for each cut.

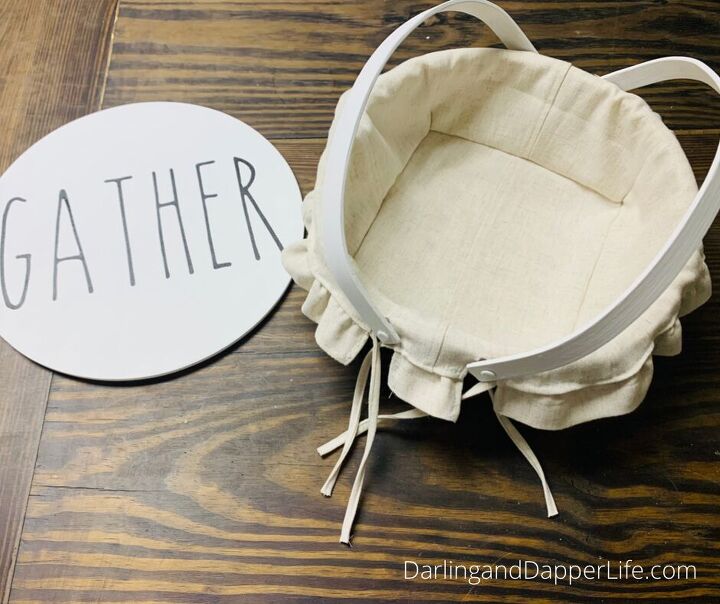
Viola, your liner is now complete.
Note, if you don’t want to make a custom fabric liner, you can always use a square fabric napkin or tea towel and drape it into the basket like so. Also super cute, and much faster!
Now, its time to fill your finished basket with treats or bread and gather some people up to share it!

Comments
Join the conversation
-
'So nice to see a sewing project that uses proper notions and techniques including pinning, instead of just slap-dash hot gun glue.🪡🧵
-
Great upscale on so many levels -- it's like magic! From some old throw-away items comes a fabulous looking farmhouse decor piece. I love it. ❤️


Frequently asked questions
Have a question about this project?
Was there a fabric label on the skirt?
'Just wondering if the fabric is washable?