


From Trash to Treasure: How to Make DIY Apothecary Jars

Looking for a fun and practical DIY project that can also add a touch of vintage style to your bathroom decor? Consider making your own DIY apothecary jars!
These jars, originally used by pharmacists to store herbs and medicines, are now a popular decorative item due to their versatility and timeless appeal.
This post was transcribed by a member of the Hometalk editorial team from the original HometalkTV episode.
Follow these simple steps to create your own unique set of faux apothecary jars that will add a touch of charm to any bathroom.
1. Gather Materials
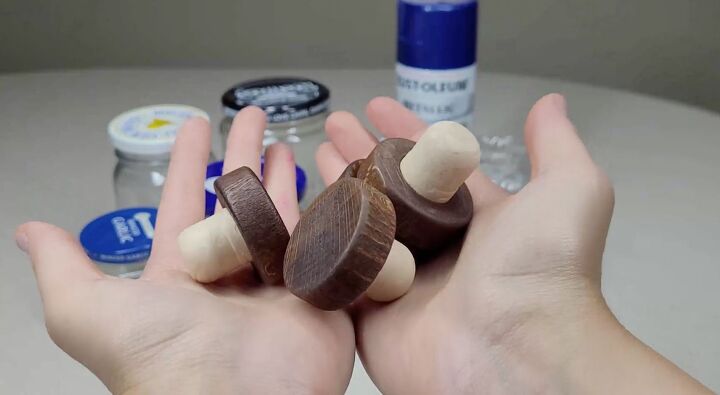
For this craft, I am using corks. These are from a tequila bottle, but you could also use regular corks, or you could just use wooden knobs instead.
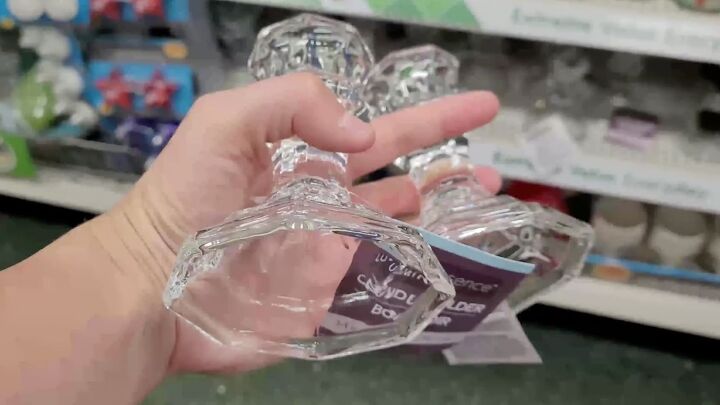
These glass candle holders were from the Dollar Store and I picked up four.
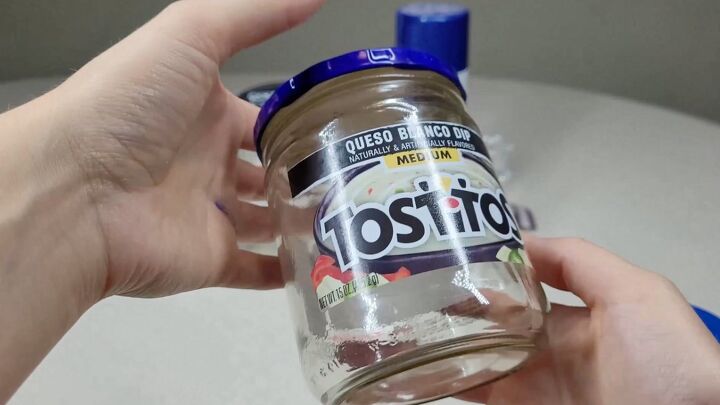
I also grabbed jars of all sizes. I have four, but you should see my cabinets. I collect these things and probably a lot of you do as well.
2. Prepare the Jars and Candle Holders
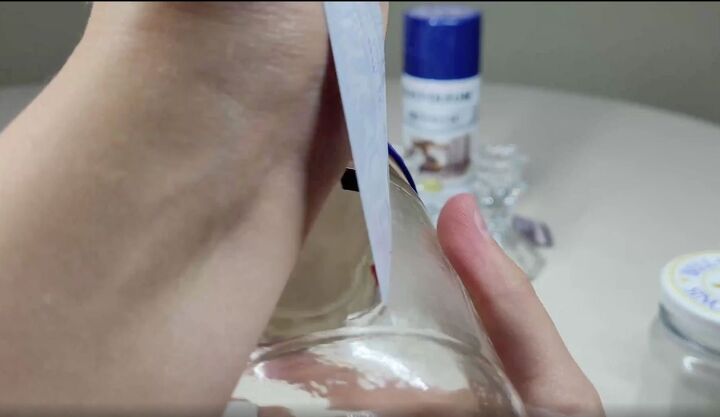
Take off any stickers that are on these jars. This one has sat for a while, so there is a good amount of residue left behind.
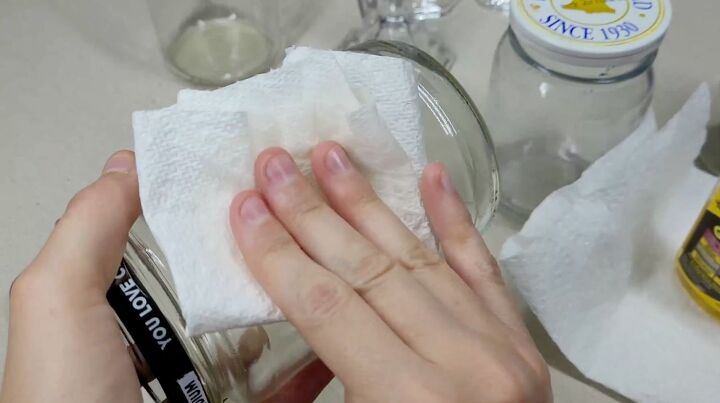
Use some Goo-Gone to get off any residue. Surprisingly, the Dollar Store actually had some when I was there, so make sure to look when you were there as well.
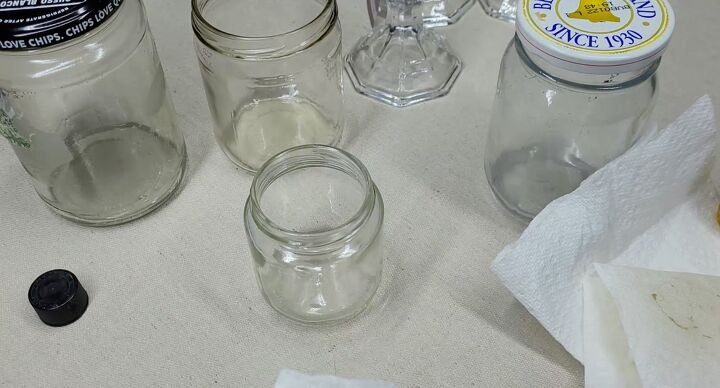
Wipe off the jars with a clean paper towel, remove the cap and go and wash the jars.
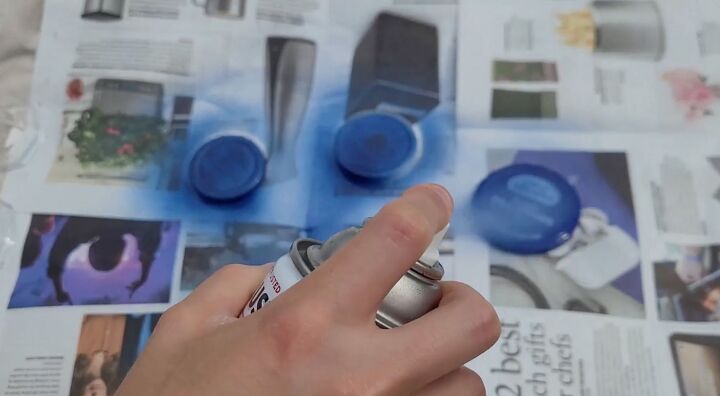
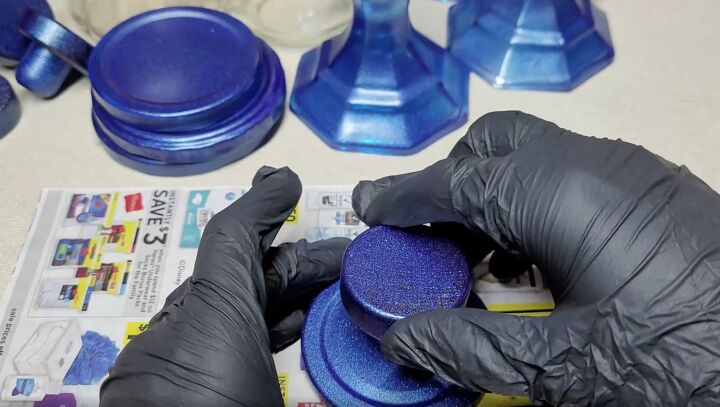
3. Paint the Lids and Candle Holders
Take your lids outside and spray paint them. These needed two coats of spray paint and yours probably will as well.
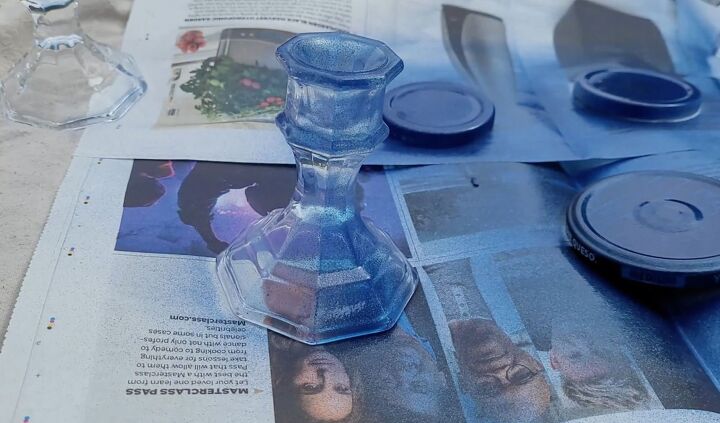
Let these dry and move on to the glass candle holders. I put a very light coat onto these. You could also put on a darker coat, but I just want a light coat because I think it's going to look better.
I realized that the corks fit in the top of the candle holder, so I was able to spray the tops, let them dry and then spray the bottoms.
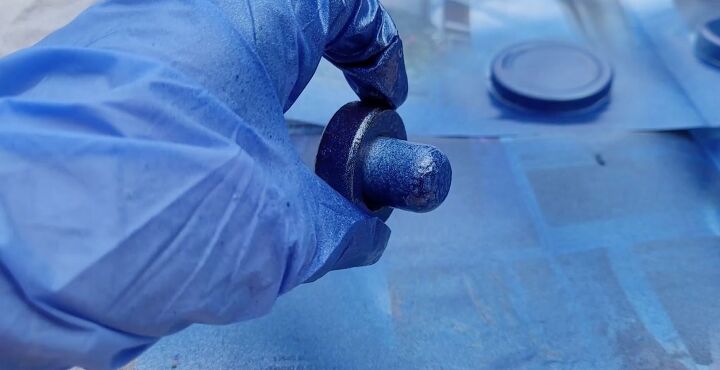
4. Attach the Knobs to the Lids
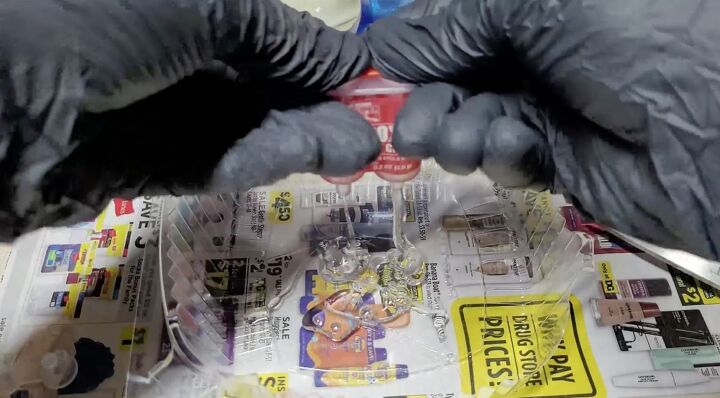
Mix up some five-minute epoxy. Again, your local Dollar Store might actually have some of this. Use this in a well-ventilated area with gloves on.
After it's mixed, dip your knob into it and center it onto the painted lid. Repeat this for all jars.
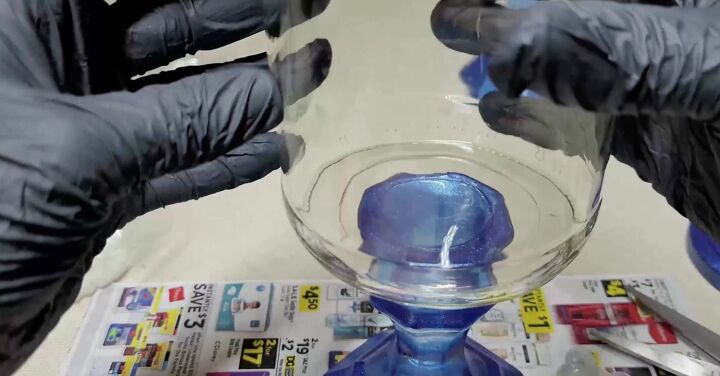
5. Attach the Candle Holders to the Jars
Move on to the candle holders. Dip it and center it on the jar. Keep in mind you only have five minutes to work with this, so if you need to adjust it, adjust it fast.
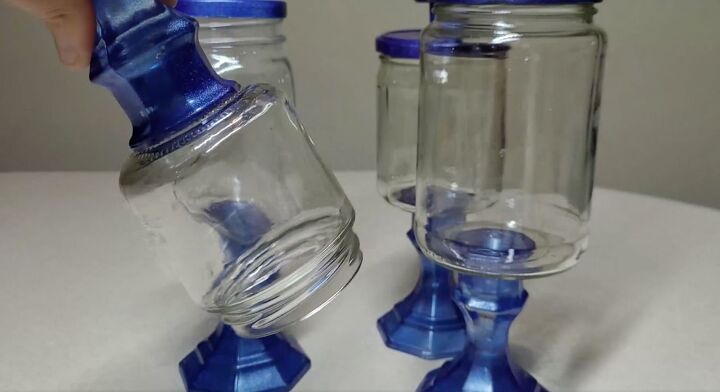
After about five minutes, check to make sure everything stays in place.
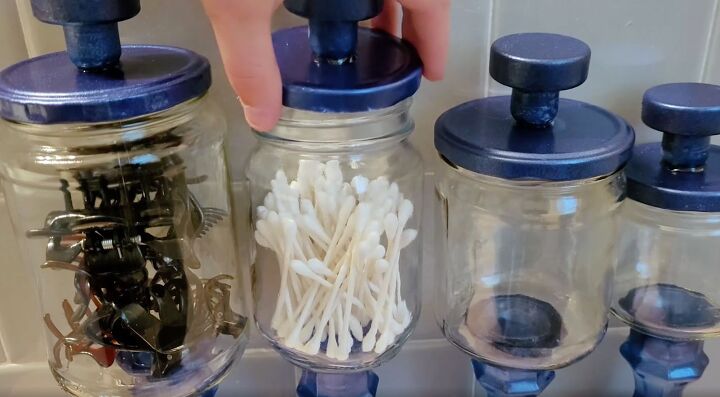
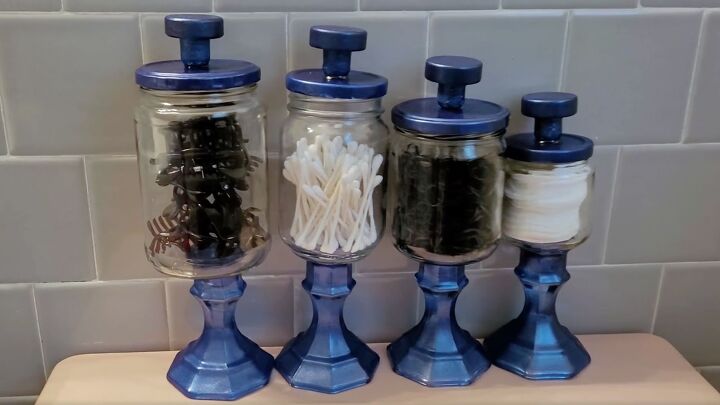
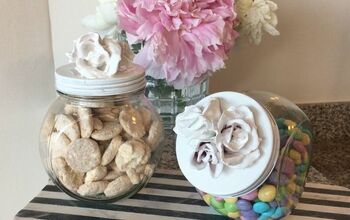
Now let's place these in the bathroom. These jars are all different sizes, so I wanted to place these from large to small.
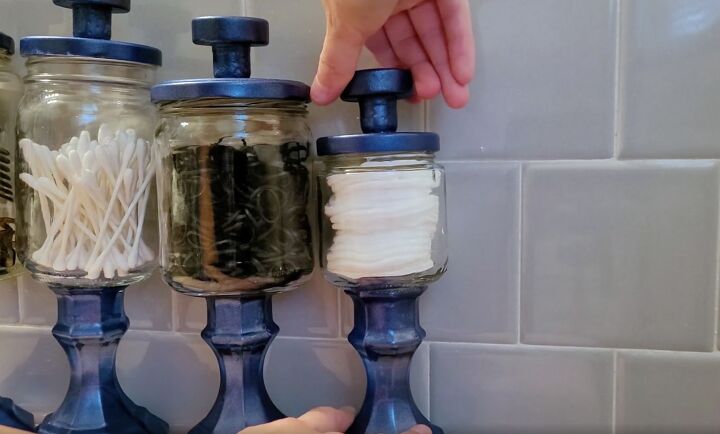
You can really put anything into these that you want to. I ended up choosing hair clips for the biggest one. Some Q-tips, smaller hair ties, and also cotton rounds for the smaller ones. Since I really do use them all a lot.
More Bathroom Storage Projects
DIY apothecary jar tutorial
Not only are these jars a fun and easy project, but they also offer a practical way to organize your bathroom essentials.
So, what are you waiting for? Gather your materials and get started on your very own set of DIY apothecary jars!
Be sure to share your creations in the comments below, I can't wait to see what you come up with!
Resources for this project:
See all materials


Comments
Join the conversation
-
Great idea! I think that I will use some vintage knobs or extra cabinet knobs instead of corks.
-
This is such a cute idea! I too keep glass jars of all kinds to use for projects. I would use something smaller on the lid for my personal taste. As far as others stating that glass jars shouldn't be used in a bathroom. They are dangerous?! I have glass items in all my bathrooms and never had a problem. I probably wouldn't put in a kids bathroom, atleast not where they can be reached. It's pretty much the same as having knick knacks/ decorative items throughout your home that are breakable. You just gotta be careful 😆


Frequently asked questions
Have a question about this project?
Love the idea, but can't seem to Pin this to my Pinterest board .. ?
Does anyone know the blue paint color that was used? What a pretty color!
What did the 4 graduated size jars hold before being up cycled? One looks like a pickle jar.