


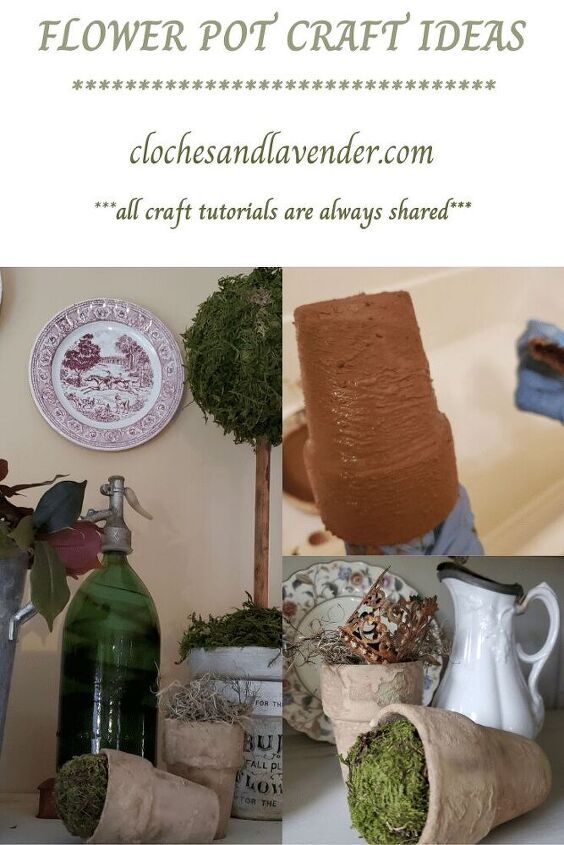
Flower Pot Craft Ideas
Hello all, today I’m sharing a Flowerpot Craft Ideas. I Pinned this from My Vintage Porch and added my own spin.
As an example, in her post her post she did use Organic fertilizer, however, she used white and black paint to add the accenting.
Here’s where they begin to receive my own spin.
- Items Needed:
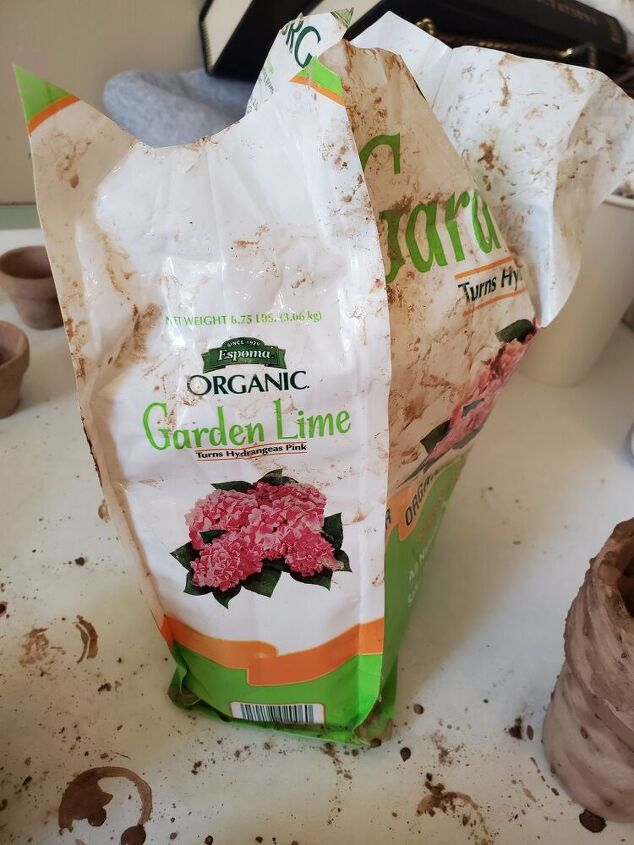
- lime
- Terracotta flowerpots
- chip brush
- plastic container or paper bowl
- 120 grit sanding sponge
- a bit of water
- moss colored craft paint
First of all I did use Organic fertilizer with lime, however, didn’t apply mine with a brush as she applies her lime fertilizer.
Hometalk Recommends!
Beginning Steps For Making These Flower Pot Craft Ideas
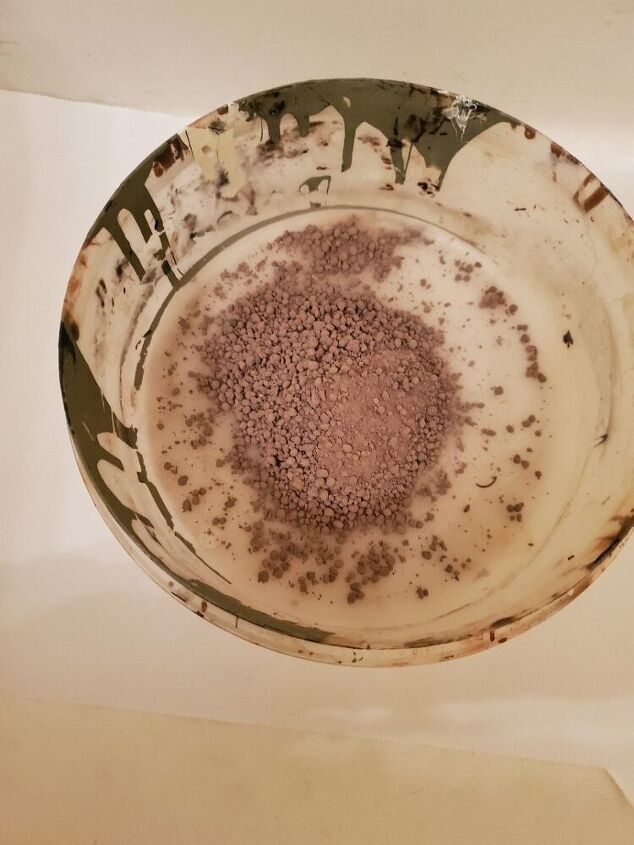
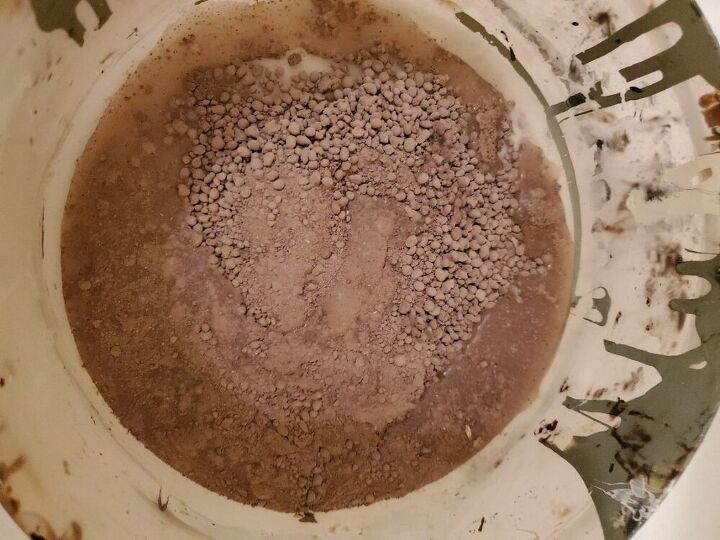
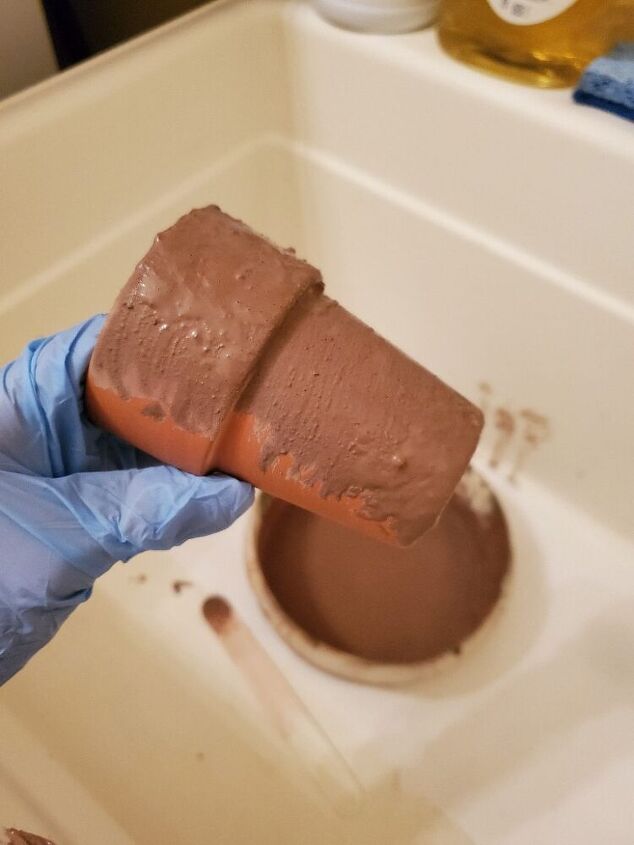
To begin with, I began adding fertilizer to a plastic bowl and adding a bit of water. For the most part, the mixture should begin to look like the consistency of pudding.
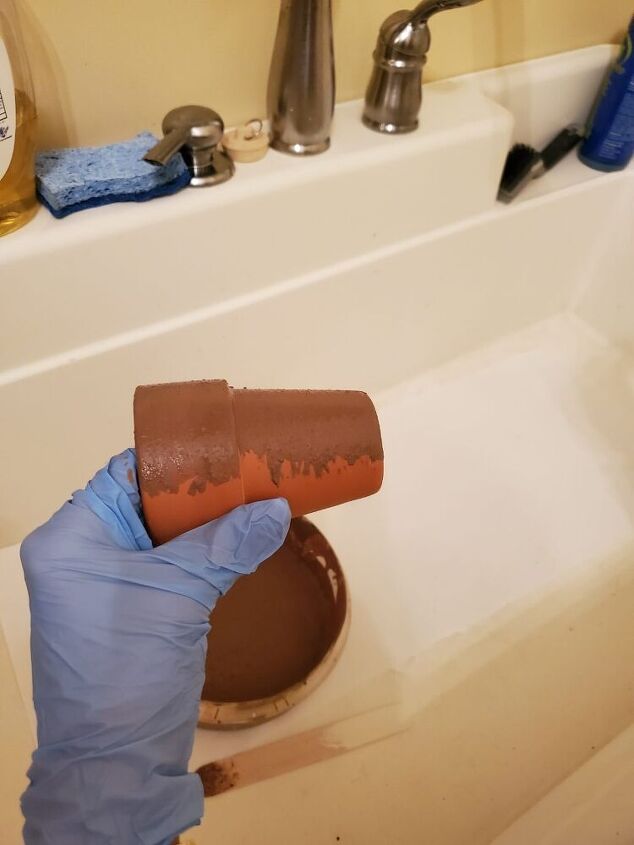
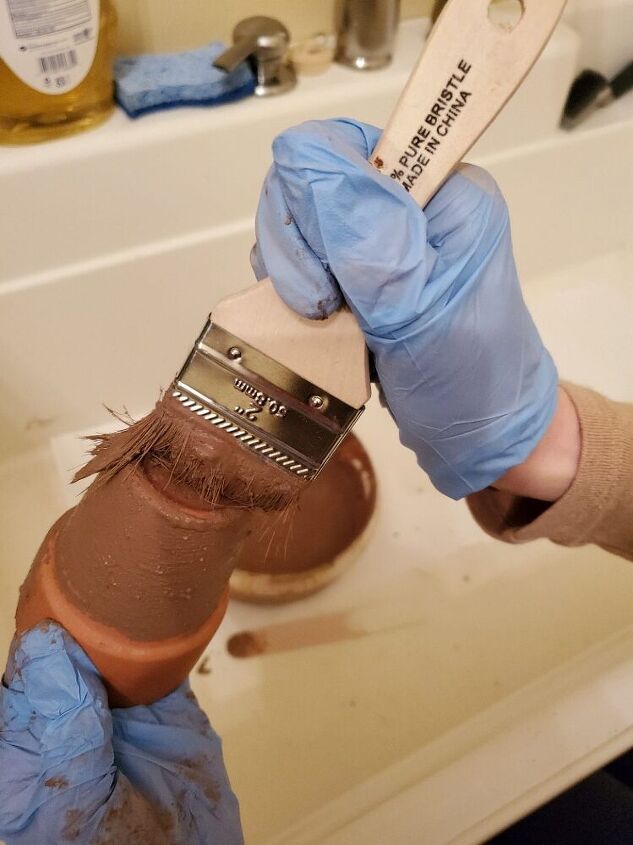
Next, I begin applying the fertilizer to the pots using a chip brush. As a rule, I have many chip brushes because they are inexpensive and work great for numerous craft projects. I did leave some spots a bit heavier in areas. Doing this adds extra character also pieces do not age the same. Let dry.

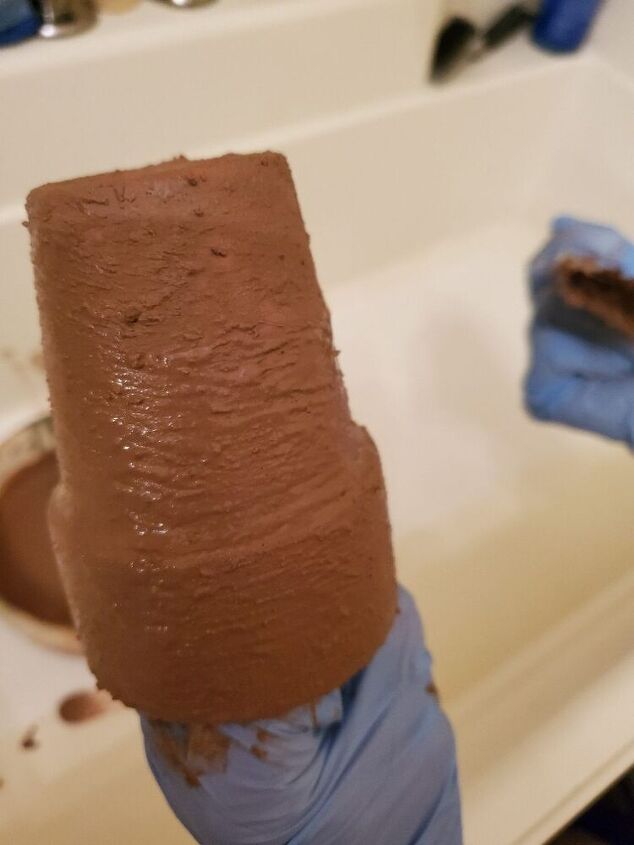
After these dry, spray with a light coat polyurethane. As a result of this being fertilizer do not be alarmed, some fertilizer may come off. Let the pots dry.
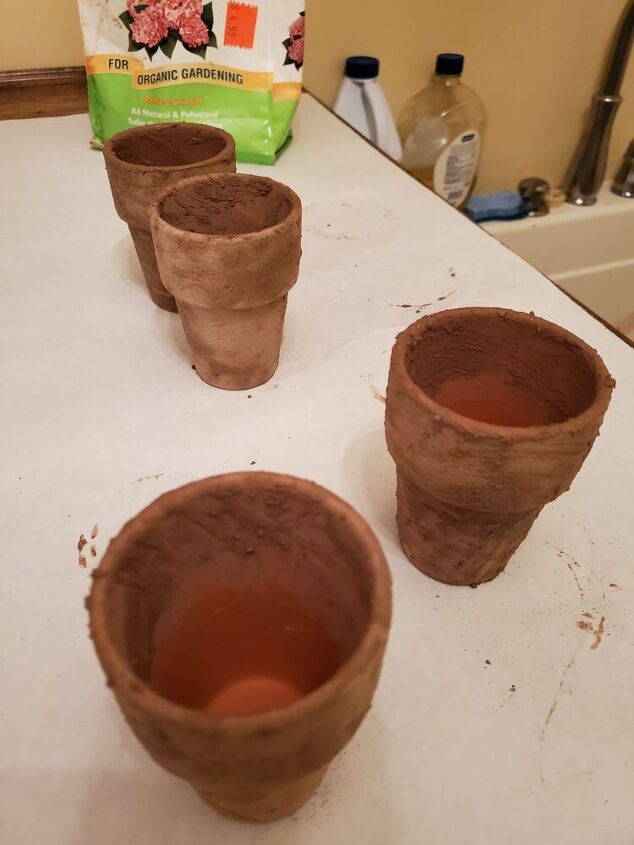
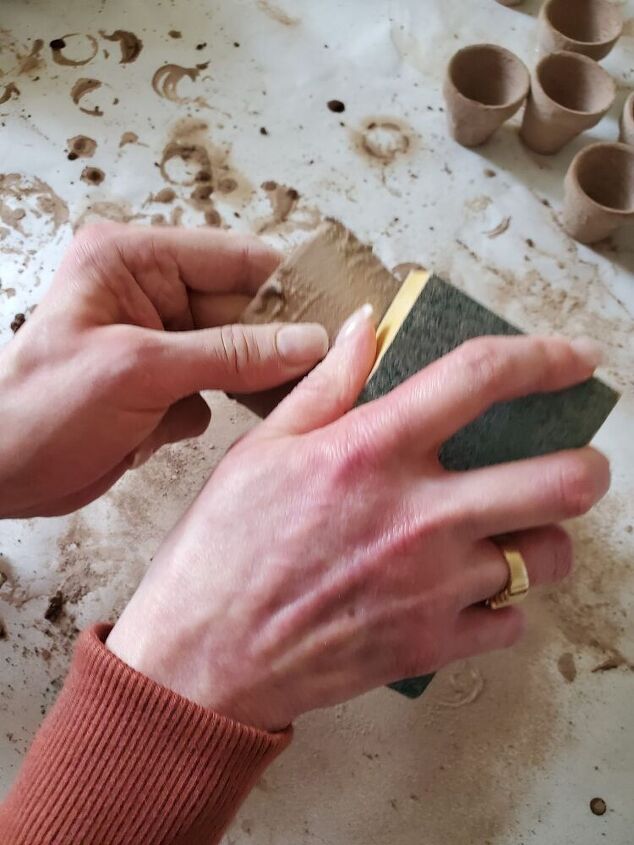
Our next step, using a 120 grit sanding sponge lightly sand spots of the fertilizer from the flower pots. Allowing different variations of the fertilizer to appear. I also sanded in sections allowing the terracotta to show through. This will let the pots to have a realistic aging look.
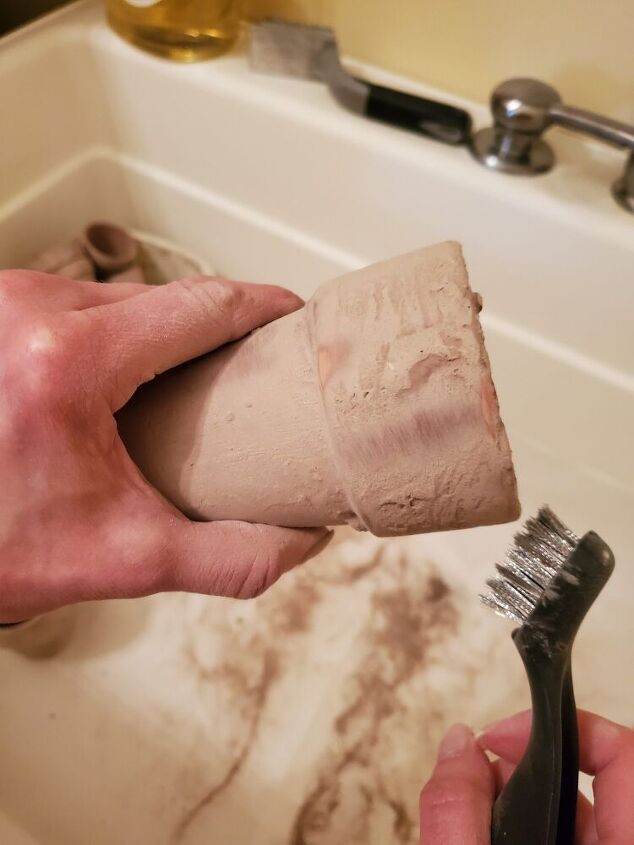
Before beginning my next flower pot, I also did try wire brushes for removing the fertilizer but wasn’t happy with the look so stopped. Trying different ways is the way I learn if something is going to work or not. It’s one of the benefits of being creative.
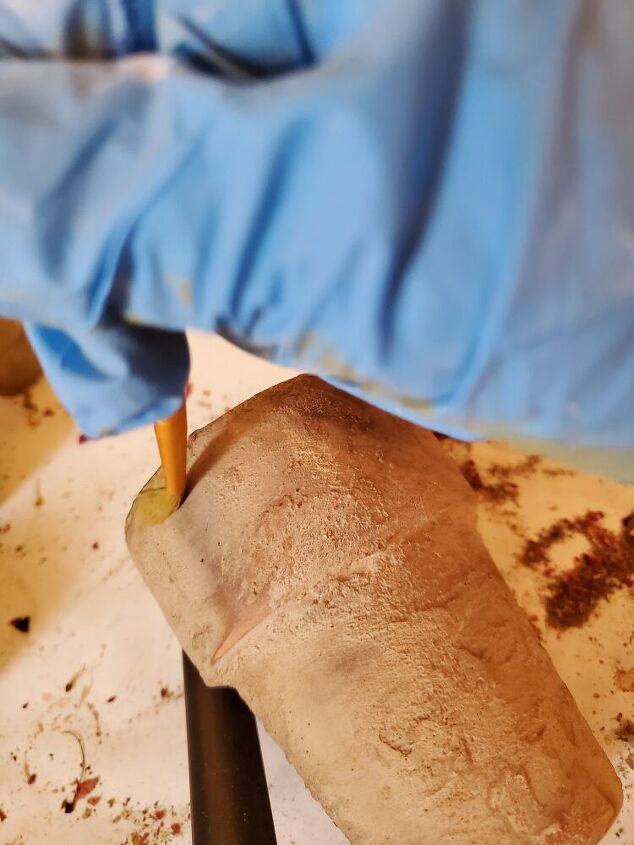
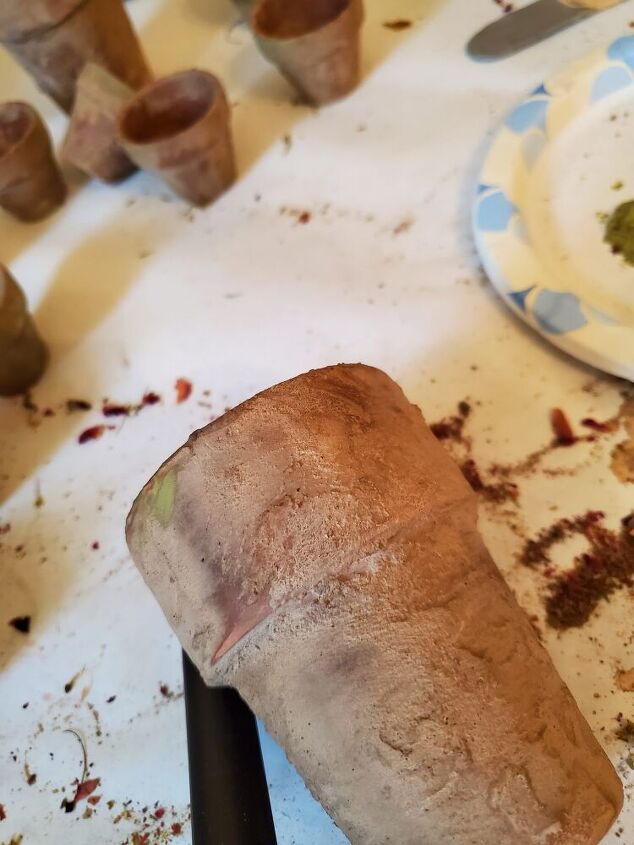
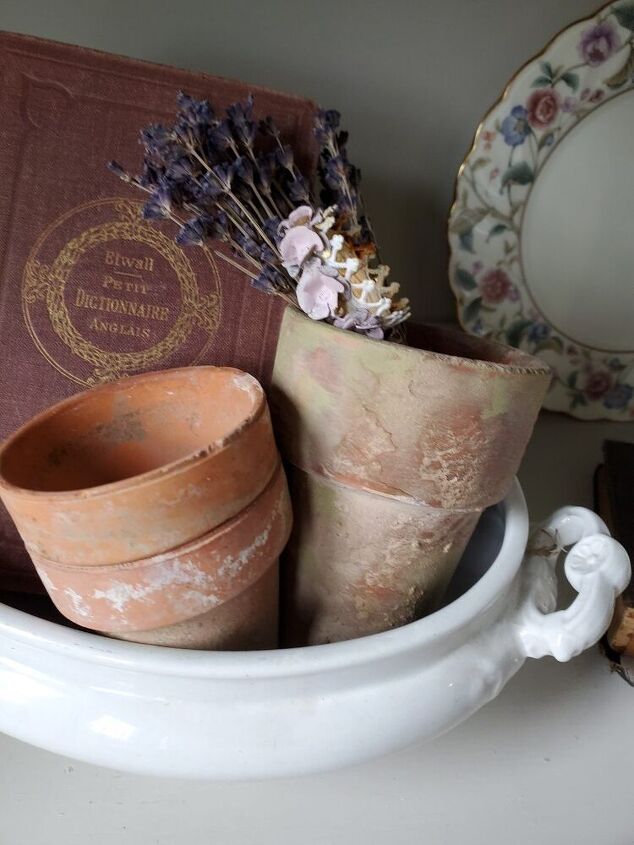
By the way, this is where my technique differs from My Vintage Porch once again. When she had made her pots she did use white and black paint to add dimension. However, wanting to make these my own I began applying a green color paint using a small brush. Adding this in some areas adds more interest while also adding the look of moss. After I apply a bit of the green paint I lightly smooth the paint to blend in with the fertilizer.
Using The Flowerpots in The Home for Your Décor
This craft is easy, fast and budget friendly. Placing these in my hutch adds a pretty touch from spring to summer. Y
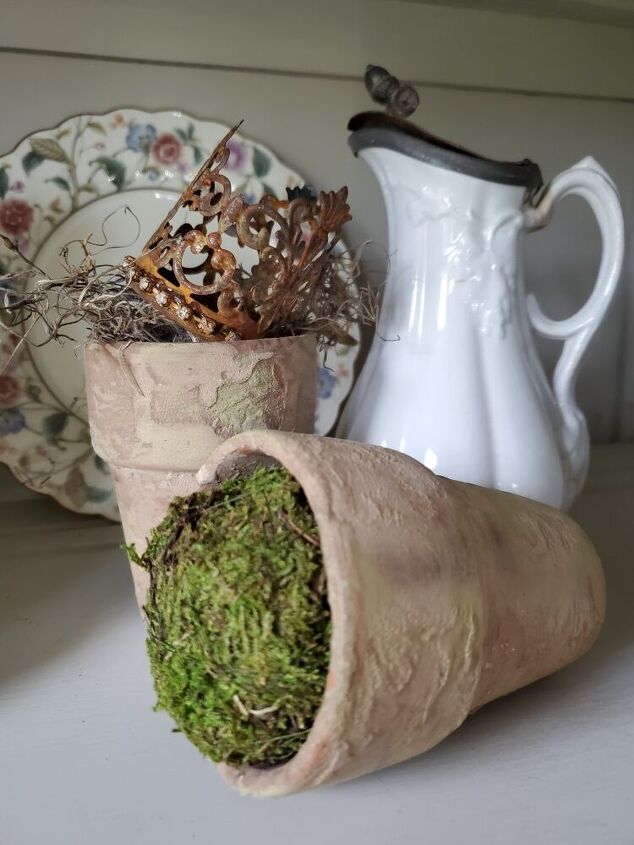
These flower pots will look pretty on a table set for Mother’s Day entertaining filled with your mom’s favorite wrapped chocolates.
I will also be sharing these for a few wreath ideas I’m going to be creating soon. I will be adding a little bit of twist to these post.
So, be sure to sign up to follow Cloches & Lavender so you don’t miss a project I am sharing and you may be interested in signing up for my newsletter at the top of my page!
REMEMBER TO PIN IT!
Resources for this project:
See all materials


Comments
Join the conversation
-
Pretty pots, using moss green paint was a great idea
-
I love it!


Frequently asked questions
Have a question about this project?
I may have missed it but why the fertilizer? Just for the texture and if so isn't there something else that would be less costly and give the same look?
This is my first time on your site and I do LOVE it!!
Hi,
Love this idea. Can you please tell me if this would work on styrofoam flower pots.