


Gold Leaf Candle Holder
In winter, I love burning candles. There's just something so comforting about flickering candle light when you're bundled up in a cozy throw blanket.
So I decided to make some pretty candle holders.
I'm not sure if you've ever used gold leaf, but it's so much fun to work with. It's really easy to use and it looks like a million dollars.
Be sure to work in a room without any air flow. Gold leaf is very light and blows away easily.
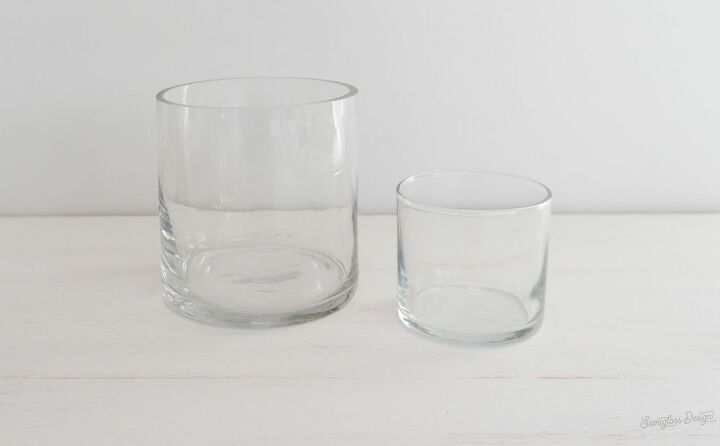
I started with some plain glass candle holders. To be honest, the larger one is a short vase, but it's the perfect size for a candle. The smaller one fits a votive or a tea light.
Clean your candle holder with rubbing alcohol to remove any oils from your skin. This will help the adhesive work.
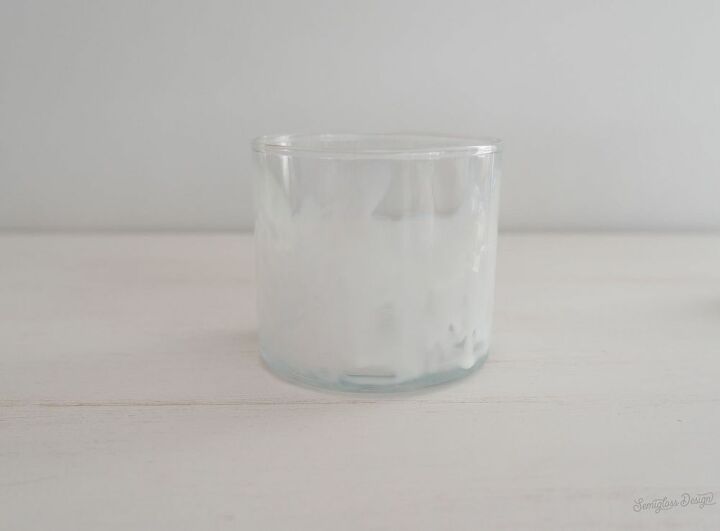
Paint a thin layer of the adhesive size onto the glass. I kept the edges pretty random for an organic feel.
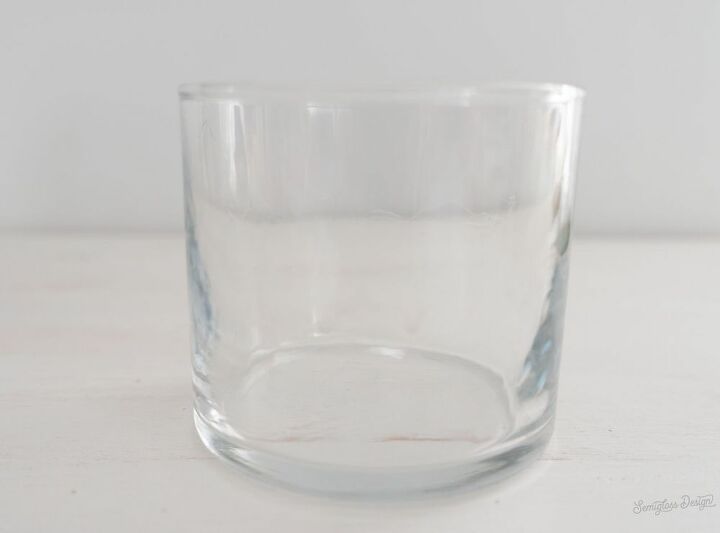
Let the adhesive dry. It will turn clear and be a bit tacky to the touch. It takes about 10-15 minutes.
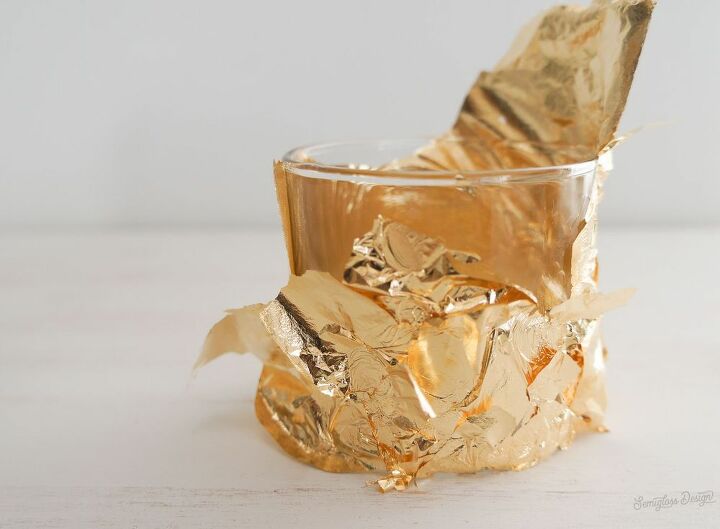
Remove a sheet of gold leaf from your package and place it onto the adhesive. You can tear away the excess to cover other bare spots. Larger candle holders might need more than 1 sheet.
I wasn't trying to be exact with my placement. Some pieces even overlapped.
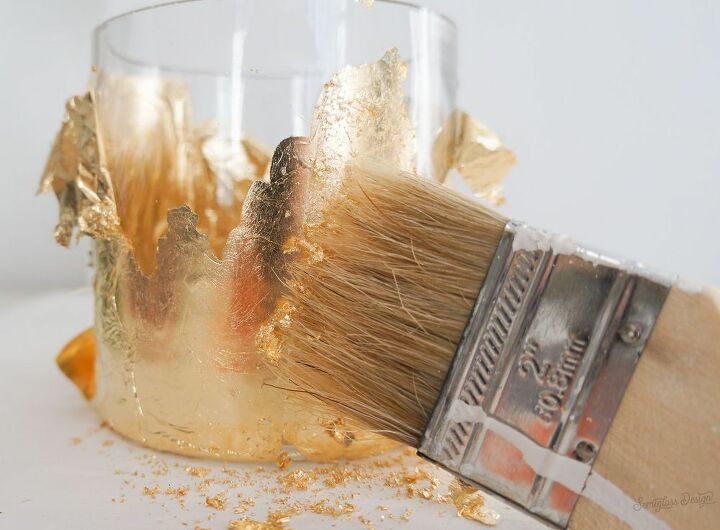
Once it's covered, use a chip brush to remove the excess leaf. This is where the magic happens. It pushes the leaf into the adhesive, but it also burnishes the gold leaf, which leaves a beautiful texture.
Brush the entire surface of the candle holder.
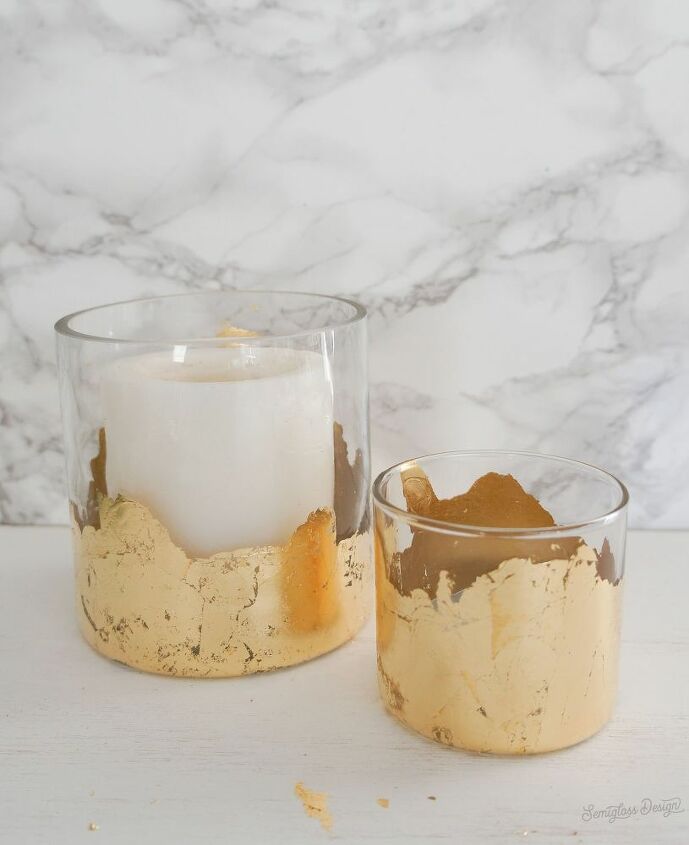
I love how they turned out! Now I want to gold leaf everything!!
For more easy DIY projects and home decor, be sure to check out my blog: Semigloss Design!
Resources for this project:
See all materials


Comments
Join the conversation
-
Very pretty ! I have the perfect size vase I am going to do this to. Thanks for the idea!
-
Beautiful! Do you have to seal it?


Frequently asked questions
Have a question about this project?