


Hide Your TV With This DIY “antique” Sign
Today, I want to share with y’all an easy solution to hiding your tv and all those pesky cords. Some people don’t mind the look of a tv on the wall, I never minded either, until I came up with this super easy solution! This sign is super light weight, which is a total must in our house with young kids and a puppy running around. So even if the sign did happen to fall, which it hasn’t yet and I don’t foresee happening, it wouldn’t case harm to anyone!

I never really liked the family room, because it was hard for me to figure out a good way to decorate around my tv, so I never did anything in the space. It was boring and very plain. Then I decided that I would make a big sign to cover the tv…”but would it really work? And, what kind of sign would I make?” Those were the thoughts that ran through my head, every time I looked at the tv, for a couple months before I decided to just do it!
While I was visiting my little brother, my sister and I went to one of our favorite antique stores, where I found my inspiration!
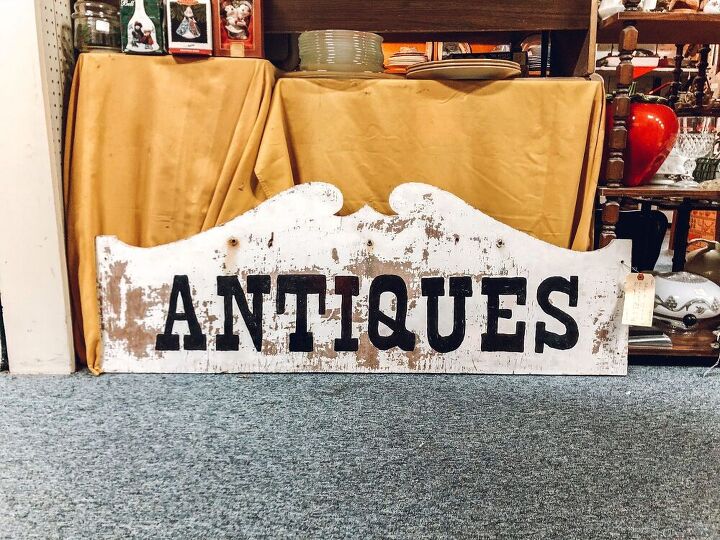
I loved it, but knew that I needed a sign that was quite a bit bigger to cover the TV.
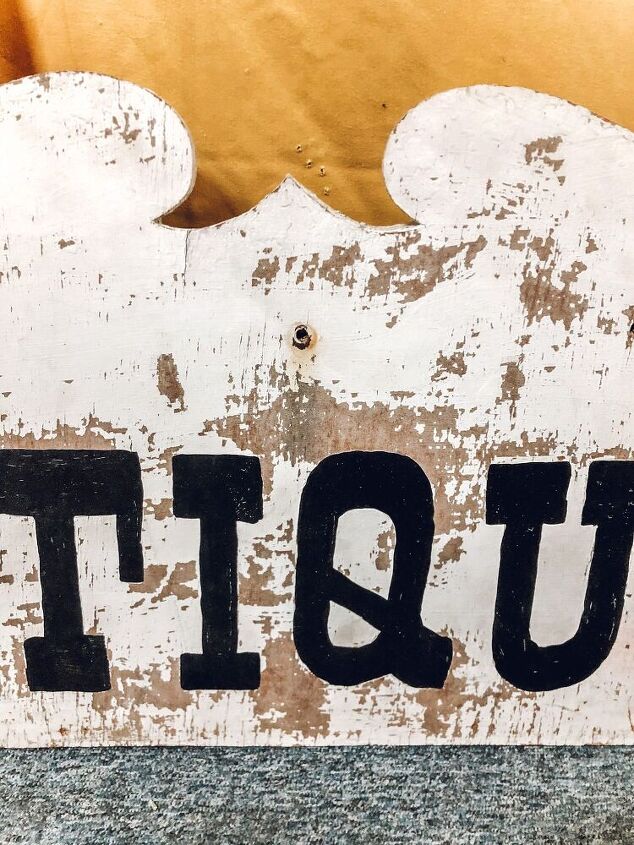
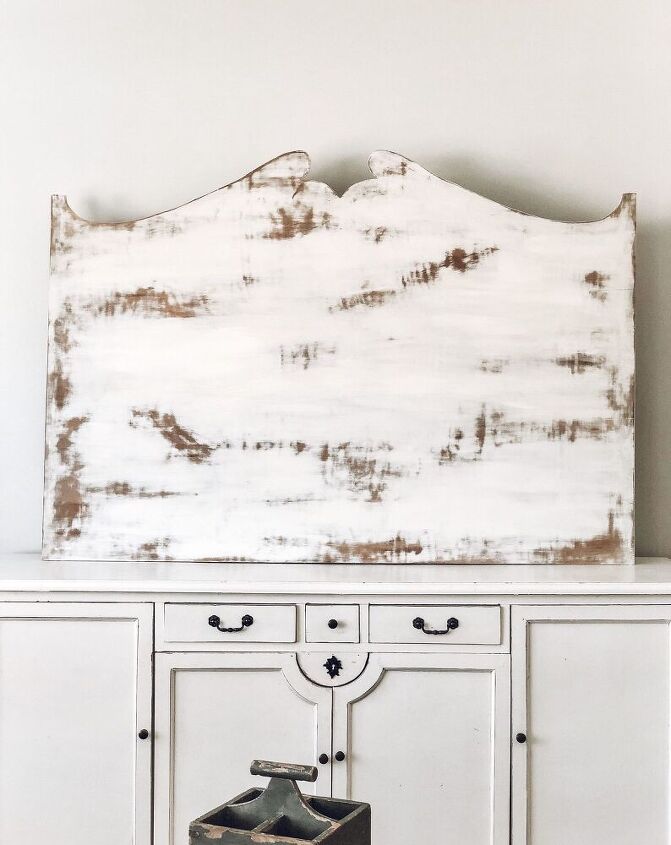
My favorite part of the sign is the sweet cut out detail at the top!
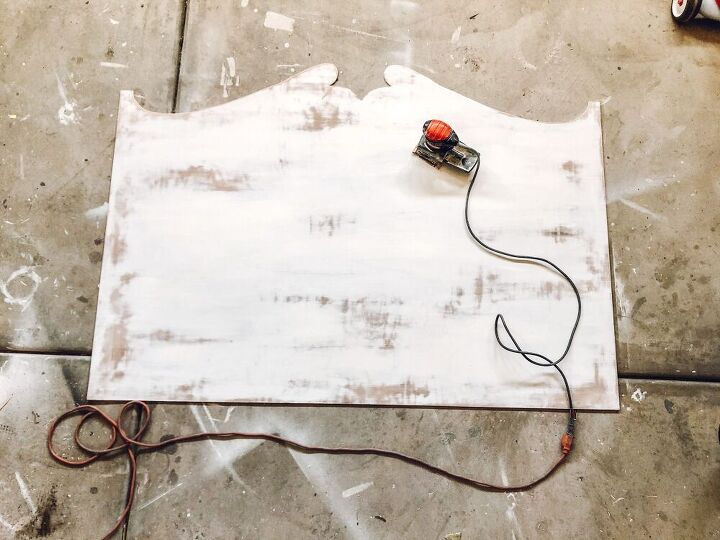
I started with a super light weight (less than 10 lbs) sheet of maple plywood, that I got from Lowe’s
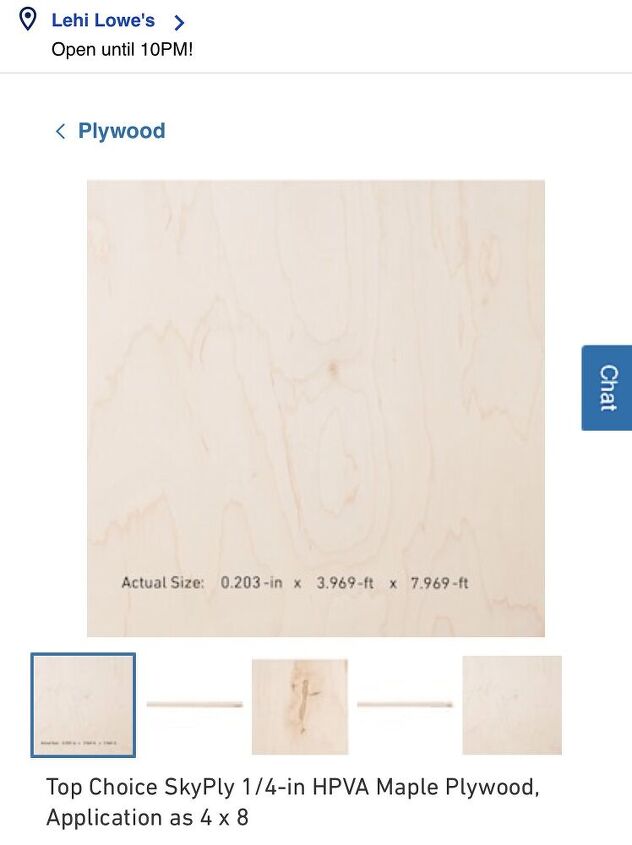
While at Lowe’s, I got the board cut down to the basic size that I wanted, taking into consideration that I would be cutting a little off the top. My finished sign ended up being 67in wise x 44in tall.
At home, I started sketching out the design on the top of the piece of wood.
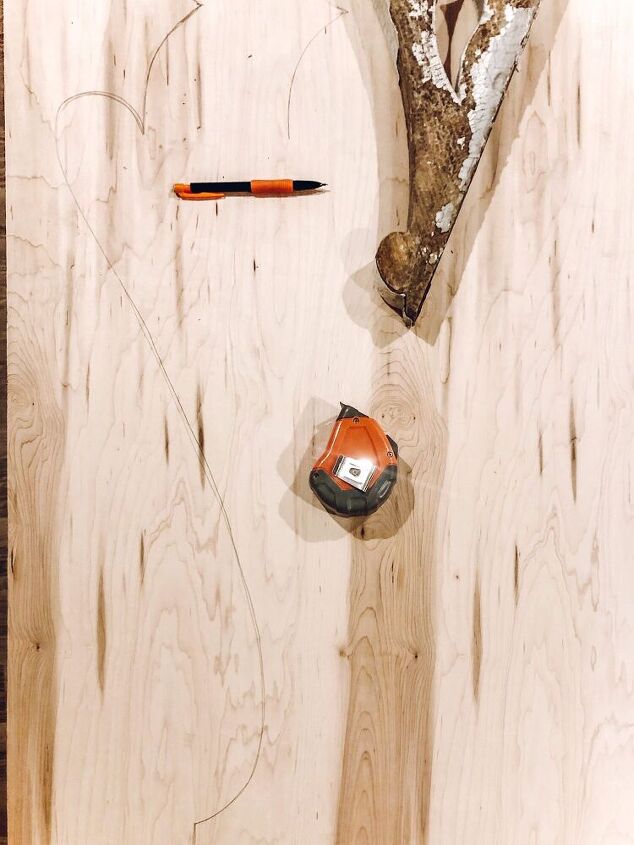
What I found to be most helpful when trying to make the top cutout detail…find your center point, from there draw your design on only half the board. Cut that section (I used a jigsaw). Then trace the piece you just cut, onto the other half of the top of the board, and finish cutting. This ensures that your design is symmetrical, which I think is super important.
Once my board was cut, I sanded and painted. Then sanded some more.
I put it in place, just to make sure it was the right size, shape, etc.
I printed off the lettering that I wanted to use, in the biggest size possible, colored the back of each paper with pencil, and taped the papers to the board.
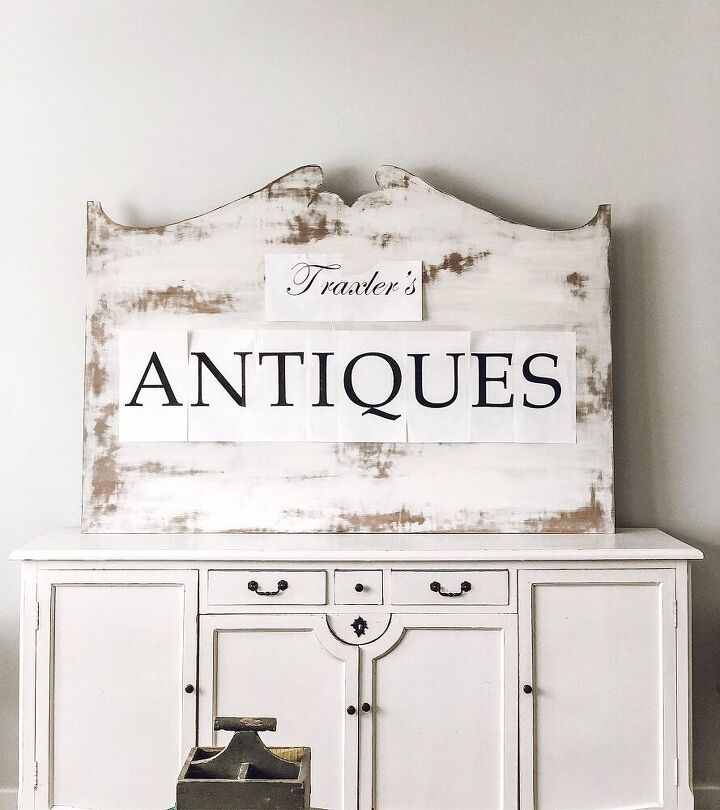
I then traced over each letter, which transferred onto the wood, because I colored the backs of each paper with pencil.
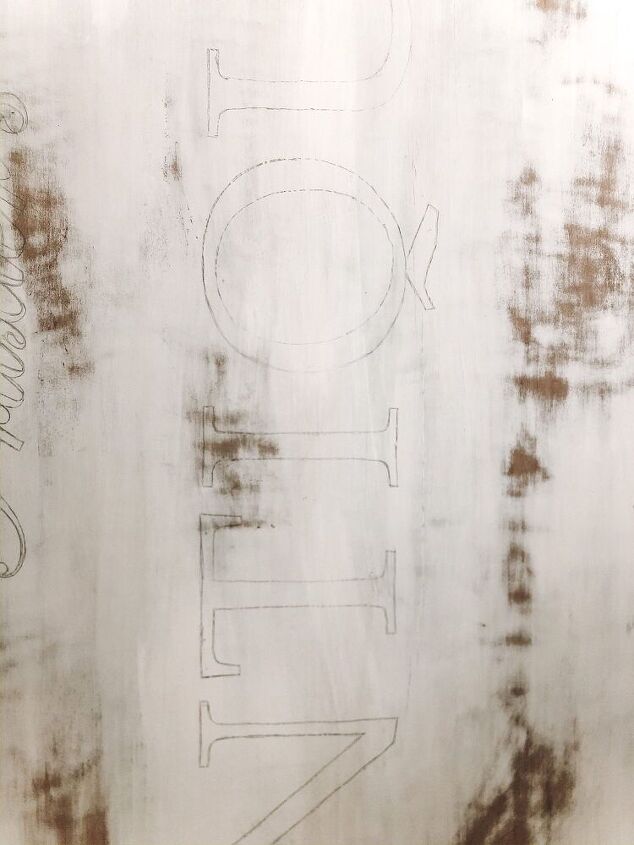
I then carefully, using black chalk paint, painted in the lettering.
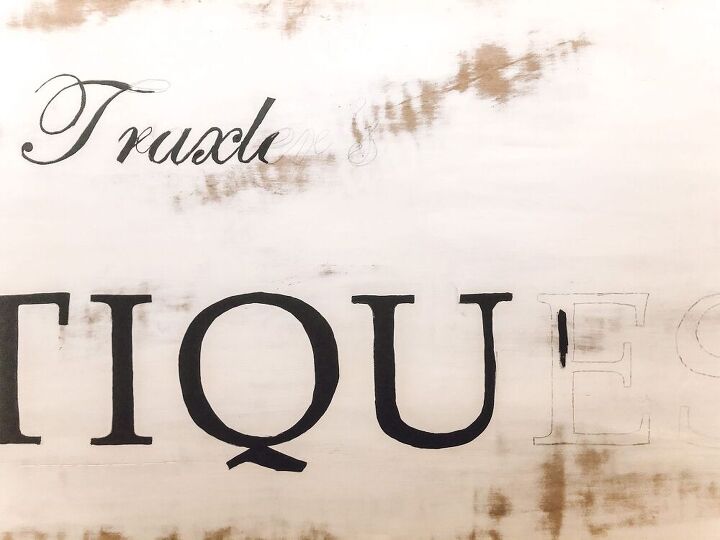
Remember, it doesn’t have to be perfect. Every authentic antique sign that I have seem, isn’t perfect!
I sanded the black lettering a little, and it was done!
This sign is seriously so easy to take down and put up, which I love!! No more cords showing, and not a lot of hassle.
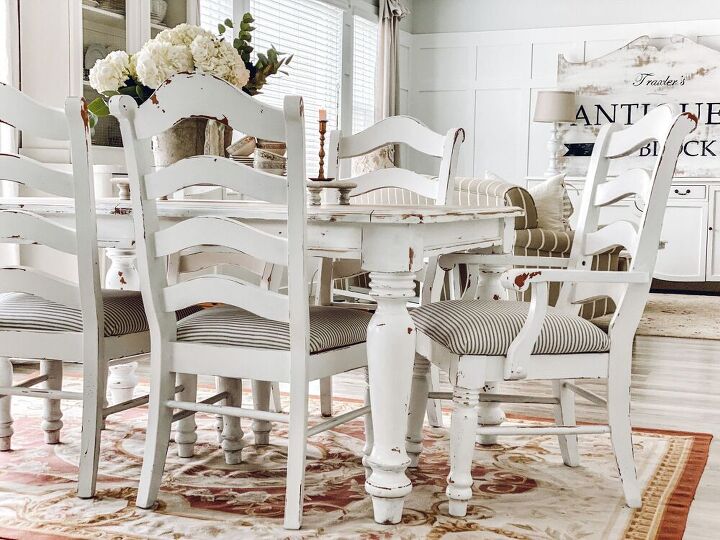
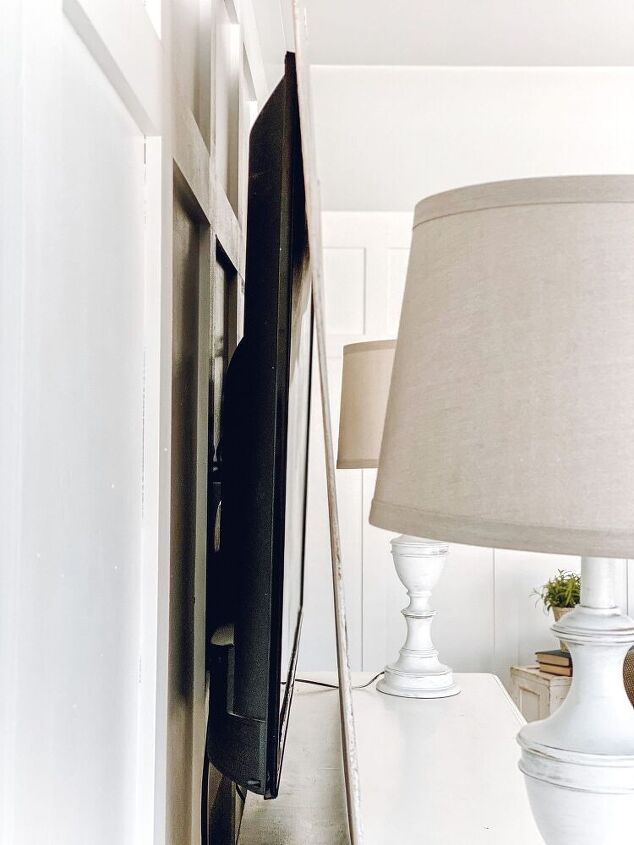
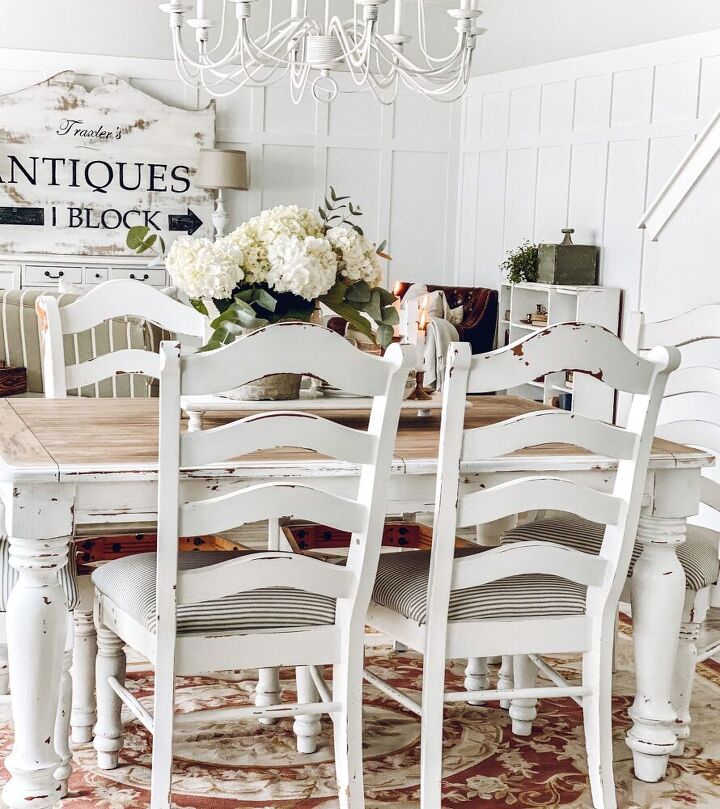
The sign nicely rests in front of the tv!
Before….
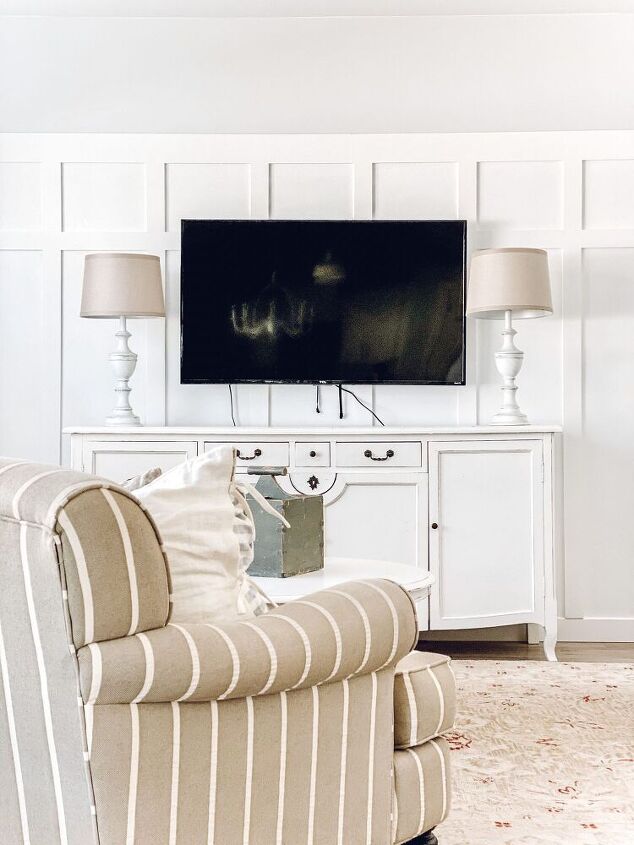
After…
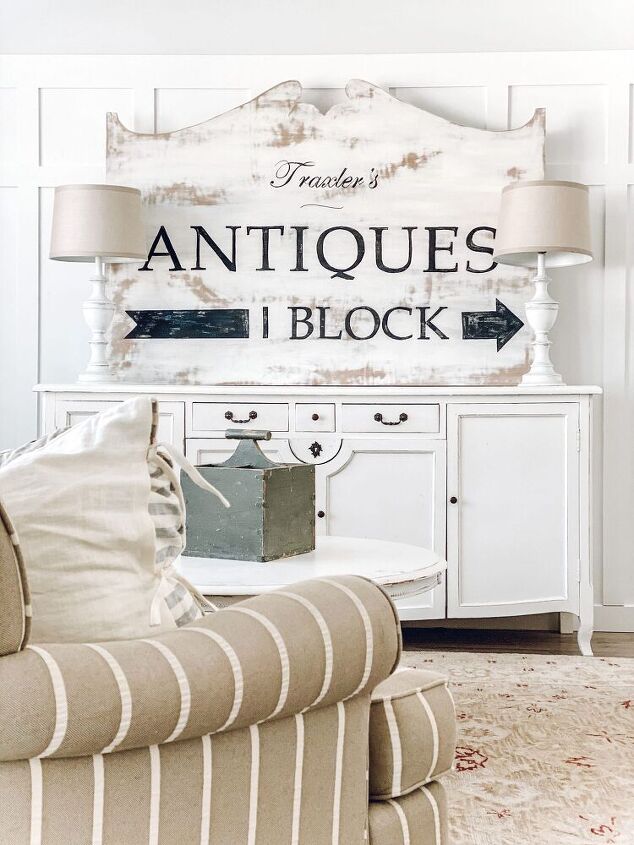
Such a huge difference, right!!
So much love to you all!!
~Emily


Comments
Join the conversation
-
I think its a fantastic idea! I have made several signs out of the 1/4" plywood and they are so lightweight they are easy to move, and to the lady worried about where you put it.... signs can sit anywhere, including the floor and look just as great! I do want to know what you used to make your shapes? Looks like an old bracket or something.
-
I love your sign and your instructions are very good!
Thank you for sharing!


Frequently asked questions
Have a question about this project?
So what do you do when you want to watch tv? Remove the sign without knocking over your lamps and have the sign just laying around while you are watching? How about hanging a white roll down blind in front of the tv? It being white, you wouldn't have to decorate it.