


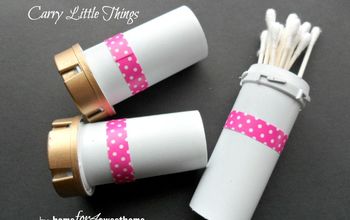
His And Hers Camo Design Incense Bottle Craft

These are simple to make, and you can use this technique to recreate the camouflage pattern on any surface. If you love the smell of incense but hate the mess it leaves, this wine bottle craft is the perfect solution. I made these to show another way to use empty wine bottles; they also make great gifts. It's hard to shop for men or come up with crafty things they would appreciate. I think these would make a thoughtful gift. It's personal, handmade, and they can use it. YOu can always customize the design.
You can watch this easy-to-follow step-by-step video or keep scrolling for instructions. Let's get started!
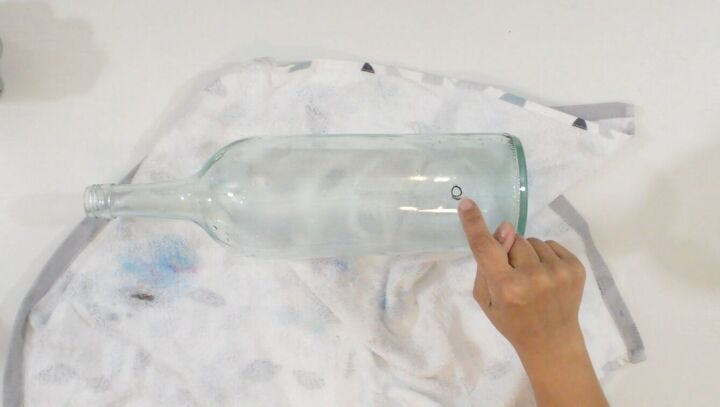
I predrilled a hole to allow airflow. Doing this will allow the incense to burn and produce a nice stream of smoke to flow from the top of the bottle. You can skip this step if you only want to create the design.
I have a post called; How to turn a wine bottle into a lamp. In that post, I give the steps on how to drill the hole.
Or copy-paste this link to your browser and watch.
https://youtu.be/f5JiJy-dELs

Start by giving the bottle two base coats of white matte acrylic paint.
1.) Using matte or chalk paints seems to work best for this design.
2.) I suggest only using white or any variation of white (off white, cream, beige, etc.) for the base color. Darker colors create more difficulties.
3.) Let each coat dry between each one.
4.) I use a small fan to speed things up.
5.) Pouncer brushes tend to give the best coverage. You can find a pack at dollar tree. $1
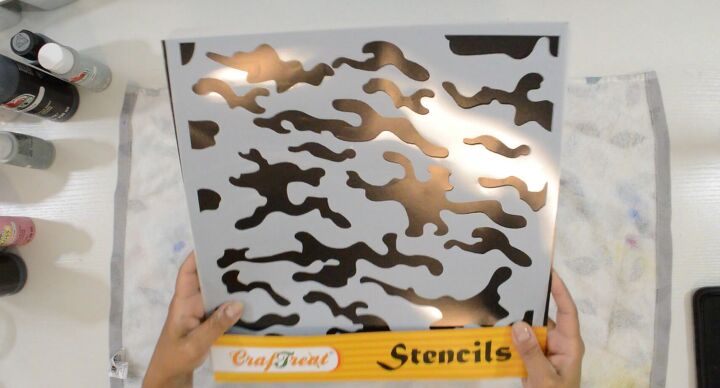
I used a stencil for this design, but not in the traditional way. I knew that trying to stencil the design onto the whole bottle would get messy. At least for me, it would.
If you have the skills to stencil the entire bottle, go for it! You can also freehand the design if you know how to.
You can also google "camouflage stencil" and print one of the images out. Cut the patterns out and use that.
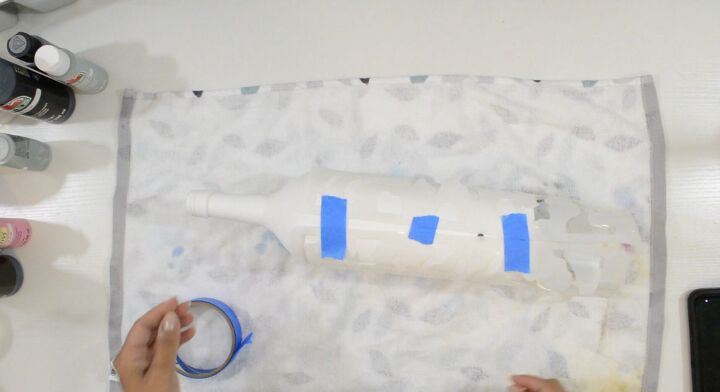
I wrapped the stencil around the wine bottle and secured it with painter's tape.
Trace all the spots using a pencil. (Lead or Color)
1.) When tracing, do not push down too hard. You don't want to scratch off the base coat.
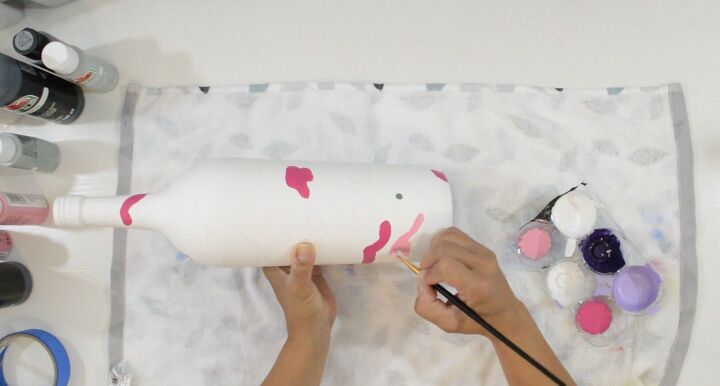
2.) Trace the entire pattern. Once you're done, remove the stencil, and start painting in the spots.
3.) Use matte paints and alternate between your colors. Do not add black until the end. (or any dark colors)
4.) You might find that you'll need to stop and let the bottle dry before filling in all the spots. Doing this will prevent you from smudging the design.
5.) Add random spots to the neck of the bottle.
Once you've finished your first layer, place the stencil back on the bottle, and repeat the process. You want to continue this process until the bottle design is to your liking.
1.) Do not cover all the white
2.) Remember to leave room for the black (dark colors)
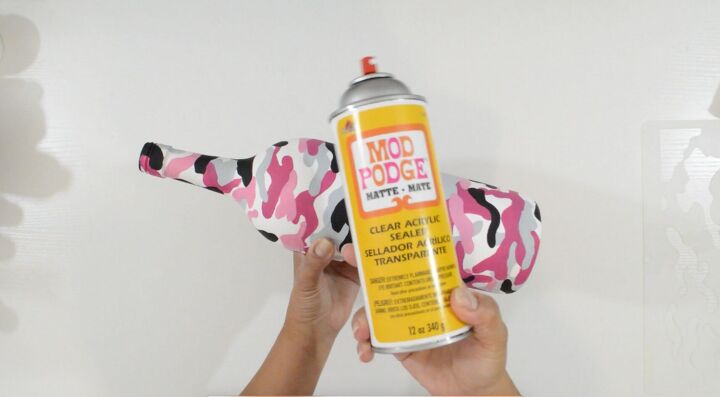
Once it's completely dry, seal it with a matte sealer.
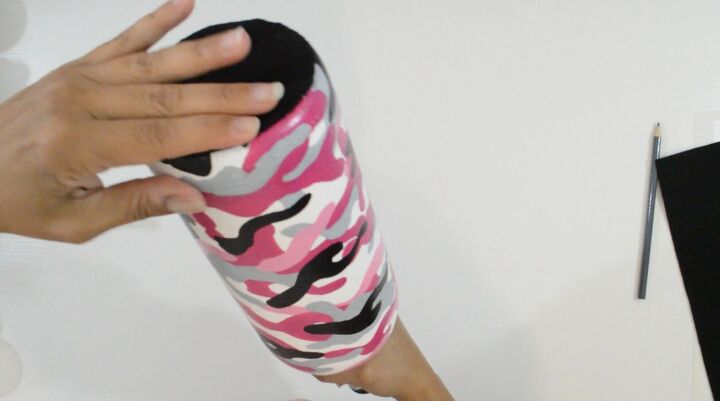
I traced, cut, and glued a piece of black felt to the bottom of the bottle.
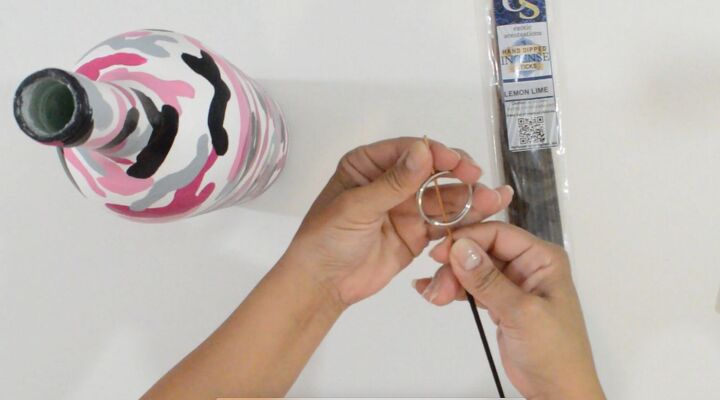
Lastly, Take your incense and pinch the wooden post between the keyrings. Light it, and place it in the bottle. Now you can enjoy your custom incense holder or give it as a gift.
This project is time-consuming because of the drying in between each layer. Other than that, it's easy and so affordable! I recycled a wine bottle, used cheap crafting paints for $2.50 total, a pack of keyrings for $2.50, some crafting felt for $.28, print the stencil design from online if you don't have one for $0, matte sealer (Mod Podge liquid only $.50) and incense that cost me $1 a pack at the online store called Exotic Scentsations. A whopping $7 is your total!
I had everything except the keyrings and incense.
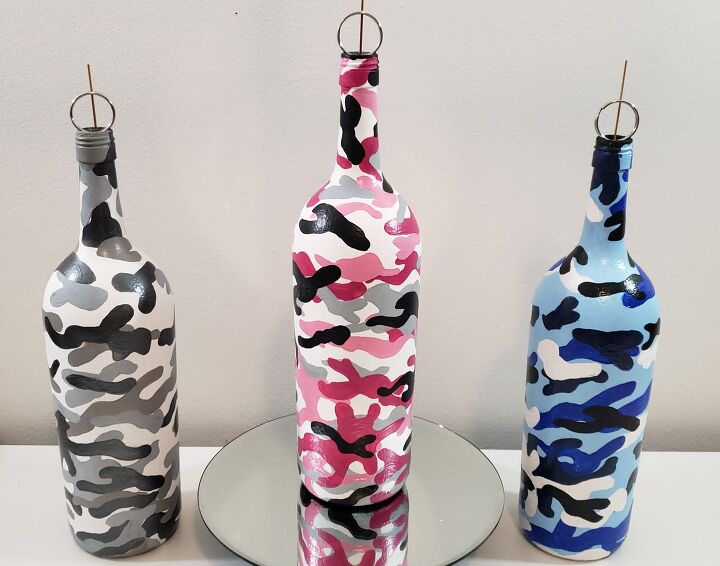
I made three different color patterns with more or less layering so you can see the difference.
I hope this inspired you to upcycle something of your own.


Frequently asked questions
Have a question about this project?