


House Address Wooden Plaque Planter

by
Ariel
5 Materials
$15.00
30 Minutes
Easy
Add a touch of greenery to your house address with this really cute project I have today.
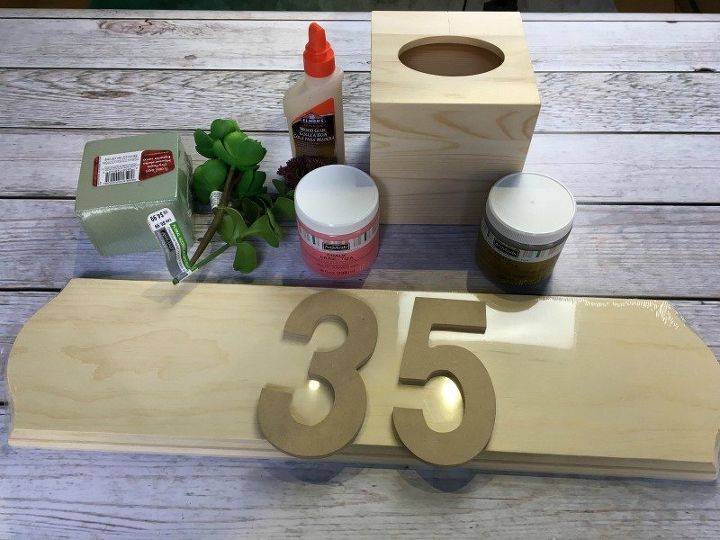
You're going to need a wooden plaque, wood numbers, chalk paint, fake flowers or succulents, a styrofoam square, a wooden tissue box, and wood glue.
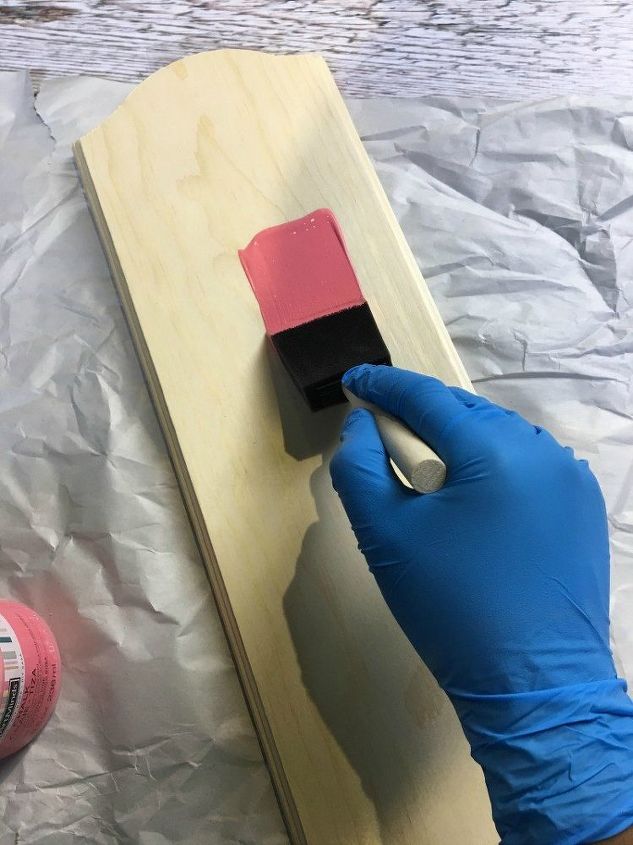
Begin by painting a wood plaque, I used chalk paint in a bright pink for the front part of the plaque.
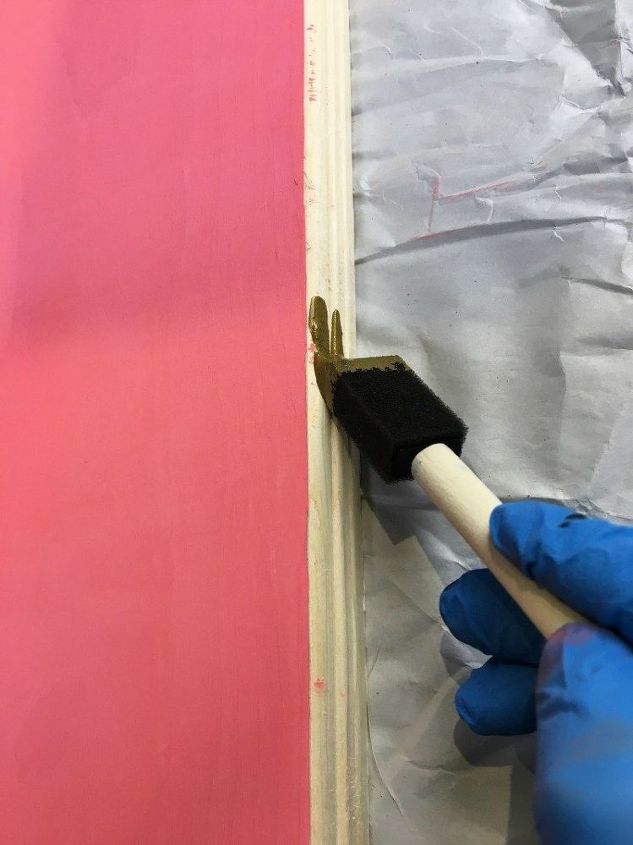
I added gold to the edges, to make the planter metallic.
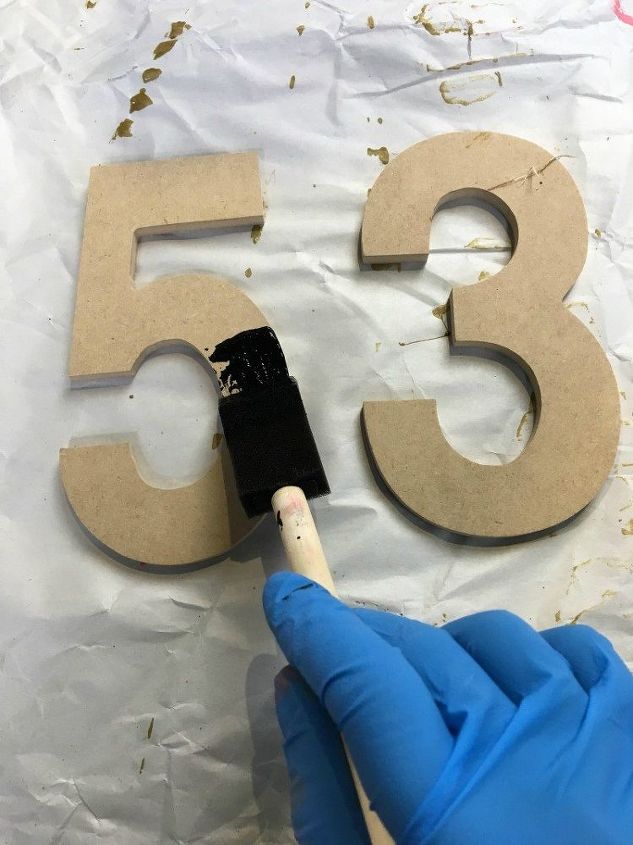
Next, paint the numbers for your home, I used black chalk paint to bring balance to my color scheme.
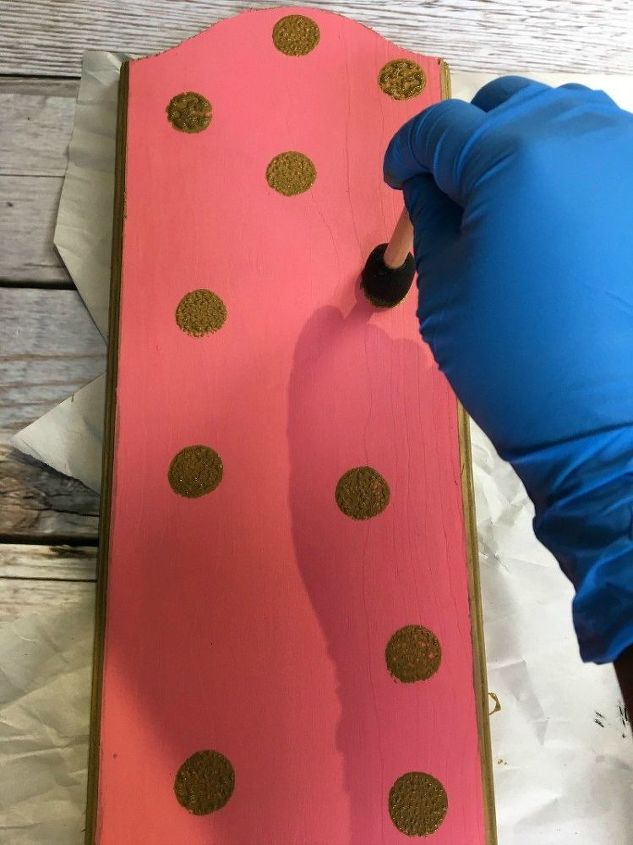
Wanted to add a bit more panache to my planter, so I took a round brush and dipped it in the gold paint. Then, stamped it throughout the wood plaque.
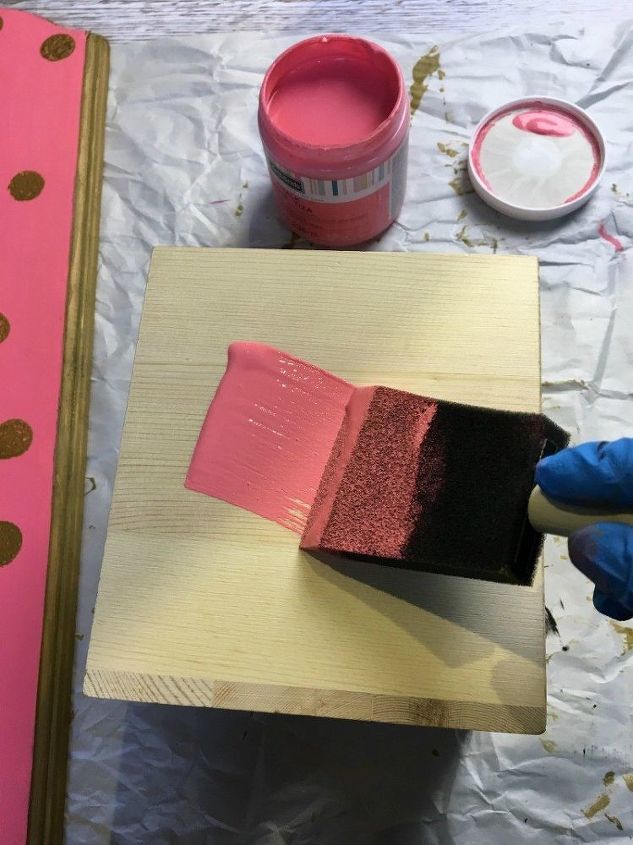
I then took a wooden tissue box, and painted that pink as well. Making sure to stamp on some more dots on the box.
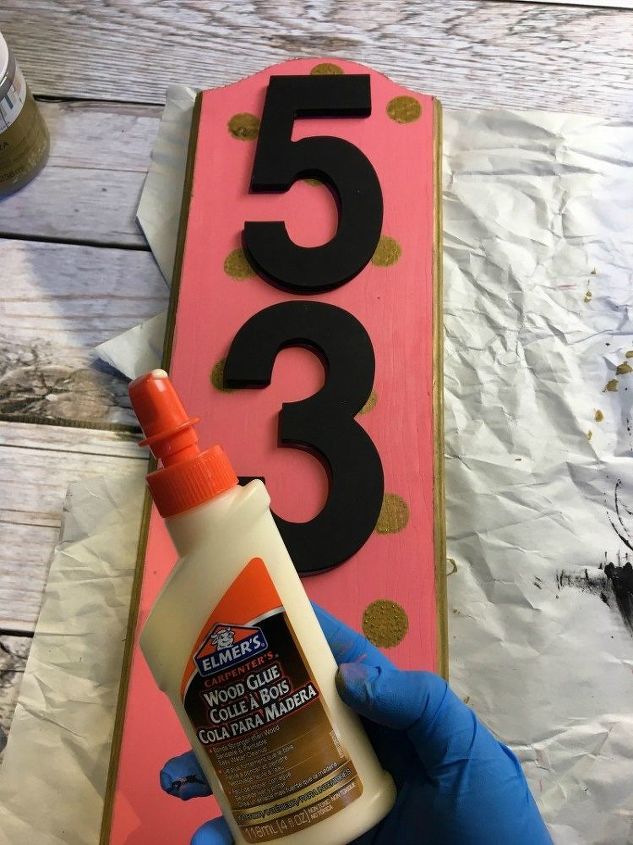
While the box dried, I used wood glue to adhere the numbers for my house on the plaque.
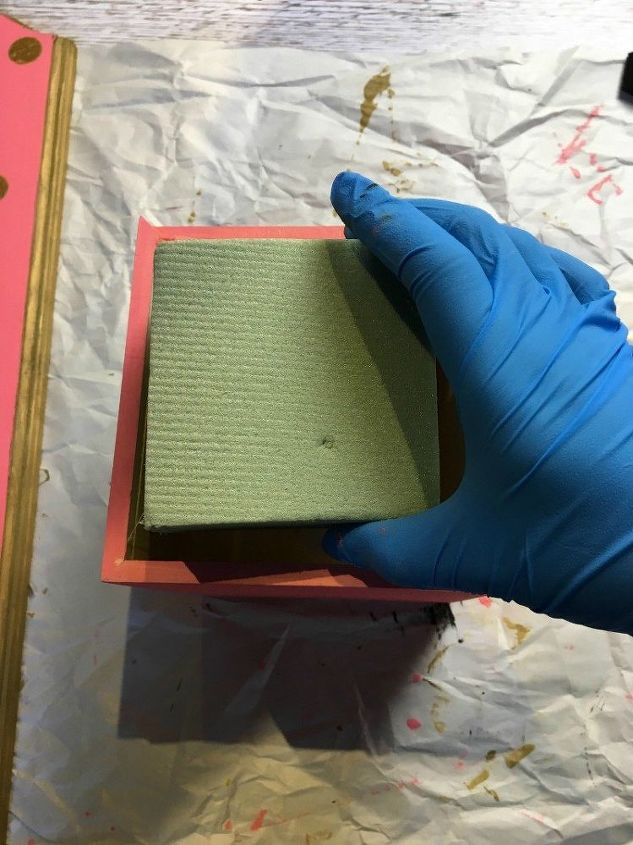
Letting the wood glue dry and harden, I started back on the now dry box. I put a styrofoam square in the box.
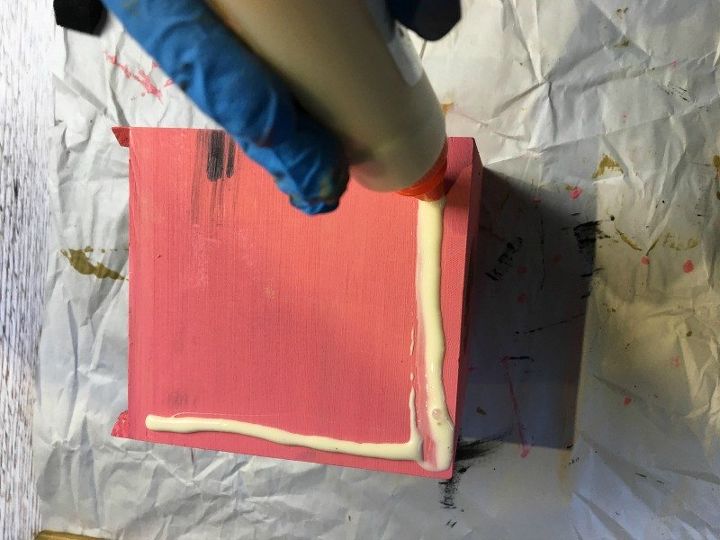
Put wood glue on the box, and press to the wooden plaque.
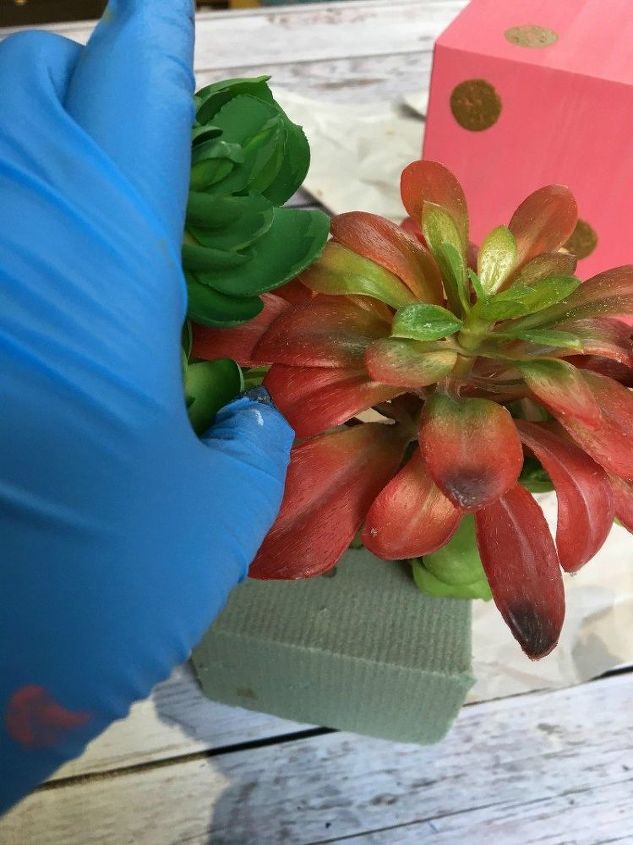
Now for the fun part! I took some fake succulents and arranged them in the styrofoam inside the painted box.
Now for the fun part! I took some fake succulents and arranged them in the styrofoam inside the painted box.
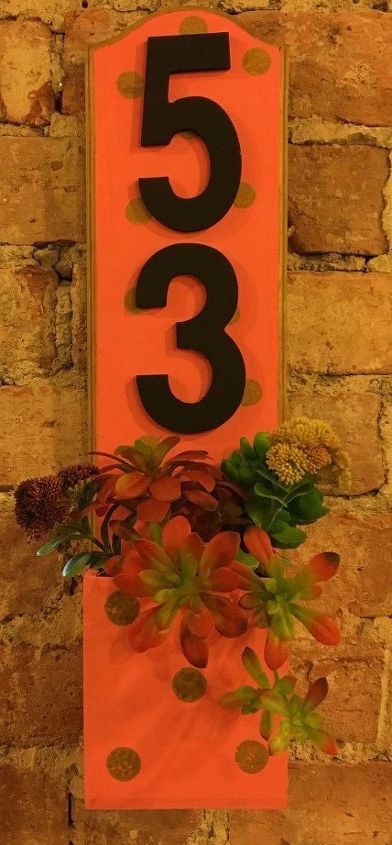
Voila!
Now I have the prettiest house address on the block! I love the bright colors, use of gold, and use of fake flowers!
Voila!
Now I have the prettiest house address on the block! I love the bright colors, use of gold, and use of fake flowers!


Frequently asked questions
Have a question about this project?