


How to Add Color to Etched Glass

Etching adds an elegant personalization to clear glass but it’s not always easy to see. The etched sections are easily lost until you turn the glass a certain way or when you fill it with something to make it stand out.
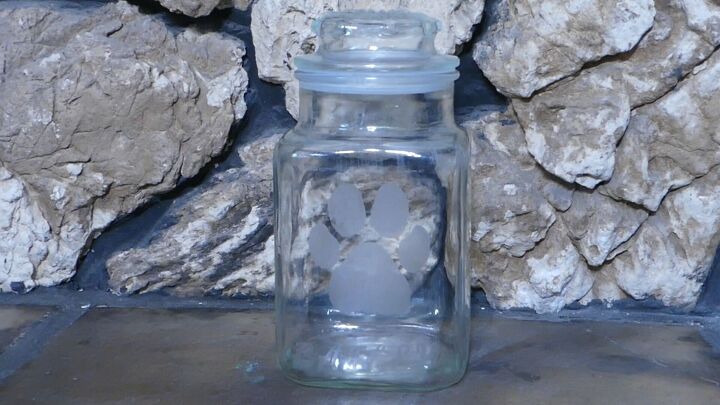
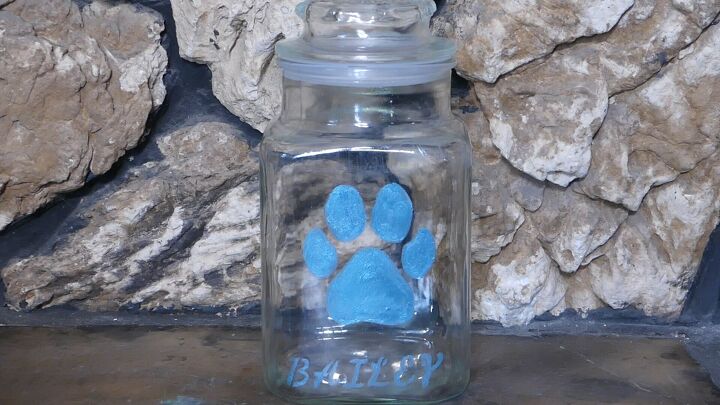
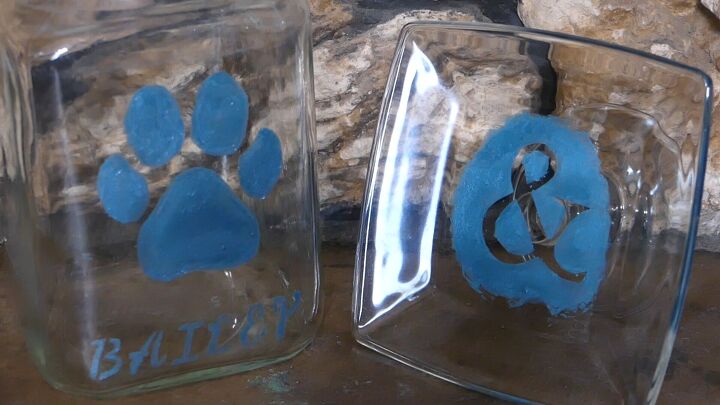
Coloring the etched glass makes the pattern, picture, or words pop!
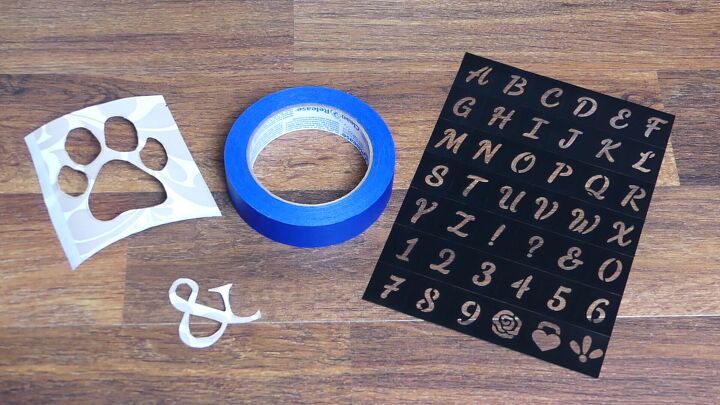
You’ll need: (affiliate links on my blog generate proceeds which are donated to no-kill animal shelters and rescue organizations. Do your Amazon shopping through these links to help raise monthly donations ❤ ):
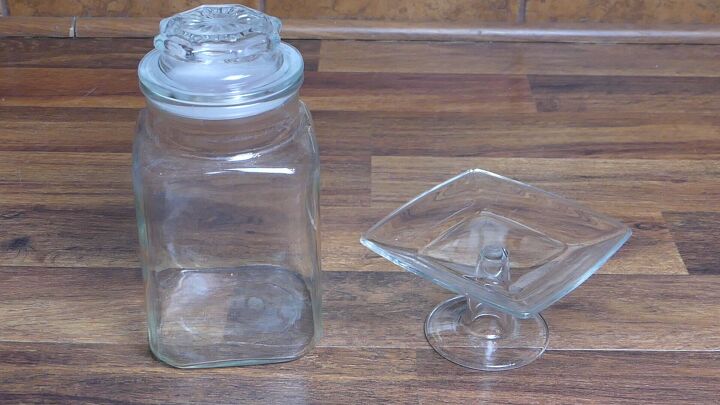
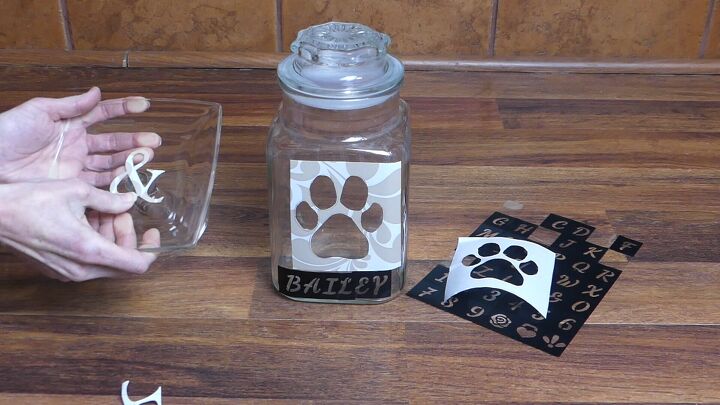
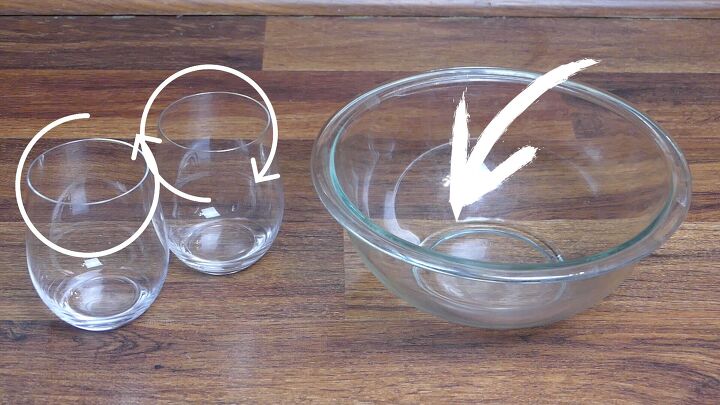
A glass item – I’m going to do two examples. One with a stencil and the other with a reverse or negative stencil.
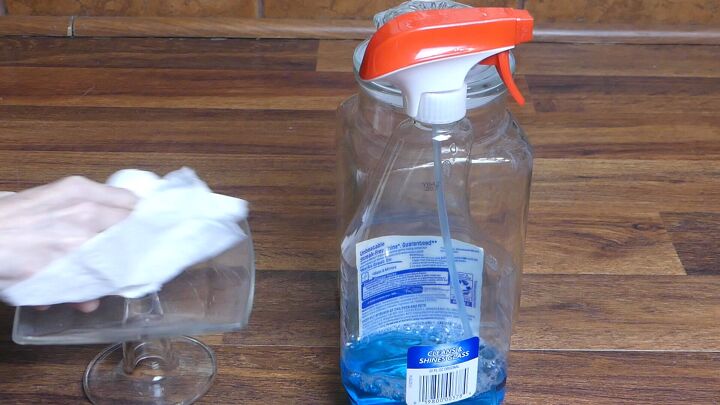
Etching cream, a brush, a drop cloth or other protective surface, gloves, safety glasses, a wax metallic finish, glass cleaner, and paper towels.
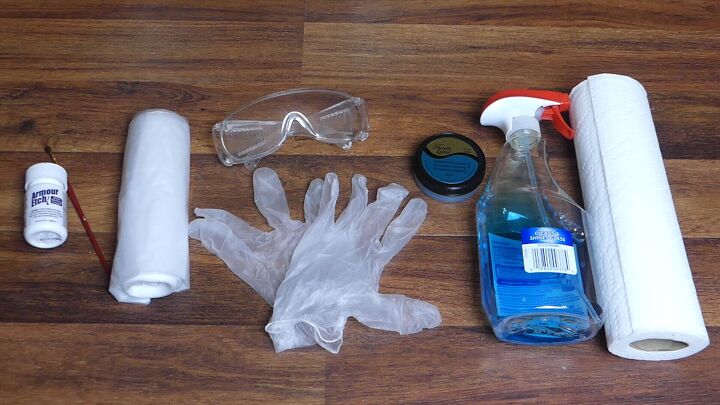
A pattern, tape, or letters for etching – this could be a sticky stencil, contact paper, painter’s tape, or something you’ve made with a vinyl cutting machine.
First, clean the glass item thoroughly.
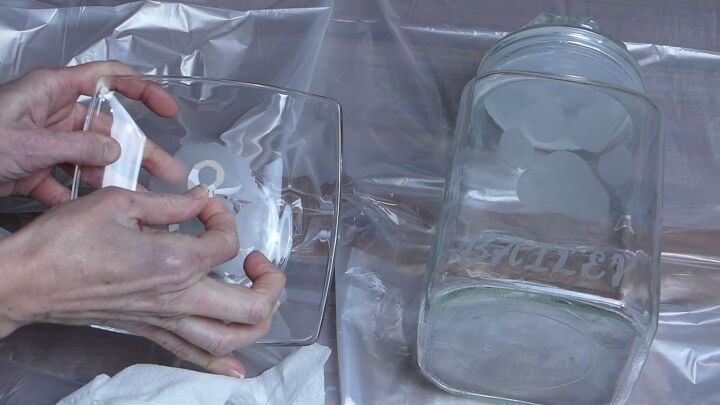
Add the stencil, tape, or letters to the surface.

Press down very firmly, especially along all of the edges that the etching cream will touch.
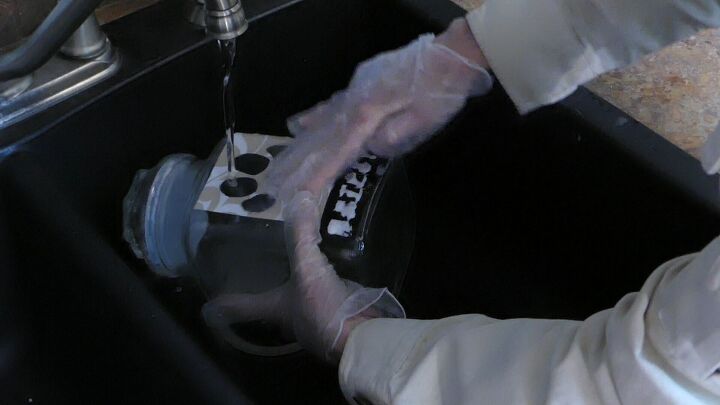
Very important - wear the protective gloves and safety glasses during the etching and rinsing processes.
Working over the drop cloth, apply a thick coat of etching cream with the brush.
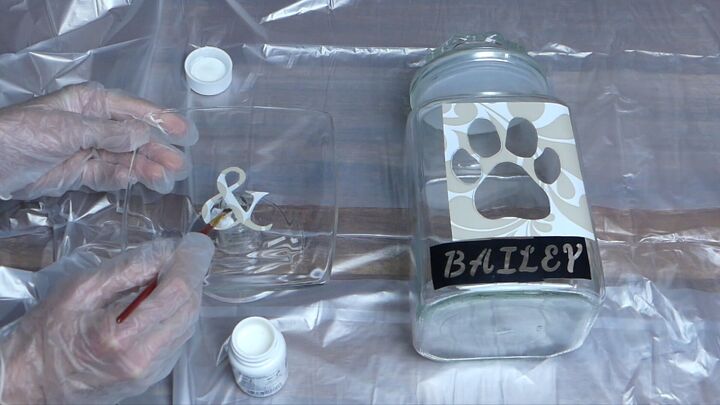
Allow to set according to the directions. This etching cream notes 1 to 3 minutes.
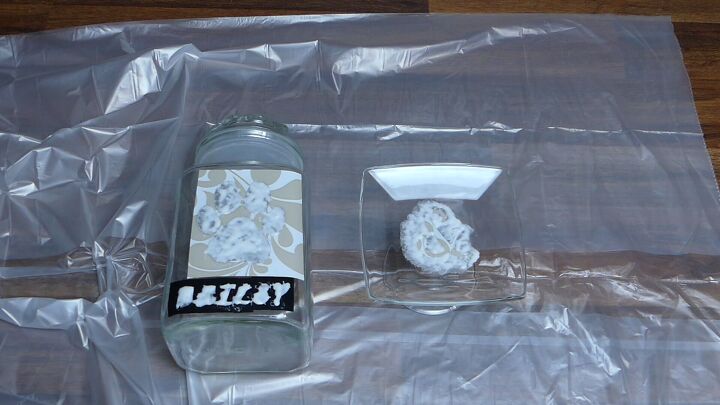
After the allotted time has passed, take your pieces to the sink to rinse. Be very careful to not allow the etching cream to drip off or come in contact with anything else.
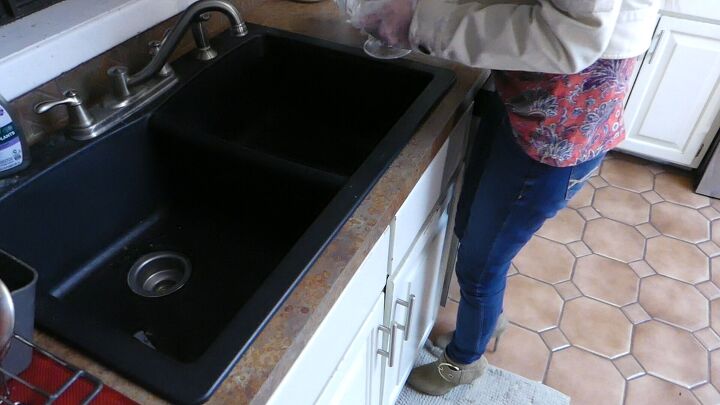
Thoroughly rinse with water and dry.
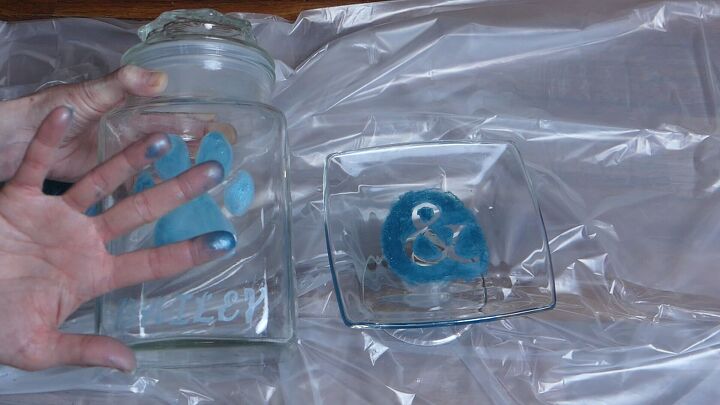
The etched areas will become more pronounced as the glass dries. If there are any spots you missed or weren’t well-etched, repeat the etching process in those places before you remove your stencil.
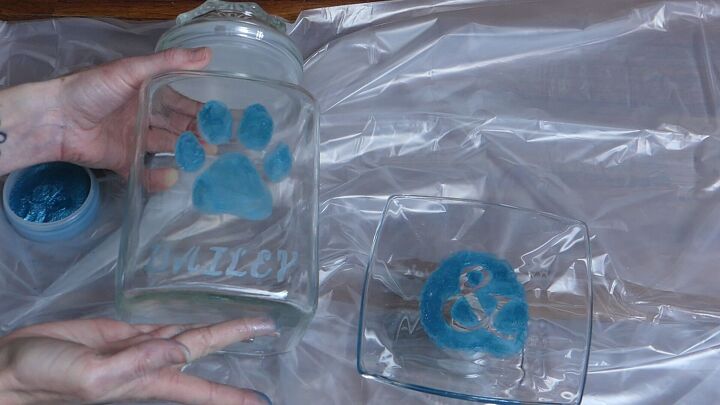
Once you’re happy with the etch, place a small amount of the waxed metallic finish onto your finger and rub on to the etched areas.
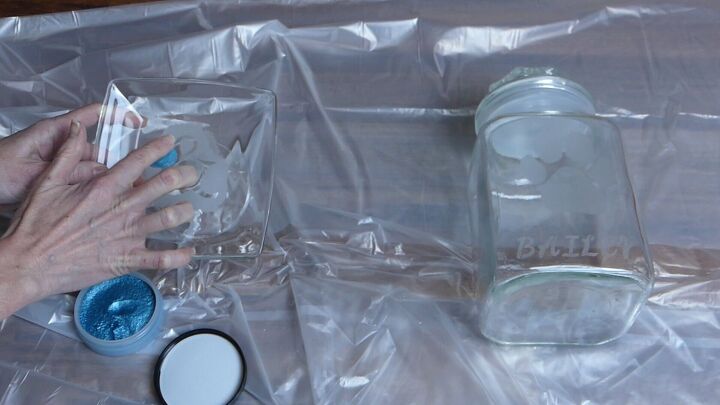
Buff the excess off with a paper towel.
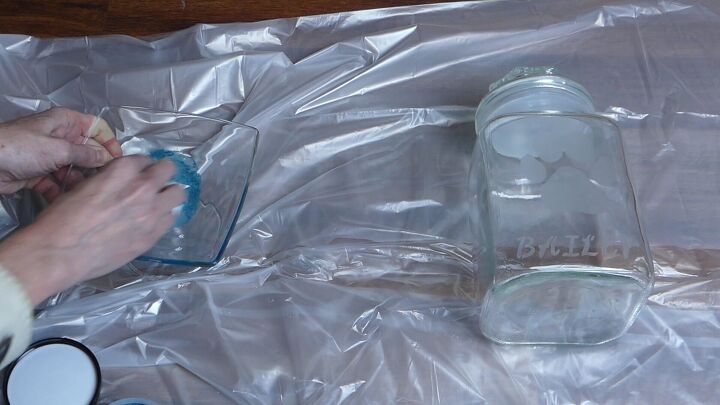
This takes a little work and pressure so keep buffing and don’t be afraid to push down on the stubborn areas with your fingernail.
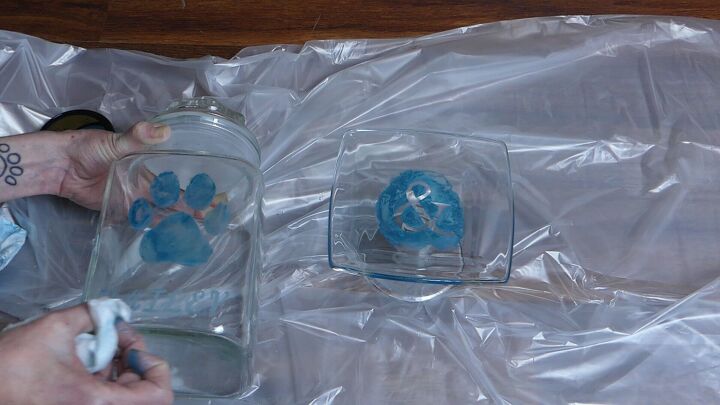
If you’d like a deeper color, rub a second coat onto the etching and buff off.

Once you’re happy with the color, allow the finish to dry and set before use.
Don't worry! The wax metallic finish easily cleans off of skin with soap and water. 😁
This finish is not food safe so I don’t recommend coloring etchings along any drinking or eating surfaces, like around the rim of a glass or inside of plates or bowls.
Hand wash as needed to keep the color intact and vibrant.
Watch the step-by-step video tutorial below. Proceeds from this video (and the entire channel) are also donated to no-kill shelters and rescue organizations ❤ )
Comments
Join the conversation
-
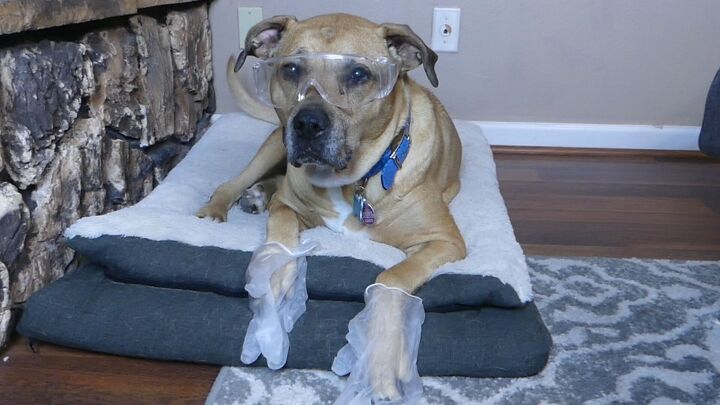
Omg even Bailey put on gloves 😂


Frequently asked questions
Have a question about this project?