


How to Antique a Basket With Paint and Wax

by
Jeanie
Are you familiar with Longaberger baskets? Longaberger basket parties were a big thing back in the 80's and 90's and I got sucked into "come to my home party and buy an over-priced basket" trend. Hence my embarassingly large collection of them. And now they no longer fit with my decor. Until I discovered how to give them a new look with paint and wax.
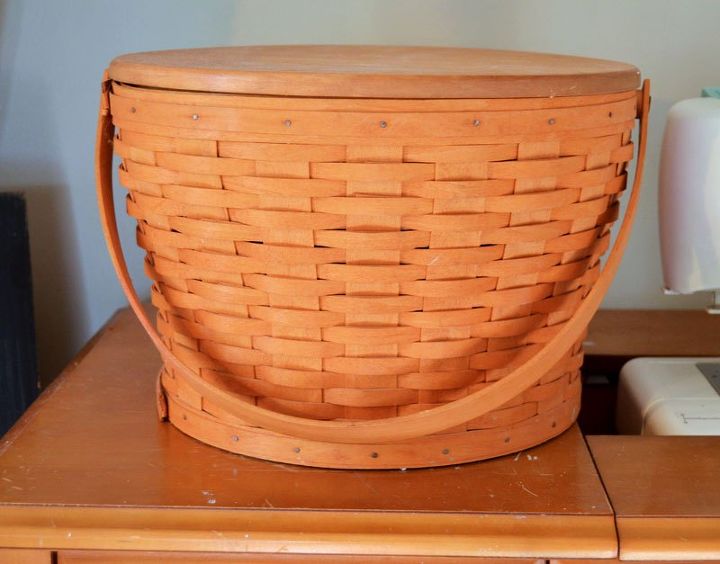
First I cleaned up my basket using a cleaner and degreaser.
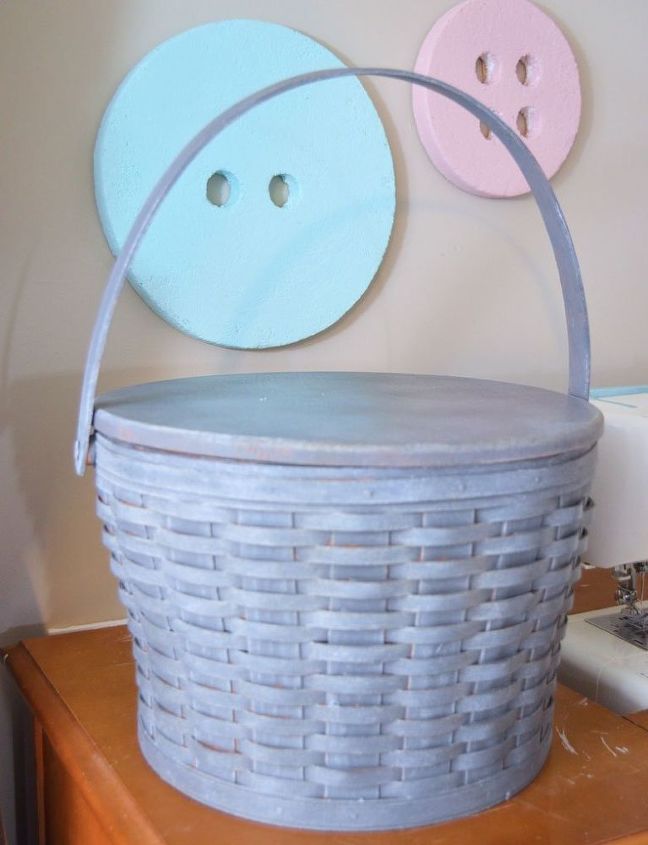
Once I was certain that the basket and lid were clean and dry, I applied two coats of the One Step Paint(TM)
JANUARY 7, 2016
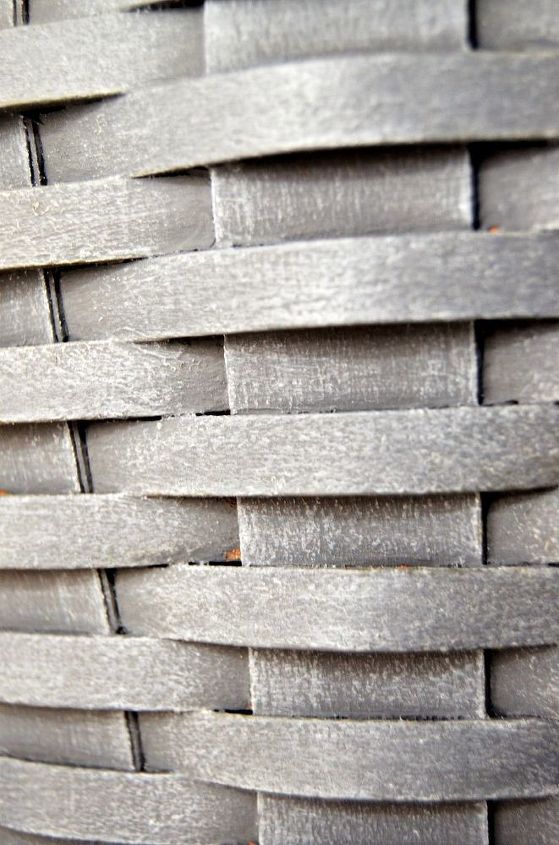
This technique can be used for tables, kitchen cabinets, dining tables, headboards, picture frames...the possibilities are endless! You can now add the warmth and depth of wood grain to any surface you desire.
Want more details about this and other DIY projects? Check out my blog post!


Frequently asked questions
Have a question about this project?