


How to Create a Dream Teen / Tween Room in 5 Easy Steps.

by
Stacy Davis
3 Materials
$37
30 Minutes
Easy
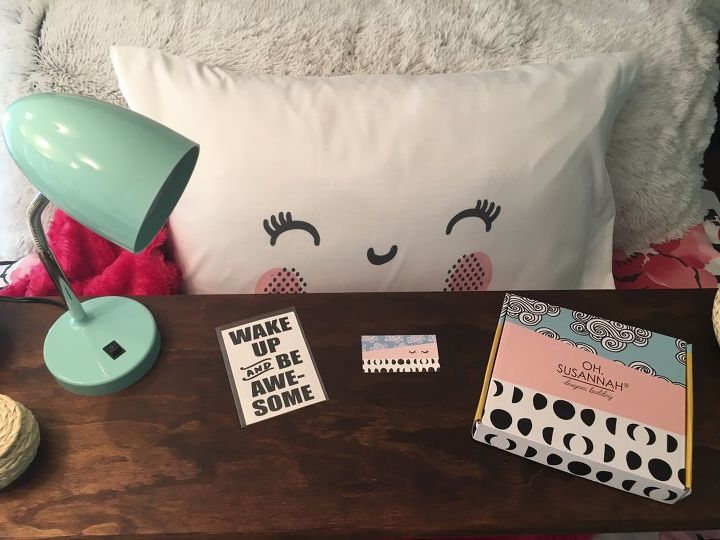
My teenage daughter got a new bedding set a year ago. She was so in love with her room after getting just the bedding she wanted, she could hardly stand it. When I say we searched high and low for just the perfect bedding, we REALLY went everywhere. With school starting, I wanted to give her room a refresh but not spend a lot of money. I wanted her to fall in love with her room again but didn't know where to start. Then, I was sent a free pillowcase of my choice. ( All opinions are my own.) So, this whole refresh started with a pillowcase. It became very much like If You Give A Mouse A Cookie. This pillowcase became my statement pillow for her room. 
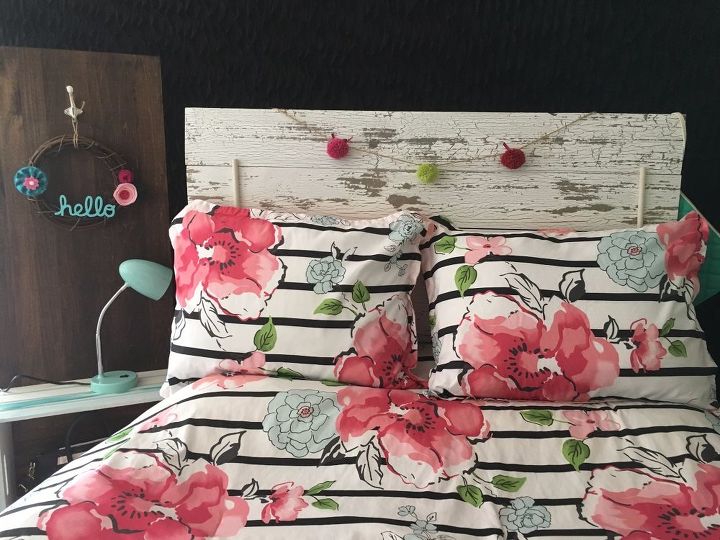
Before
Here is my daughter's bedding before the changes. (Pretend the new nightstand isn't there in every picture.  )
)
)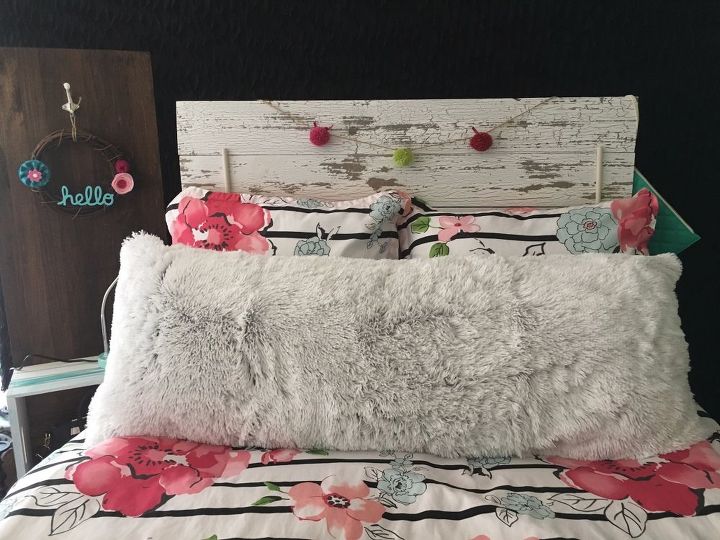
Step 1. Add a cute body pillow.
Step 1. I began to layer the bedding. This is a $10 pillow cover from Target and we already had the body pillow.
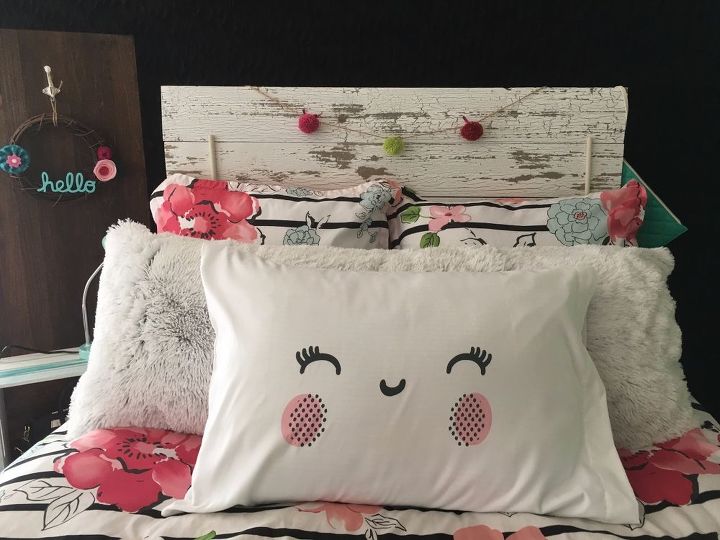
Step 2. I added a statement pillow. This would have been $17 and worth every penny because it makes me happy to just see how it pulls the room together. My daughter loves how soft it is. The face is just as soft as the rest of the pillow. This is definitely a pillow for sleeping and snuggling with.
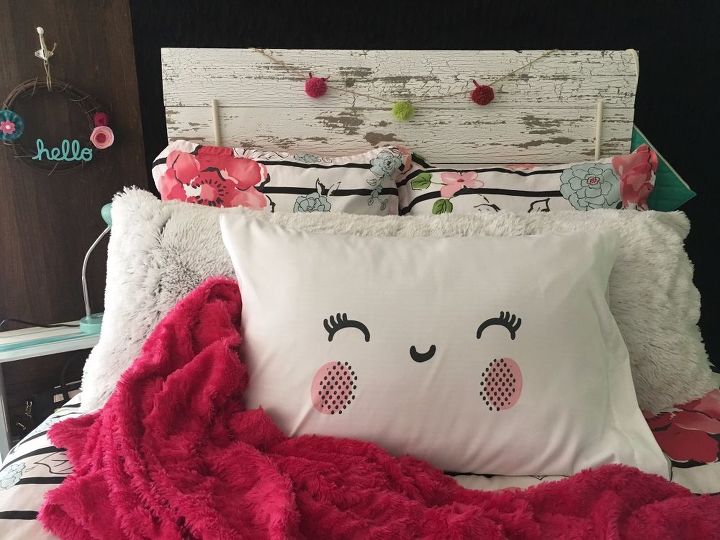
Step 3. Add a snuggly throw.
Step 3. I added a snuggly throw. We had this so it didn't cost us anything.

Step 4. Add a bed table, if you like.
Step 4. I added a bed table for her. It is actually the bottom of a bench that I made here. http://www.hometalk.com/diy/living-room/furniture/how-to-take-a-simple-bench-to-a-whole-new-level-28485487 And that's it. A total refresh for $37. I look at the room now and it feels so Dorm-like! I love it and more importantly, she LOVES it!
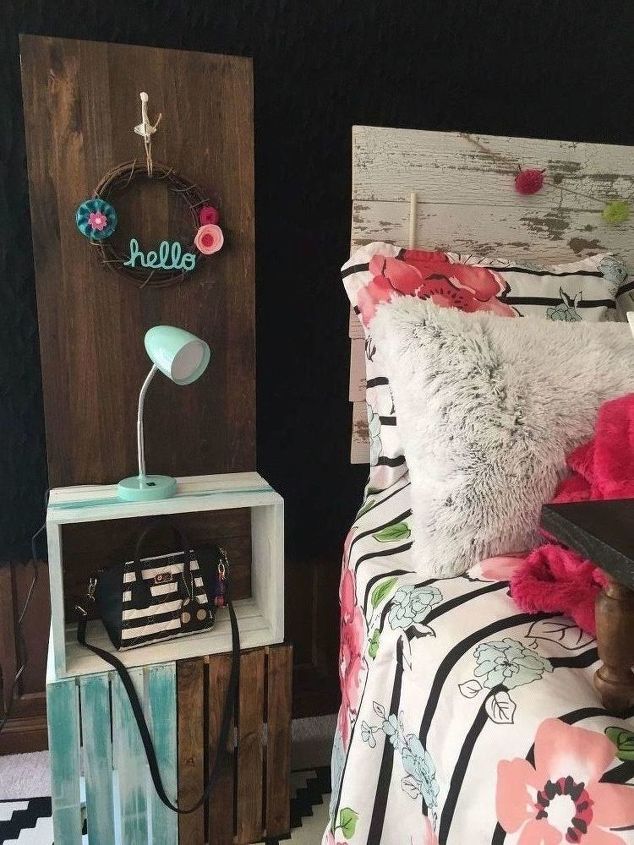
Step 5. Add a new nightstand.
Step 5. I added a new nightstand This didn't cost me anything since I had the 3 crates and board for the back. I did buy the lamp at Walmart for $10. I am going to add a few more elements to it to help with charging her devices but other than that, it is good to go! 
Comments
Join the conversation
4 of 10 comments
-
Awesome! Love the body pillow fur and the new pillow smiley face!! The room and bed look awesome! Great job on the headboard too! I can not tell you how many of my redos are the fault of a pillow.... or two.. or three... I am definitely that commercial where the woman gets a bonus from her insurance company and (much to her husband's chagrin) purchases "more pillows"! It has become a well known joke between me and my girlfriend LOL
-
Sooo cute.. I cant!!!


Frequently asked questions
Have a question about this project?