


How to Create a Tiny Kitchen on a Budget
5 Materials
$400
2 Days
Medium
Some of you may have followed my bathroom renovation adventure but what you maybe didn’t know, was that the project doesn’t just stop there! We have a cottage on the farm that has been a long-term rental since we moved here 6 years ago. People have come and gone, but we never really spent any money on upgrading the place. When the last tenant moved out, my neighbor and partner in this endeavor, Cate, and I decided to convert the spot to a luxury cottage that we can rent out on Airbnb. It was in quite a state, but always the optimist when it comes to interior spaces, I let my imagination run wild and set out to create this tiny little kitchen on a budget in the Winelands. This was, of course, easier said than done, so I enlisted the help of a few suppliers who were more than happy to jump on my renovation band wagon.
The results are slowly taking shape around us, but I hope to show you our fully furnished, fully kitted out, rental-ready cottage by the end of this month.
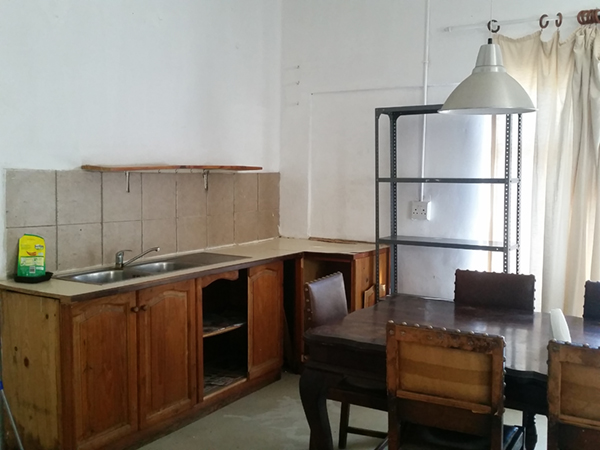
To call this a cottage when you look at these pictures is a bit of stretch. Basically, this used to be a double garage adjacent to one of the houses on the farm which was then converted to a very basic 1-bedroom cottage before we came along. The bathroom was really the worst feature and the biggest challenge which I set out to sort out first. The kitchen was also horrible, to say the least. The cabinets were rotten and the layout left a lot to be desired, so we just pulled everything out and started from scratch.

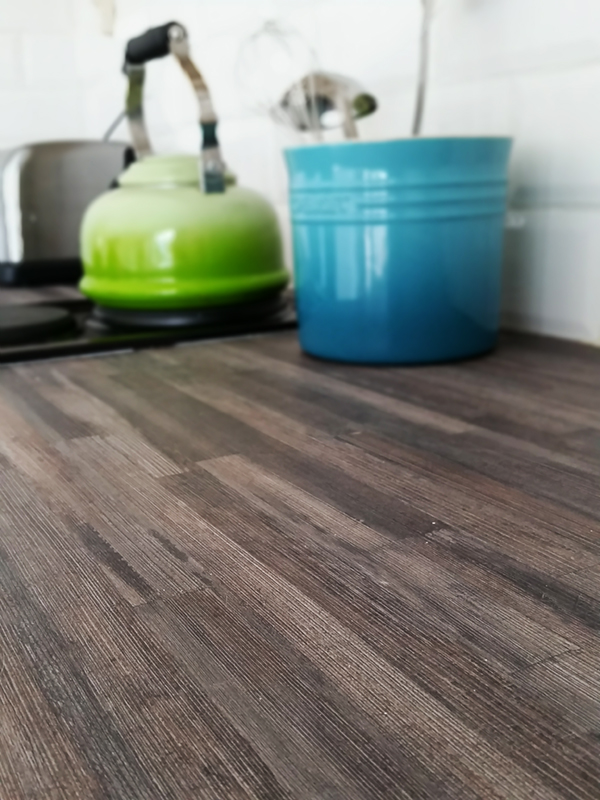
Builders Warehouse was really keen to get involved with the kitchen, and so I set out to my nearest store to pick out the materials. They do these really simple white flat-pack kitchen cabinet units which you can use to configure your own kitchen. Considering our tight budget, they were the perfect choice for the project. For the countertop, I chose a Woodland Postform – it has the look of butcher block with the virtual indestructibility of engineered wood: scratch resistant, heat-resistant, and stain resistant.
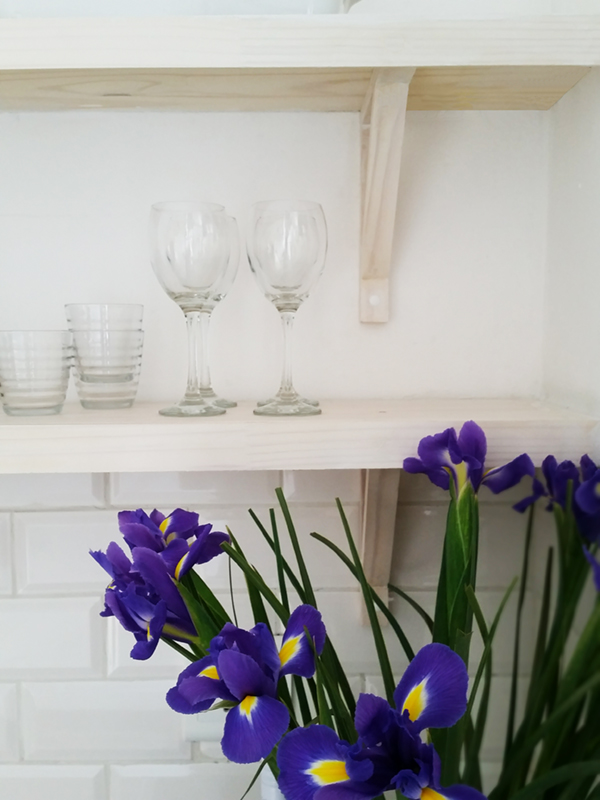
I am quite proud of the shelves in this little kitchen. I am always appalled by the cost of shelving, and because I wanted 2 rows of shelves to cover the whole 3.5m length of the wall, I decided to design them myself. Our trusty farm handyman/gardener/Jack of all trades, Titus, made these brackets one morning, and they came out beautifully. Read the full post to download the drawing and to see the final result!
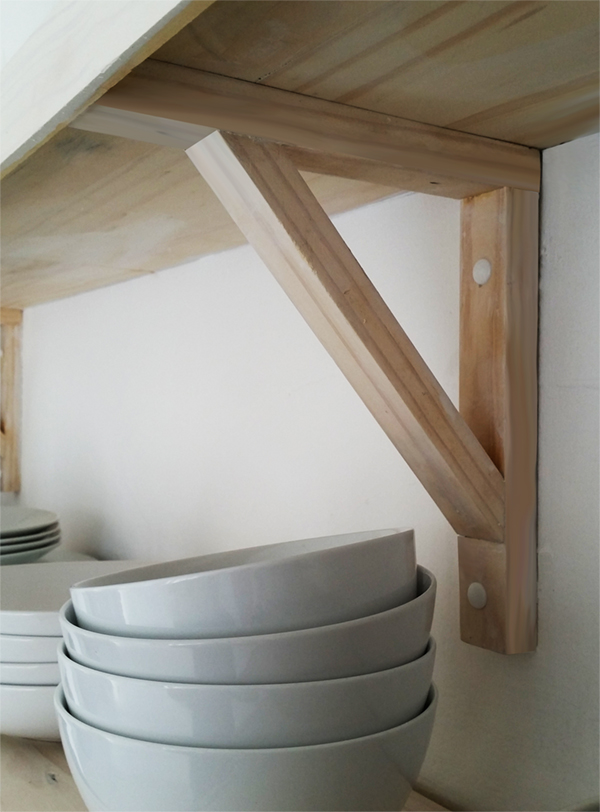
I used 22x44mm pine battens for the brackets, 16x220mm laminated pine shelving and an 8x44mm pine cover strip for the down stand. A quick white stain allows the wood grain to show while making the shelves beautifully light. I really love these shelves and they came in at a fraction of the cost!
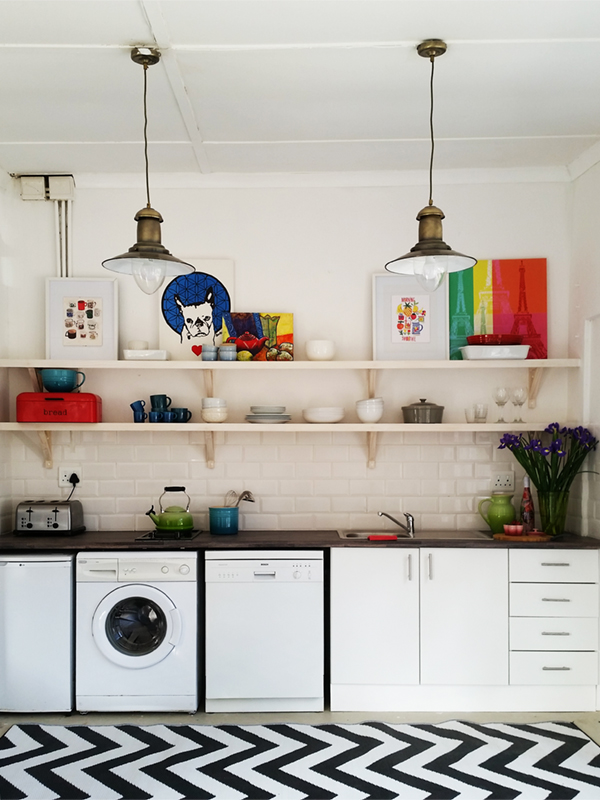
Given the proximity of some of the Cape’s best restaurants, Cate and I realized that guests are unlikely to roast a leg of lamb or bake a cake, so an oven is really not necessary. They might want to fry up an egg or 2 the morning after a night out, so we added a clever little 2-plate stove top just in case. Add to that a basic bar fridge, kettle, and toaster and you’re good to go! And because we’d like to really make it convenient for our guests, we also installed a dishwasher and washing machine. It’s the little things that count! Read the full post to see what else I did to make this tiny space great!

Want more details about this and other DIY projects? Check out my blog post!
Comments
Join the conversation
3 of 6 comments
-
Very beautiful!!! I like it so much!!
-
Really nice update! I would replace toaster with a toaster oven and maybe add a small microwave. I live alone and with those 2 things I hardly ever use my oven😊


Frequently asked questions
Have a question about this project?