


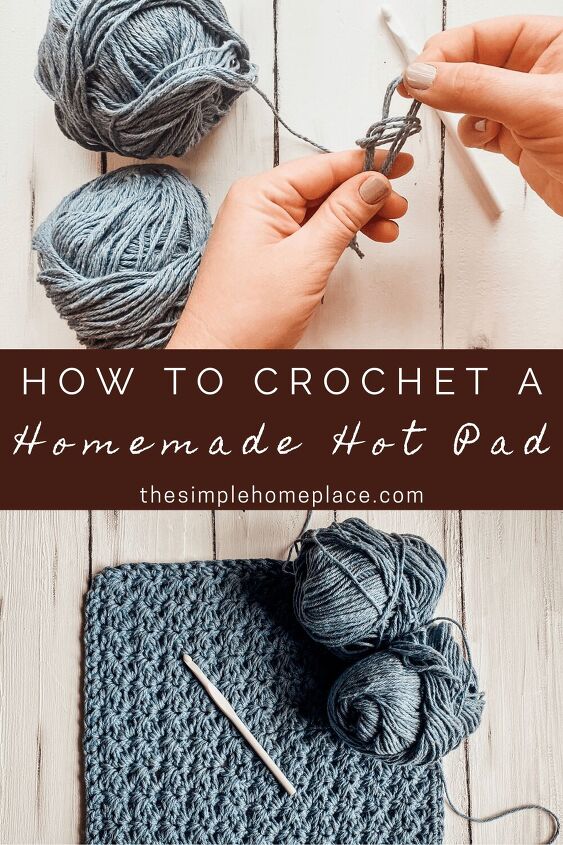
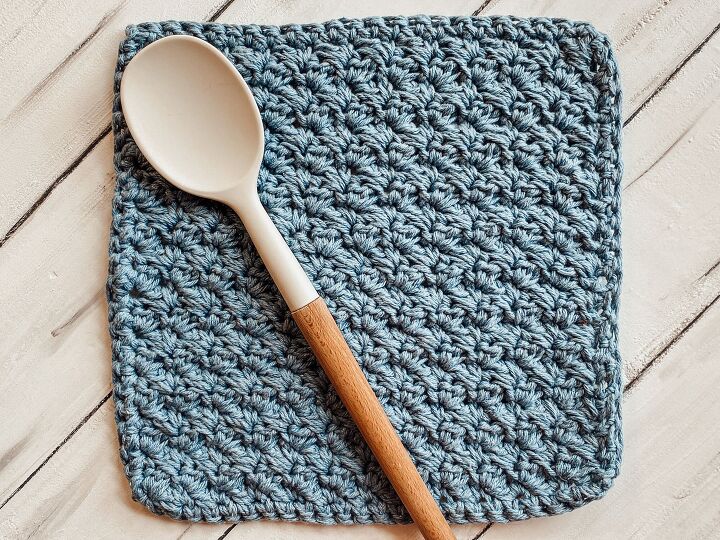
How to Crochet a Hot Pad {Suzette Stitch}
Learn how to create this easy crochet hot pad using the beautiful Suzette stitch. This hot pad is a great accessory to have in the kitchen to help protect your countertops, and also makes a wonderful homemade gift for friends and family this holiday season!
Every year as the weather cools, life slows down a bit and I find myself daydreaming about the coming holiday season. To me, this time of year is precious. It’s a time when we can celebrate and spend time together with our loved ones. It’s a time where our hearts should be filled with love and joy. It’s a time to slow down and soak in the wonder that is the holiday season.
A big way most of us celebrate the holidays is through food. We all have a favorite dish we look forward to. For me, I it’s bacon wrapped venison and cornflake potatoes. You know the ones I’m talking about right? If your holiday feasts look anything like mine, hot dishes and casseroles are displayed on the counter, with not an inch of space to spare, waiting for everyone to dig in. There is one kitchen accessory that is the unsung hero of holiday dinners, the hot pad. I know that’s a little dramatic, but it’s something every kitchen should have and is great to have for get togethers.
PIN FOR LATER
WHY IS A HOT PAD IMPORTANT?
As I said before, a hot pad may be one of the most important accessories in your kitchen. Because most people’s kitchen countertops are not heat resistant, it’s important to have some sort of hot pad or trivet that you can use to place your hot casserole dishes or pans on to prevent them from damaging your countertops. Even if you have countertops that are heat resistant, like granite or quartz, you still may not want to expose them to excess heat because the heat could still cause some damage.
SUPPLIES YOU’LL NEED
- 2 skeins of 100% cotton or 100% wool yarn
- 6.5 mm (K) crochet hook
- Scissors
- Large yarn needle
TERMS TO KNOW
- SC = single crochet
- DC = double crochet
NOTES
- This pattern uses two strands of yarn, so that’s why you’ll need two skeins of yarn, as noted above.
- It is important to use 100% cotton or 100% wool for this project because those fibers can withstand heat well. If you use a yarn that contains acrylic, there is potential the yarn may melt under high heat.
- The size of this finished hot pad is 10 x 10 inches. It easily fits a 12 inch skillet, as well as a standard 9 x 13 casserole dish.
- This hot pad can easily be customized to the size of your liking. As noted below, the Suzette stitch starts with an odd number of chains. To get the 10 x 10 size, we start with 25 chains. To change the length, simply adjust the number of chains either up or down.
- The number of rows determines the height of the finished product. So to change the height, adjust the number of rows either up or down.
- If you decide to change the size of the hot pad, it may be useful to have a fabric tape measure on hand.
HOW TO CROCHET A HOT PAD USING THE SUZETTE STITCH
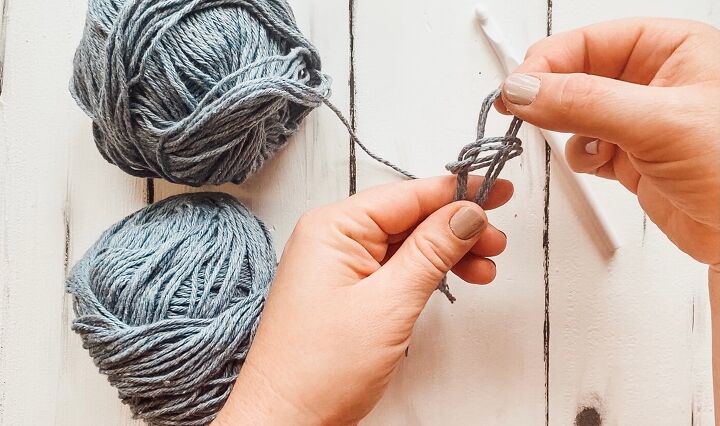
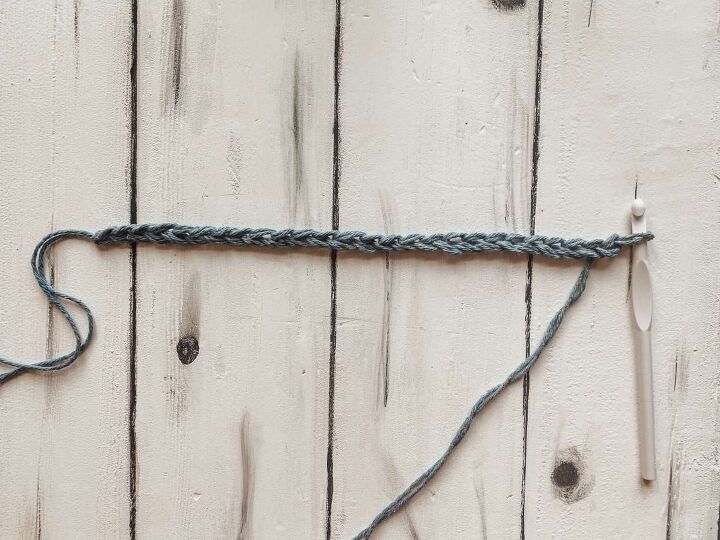
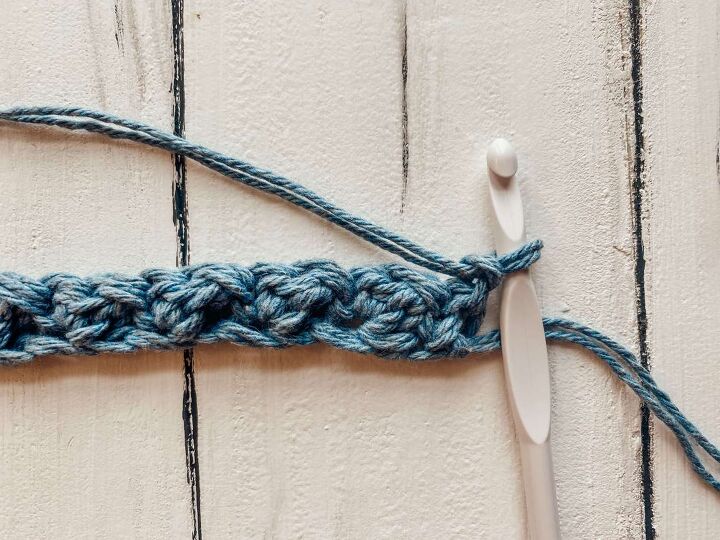
Using two strands of yarn, create a slip knot, leaving a tail of about 2-3 inches.
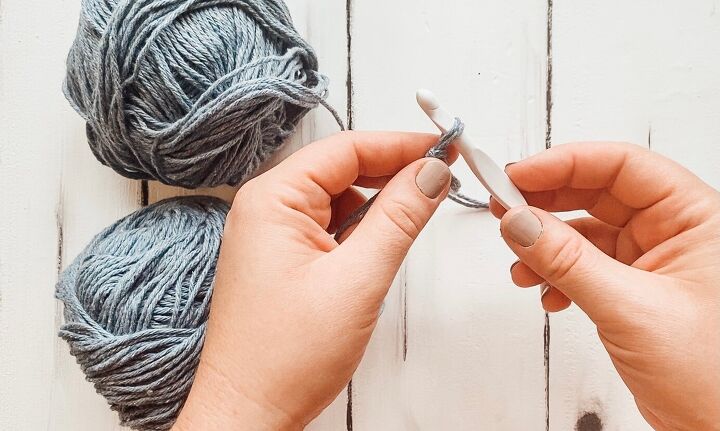
For this hot pad, start by creating a chain of 25, making sure to keep the chain nice and loose. It’s important not to crochet tightly for this project. Additionally, If you want to create a different size, as noted above, any odd number of chain stitches will work for the Suzette stitch.
Row One
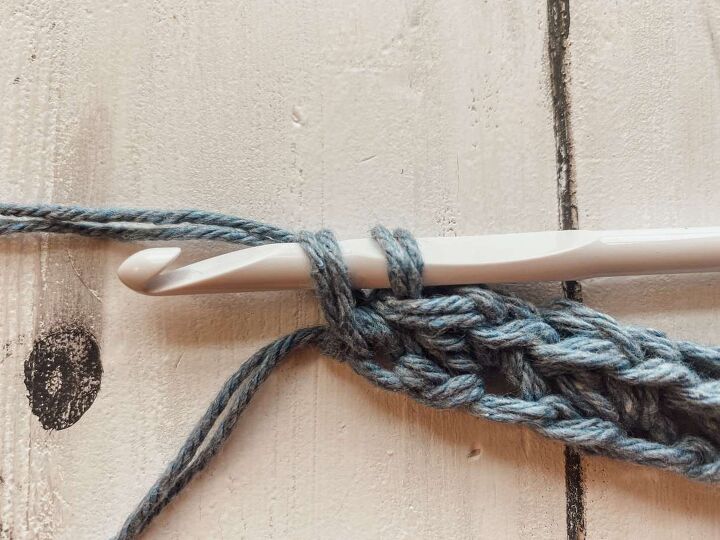
In the second chain from hook, work a SC into the back loop of the chain. In the same chain, then work a DC.
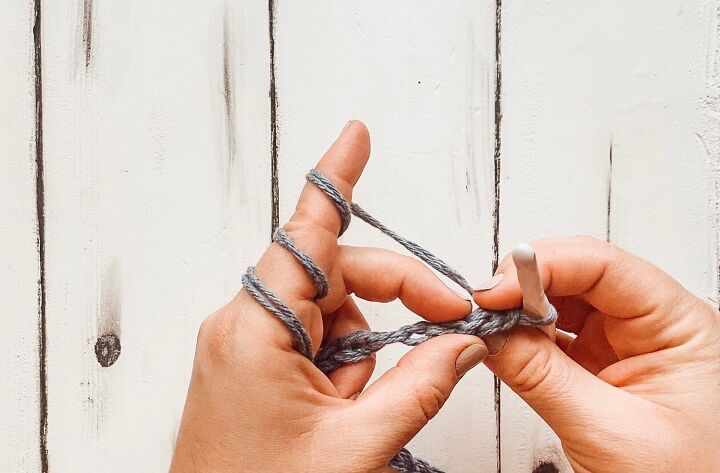
Skip the next chain.
In the next chain, again, work a SC into the back loop of the chain. Then, in the same chain, work a DC. Repeat this pattern until you get to the last chain of the row.


Work a SC in the last chain of the row.
Chain one and turn your work.
Rows 2-23
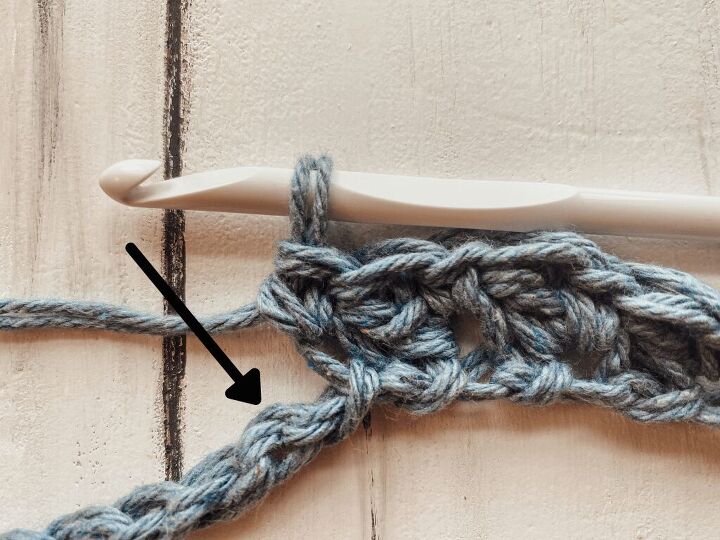
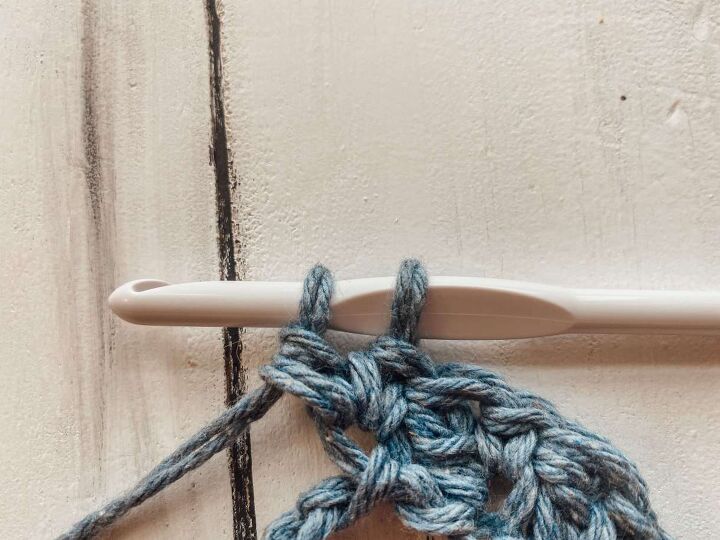
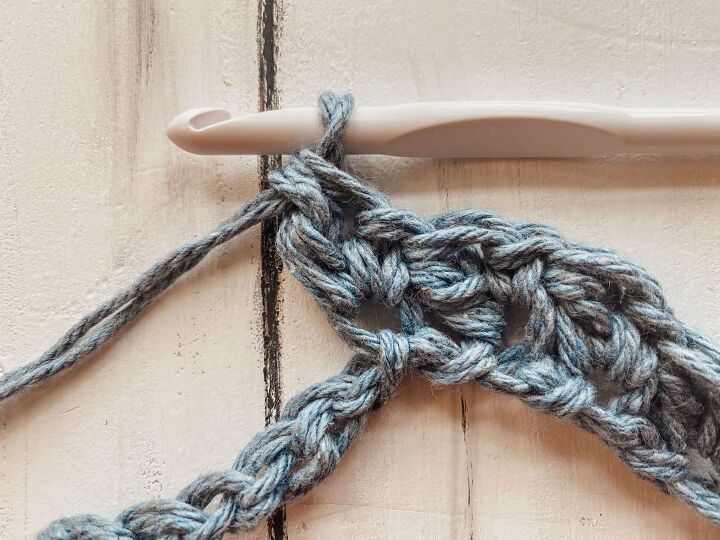
Work a SC into the SC from the previous row. Then work a DC into the same stitch. The arrows in the picture indicate the space you’ll work each Suzette stitch. Skip the next stitch.
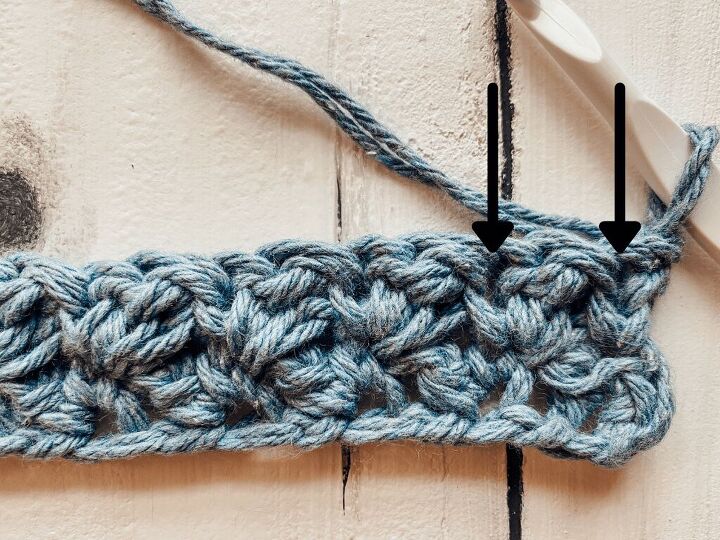
Repeat this pattern until you get to the last chain of the row.
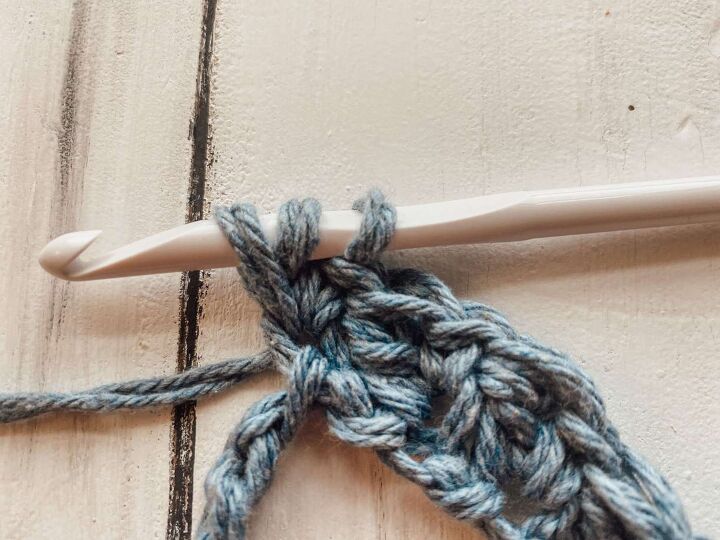
Then, work a SC in the last chain of the row. Chain one and turn your work.
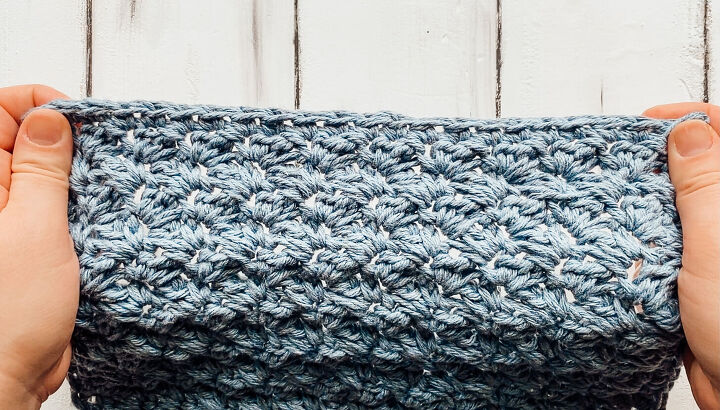
Follow this pattern until you’ve completed a total of 23 rows.
In the very last stitch, SC, chain one and turn your work.
Border
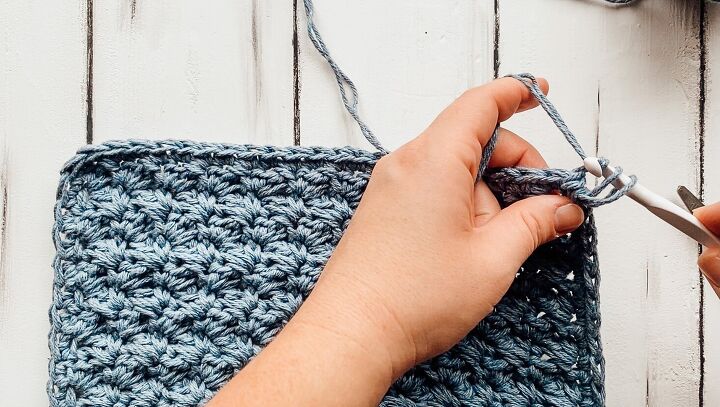
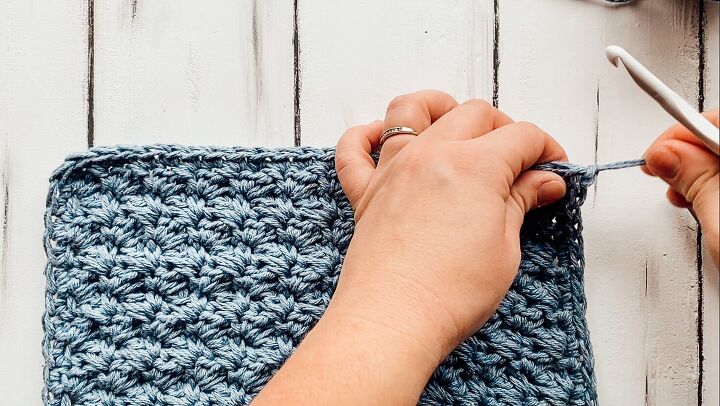
Work a SC in each stitch all the way around the hot pad until you return to the beginning.
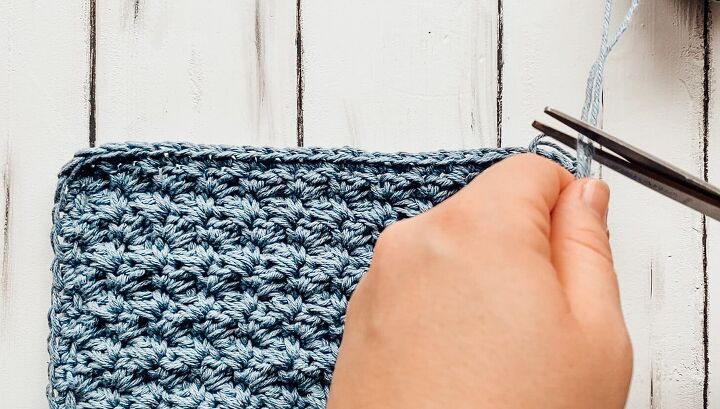
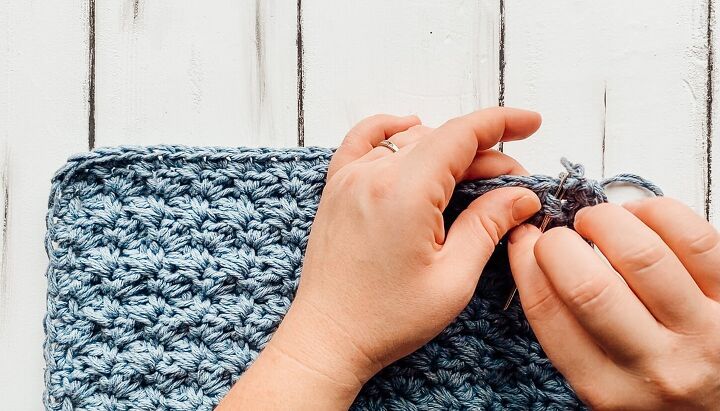
Slip stitch in the last stitch. Cut the yarn to leave a tail that’s 2-3 inches and pull the yarn all the way through, creating a knot.
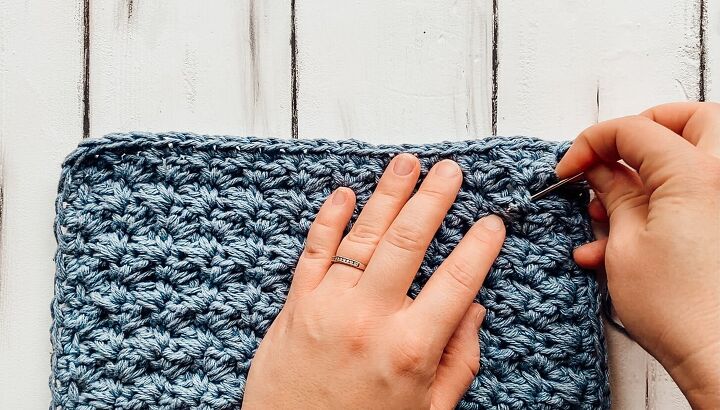
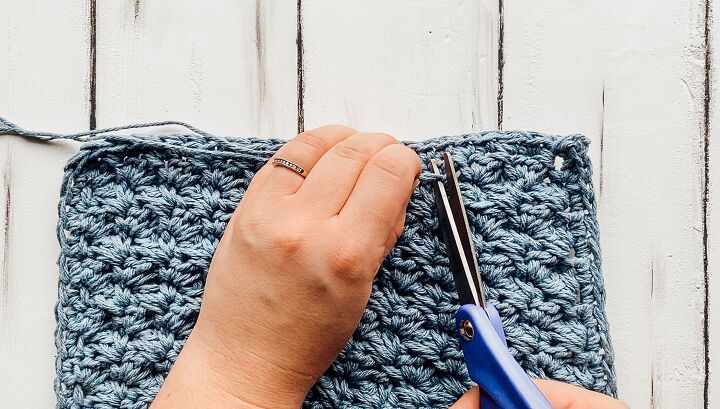
Using a yarn needle, weave in ends from the beginning and the end of your project. I prefer to stitch at a diagonal to weave in the ends, but you can weave them in however you desire. Lastly, snip the end of the tail.

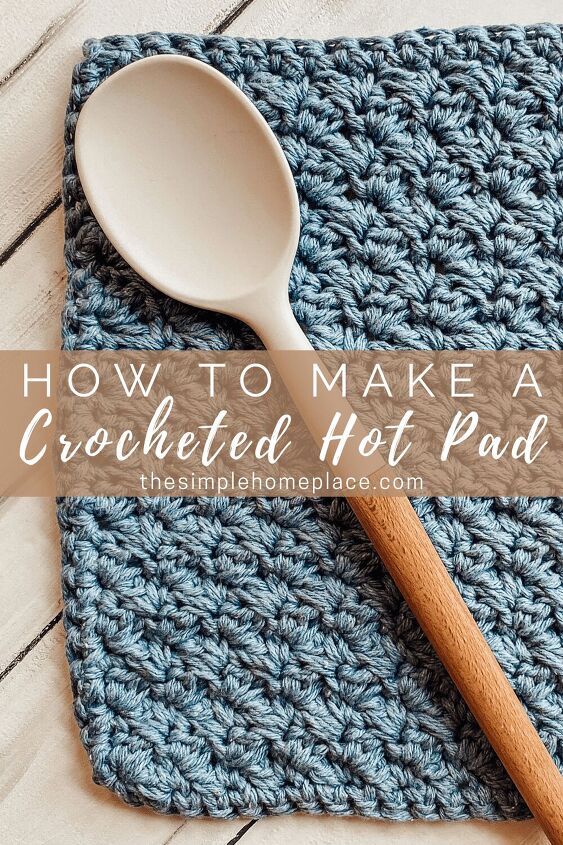
There you have it, a homemade hot pad you can keep for yourself or give to others. This project is easy to whip up in an hour or two and can be made to fit your exact needs. If you’re new to crochet, I encourage you to keep practicing with projects like this. It’s amazing how simple stitches like the single crochet and double crochet can create beautiful pieces like this and so many more.
Materials
- 2 skeins of 100% cotton or 100% wool yarn
Tools
- 6.5 mm crochet hook (K)
- Scissors
- Large yarn needle
Instructions
- Using two strands of yarn, create a slip knot, leaving a tail of about 2-3 inches.
- For this hot pad, start by creating a chain of 25, making sure to keep the chain nice and loose. It's important not to crochet tightly for this project.
- In the second chain from hook, work a SC into the back loop of the chain. In the same chain, then work a DC.
- Skip the next chain.
- In the next chain, again, work a SC into the back loop of the chain. Then, in the same chain, work a DC. Repeat this pattern until you get to the last chain of the row.
- Work a SC in the last chain of the row.
- Chain one and turn your work.
- Work a SC into the SC from the previous row. Then work a DC into the same stitch. Skip the next stitch.
- Repeat this pattern until you get to the last chain of the row.
- Then, work a SC in the last chain of the row. Chain one and turn your work.
- Follow this pattern until you've completed a total of 23 rows.
- In the last stitch, SC, chain one and turn your work.
- Work a SC in each stitch all the way around the hot pad until you return to the beginning.
- Slip stitch in the last stitch. Cut the yarn to leave a tail that's 2-3 inches and pull the yarn all the way through, creating a knot.
- Using a yarn needle, weave in ends from the beginning and the end of your project. I prefer to stitch at a diagonal to weave in the ends, but you can weave them in however you desire. Lastly, snip the end of the tail.
Notes
- This pattern uses two strands of yarn, so that's you will need two skeins of yarn, as noted above.
- It is important to use 100% cotton or 100% wool for this project because those fibers can withstand heat well. If you use a yarn that contains acrylic, there is potential the yarn may melt under high heat.
- The size of this finished hot pad is 10 x 10 inches. It easily fits a 12 inch skillet, as well as a standard 9 x 13 casserole dish.
- This hot pad can easily be customized to the size of your liking. As noted above, the Suzette stitch starts with an odd number of chains. To get the 10 x 10 size, we start with 25 chains. To change the length, simply adjust the number of chains either up or down.
- The number of rows determines the height of the finished product. So to change the height, adjust the number of rows either up or down.
- If you decide to change the size of the hot pad, it may be useful to have a fabric tape measure on hand.
CHECK OUT MORE OF MY DIY TUTORIALS!
Are you interested in other DIY tutorials like this one? Check out a couple of my other posts!
- Sturdy Textured Crocheted Washcloth
- Reusable DIY Bread Bag
- Orange Spiced Sugar Scrub
- Homemade Whipped Body Butter
Did you make this crochet heating pad? Tag me on Instagram (@thesimplehomeplace) to show me your own recreation!


Frequently asked questions
Have a question about this project?