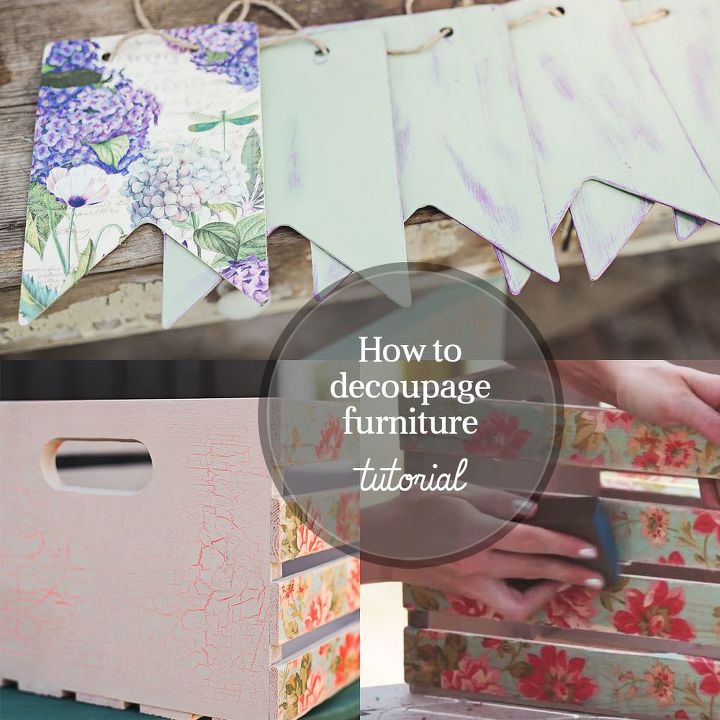
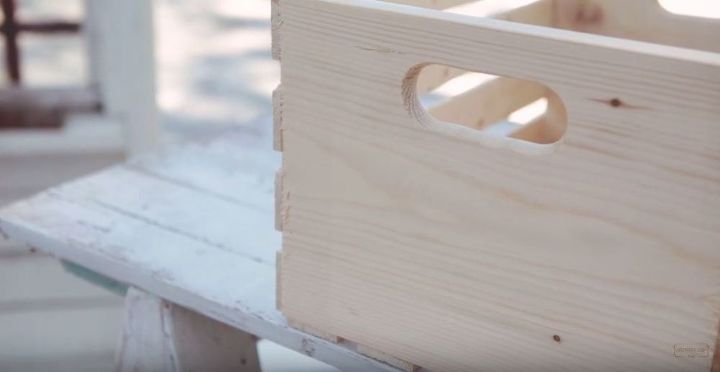
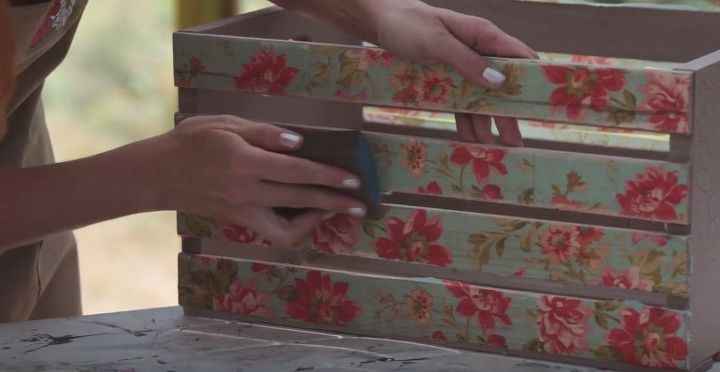
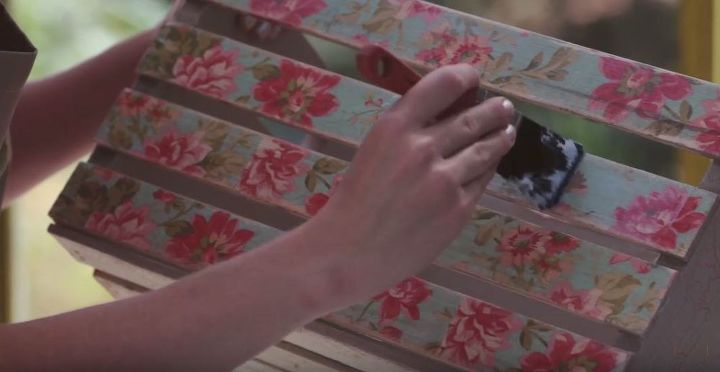
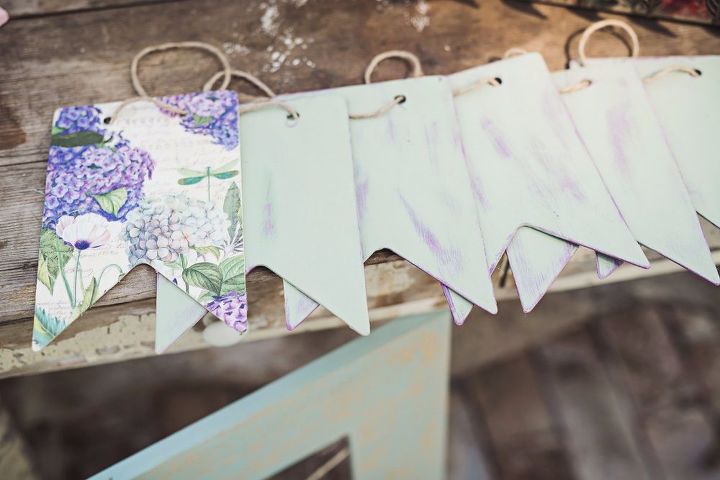
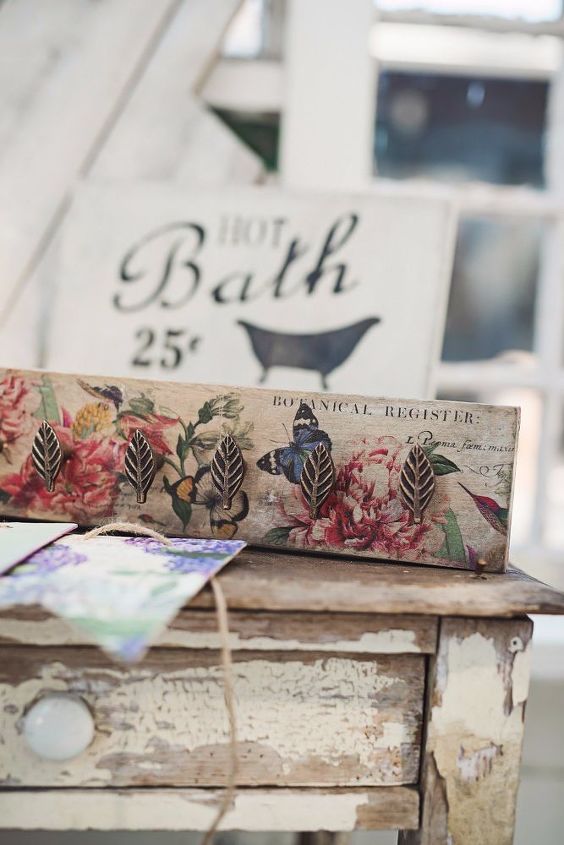
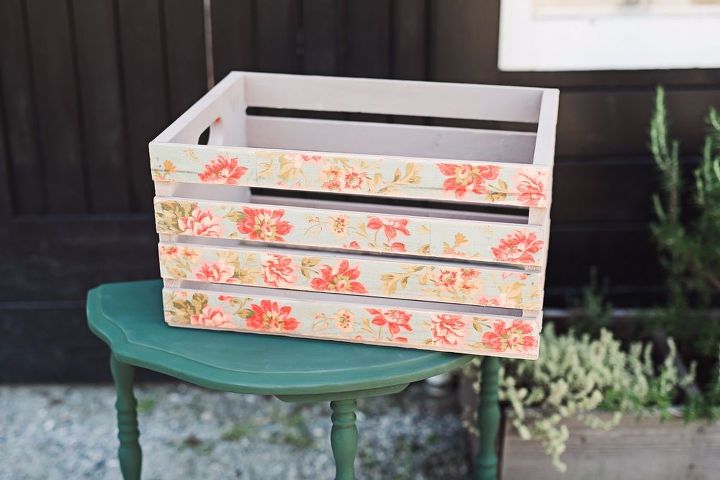
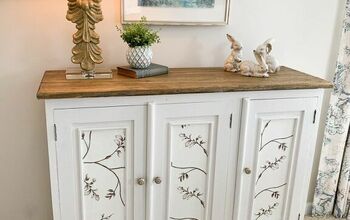
How To Decoupage Furniture

Country Chic Paint
by Country Chic Paint
4 Materials
You may have already learned how to use our Image Transfer Medium to transfer graphics to your painted furniture, but did you know you can also use it for decoupaging?
Step 1) Prepare your surface


If you decide to apply a base coat of paint first, make sure you let it dry for at least 12 hours before decoupaging it. If you’re decoupaging directly over raw wood, all you have to do it make sure it’s clean and smooth! Sand down any rough edges before you continue.
Step 2) Cut your material to size


In this case we’re using pretty floral napkins on the wooden slats of a crate. Make sure you cut your napkins, tissue paper, or fabric to size so it’s ready to apply.


If you’re using napkins, be sure to remove any extra layers that do not have printing on them. Usually napkins have 1-2 layers of plain white paper underneath that you’ll need to peel off.
Step 3) Apply Image Transfer Medium


Using a synthetic bristle paint brush, apply one coat of Image Transfer Medium. It doesn’t have to be very thick but you want to make sure you have good coverage. It will start to dry fairly quickly so work in small areas at a time.
Step 4) Lay your material down


As soon as your Image Transfer Medium has been applied, lay your material down while it’s still wet. Use your fingers to gently smooth it out and remove any air bubbles that might be trapped underneath.
Step 5) Distress the edges


If you’re going for a rustic, aged look you can use a sanding block to distress the edges once your Image Transfer Medium is completely dry. However, if you’re going for a more modern finish, you can skip this step.
Step 6) Seal your work


Now that everything is dry, it’s time to seal your work. Apply another coat of Image Transfer Medium, or you can use Tough Coat for this step if you prefer. The Image Transfer Medium will dry clear so don’t worry about dulling the colors.
Here are some more examples of the beautiful projects you can create by decoupaging!
The finished product:
In this brand new video tutorial company co-founder, Rosanne will show you how to layer a few colors and textures to create an authentic-looking oxidized copper finish.
Suggested materials:
  • Image Transfer Medium   (Country Chic Paint)
  • Napkins
  • Short-handle paint brush   (Country Chic Paint)
See all materials
Frequently asked questions
Have a question about this project?
  1 question
  • Destpete4 Destpete4 on Jul 09, 2018

    Love the tutorial, I am going to try it with stickers, any suggestions.

Comments
Join the conversation
 3 comments
  • Jessica Cossin Jessica Cossin on Mar 09, 2017

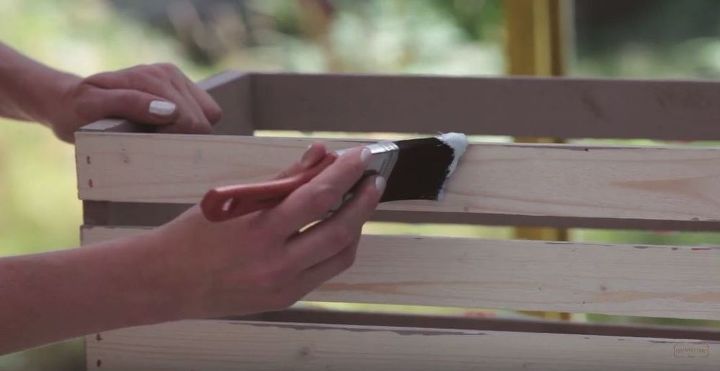
    I apologize for the silly questions but I can never seem to get the hang of Decoupage, and I LOVE it! Is Image Transfer Medium the same as Modge Podge? If so or similar, what type do you use on wood?

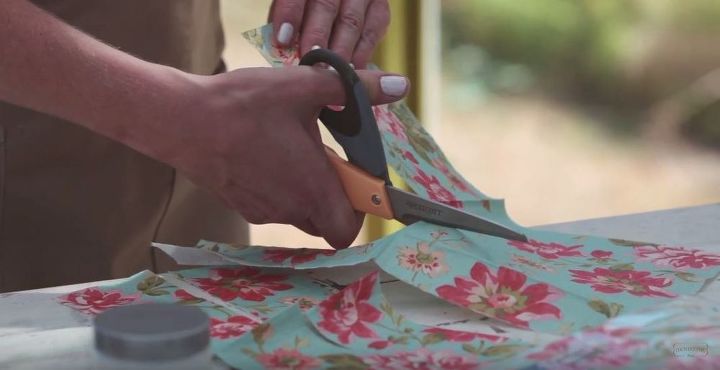
    Can you use scrapbooking paper? My experience has been I've read yes, but then tried it, maybe its my inexperience, but; its way too thick, you can't maneuver it, it doesn't stick either! Would it be best to start with napkins, any other material you may suggest?

    Again, I apologize for all of the questions, I have tried several small Decoupage projects, and all were epic failures! 🙃 Leaving me with a husband saying, "So, you wasted money on that... It doesn't look like the picture!" I'm thinking I want to shave his head while he sleeps for daring to tell me the truth about my obvious failure!

    Thanks for the advice!

    Jessica

    • Country Chic Paint Country Chic Paint on Mar 09, 2017
      Hi Jessica, Great questions! Image Transfer Medium and Mod Podge are quite similar, but ours is VOC free and more environmentally friendly if that's something that's of concern to you. Image Transfer Medium is also more of a soft butter consistency instead of a liquid. Decoupaging can take a bit of practice so don't give up yet! You might find that for your first few projects to get the technique down you'll find it easier to work with a thin material like tissue paper or napkins.
  • Jessica Cossin Jessica Cossin on Mar 10, 2017

    Thank you very much!

Next