


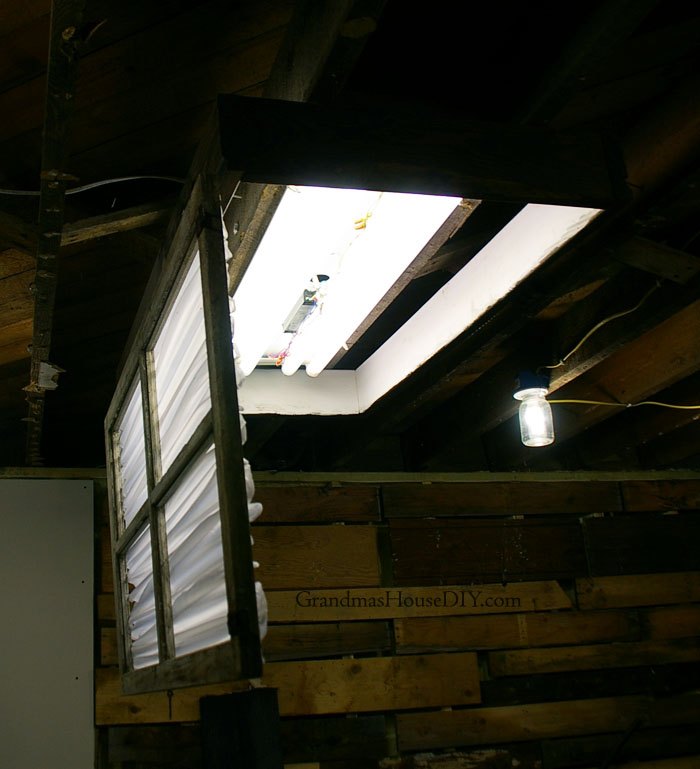
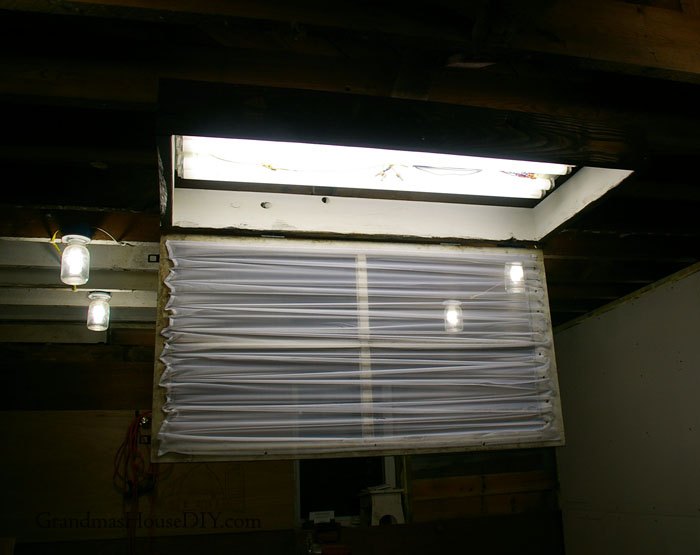
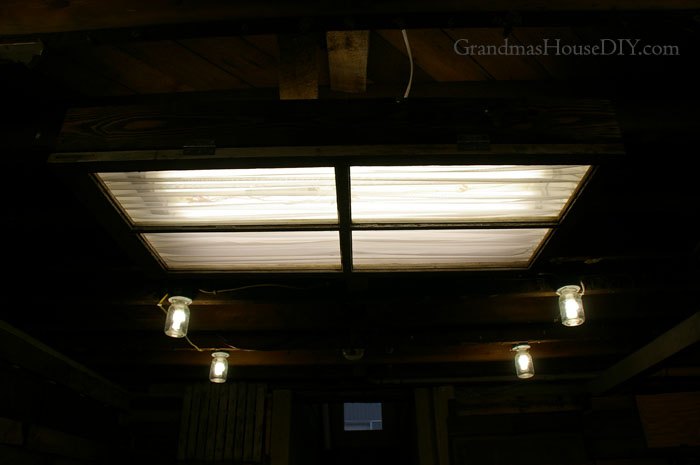
How to DIY a Florescent Light Box Cover Out of an Old Window
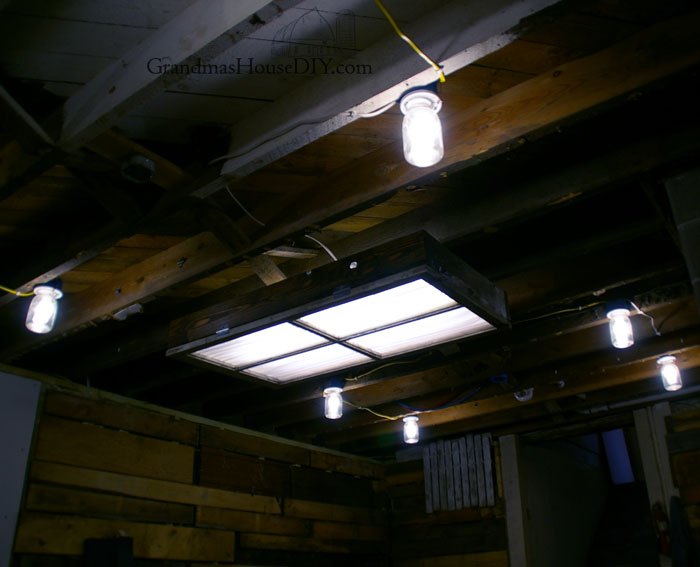
As you guys know from my previous posts over the last few weeks I have been spending the majority of my days in the basement. When the plan had been initially to build a rental suite down here (because the basement conveniently has a separate entrance) I had built a wall separating the main room into two living spaces. Since then the plan has changed considerably and this basement will now be my wood workshop so, one of the first things I did, was take down the wall that chopped the main room into two rooms. With the room wide open I started working on lighting because nothing takes a creepy basement into a real living space like light! I started by running a whole bunch of bulbs around the room (8 all together!) and covering them with mason jars like I showed you in my last tutorial. Then, I grabbed a florescent light I had replaced in my mom’s house and brought home because: it was free. It was missing its steel cover plate as well as a whole florescent light cover but I figured: light is light! So, I put it up right smack dab in the middle of the room where the wall used to be.


Comments
Join the conversation
-
Wow! That is such a great idea!!


Frequently asked questions
Have a question about this project?