


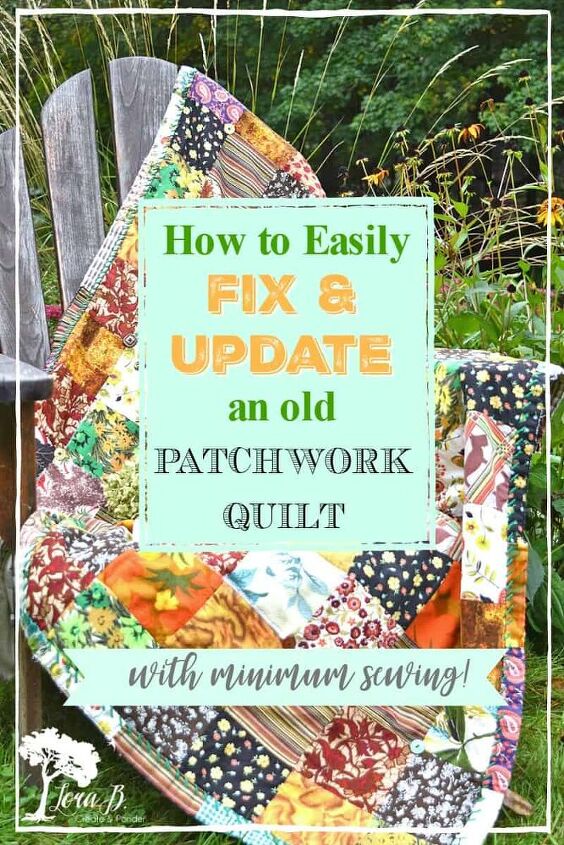
How to Easily Fix an Old Patchwork Quilt
Easily fix an old patchwork quilt that has seen better days! These tips will refesh and update it’s vintage charm!
First, Don’t Overthink the Refresh Process
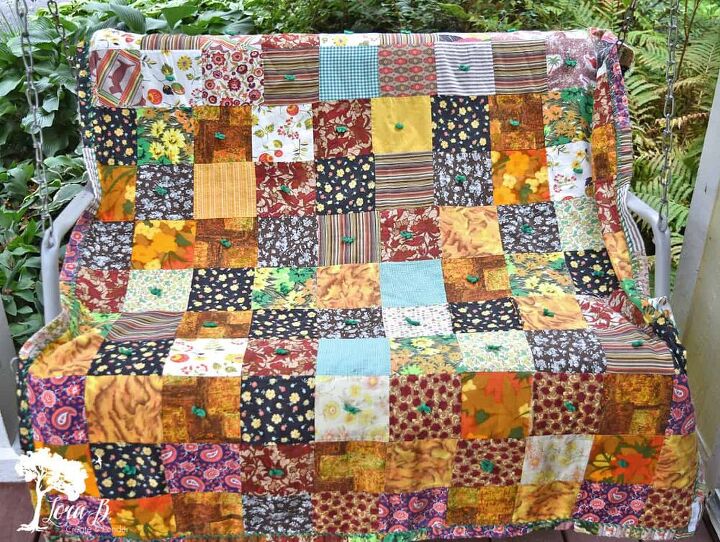
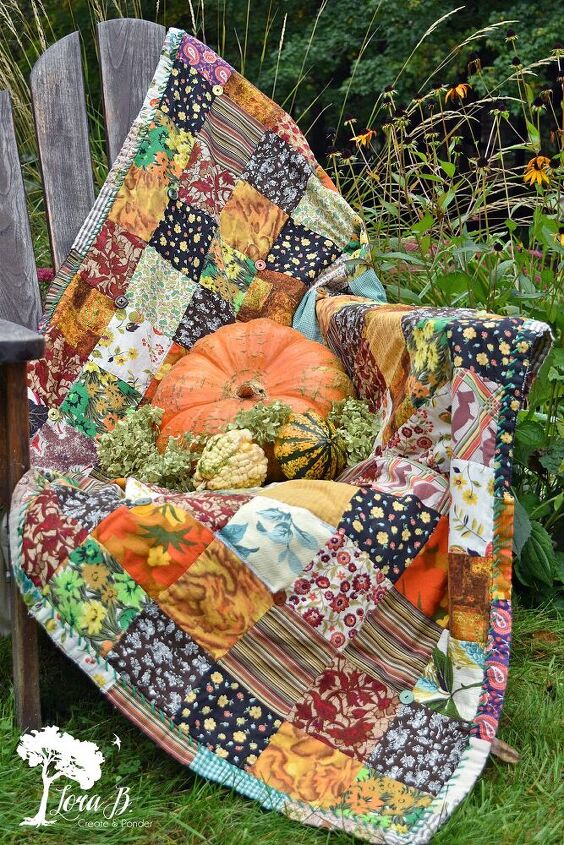
These simple patchwork quilts were made with leftover fabrics and were made for function and beauty. They were made for bedcoverings and to use as lap blankets. Their homespun charm is endearing. However I can fix them easily, quickly and creatively seems to suit them best. Adding a little folk-ish charm with simple repairs seems to add to their already charming personality! Here's how I do it.
Before Washing, Check for Weak Points
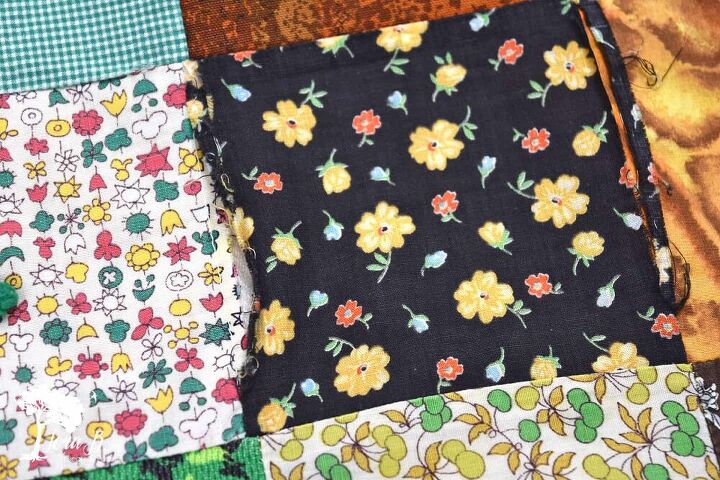
Before laundering, look for the the quilt’s weaknesses. On this quilt, the sewing had come undone between some of the squares. Often it seems to be one or two particular fabrics that maybe shrunk more in washing, or just weren’t as tightly woven. On my quilt, the black floral fabric was the problem. At least half of it’s sides needed some help. This fabric does seem to be from an older era than the others-maybe a cotton from the 20’s or 30’s?
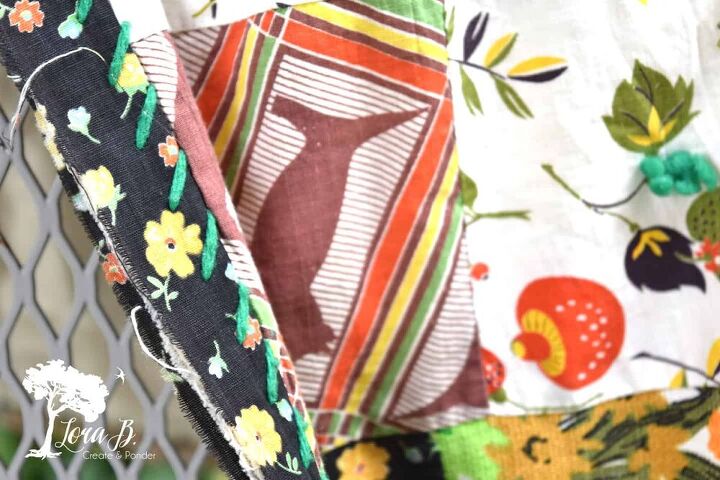
Another problem area is often the binding that goes around the edge. The edges take a lot of wear and tear and often is the area where it shows the most. Here the black fabric had once again given way.
The yarn ties were still intact, but I didn't like how they interrupted the cute fabrics. I came up with a new way to adhere the different layers together.
Mend Weak Points With a Sewing Machine
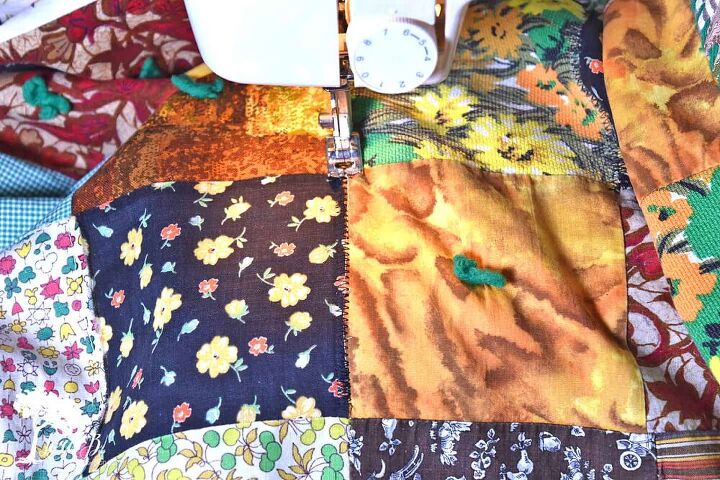
Choose your thread fabric to compliment the quilt. Stitches will show on the backside, too, so match your bobbin thread accordingly.
With a wide zig-zag stitch, sew down all those loose seams, going back and forth as needed. Catch in all the loose seams.
If there are any other weak spots or holes, do the same. Remember to not overthink it. It will be more fun to use the quilt, than worry that you're not mending it "right". All those zigzag stitches will add to it's homespun charm.
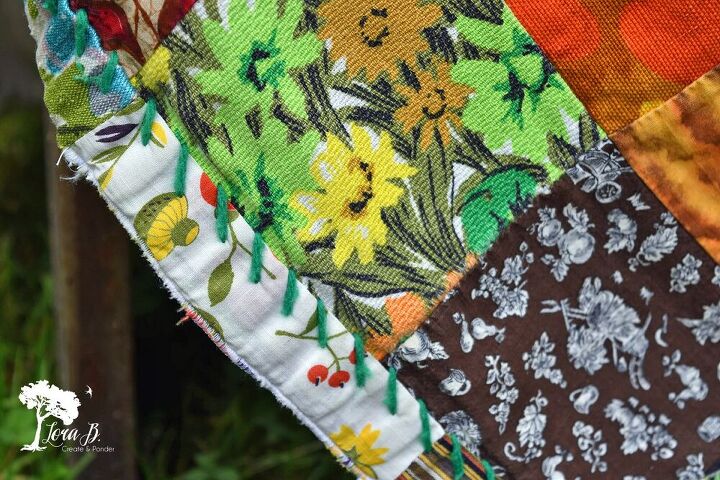
Zig Zag stitch any edge sections that are fraying, so the batting won't show. I simply went all the way around this quilt. It made it feel sturdier and solid enough to be used by the campfire!
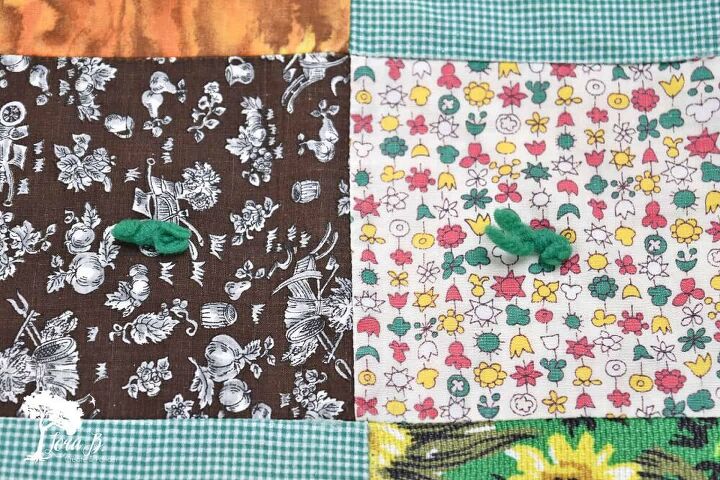
Replace Old Yarn Ties with Buttons
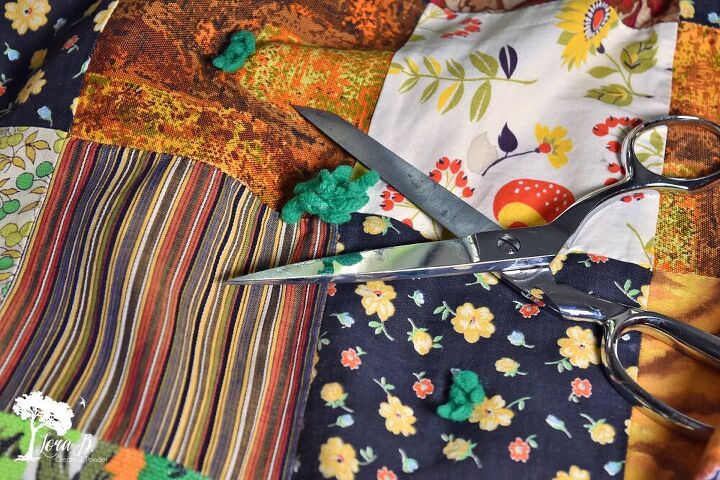
Next, cut off the tired-looking yarn ties. The vintage fabrics still look beautiful, but the yarn ties just aren’t helping this quilt any. Use a fabric-only, sharp scissors for this type of job.
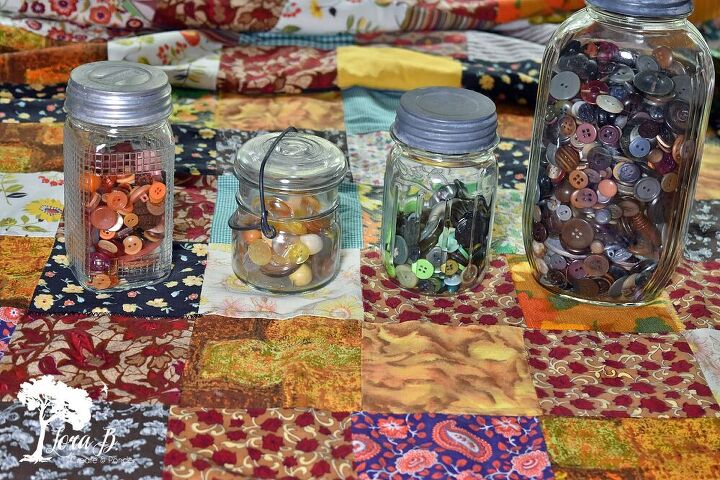
To keep the quilt together without the yarn ties, hand sew buttons through the layers.
Be creative with your button and thread choice! You can either choose all one color or mix it up, like I did.
Launder Vintage Patchwork Quilt with a Mild Detergent
After the repairs and updates are made, wash the quilt in the washing machine with a mild detergent. The yarny holes will close up in the wash/dry process. If you have staining, use a mild, color safe bleach. Dry in the dryer on gentle to get out initial wetness, and dry laying flat to finish.
With some simple sewing skills, refreshing a vintage quilt can be a satisfying little project. I hope you’ll be on the lookout while you’re secondhand shopping for one of these oldies, now that you know How To Easily Fix an Old Patchwork Quilt!
For more vintage-inspired refreshing tips and projects, see HERE.
Make sure to FOLLOW me on Hometalk!
Resources for this project:
See all materials


Comments
Join the conversation
-
Thanks for this tutorial.. I wish I knew about this before I threw out my old quilt.
-
Oh, that makes me so sad, Dee! I’m sorry. I hope it will help others save theirs.


Frequently asked questions
Have a question about this project?
I have a problem...I have squares that were cut from a quilt that became worn. The squares have batting and backing still attached. How could I join them together for a throw, or for pillow covers? Thank you!!