


How to Emboss Macrame Knots Wall Stencils With Joint Compound

4 Materials
$50
1 Day
Easy
The handmade details of knitting, crocheting, and weaving can be time-consuming, especially for large areas like an entire wall covering. Instead, you can use our Macrame Knots Wall Stencil to create the same texture-inspired look. But what if you wanted the REAL DEAL with texture that you can touch? You CAN stencil a wall that feels as pretty as it looks by embossing the wall design with joint compound!
Click play and watch this DIY stencil tutorial to see how to emboss wall designs from our Woven Textures Stencil Spotlight Collection with joint compound, and take your texture stencils to the next level.
{
"id": "3759707",
"alt": "",
"title": "",
"video_link": "https://www.youtube.com/embed/pNQ_Bb5In30",
"youtube_video_id": "pNQ_Bb5In30"
}
{
"width": 634,
"height": 357,
"showRelated": true
}
Supplies:
- Macrame Knots Wall Stencil
- 1” Royal Stencil Brush
- Premixed Joint Compound
- Venetian trowel
- White Acrylic Paint
- Bubble Level, Painter’s Tape, Medium-grit Sanding Slock
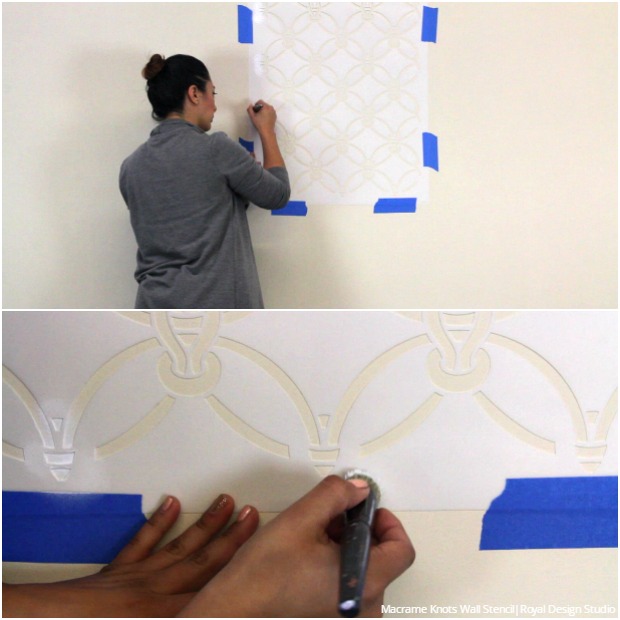
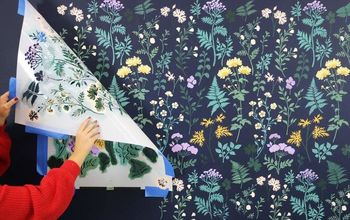
Step 1: Before using the stencil embossing technique with plaster, you will need to mark the repeat of the stencil on the wall using paint. This is recommended so that you can align and repeat your stencil perfectly while embossing. Center and secure the stencil on the wall with a bubble level and painter’s tape. Load and offload the stencil brush with white paint.
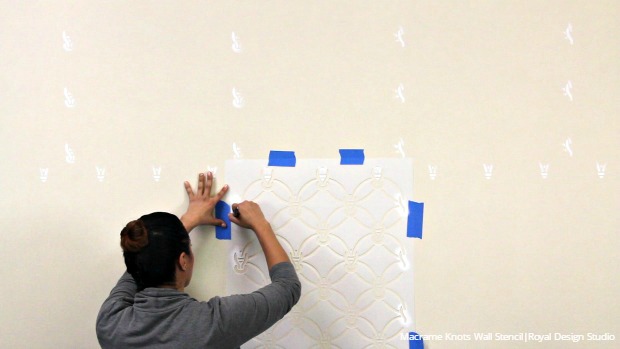
Step 3: Repeat Step 2 until the wall is completely stenciled with only the registration elements.
Step 4: To begin using the stencil embossing technique, use the painted registration marks to line up the stencil on the wall and secure with painter’s tape.
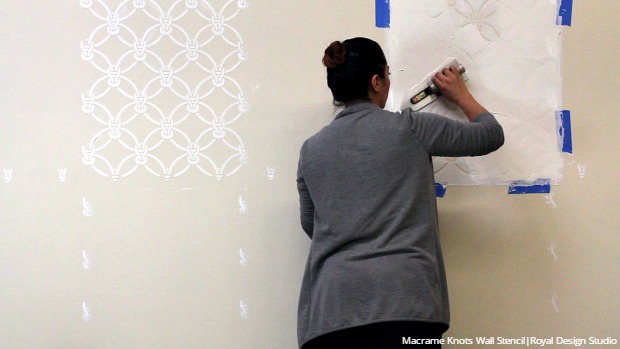
Step 5: Use a trowel at a low angle to apply a thin and even layer of premixed joint compound through the stencil design. Carefully remove the stencil and use the trowel to remove the excess plaster from the stencil on a flat, covered surface. Wipe the back of the stencil clean with a damp cloth.
Step 6: Skip one repeat and align the stencil with the next set of registration marks and repeat Step 4 and 5 until every other repeat on the wall is embossed with joint compound.
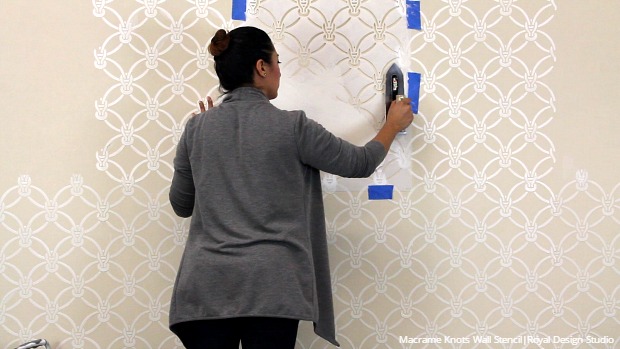
Step 7: Once the joint compound is dry to the touch, return to the repeats that you skipped over and repeat Step 4 and 5 until the entire wall is embossed. Allow to dry completely overnight.
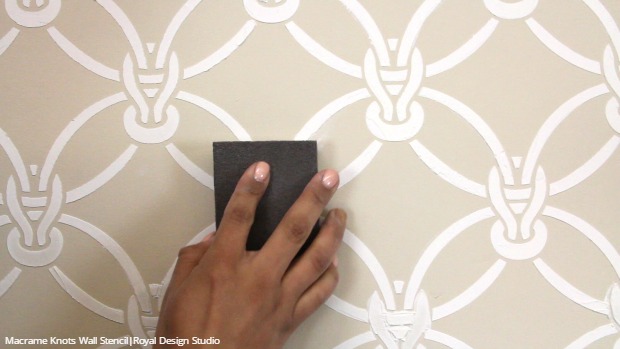
Step 8: Use a medium-grit sanding block to remove any uneven areas and ridges on the embossed design. Then use a soft, natural bristle brush and damp towel to remove the sanding dust.
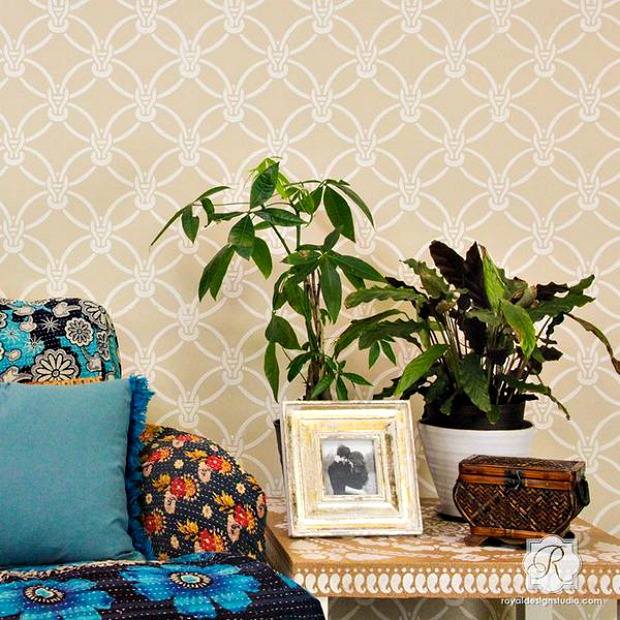
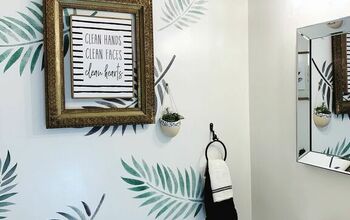
Enjoy your easy and beautiful custom textured wall finish! We love pairing this DIY macrame wall decor with a calming neutral color palette to create the perfect bohemian style interior.
Resources for this project:
See all materials


Any price and availability information displayed on [relevant Amazon Site(s), as applicable] at the time of purchase will apply to the purchase of this product.
Hometalk may collect a small share of sales from the links on this page.More info
Comments
Join the conversation
2 of 23 comments
-
Good taste in design
-
That was pretty cool! Looks lovely! Good job!


Frequently asked questions
Have a question about this project?
I have boys. Can it be cleaned (scrubbed) or would I need to seal it?
Did you put any type of wallcovering under this? If not, you could have a LOT of work down the road if you ever want to return to a plain wall or any changes, including painting. This will require MEGA detailing if you ever change and want two colors again. It is fabulous though!!
Will this technique work on already-textured walls? We have "orange peel" texture. Not terribly raised, but definitely visible.