


How to Find, Layout and Resize Internet Images to Make Your Own Art
4 Materials
1 Hour
Easy
You don’t need to know how to draw to make great painted signs, printables, painted furniture, iron-on decals, etc. This post will show you how to find, layout and resize internet images to make your own art. The only tools you need are PowerPoint, Adobe Acrobat Reader (free software), and a printer. I use this technique to create my own artwork for signs, furniture, and home decor. It can also be used to make t-shirt decals, painted fabrics, and much more.
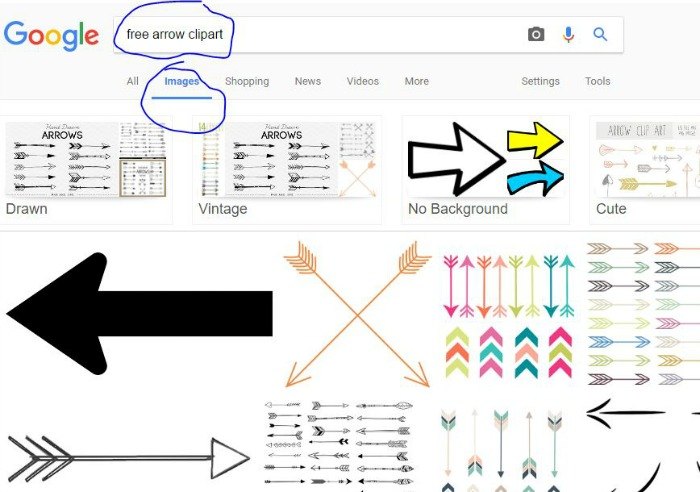
There are lots of great sites that offer free images and vector files for use. Many only require you to cite the source if you will be using the image commercially. If you are using it for personal projects, then you can use them without restriction.
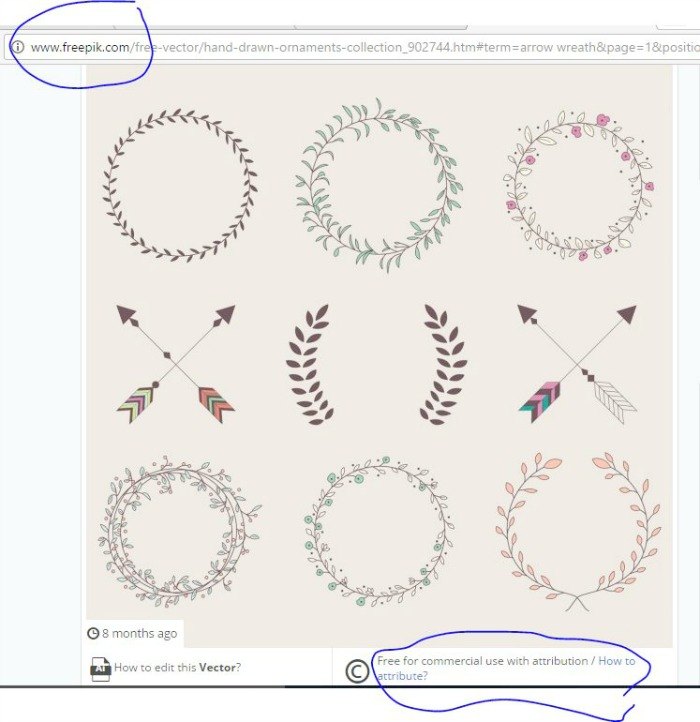
Be sure to only use free files. This is an example of a selection of free wreaths I found for my reversible sign project (also on Hometalk).
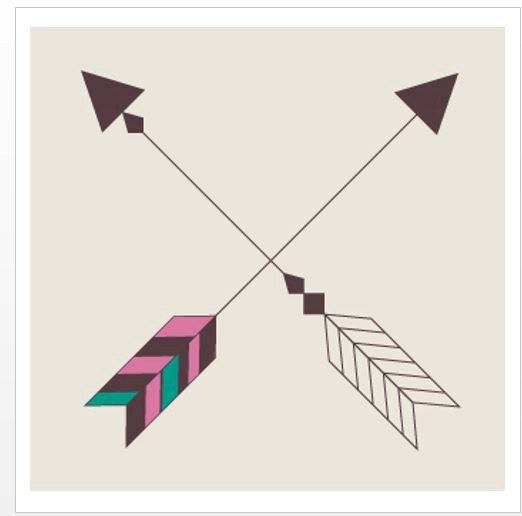
I cropped the image and resized it using Powerpoint. You can set the slide size to the size of your art, sign, furniture, etc.

Saving the powerpoint file as pdf opens the file in Adobe Reader. From there you can print the file as POSTER. This keeps the image the correct size and prints it across multiple pages you can tape together before transferring to your project.
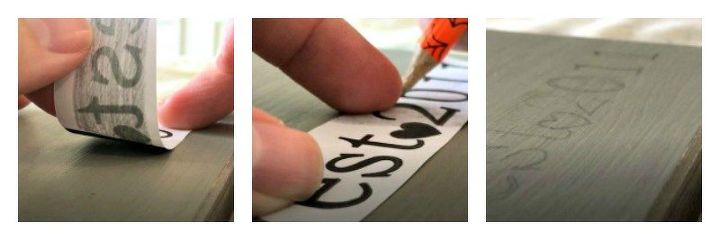
Simple pencil transfer method I use.
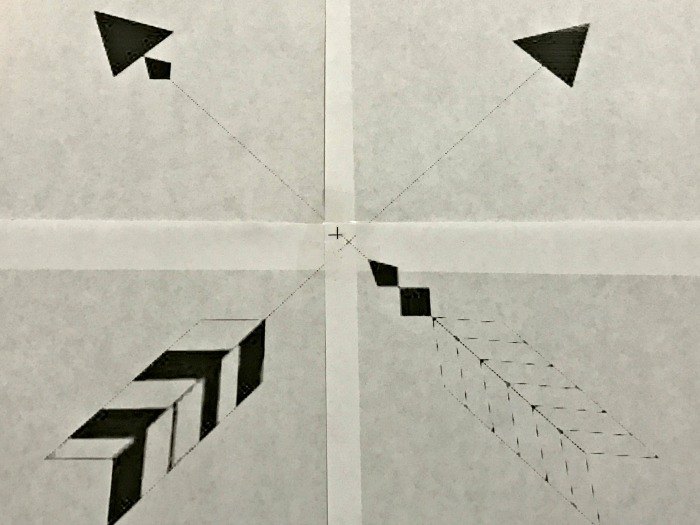
My taped together piece, ready to be transferred.
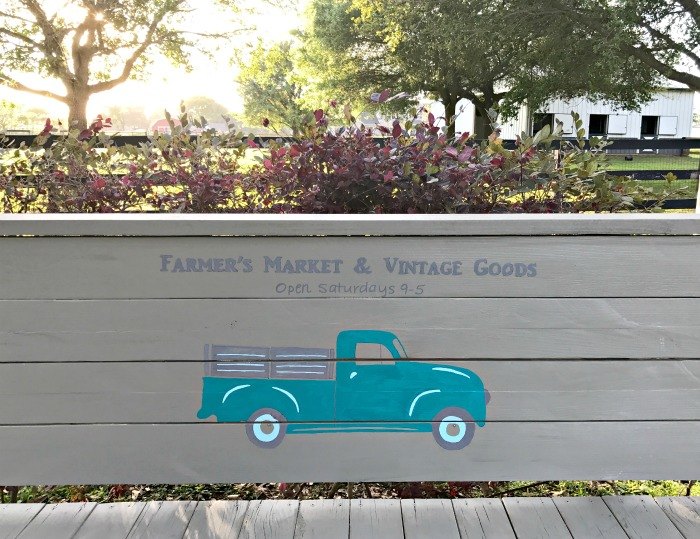
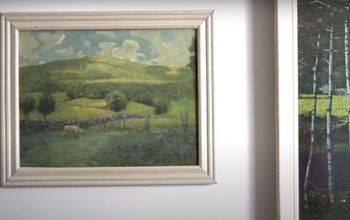
Vintage Truck art for the bench I built for the gravel play yard I built. (Hometalk project)

The menu board for my kids diner (Hometalk project).
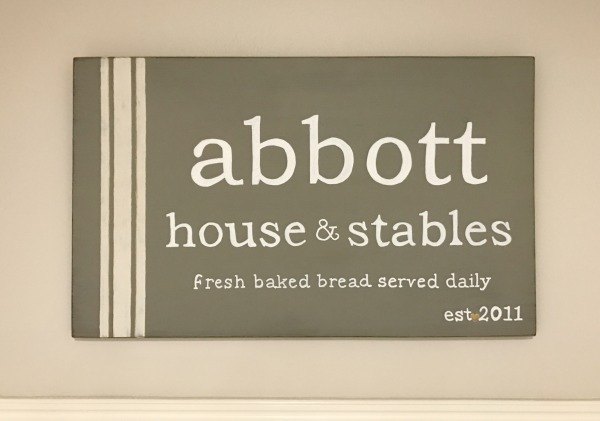
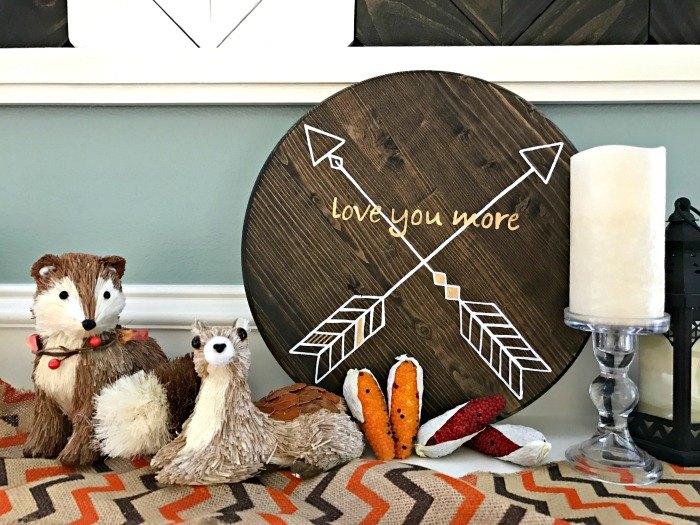
Large sign for our remodeled kitchen (Hometalk project).
{
"id": "3896748",
"alt": "",
"title": "",
"video_link": "https://www.youtube.com/embed/TWhJFEHz6K8",
"youtube_video_id": "TWhJFEHz6K8"
}
{
"width": 634,
"height": 357,
"showRelated": true
}

Want more details about this and other DIY projects? Check out my blog post!


Frequently asked questions
Have a question about this project?