


How to Make a Decorative Paper Mache Mask

by
Troom Troom
How to make a decorative mask. In this tutorial we'll show a new making idea of DIY mask using paper mache technique. This golden face mask will add a magic touch to your interior!
{
"id": "3850524",
"alt": "",
"title": "",
"video_link": "https://www.youtube.com/embed/AMNwNowIHeE",
"youtube_video_id": "AMNwNowIHeE"
}
{
"width": 634,
"height": 357,
"showRelated": true
}
Check out the video above to learn how to make your own!
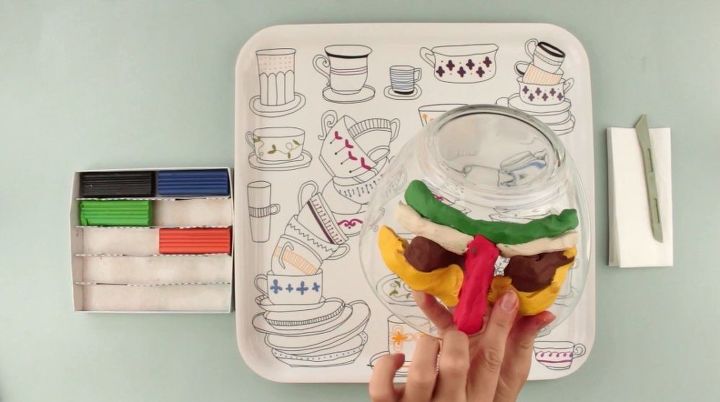
Start with sculpting the face. Divide a piece of plasticine in half to make the eyebrows.
Knead the plasticine. It will become soft and pliable by warming up.
Attach the forehead part first, then the eyebrows, and the cheekbones to shape the mask from the bottom.
Make the nose. Sculpt a small triangle and put it in the center. Roll up two balls for the eyes.
Add the plasticine to the cheekbones and smooth the parts joining them together in this way.
Thin out the nose to make it delicate. Press down at the eye level to form a curve. Smooth down up to the tip and press over down up.
Continue smoothing. Keep in mind the symmetry.
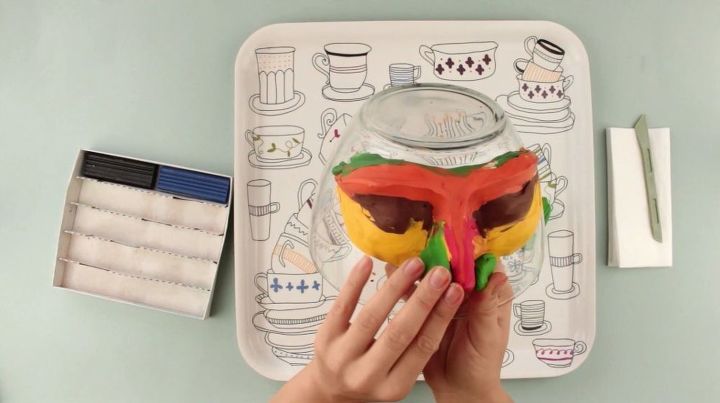
Add some plasticine to the eyebrows smoothing upwards and between the eyes and the nose to form a thin bridge.
Note the angle we’ve got: it consists of the upper and lower planes to converge at one point. Try to repeat for the other side.
Continue perfecting the nose. Smooth the cheekbones and other parts.
Keep in mind the nose wings. Make them from two oblong plasticine pieces smoothing carefully for a proper shape.
Add some plasticine to the forehead part joining to the eyes and nose.
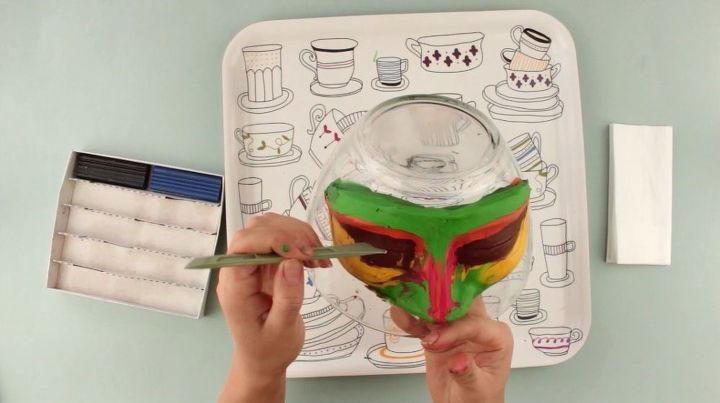
Make an imaginary line along the eyes and nose using a spatula. This will help reveal the inaccuracies in the symmetry.
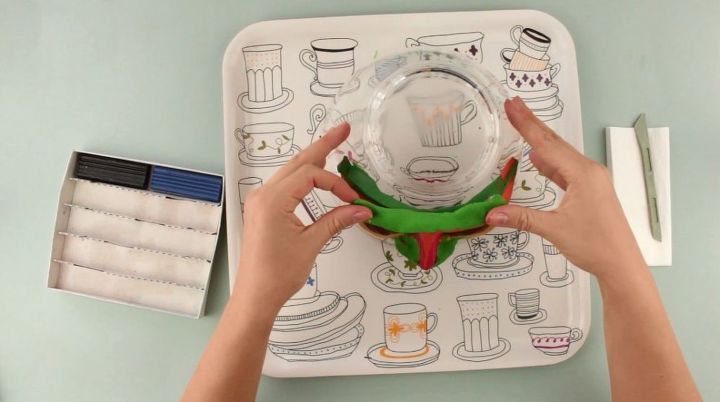
We’ll need vaseline or any fatty cream for the next step. Spread it out carefully to put the mask off the model easily later on.
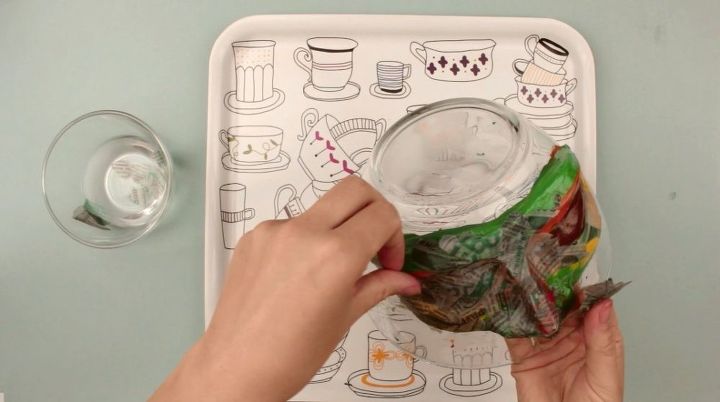
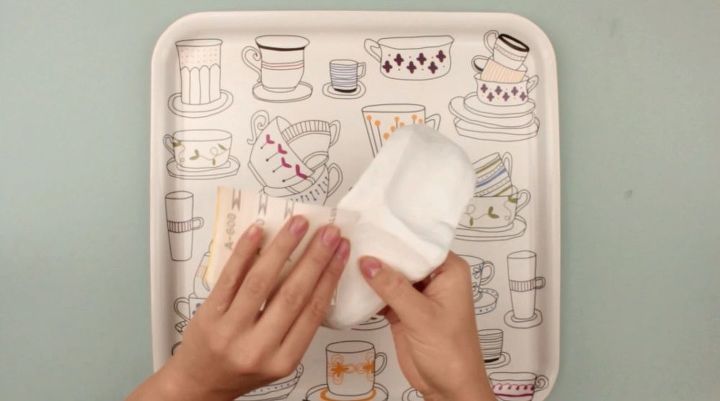
We’ll need some water to soak the first paper layer. Use plain paper. Note the pieces should not be cut but torn out for a better attachment. Don’t use big pieces as it may cause mask deformation.
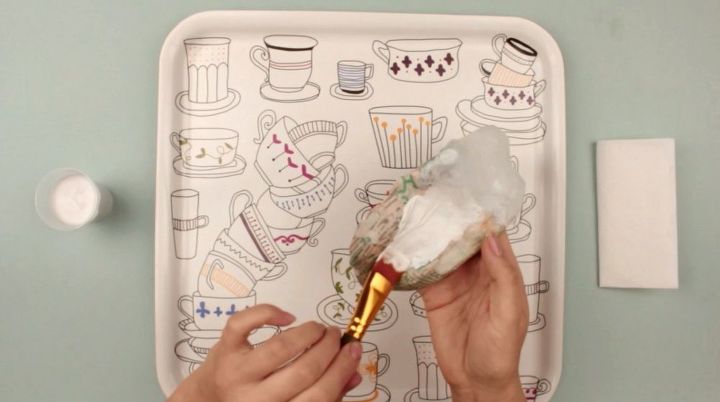
Apply further coats using white glue. Choose thin paper, napkins in this case, as they fit well for the paper mache. So alternate the newspaper and napkin layers.
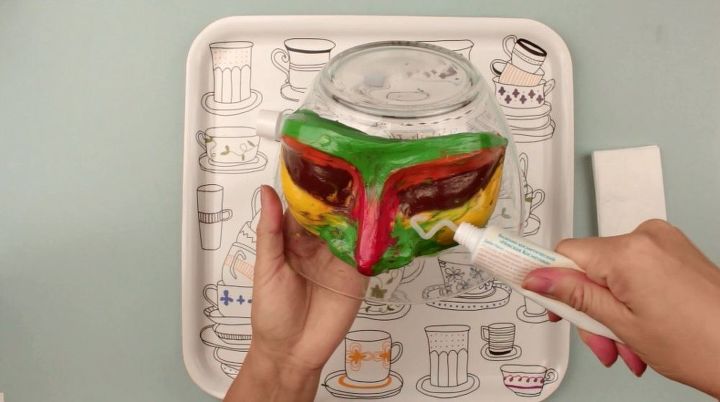
Pour some glue into a cup. Cover the mask using a brush.
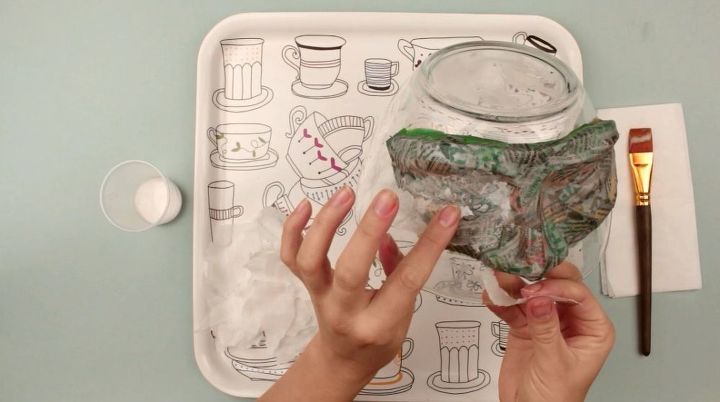
Attach the napkins. You may use big pieces this time.
There should be 5-6 layers in total. Let the mask dry for 10-12 hours afterwards.
The mask is dry. Cut it out and remove from the model using a craft knife.
Take water-based paint for a ground coat. Cover it with a thick layer.
Paint the inner side of the mask after drying.
Let dry for 15 minutes. Smooth with fine sandpaper.
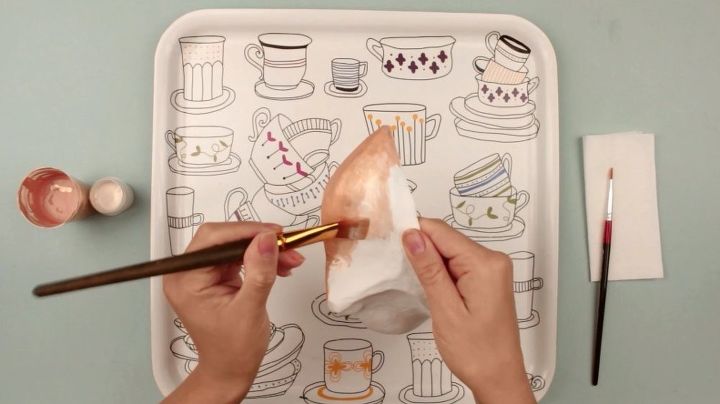
Start painting. Choose flesh-color gouache and pearl acrylic paint. Mix to get subtle golden shade. Keep in mind to make the eye areas the lightest and the upper eyelids and bridge deepening the darkest. It will make the mask more expressive.
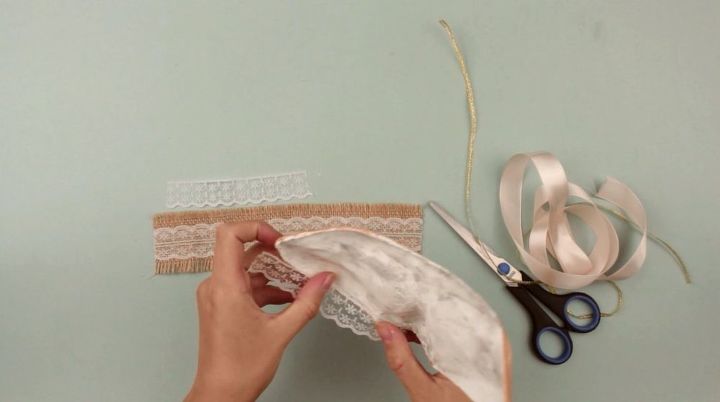
The next step is decoration. Take lace and ribbons of delicate shade.
This element will add an ethnic touch to the mask.
Use the lace for the underside.
Attach two same pieces using a hot glue gun.
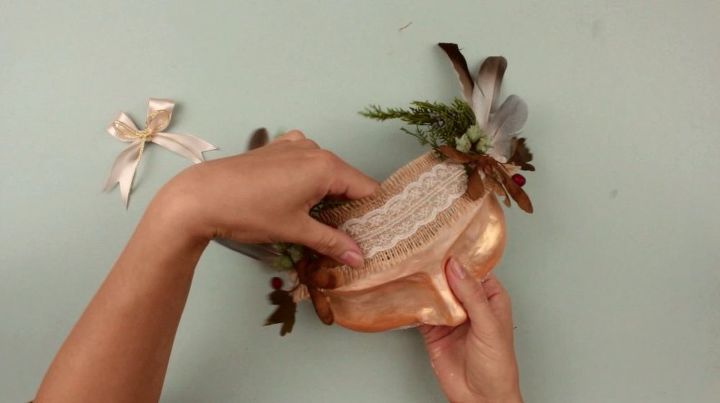
Tie a bow. We have chosen natural decorations for the band, you can find them when walking in the park. Hot glue them together.
Repeat for the other end. Attach the band carefully to the mask.
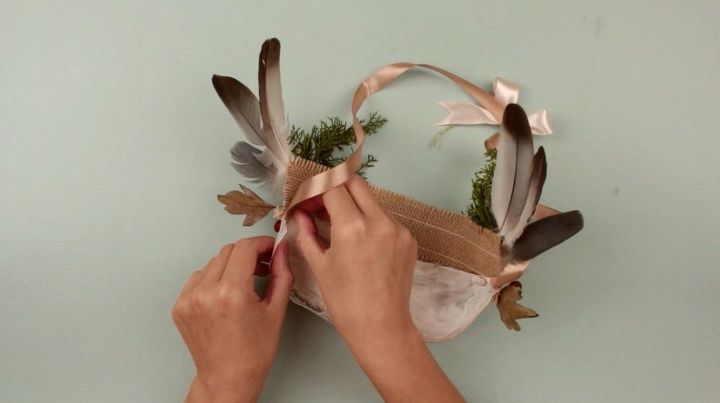
Add a finishing touch. Stick the ribbon to the bow and attach to the edges on the back side. The mask is ready.
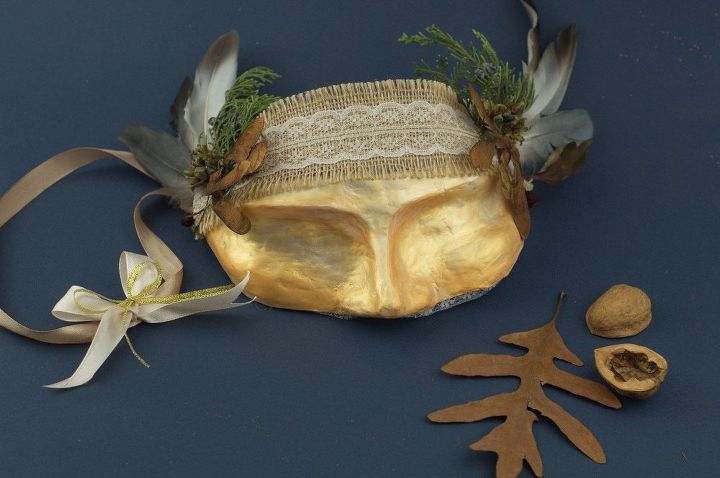
This gorgeous decorative face mask will add a magic touch to your interior.
If you're like this project, check out our youtube channel OR our super cool website
Thanks so much for reading/watching!
Comments
Join the conversation
1 comment
-
Super great tutorial. The mask looks fantastic. TROOM TROOM ON!


Frequently asked questions
Have a question about this project?