


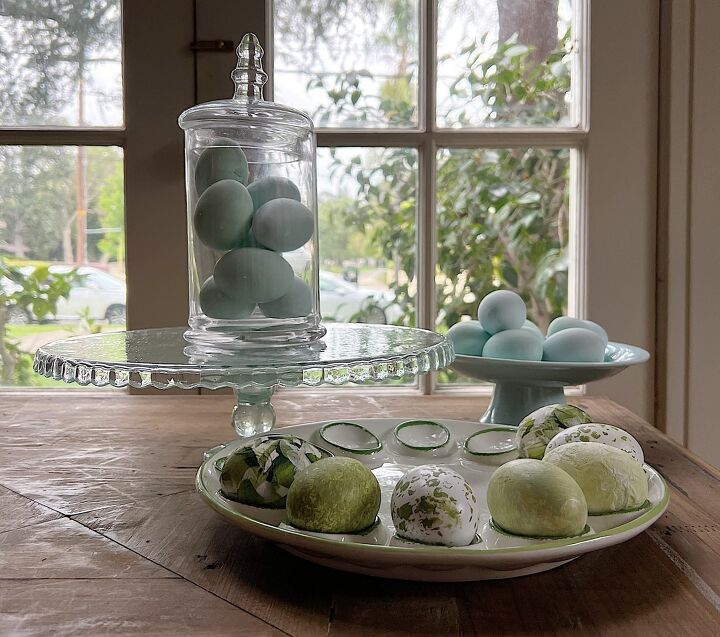
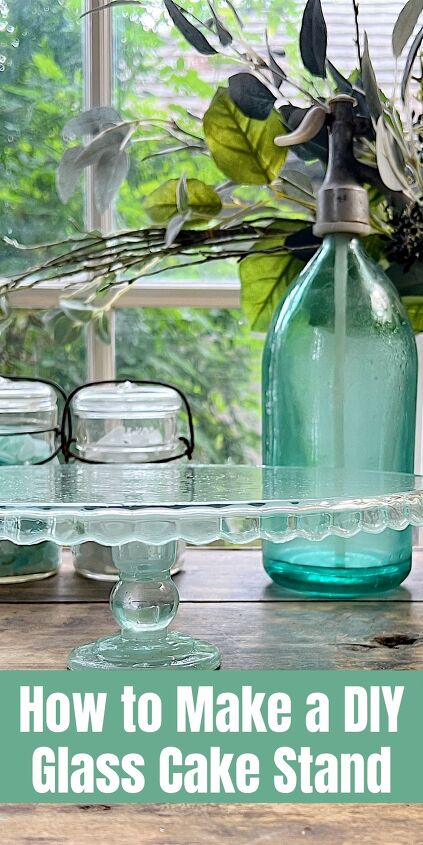
How to Make a DIY Glass Cake Stand
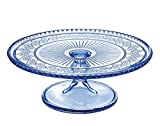
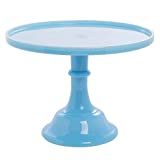
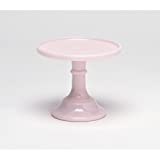
I have wanted an aqua glass cake stand for a while. So I decided to make my own DIY cake stand and I love how it came out.
Looking for a unique and personal way to add your personality to your decor? Why not try making your own DIY glass cake stand? Love bright colors? Make a brightly colored one. Love pastels? Make a pretty pastel one. It is surprisingly easy to make, and it will be exactly what you wanted! Here’s how to get started.

The idea of making my own cake stand was born from watching a TikTok video about DIY wedding vases. I call these types of ideas “This But That.” It’s like this, but it’s going to be different, like that. All I do is take an idea and twist it around into something completely new.
I love glass cake stands and have been collecting them for years. Typically I search for vintage cake stands, but wouldn’t it be amazing if I could make my own?
When I saw the TikTok video, I immediately thought of “glass cake stand” and I got to work.
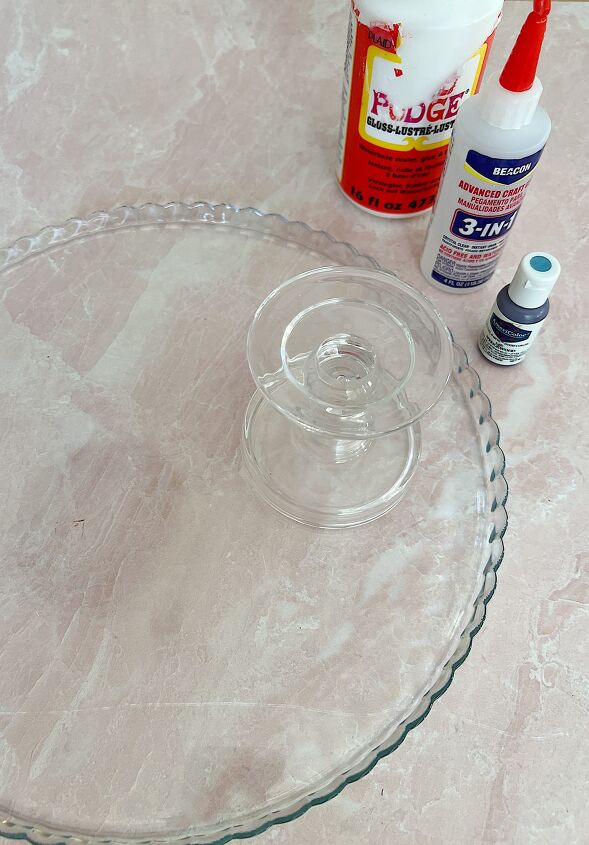
Here is what you will need to make your own:
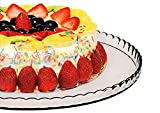
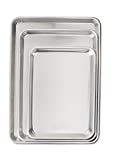
- Glass plate/tray
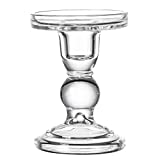
- Glass pedestal (I used a pillar candle holder)
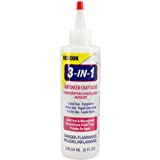
- Beacon 3-in-1 glue (or any clear drying glass glue)
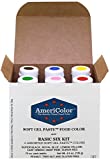
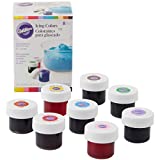
- Gel food coloring
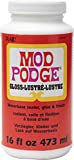
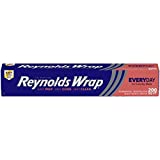
- Mod Podge
- Disposable gloves (this might get a bit messy)
- Disposable storage container for mixing color
- Bamboo skewers to mix
- Cookie sheet
- Foil
- Plastic drop cloth
The hardest part of this project is the color. Because the gel food coloring is mixed with Mod Podge, the color will not look true until baked, so you need a little faith and imagination.
Start by setting up the area you will be working in. Gather all of your supplies together so that everything is within reach. Make sure to cover your work surface is protected with parchment paper to protect your area from food coloring stains.
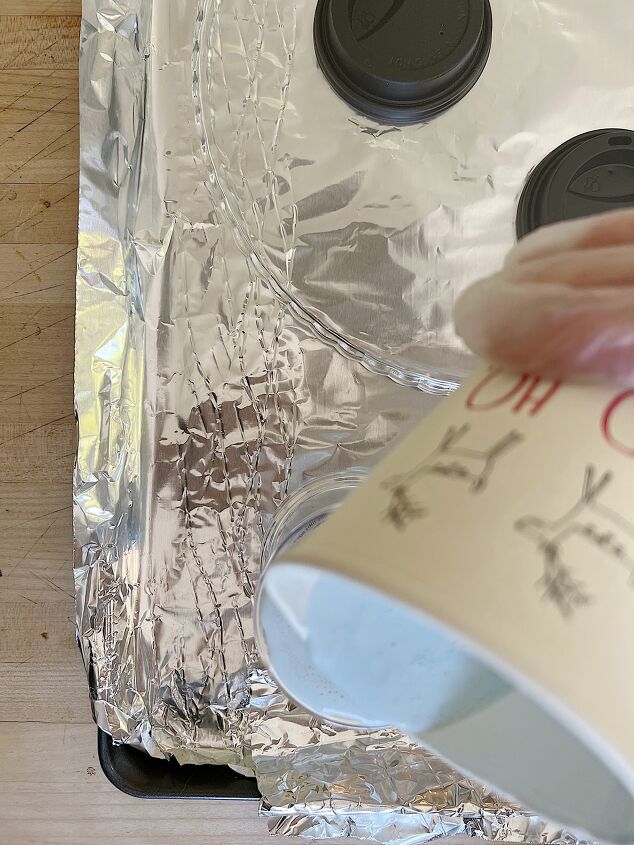
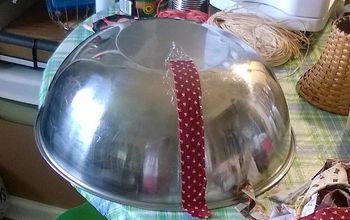
Place your glass items on a cookie sheet covered with foil. Elevate the items so they are slightingly off the bottom of the cookie sheet. I used a paper cup top and a coffee pod for this!
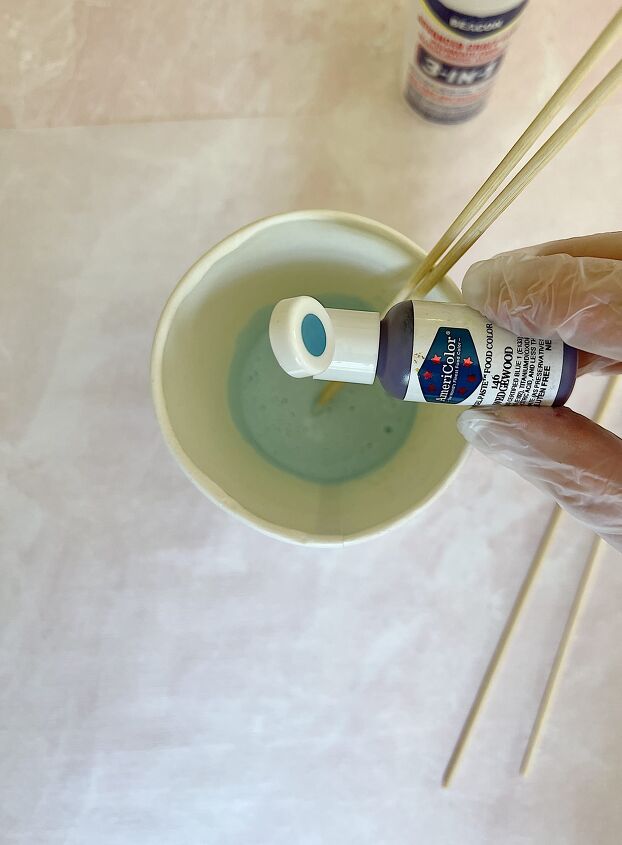
- one – In a disposable storage container, such as a leftover paper Christmas cup, add 16 oz. of Gloss Lustre Mod Podge. Add a few drops of gel food (cake) coloring to get the desired color. I only used three drops. I suggest you use more (like five) to get a deeper color. Be sure to stir the mixture very slowly to prevent bubbles from forming in the mixture. (I learned this the hard way.)
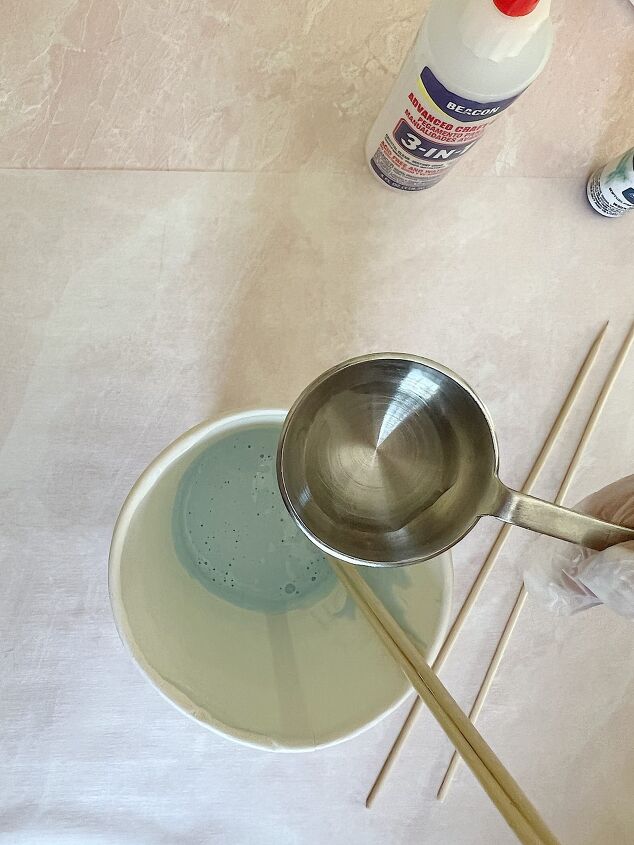
- two – Add about two teaspoons of water to the Mod Podge to think the mixture. Stir slowly and carefully.
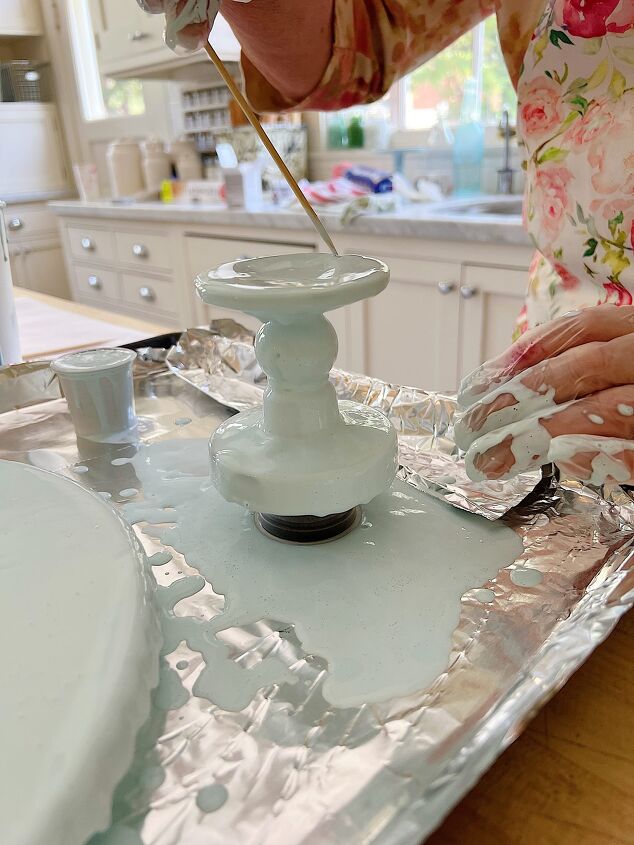
- three – Pour the mixture over your glass items.
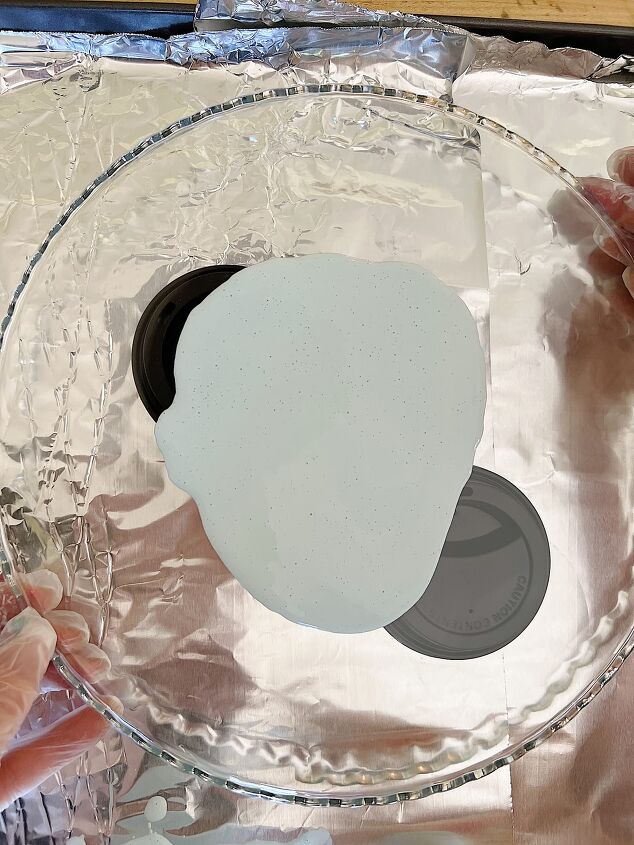
- four – Lift and tilt the item to pour off as much of the mixture as possible.
- five – Check to make sure all surfaces are covered.
- six – Make sure the mixture is spread as evenly as possible.
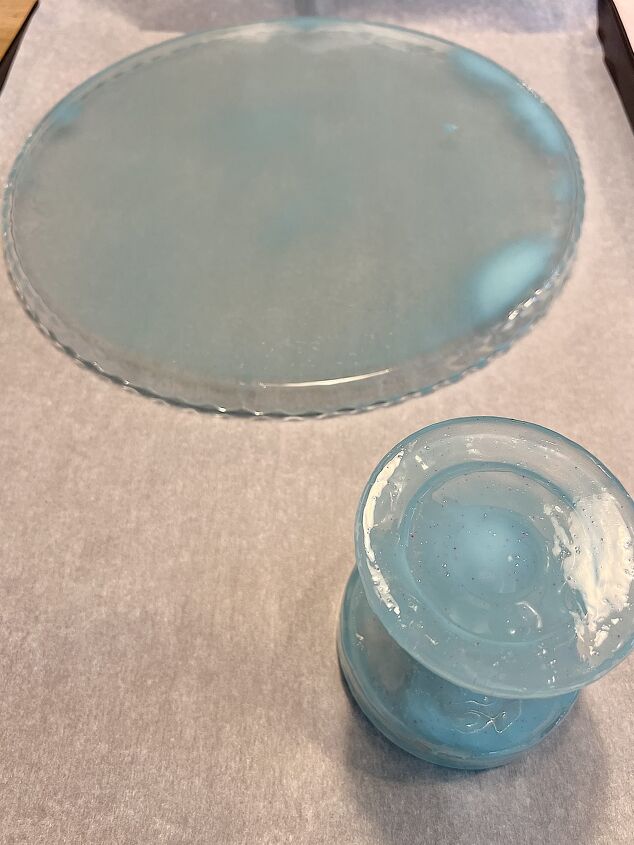
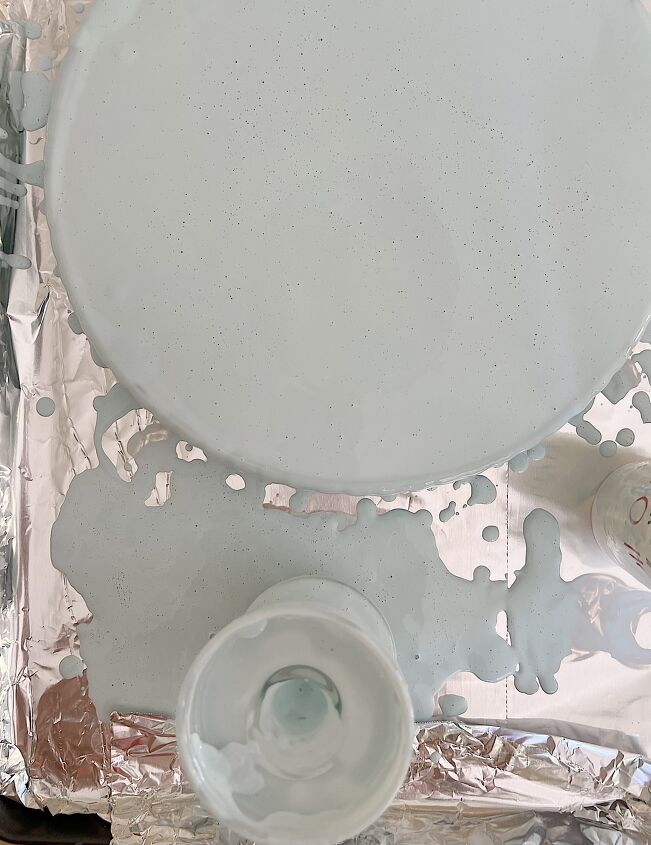
Let the items dry overnight. As you can see, mine didn’t quite dry so I had to let them dry for most of the next day. (This happened because the mixture wasn’t evenly poured on the top! And it was a bit too thick.)
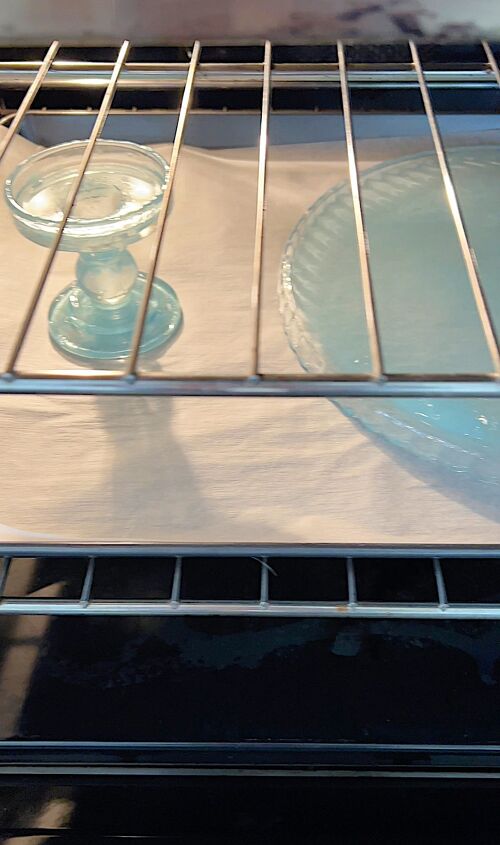
Once dry, put a new sheet of parchment paper on the baking sheet and place the glass items in the oven at 200 degrees for about two hours. Let cool for about thirty minutes before handling.
The last step is to glue your cake stand together with glass glue. Let dry.
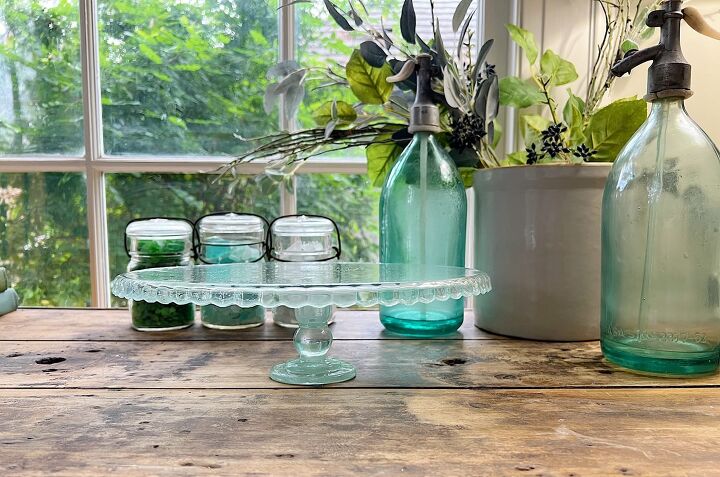
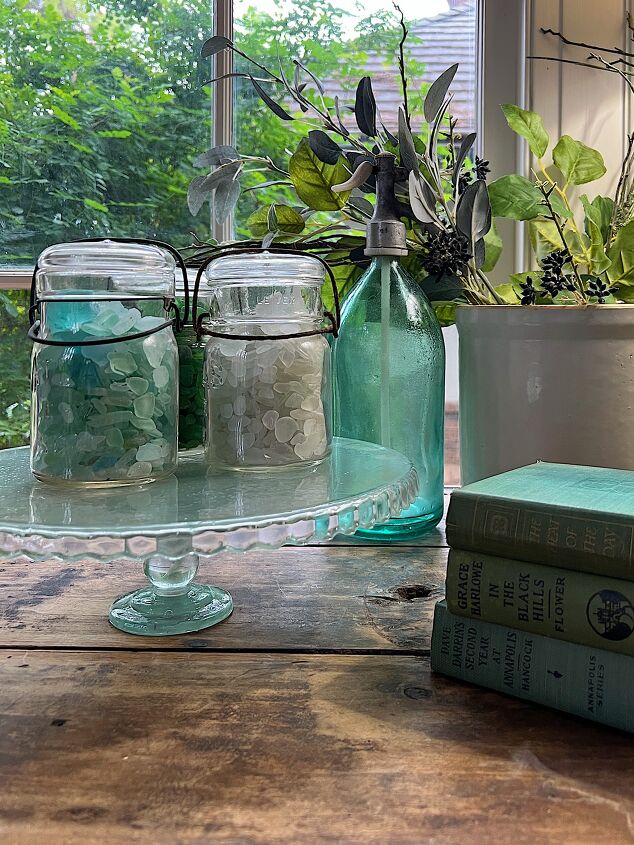
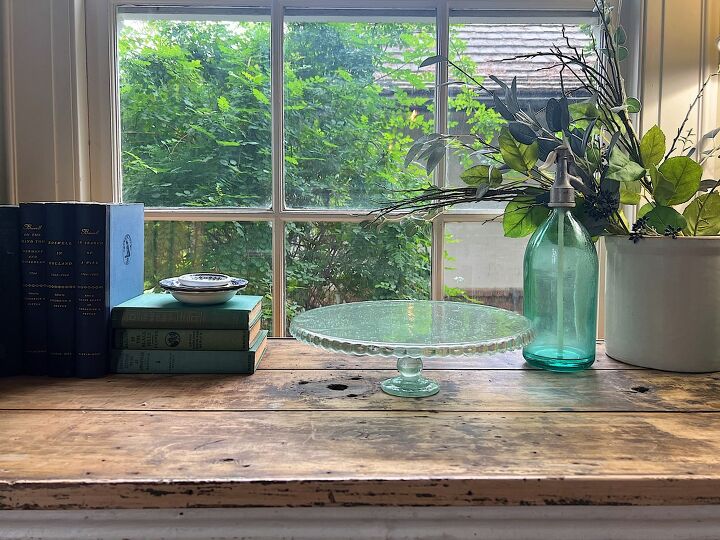
Have fun using your new cake stand in so many fun ways!
And please know you can make a glass vase using this technique. Just our the mixture inside the vase and let it drain. Follow the instructions the same as the cake plate!
If you are enjoying my blog, you can sign up to receive my blog updates here. .
I hope you will check out my Amazon Live Show.
While they are filmed live, they are also recorded and can be viewed anytime.
Ready to make your own DIY Glass Cake Stand? Below is everything that I used to make mine.


Pin the image below to your boards on Pinterest (just click the Pin button in the top left corner). You can also follow along with me on Pinterest!
For more real-time updates, follow me on Instagram @My100YearOldHome

ABOUT LESLIE
Welcome to My 100 Year Old Home. I started my blog so I could share my passion for entertaining, décor, cooking, and crafts. You will find all this and more right here. Read more…


Frequently asked questions
Have a question about this project?