


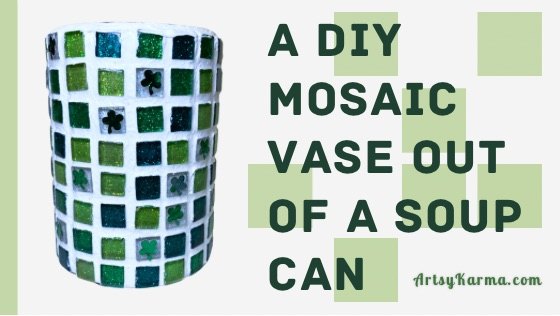
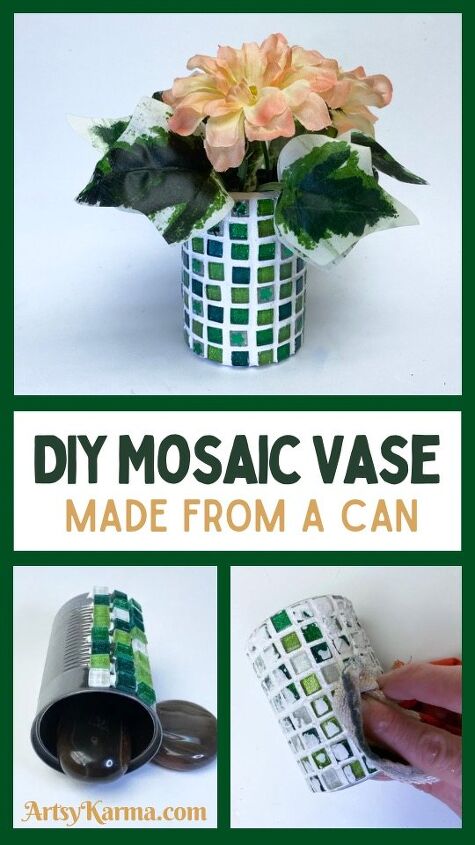
How to Make a DIY Mosaic Flower Vase From a Recycled Soup Can

In this post, I’ll show you the process of turning a recycled soup can into a mosaic flower vase using glass tiles and mosaic grout. I made mine in honor of St. Patricks day, but you can make yours in any color or for any occasion.
This was actually the first time I tried making mosaics like this, so hopefully I can tell you what blunders to avoid.

- Soup can
- Weld bond glue
- Small glass tiles
- Mosaic grout
- Tiny punched shapes (optional)
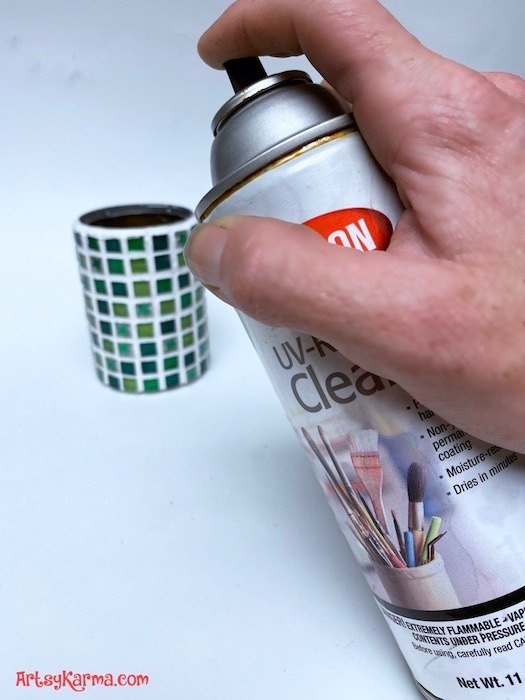
- Acrylic sealer

What materials can you use to make a mosaic?
You can use a variety of materials to make a mosaic. Mosaics dont have to be made of just tile and grout. You can make a paper mosaic that is decoupaged to almost any surface as paper is not heavy. Obviously, you wouldn’t use grout between the pieces of paper, but leaving a space between gives the desired result.
You can also make mosaics using glass or mirrors. You would want something to fill the spaces between those materials, however.
I have also made a mosaic wall art using beads and buttons as well as button and bead coasters. They both turned out awesome.
You can even make a mosaic with craft foam and puffy paint!
Step 1
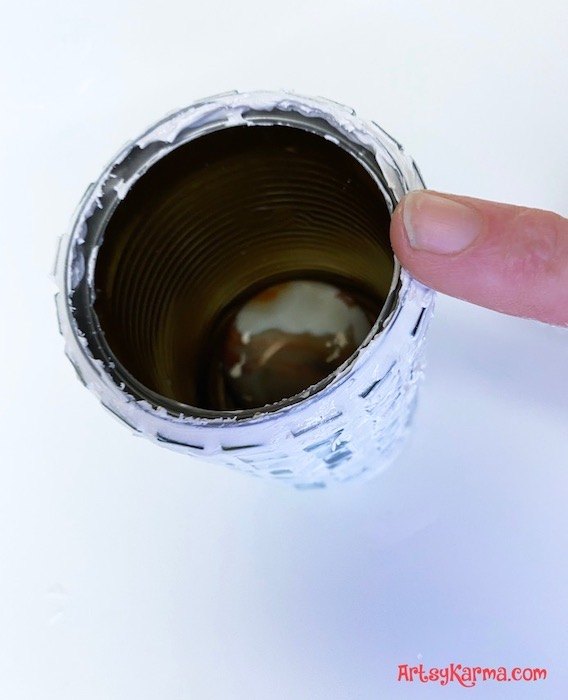
Peel the label off the soup can.
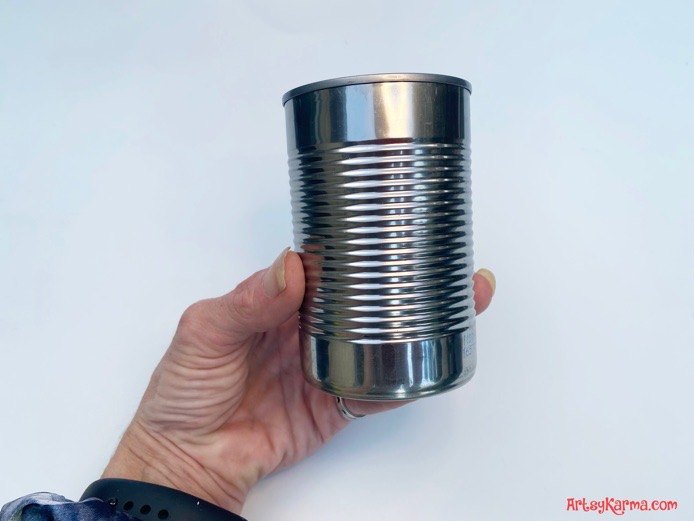
Depending on the soup can, you might have to use some goo gone or just water to get all the stickies off.
Step 2
Use Weld Bond glue, made for mosaics, to start to add the little tiles to the soup can.
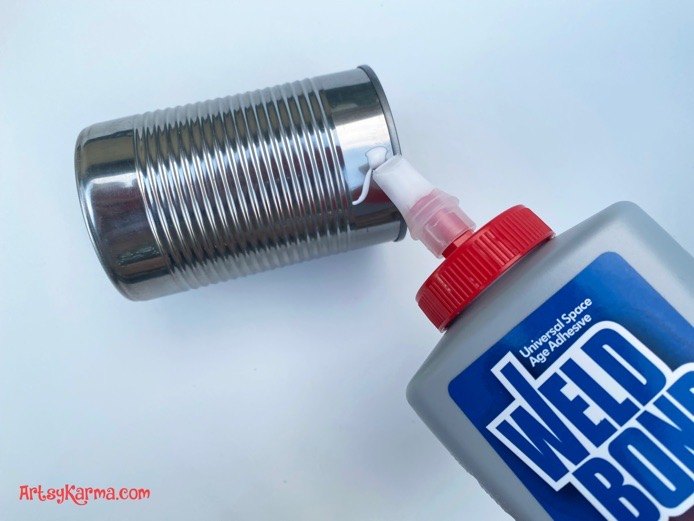
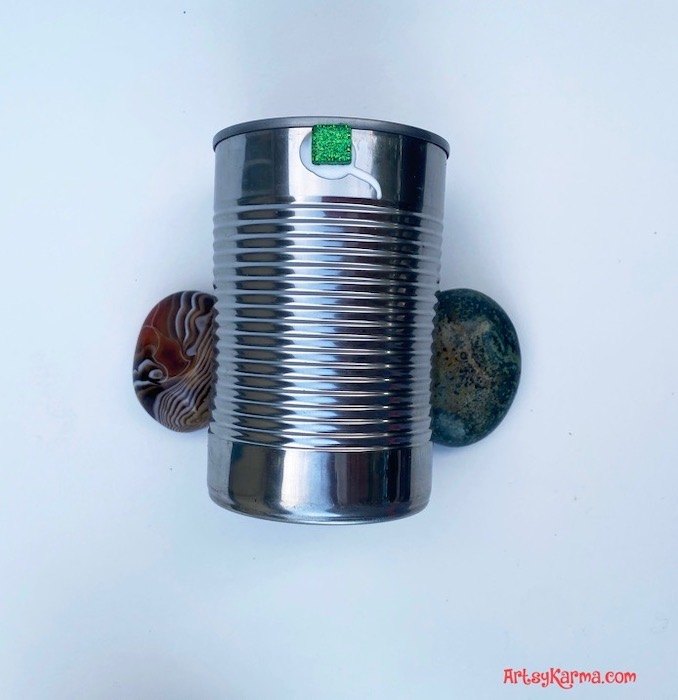
Use something heavy, like rocks, to keep the can from moving.
This was actually my second attempt at this project. The first time, I used an epoxy adhesive, but it didn’t work. When I went to rub off the excess grout, the tiles came loose.
Continue to add the tiles to the can, one row at a time. Make sure you leave spaces in-between for the grout to go into.
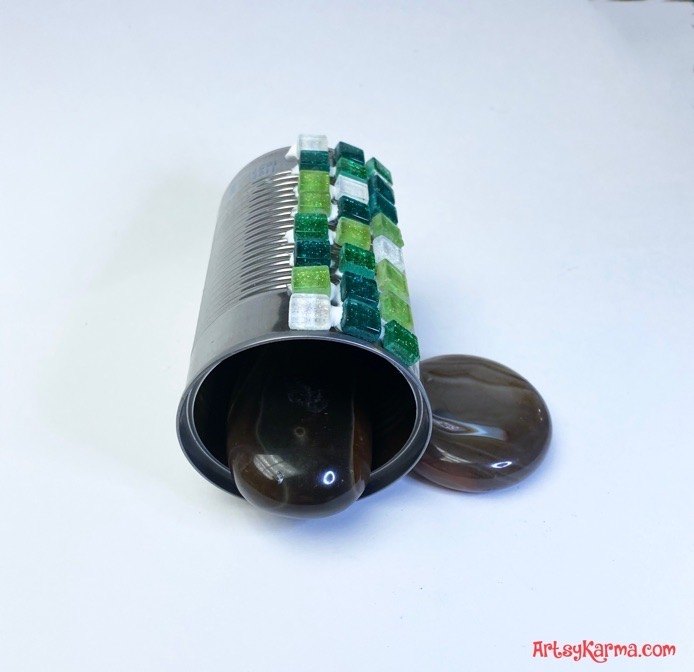
You will want the glue to dry before turning the can to add more. Otherwise the tiles could drip down or move.
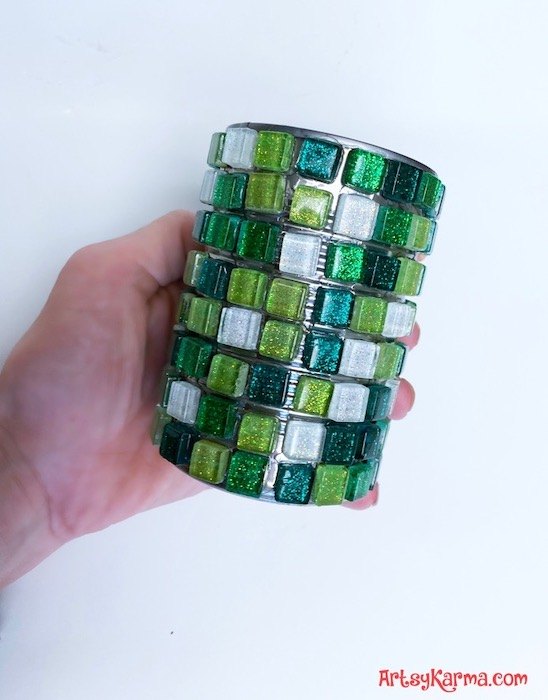
When your done adding the tiles it should look something like this:
Let the adhesive totally dry.
As you can see, the tiles aren’t perfectly spaced, but that adds to the look, I believe.
Step 3
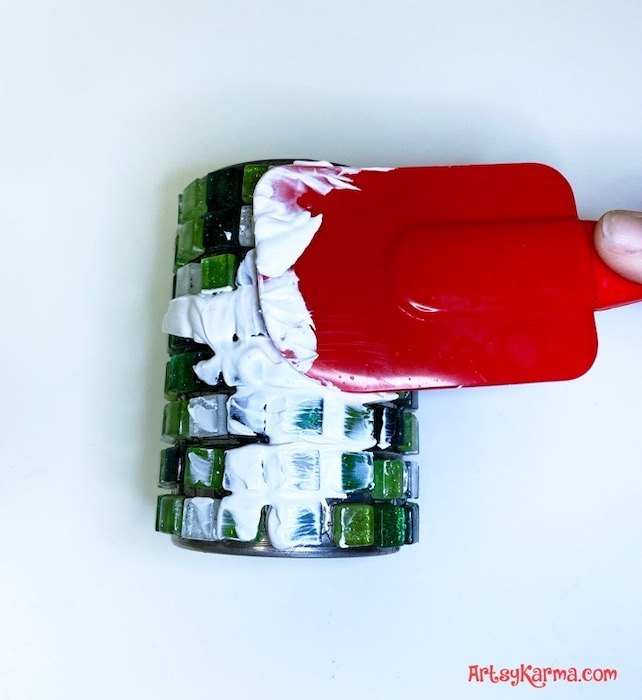
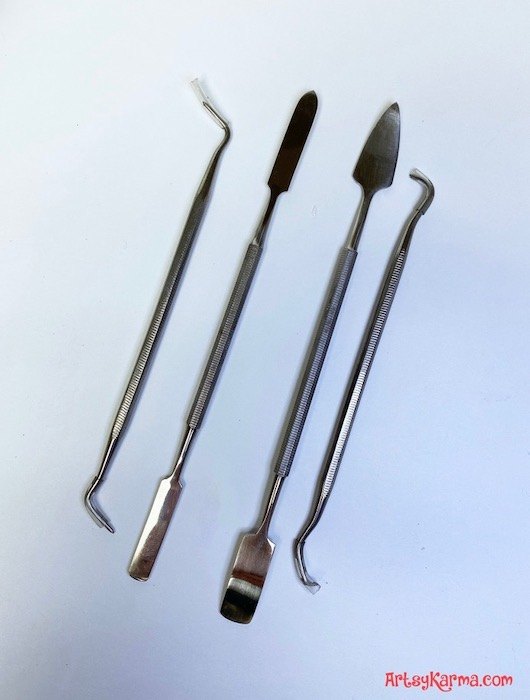
Spread on the pre-made grout. Using mosaic tools will help immensely, as you’ll see below. However, my first application, I used a silicone spatula.
After it dried and wiped the extra grout off the tiles, you can see how uneven the grout is and how even little holes in the grout appeared:
That left me searching for different tools to use. I actually found mosaic tools in my arsenal of craft supplies. I guess I forgot that my mother-in-law had given me some, ha ha.
I decided not to start all over, but to just add a second layer of grout. The internet gave me mixed advice as whether or not to add more grout. One source said you could add more as long as the first layer hadn’t set and that it took 2 days before it really sets. I also planned to seal it, so I figured I was safe.
As you can see, the slightly curved tool was perfect for adding the grout:
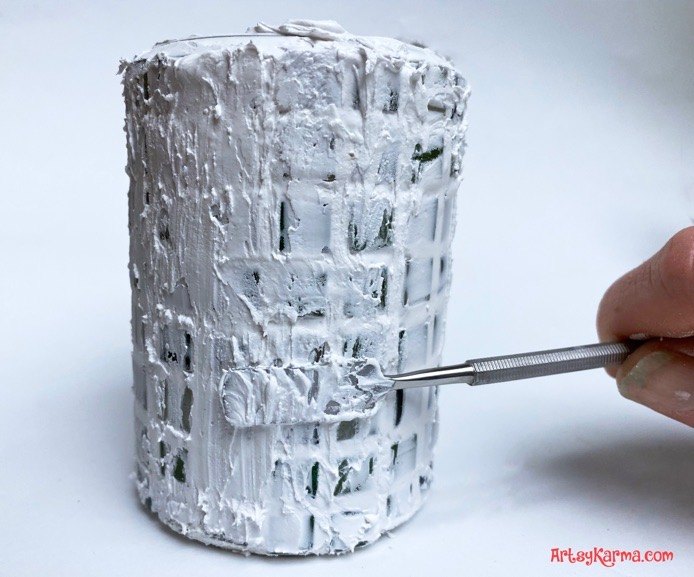
Use your finger to smooth out the bottom and torso it lines up from the tile and edge of the can:
Step 4
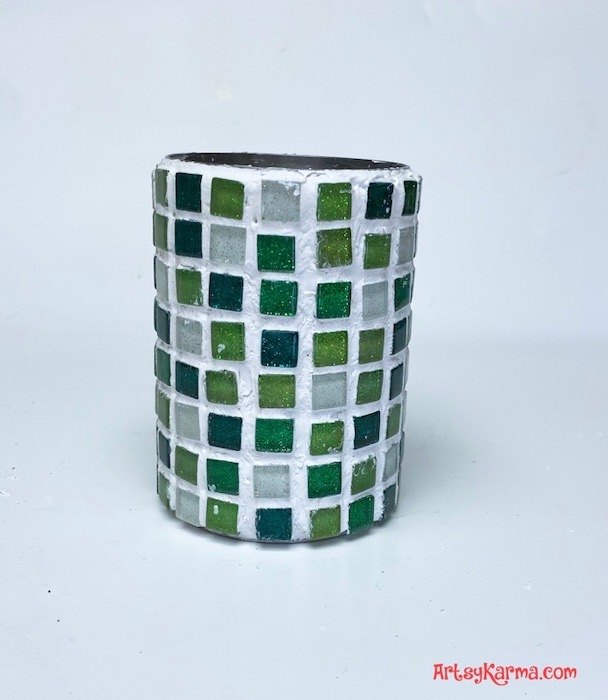
The instructions on my pre-made grout said after 30 minutes from applying the grout, to gently wipe off the extra grout from the tiles.
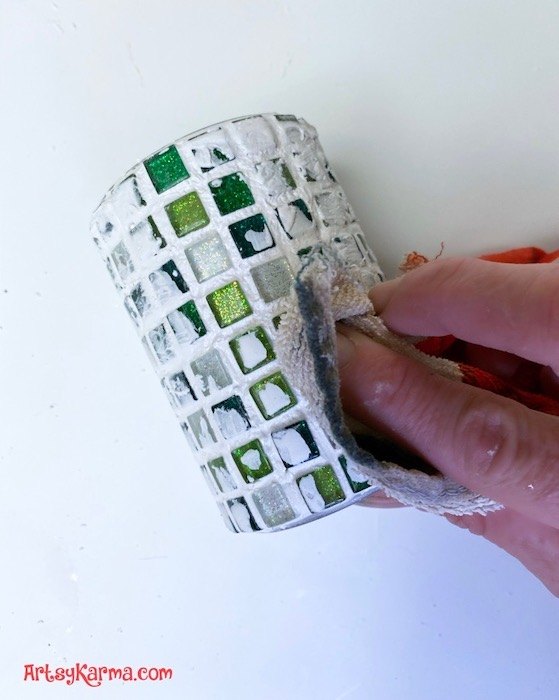
I also found that using my thumb nail worked well to scrape off the grout:
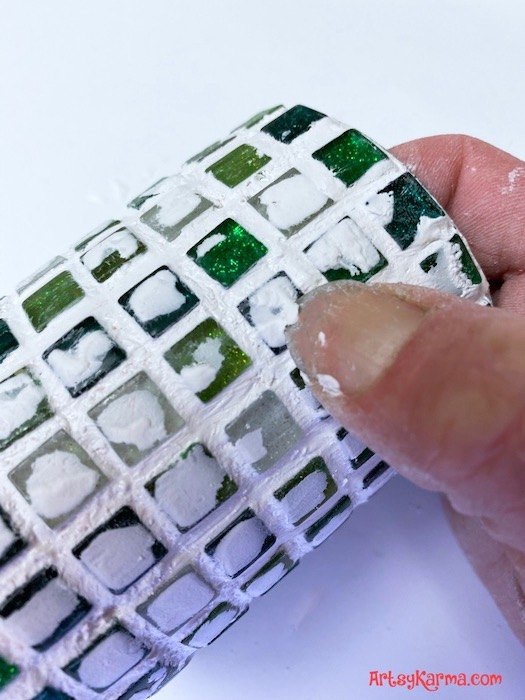
Let the grout dry for a day or two.
Step 5 (optional)
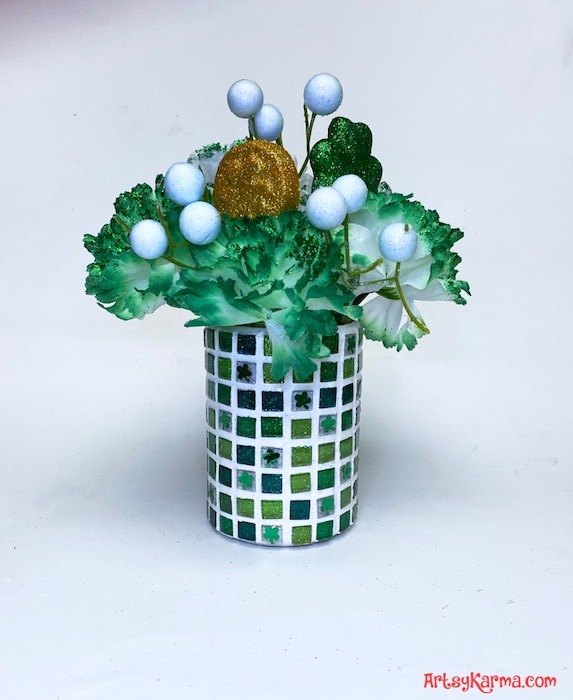
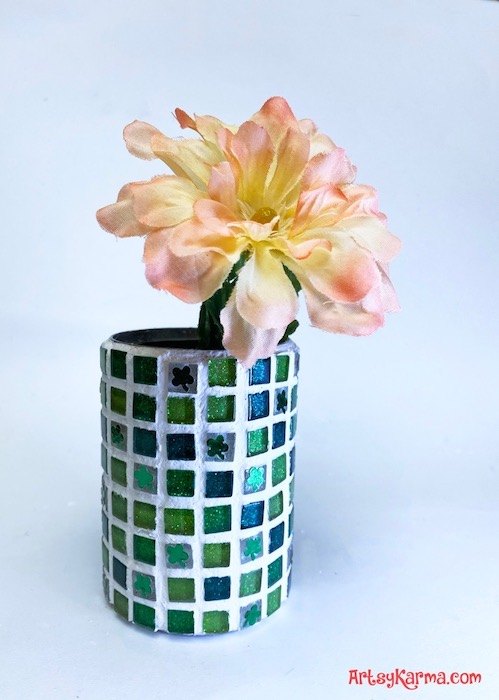
Since I was making this vase for St. Patricks day, I used a mini paper punch and shiny paper to make little shamrock shapes that would fit inside a tile.
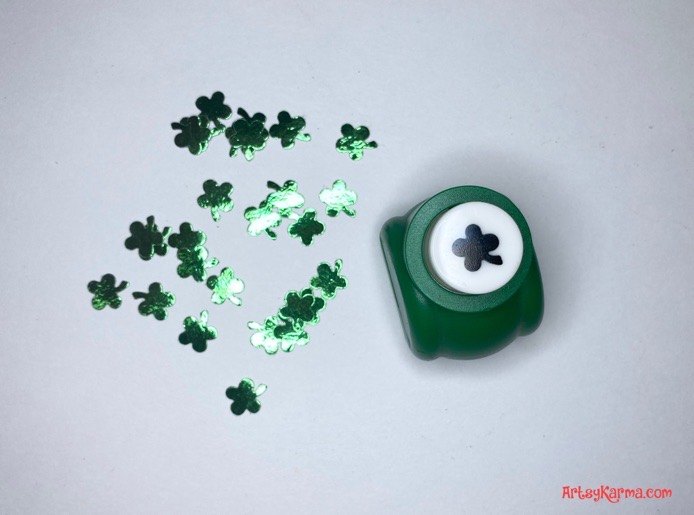
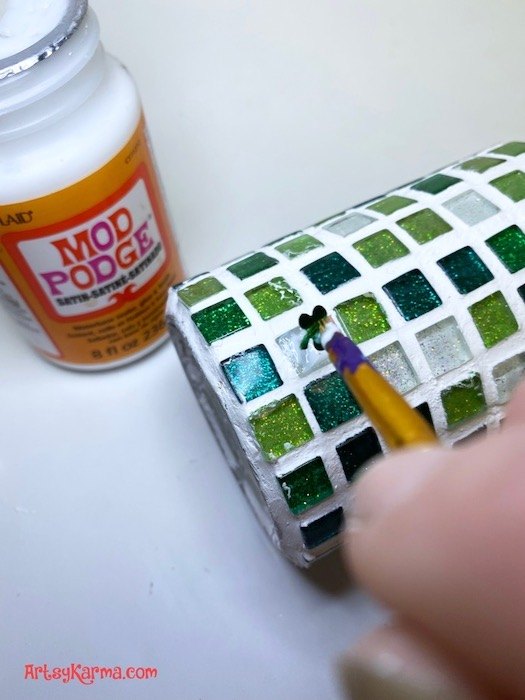
I only put the shamrocks on the white tiles, so you could actually see them.

Step 8
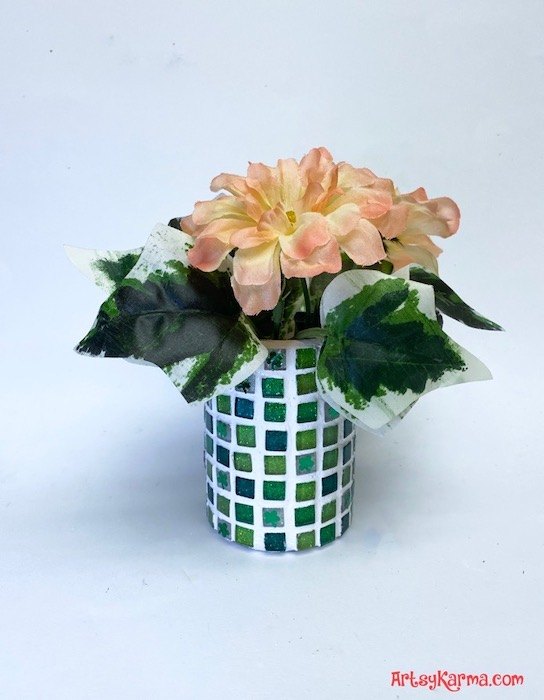
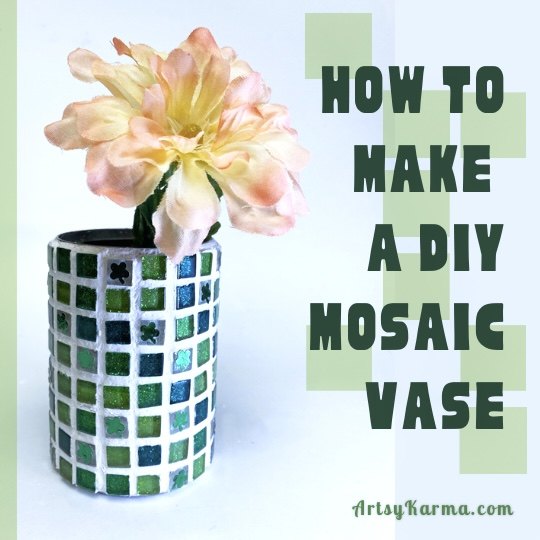
Put some fake or real flowers in the mosaic can and marvel at your work!
I also want to share that I made the top 100 craft blog list on Feedspot. I want to thank all my regular craft readers. You’ve all helped me continue my arts and crafts blogging journey 😄

If you enjoyed this diy mosaic vase tutorial, please share! ❤️
Tags:
Resources for this project:
See all materials


Comments
Join the conversation
-
Great job! Thanks for sharing! It looks like you used a can with a pull-off lid, rather than a can opener? Is there a way to protect the cut edge if I use a can opener to take the lid off? Thank you!


Frequently asked questions
Have a question about this project?