


How to Make a DIY Wooden Cross
These wooden crosses make great gifts. They are pretty simple to make and great for beginner woodworkers. We made them as Mother's Day gifts and they were a big hit all around.
Click here to see more on this project and thousands of DIY tutorials on my blog.
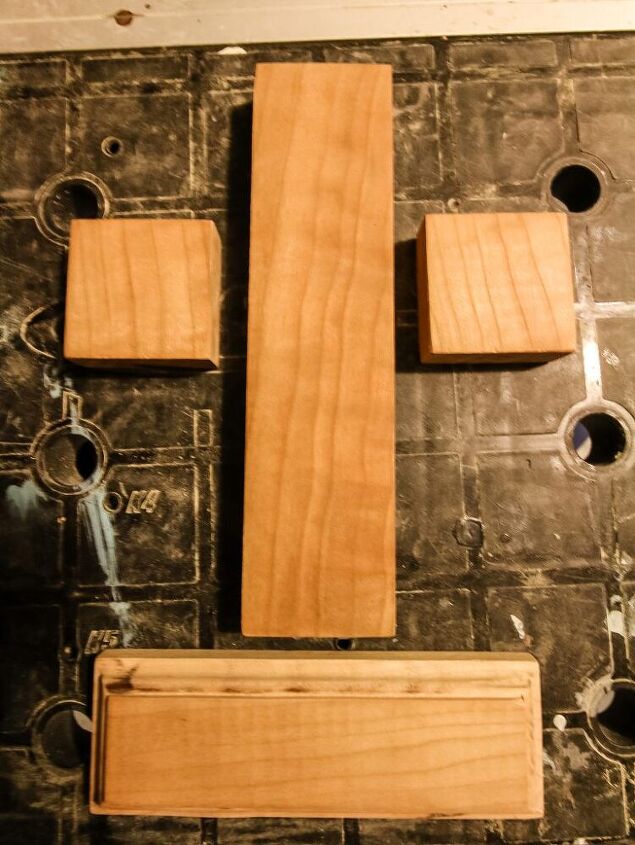
You will need to cut:
- (1) 8″x2″x3/4″ piece of wood
- (2) 2″x2″x3/4″ piece of wood
- (1) 6″x2″x3/4″ piece of wood
You can use any saw to do this - we use a miter (chop) saw but you could even use a hand saw if that is all you have.
We used a router to add a decorative edge to the base piece. However, you could just sand for a smooth rounded look.
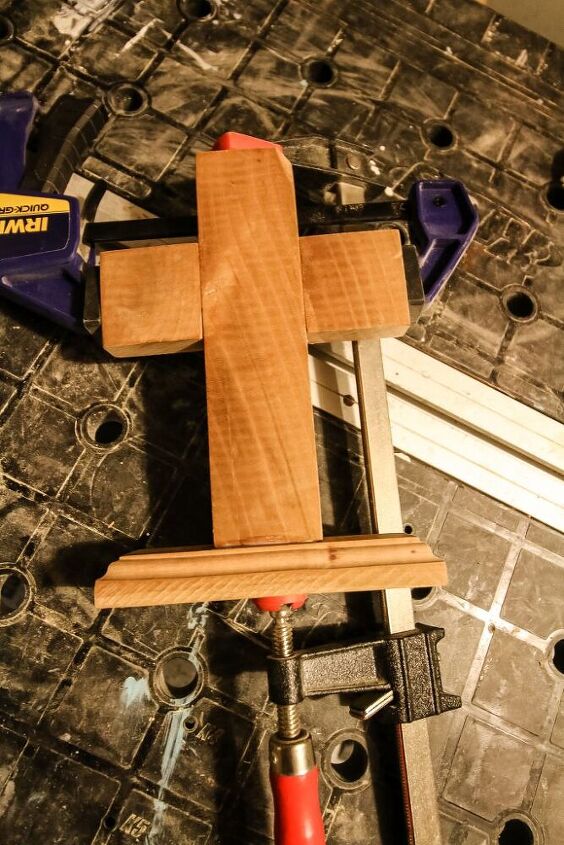
Apply wood glue to edges and push together. We clamped until it was dry. If you don't have clamps, you can apply tape to hold it together until the glue dries.
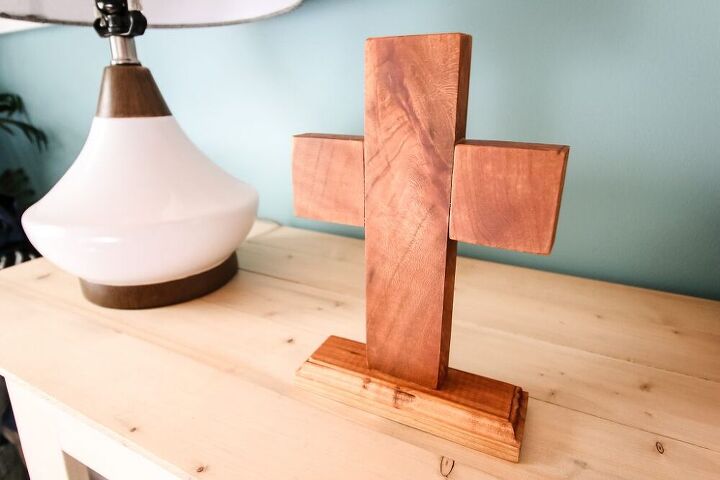
Apply stain or paint of your choice to get your desired look. You can apply a clear sealant if you want, but since it is a display piece it doesn't really need it.
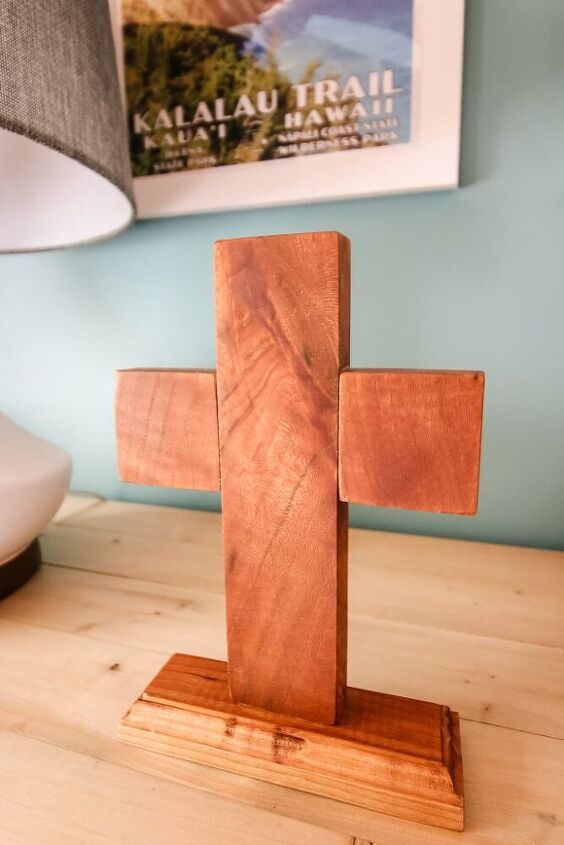
This makes a great display item in your home or like I said and excellent gift for people who like crosses.
If you build one, tag me! @CharlestonCrafted


Frequently asked questions
Have a question about this project?