


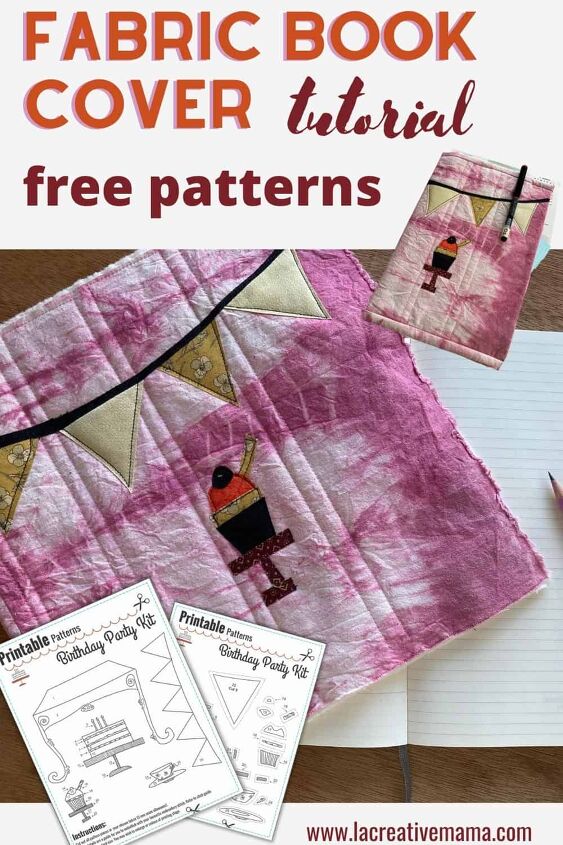
How to Make a Fabric Book Cover
Hi Creative Mamas! I want to share with you a great handmade gift idea that you can easily make through upcycling fabric scraps, re purposing old clothes and using your naturally dyed fabrics. In this post I will show you how to make a fabric book cover. You can create amazing fabric book covers to personalize your notebooks and bullet journals as well as recipe books.
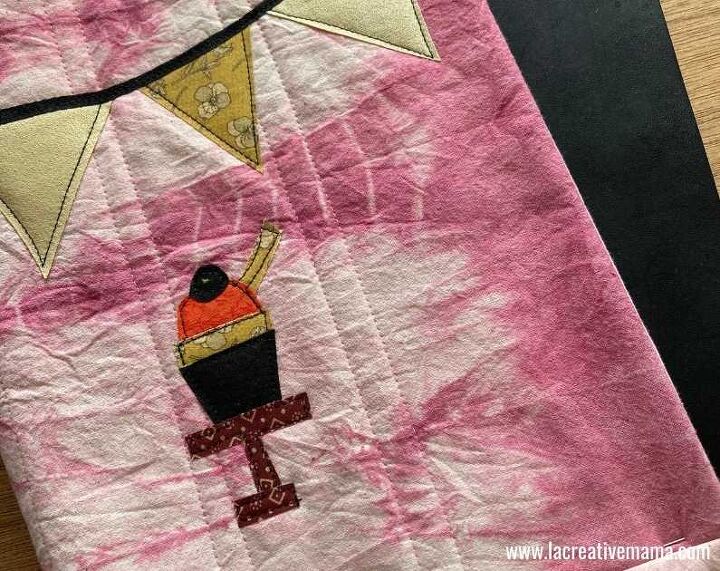
These fabric book covers are amazing gifts when you want to make something special for someone that you love, specially if you have hand dyed the fabric yourself! In this tutorial I am using tie dyed cotton which has been dyed using cochineal.
The fabric book covers are great to make in a variety of different sizes to fit different size books. They make the best handmade gifts from the heart and are a fantastic way to use upcycle old fabric. You can also use pom poms to make a bookmark.

This post contains affiliate links, which means I receive a small commission, at no extra cost to you, if you make a purchase using this link. Please see my disclosure for more details.
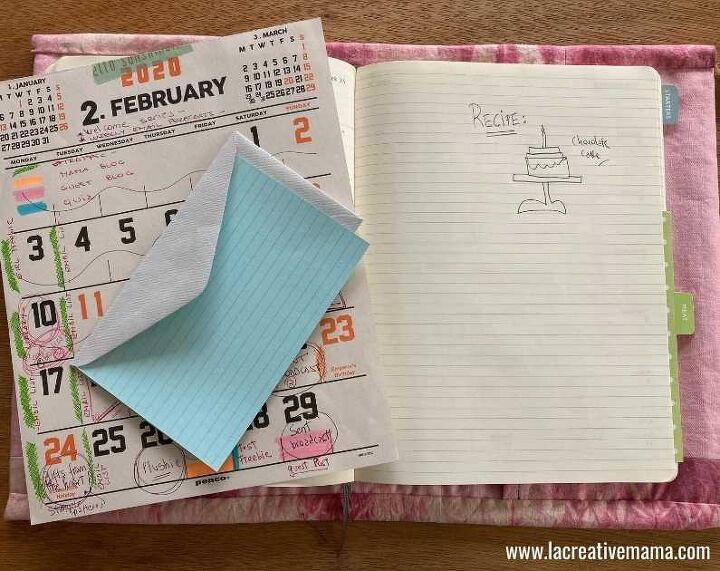
I am making a fabric book cover as a gift to my mom for her to use as a cover to her recipe book. Her recipe book is quite old so the covers are looking a bit tired. As my mom lives in a different country, I have asked her for her recipe book’s measurements and I have purchased a book that measures exactly the same 🙂 I find it easier to make my fabric book cover with a real book to make sure that everything is working fine. I am using my favorite Moleskine book.
The secret for making a padded book cover is to use some sort of batting. In this tutorial I ill be using 100% cotton batting because I will be using adhesible fusing applique which means that I will use a hot iron. The batting needs to be a natural fiber otherwise it will melt away 🙂
You don’t need to buy expensive material for this project. Hopefully you will have a lot of the materials at home already. For this tutorial I will be using upcycled natural fibers. I will be using 100% cotton scraps, 100 % tied dyed cotton and 100 % cotton batting.
If you are keen to explore other ways to make fabric books and quiet books using fabric applique patterns and quilting techniques check out these tutorials:
- How to make a quiet book (Free Patterns)
- How to make a fabric book
- How to make a hair clip holder with fabric applique
- How to turn fabric collage into a fabric journal
- Sewing Machine
- Iron
- Applique Patterns (available in my FREE RESOURCE LIBRARY— get the password for free by filling out the form below)
- 100 % cotton batting (I love this brand!)
- Cotton scraps at least 12 inches by 12 inches
- Tie dyed cotton fabric
- Felt fabric
- Mini Wooden pegs
- Adhesible fusing and I am using HEAT & BOND lite
- Cutting mat
- Rotary cutter
- Fabric scissors
- Quilting Ruler
- Moleskine book (or any other book you are covering)
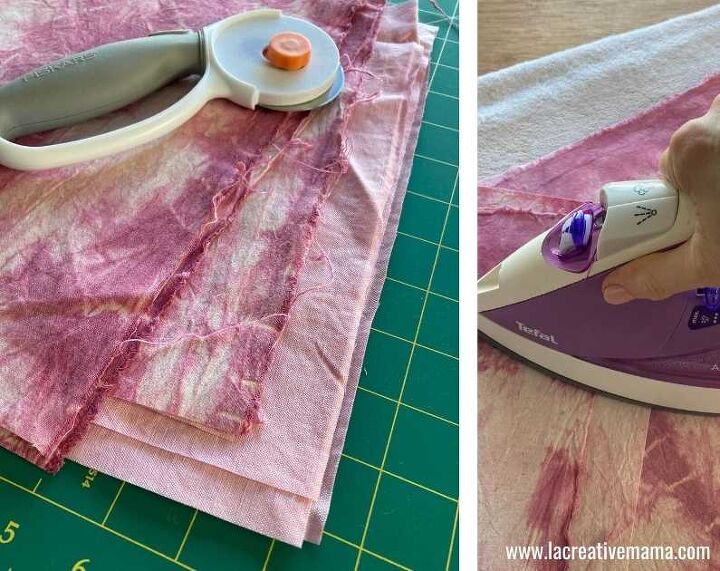
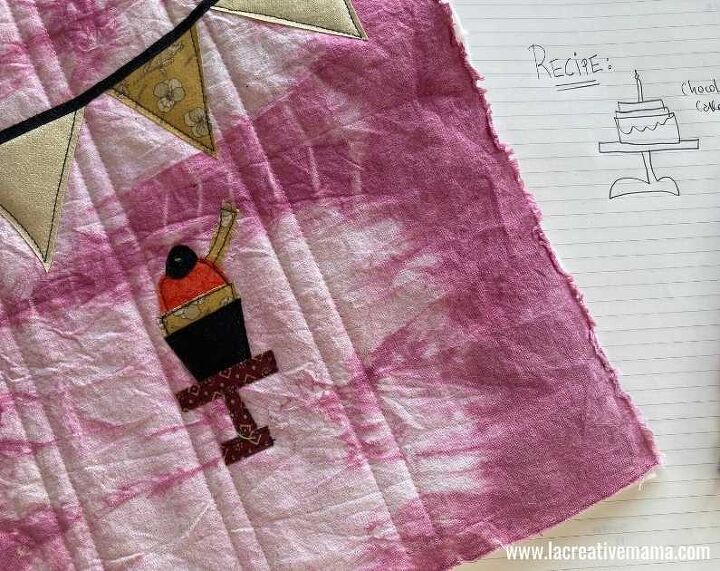
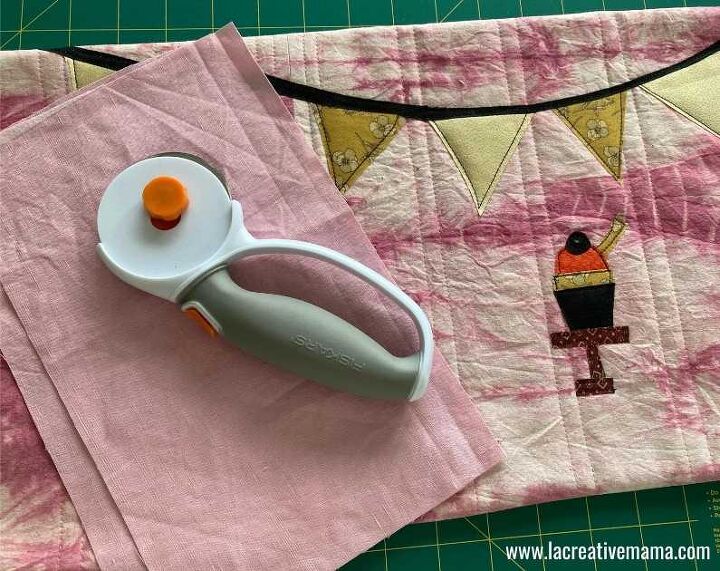
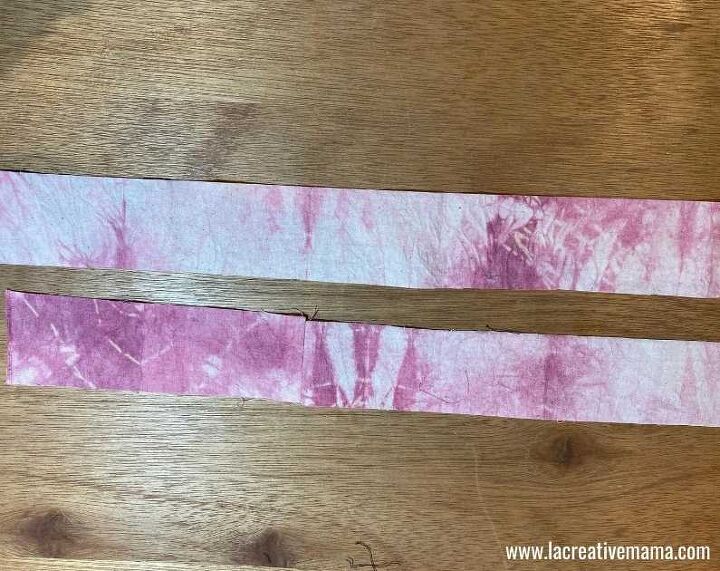
Prepare your fabrics. I have chosen a naturally tied dyed fabric for the outside of the book cover and a 100% cotton pink fabric for the book sleeves.
Cutting instructions:
This will be dependent on the book size that you will be covering. I have used a book that measures 7 1/2 inches by 10 inches so I cut a piece that was 18 inches by 13 inches to have enough room to play with. As I am using scraps I had to sew two panels together to achieve that size. If you have a big enough piece you only need to cut one piece.
To measure your book, place the closed book on your work surface and measure the width. Then double the width measurement and add 1 inch. In my case I am using a Moleskine book which measures 10 inches in length by 7 1/2 in width, so my final fabric pieces needed to be 11 by 16 inches.
Cut 2 pieces following the above measurements. One will be the outside book cover and the other one will be the inside lining.

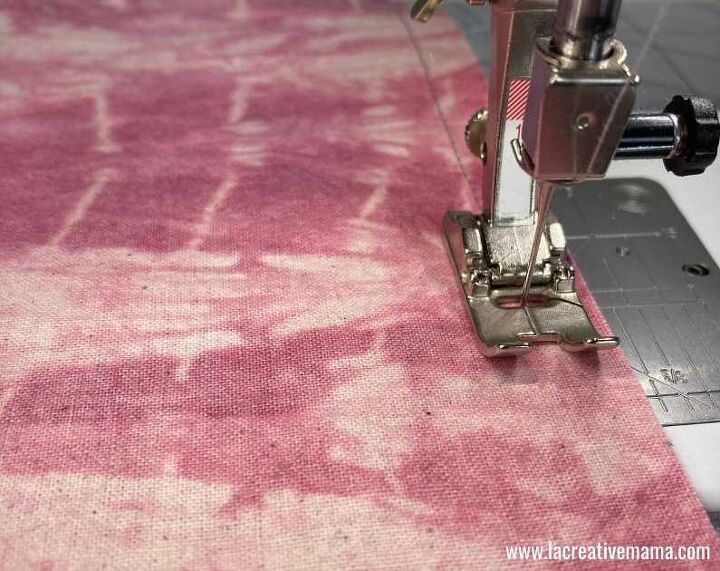
For this tutorial I needed to sew 2 pieces of the tie dyed cotton to make a big enough fabric cover (only for the outside layer).
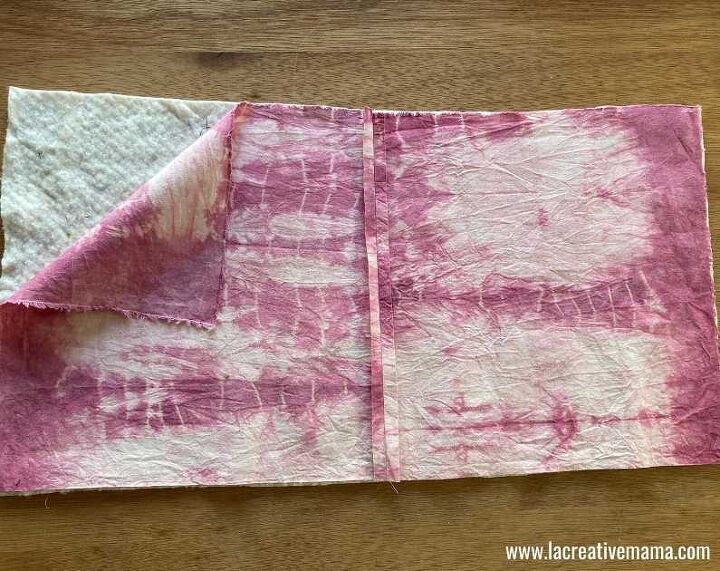
Cut the 100 % cotton batting the same size as the fabric cover.
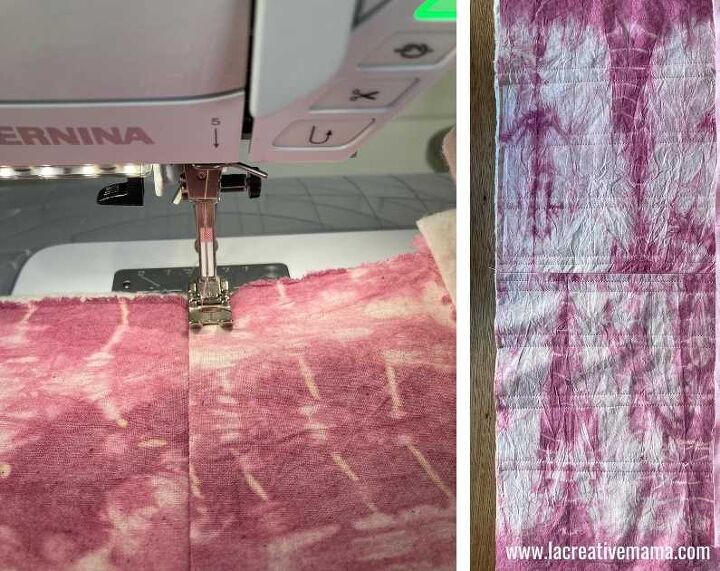
Using the quilt as you go quilting technique start quilting straight lines parallel to the center seam if you have any. Otherwise start in the middle of the cover and work your way to the left. When you finish start again from the center and quilt towards the right.
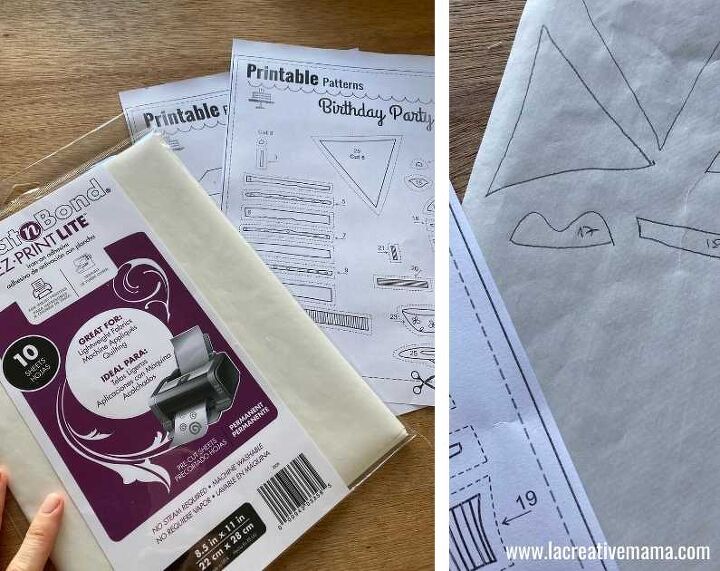
Download the Applique patterns (available in my FREE RESOURCE LIBRARY— get the password for free by filling out the form above). These patterns are free for you to use. We are going to trace the cupcake and the banner applique designs to the adhesible fusing.
We are using the lite quality fusing so that doesn’t create any stiffness or changes the texture of the fabric.
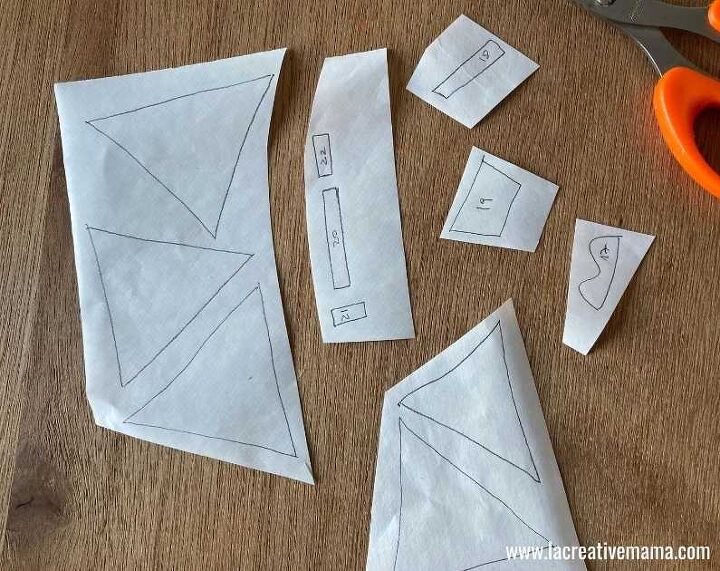
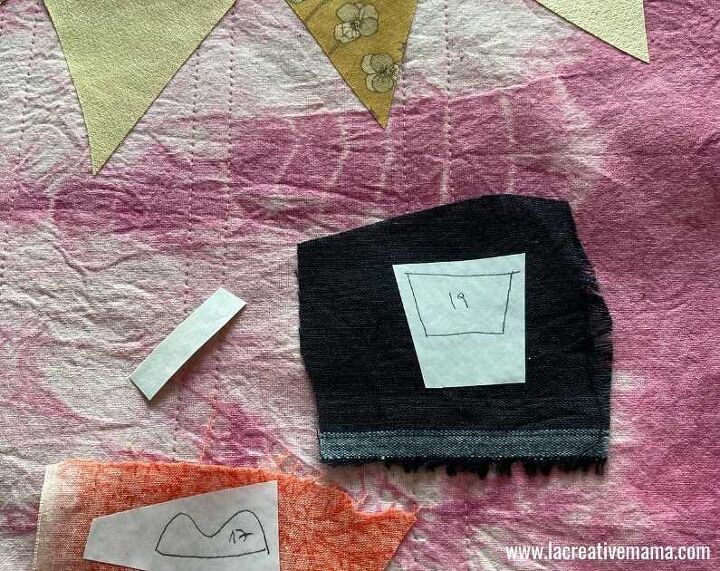
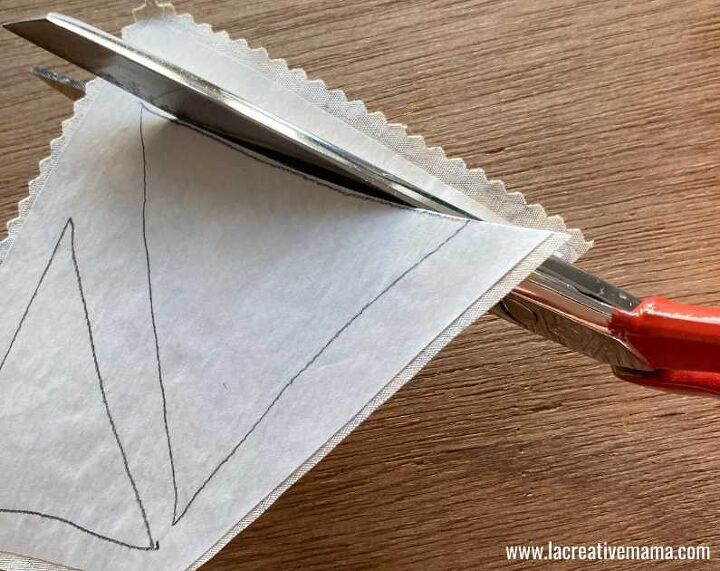
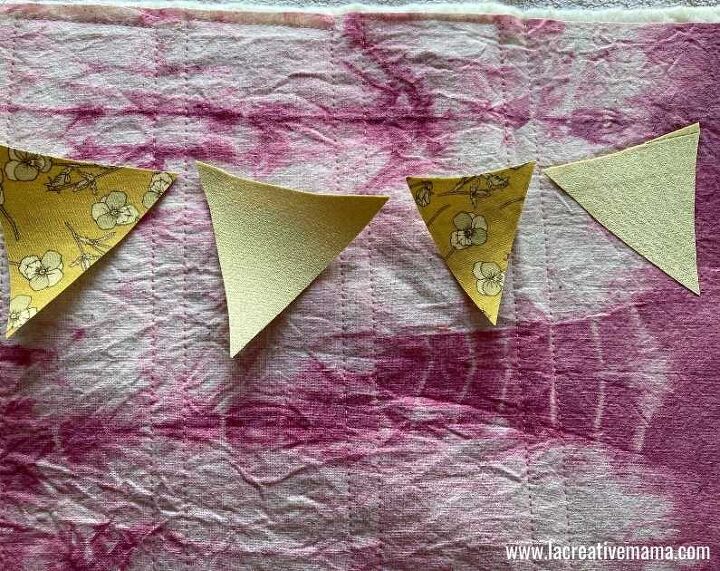
Trace the cupcake and the banner. Trace the individual parts onto the paper side of the heat and bond fusing. Be sure to number the individual parts of the applique patterns so that you can keep track of where to place each little piece. Once you have traced all the needed pieces onto the fusible paper its time to cut them.

Decide what fabric scraps you will be using to create the little cupcake and the banners. I have used a collection of great colors that I had in my fabric stash. Just remember all the fabric needs to be 100% cotton.
The easiest way to tell if a fabric or yarn is 100% natural fiber is to do a quick Burn Test. Check out this tutorial for a video demo of how to do a Fabric Burn Test.
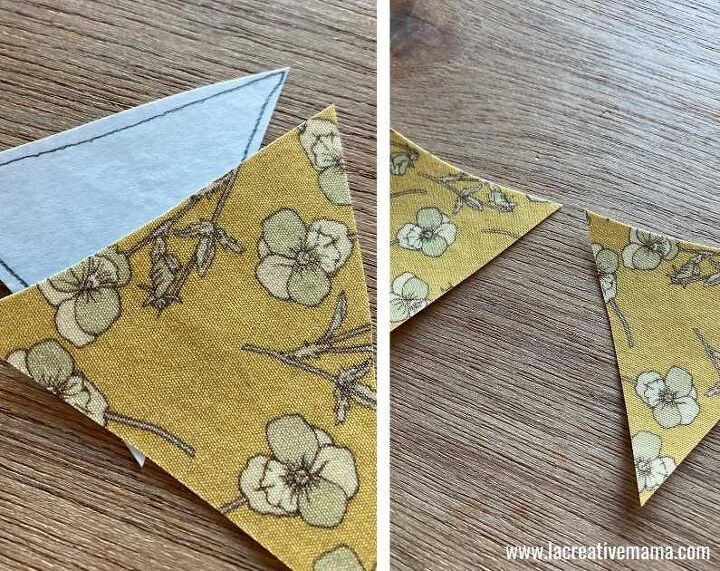
Place your fabric scraps with the wrong side up and put the pattern piece paper side up. The fusible side of the paper that has the glue needs to be in contact with the wrong side of the fabric.
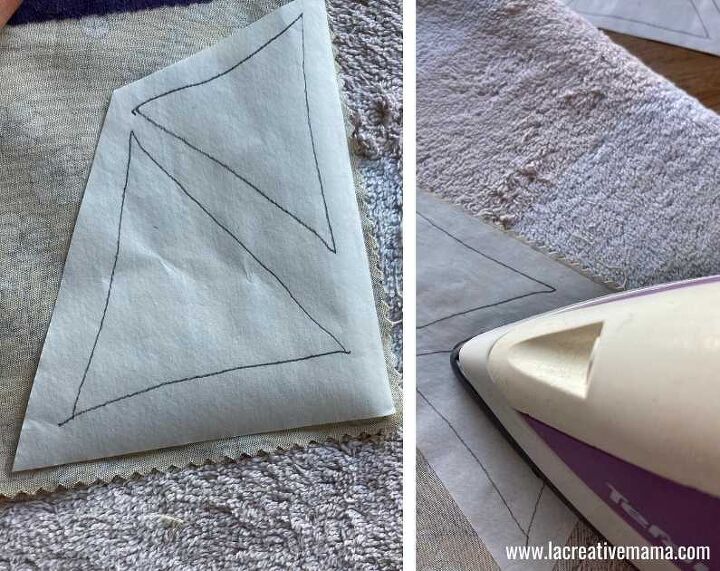
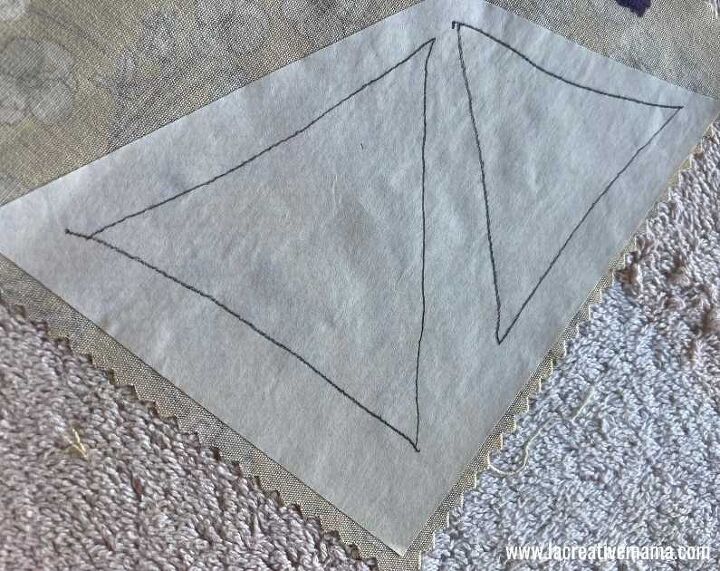
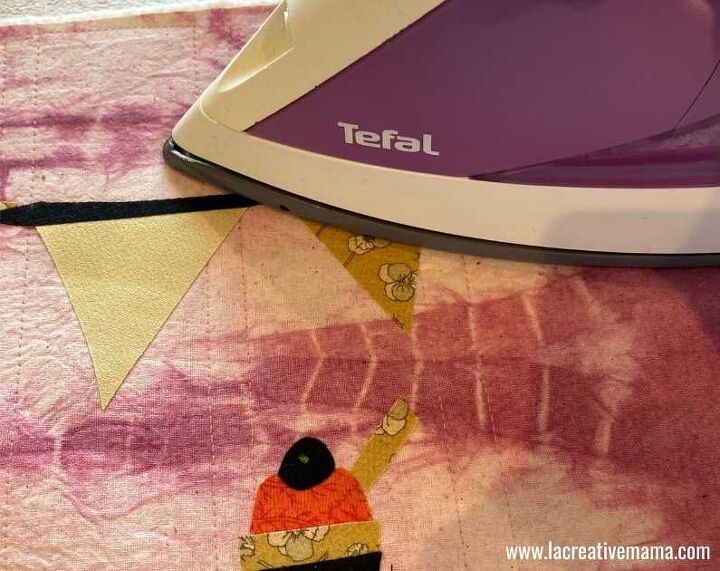
Place a hot iron on top of the pattern piece. For this step your iron should be set on no steam. Always follow the fusible adhesive manufacturers instructions during this step since different brands may have different requirements. Cut around the marked pencil lines and place your applique pieces on your page.
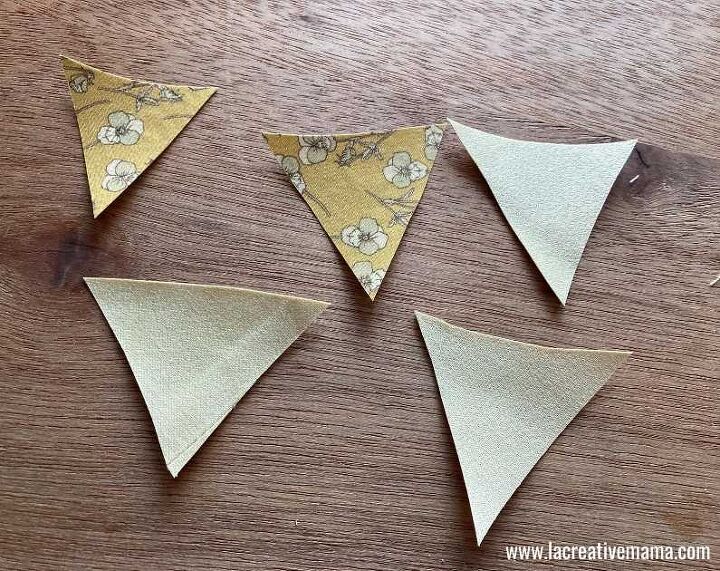
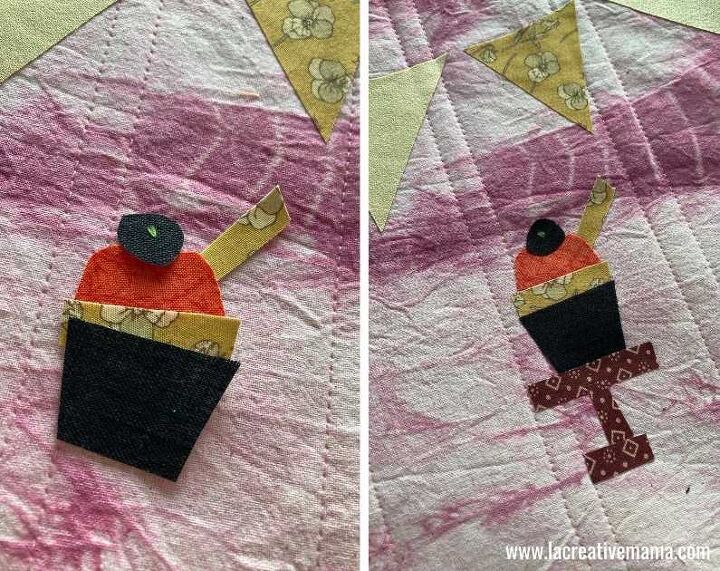
Place the cut out fused banner and cupcake pieces on top of the book cover. Make sure you place them to create the design you want to follow. Once you are happy with the placement of the applique pieces it’s time to fuse them to the book cover.
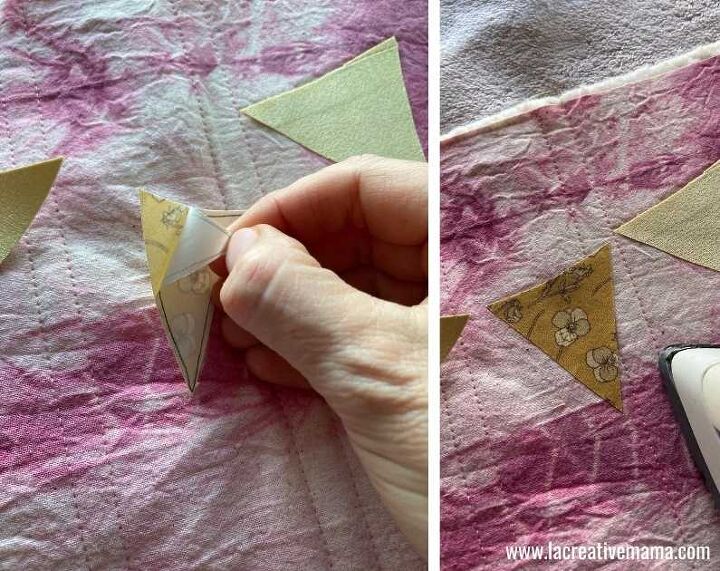
Peel off the fusing paper from the back of the fabric applique piece. Place the applique piece on the book cover and press firmly with a non steam iron. Hold the iron down for aprox 4 seconds at a time. Repeat this process with all pieces making sure they are fused completely.
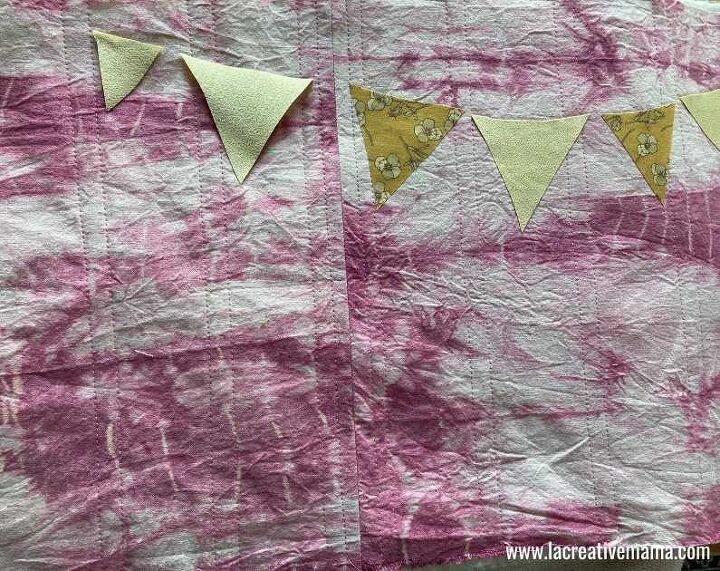
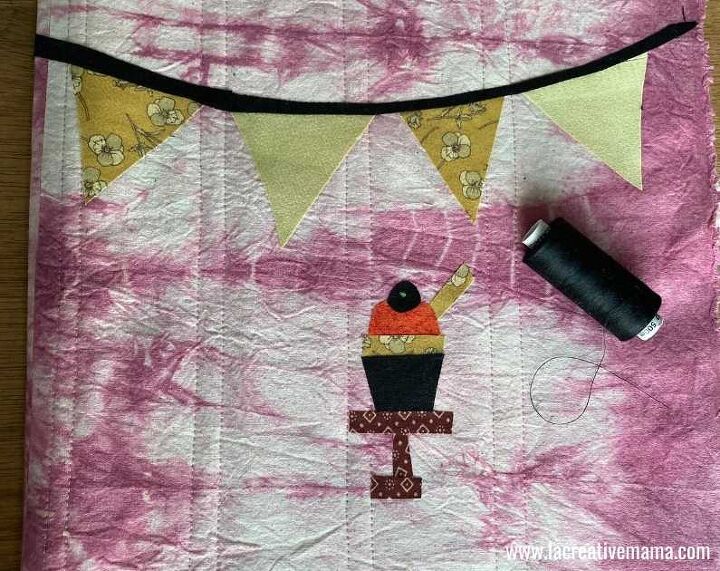
When fusing the cupcake you can choose to overlap the pieces ever so slightly to each other, or you can fuse by placing the pieces with the edges touching each other.
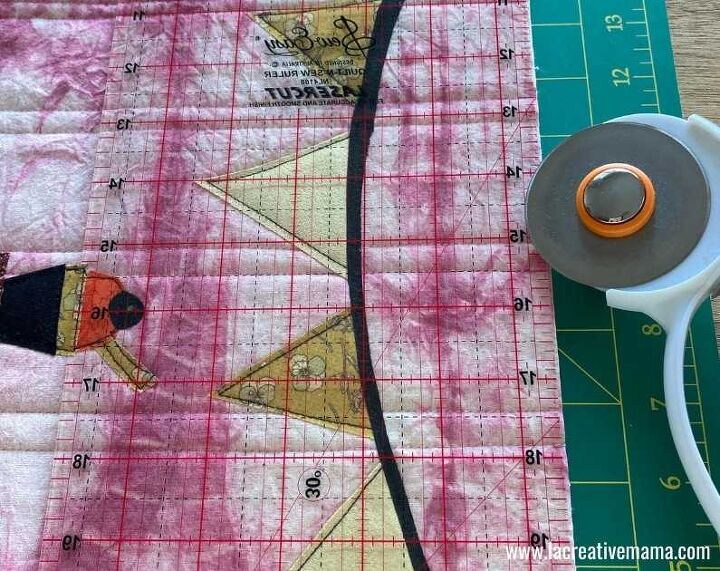
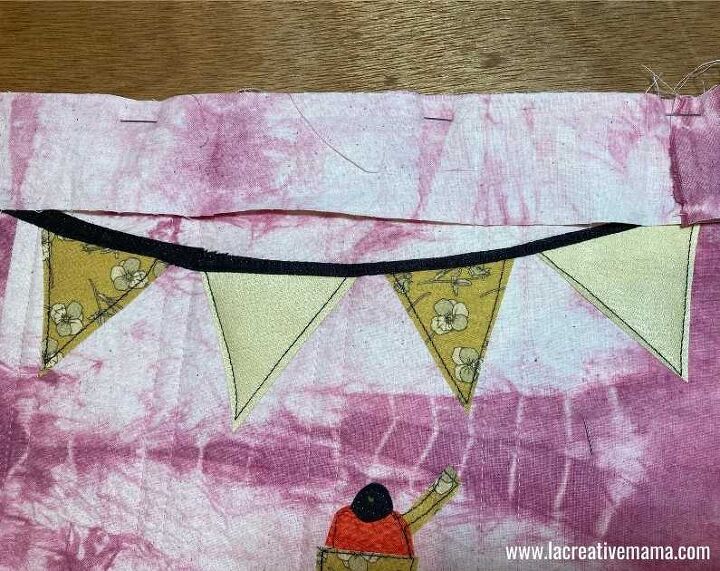
To make the rope for the banner I cut some black fabric which I had fused previously and iron it on top of the individual triangular flags.

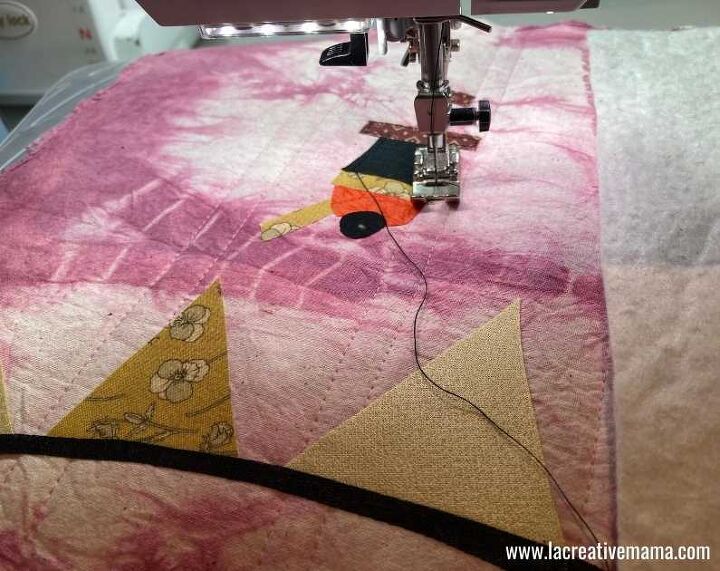
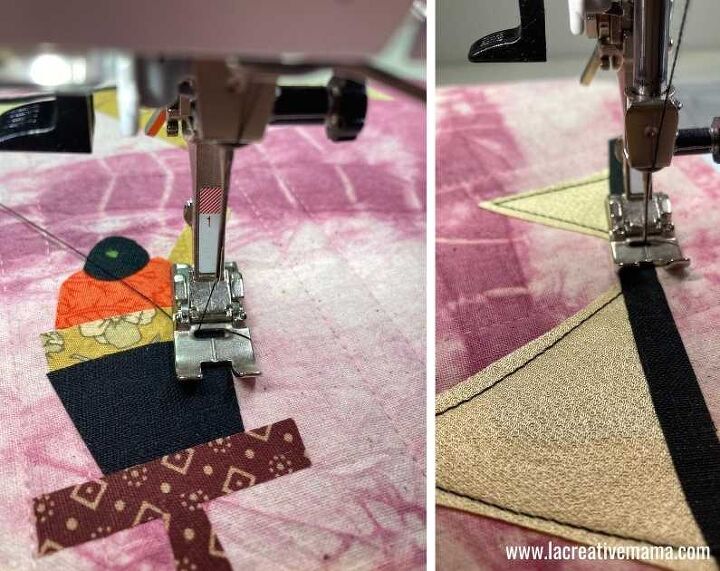
For this step you need to decide on the thread color you want to use to top stitch around your applique pieces. I decided on a black regular cotton thread because I want a nice outline around my applique pieces.
Using a regular stitch sew around the applique pattern pieces making sure you are top stitching all around them as shown in illustration.
This is the fun part. Lets start with the outside cover:
Place the book inside the book cover to confirm that the measurements are correct. The photos below shows the back and front covers with the Moleskine book inside.
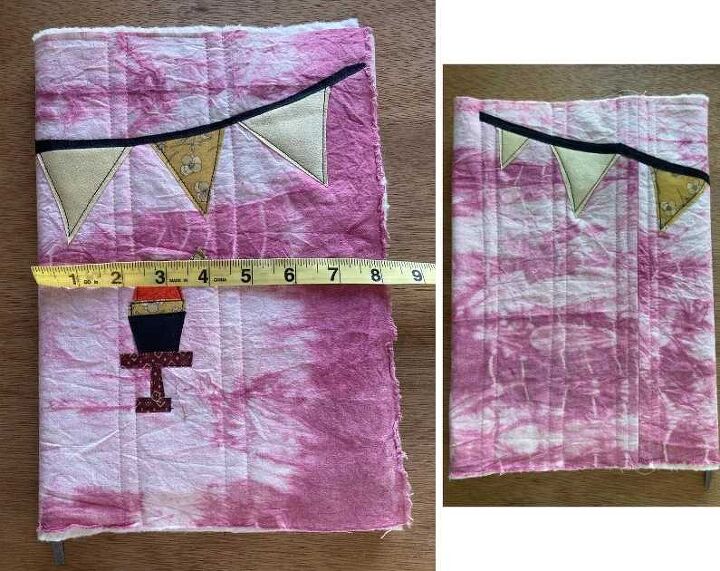
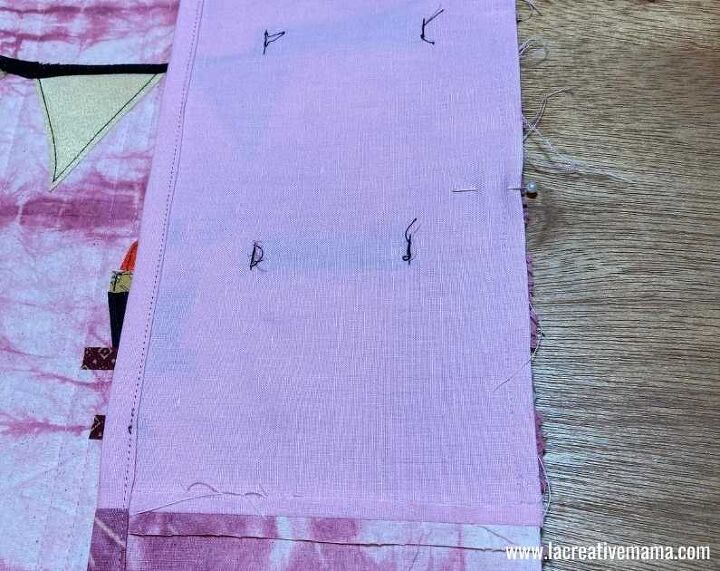
Also make sure that there is 1/2 inch space in each side of the book. This will be super helpful for when you put the book inside the finished book cover 🙂
Using the cutting mat and Rotary cutter, trim all uneven edges and make sure that you have a perfect rectangle. By this I mean 90 degree corners.

Step 6
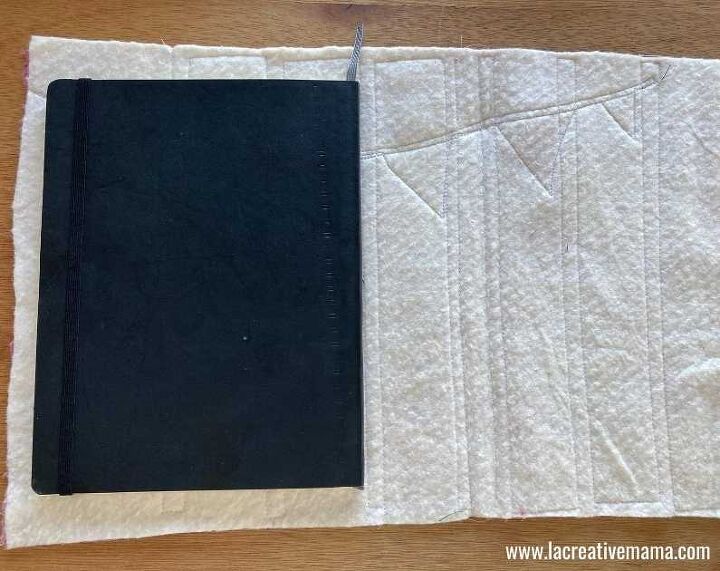
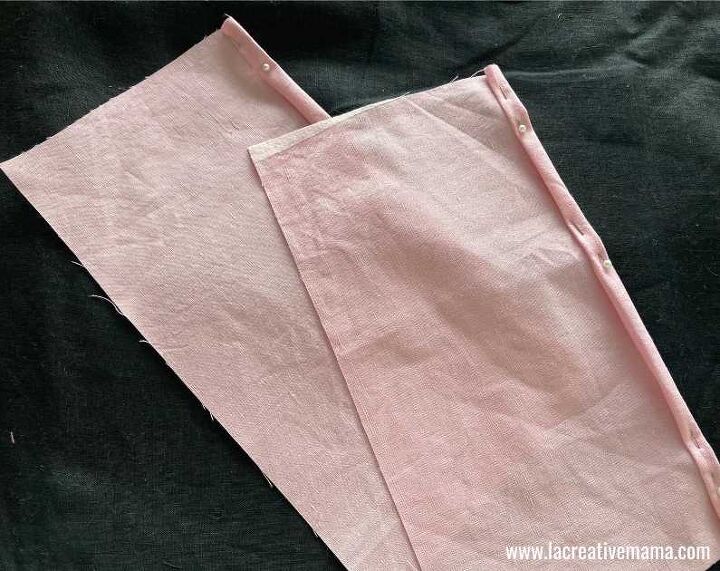
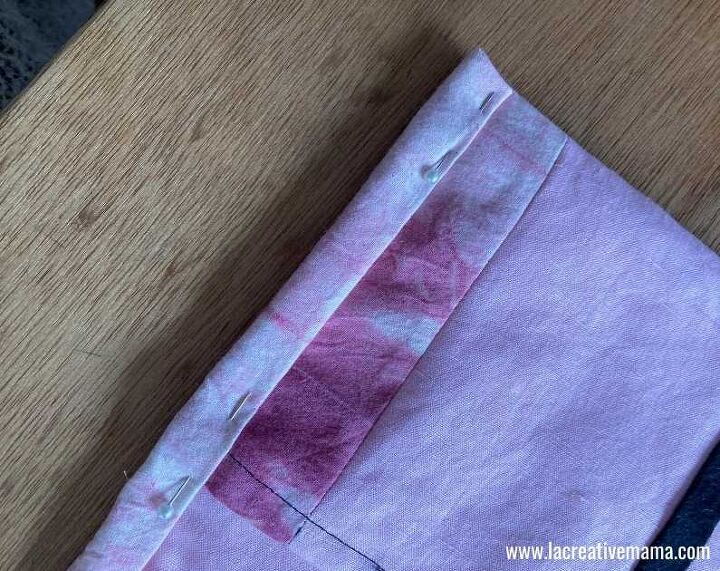
Cut the book sleeves. These need to measure the exact same size as the book length and 6 inches in width.
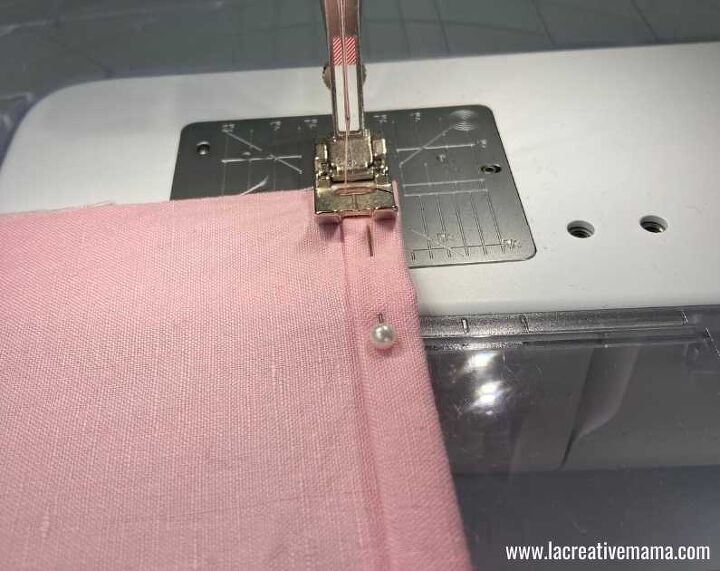
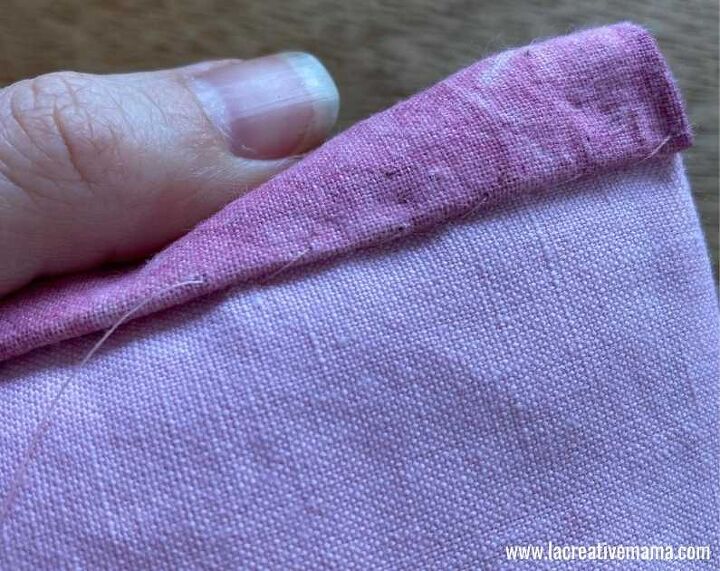
Fold one edge twice and sew a straight hem using a regular sewing stitch. Make each fold 1/4 inch in width.
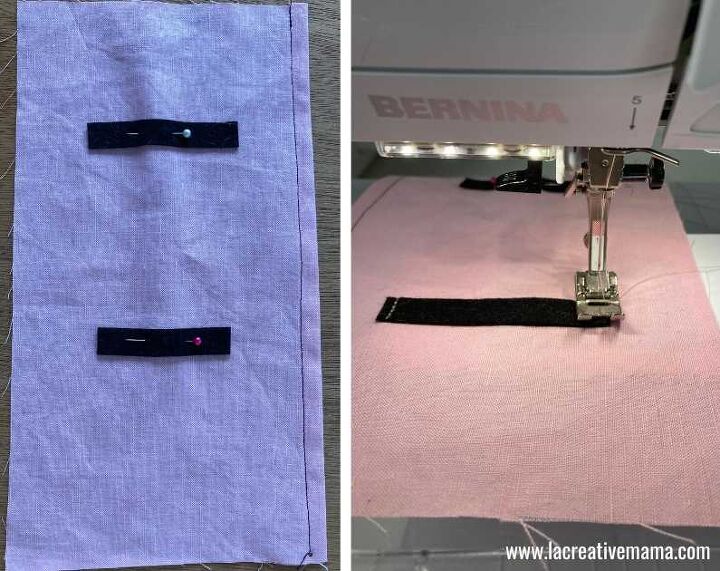
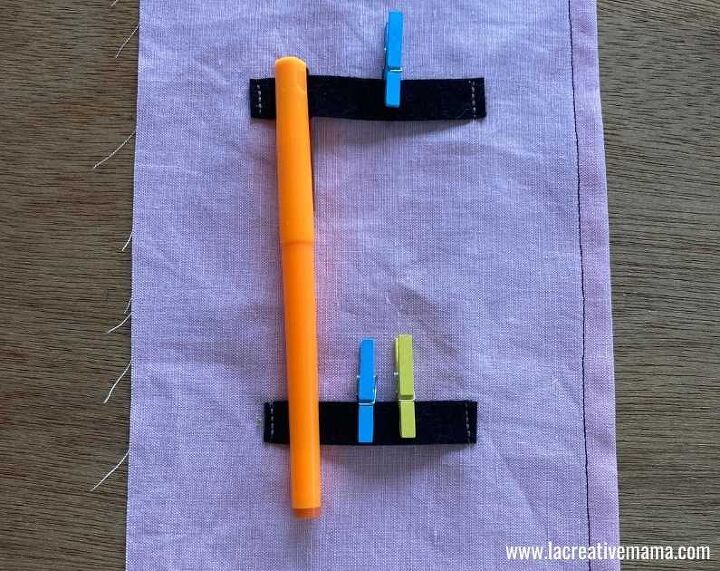
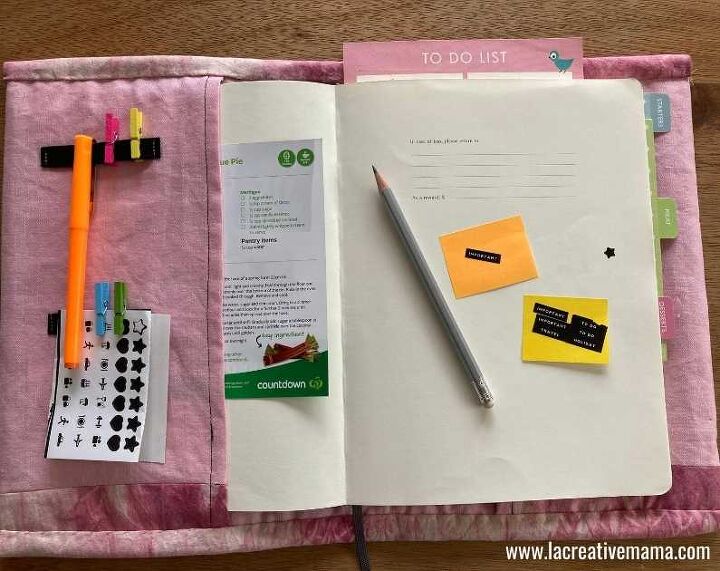
Using felted fabric, cut 2 strips 3 inches by 1/2 inch . Sew at each end. These will be used to hold pens, clips and notes.
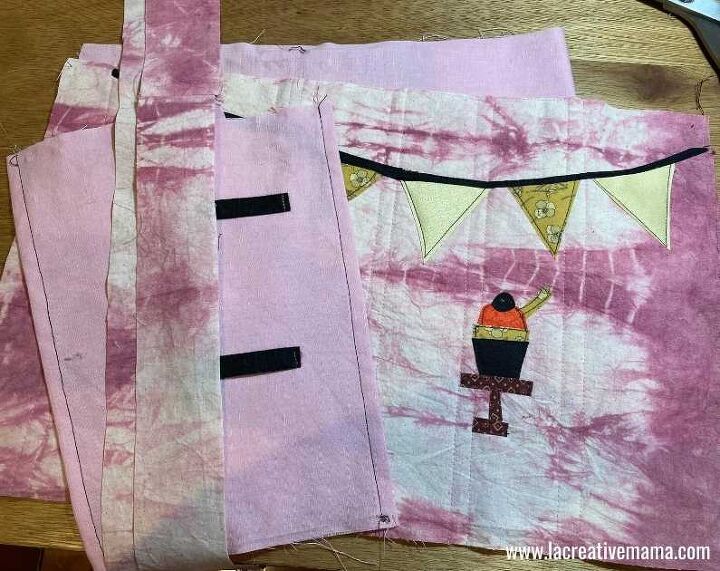
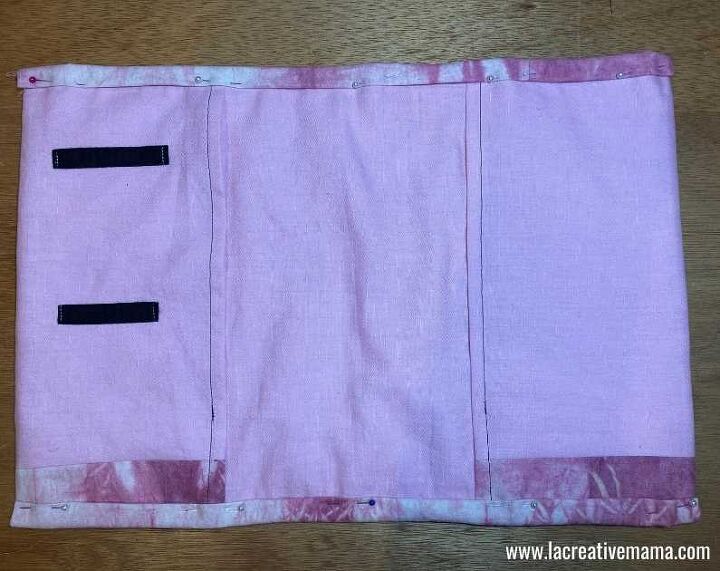
By this stage you need to have completed:
- Quilted and appliqued book cover
- Book lining (same size as book cover)
- Book sleeves (with hemmed edges and strips sewn)
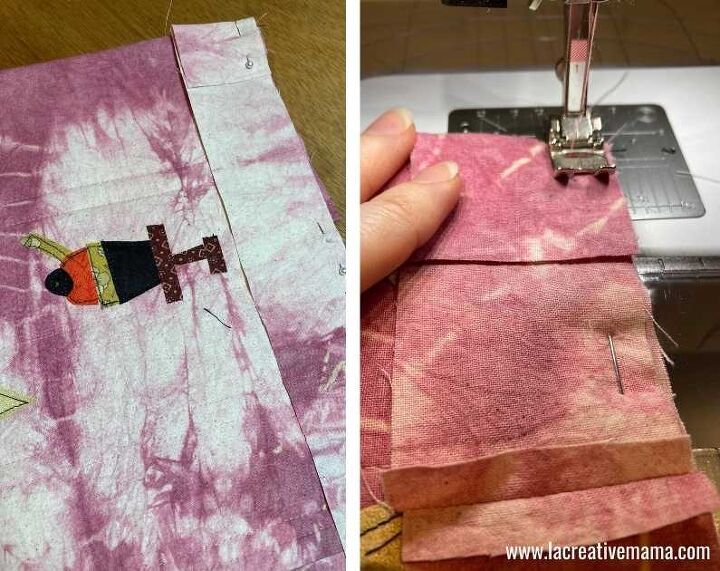
Binding: Cut 2 strips of matching fabric or contrasting fabric to use as binding. Each strip should meassure the width of the book cover and should be 3 inches wide.
Place the quilted and appliqued book cover on top of the book lining.
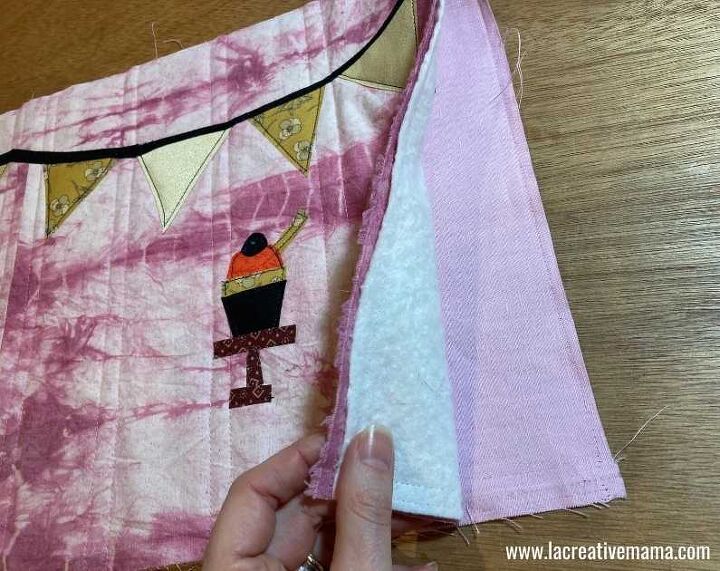
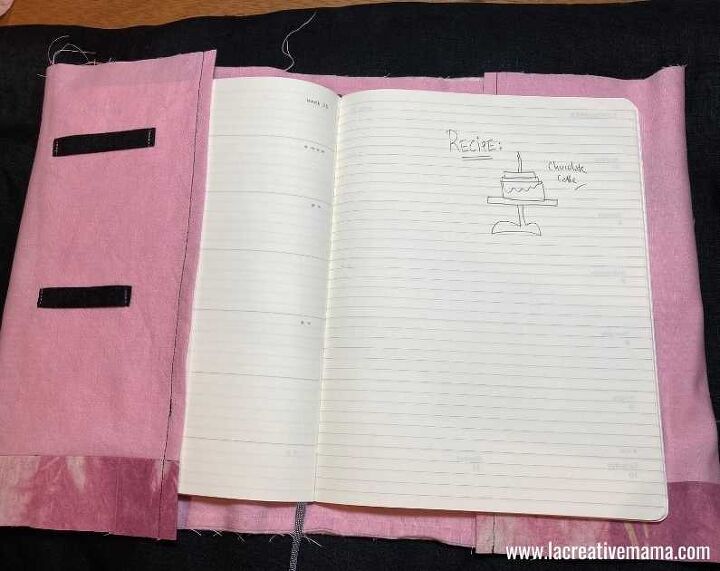
Place the book sleeves on top of the the 2 book cover layers (right sides together). Pin in pace and sew.
At this stage, place the book inside the cover and make sure that the book sleeves are sitting nicely 🙂
Give the book cover and the book sleeves a nice press with a hot iron and pin the book sleeves to the bottom and top edges of the book. We will now bind the bottom and top edges to complete the book cover.
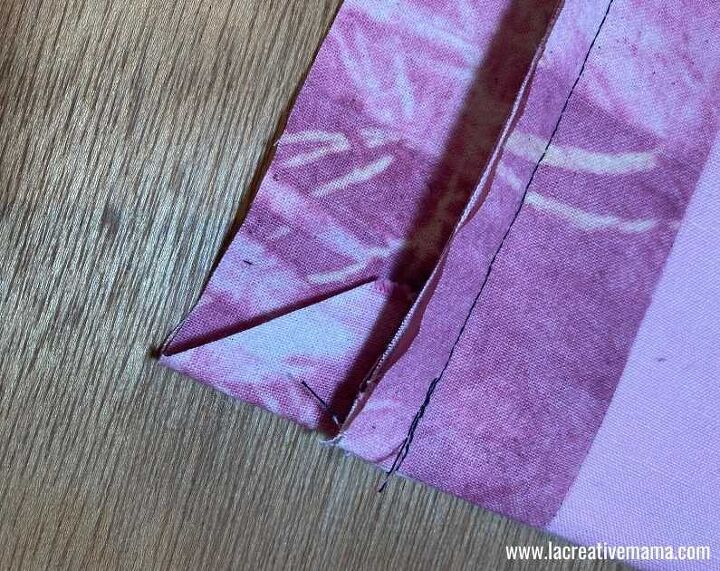
Place the binding tape on the top edge of the book cover. The binding tape should be placed touching the right side of the book cover.
Make sure that you have a 1 inch fold at the beginning so that no raw edges are showing. Pin in place and take to the sewing machine. Sew with 1/4 inch seam allowance.
After you have completed sewing cut a diagonal line on the folded edge and double fold the binding tape in itself so that the raw edges are concealed. Pin in place.
Sew the binding tape by hand using your preferred hand sewing stitch. You can get creative here and do an embroidery stitch. In this case I kept it simple and I did a regular hemming stitch.
Insert the needle from the binding tape fold and come out through the tape. Insert the needle through the book lining layer and bring it out again through the binding tape. Repeat this stitch to attach the rest of the binding tape.

In this tutorial I have used quilting and applique as the 2 main sewing techniques. However you can get really creative with many other sewing craft techniques such as fabric collage and embroidery. The sky is the limit when it comes to decorating your book covers 🙂


Frequently asked questions
Have a question about this project?