


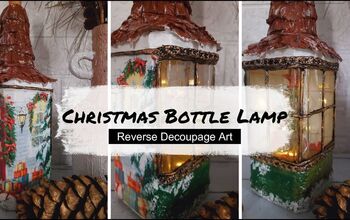
How to Make a Lantern for Christmas


One of my biggest tips for saving money on seasonal decor is to buy unembellished lanterns, candle holders, cake plates, chargers, etc. at the end of the season in the clearance section. Micheals, JoAnn, and Hobby Lobby have plain items that really could be used year round in their seasonal lines of decor. Swoop these up, and embellish them yourselves for each season! Follow along to see how to make a lantern for Christmas.
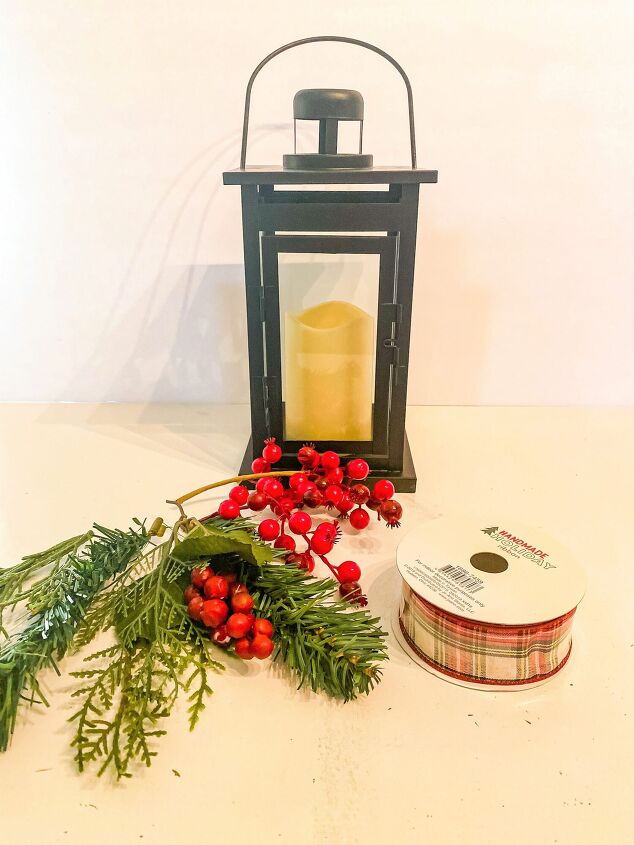
Materials Needed:
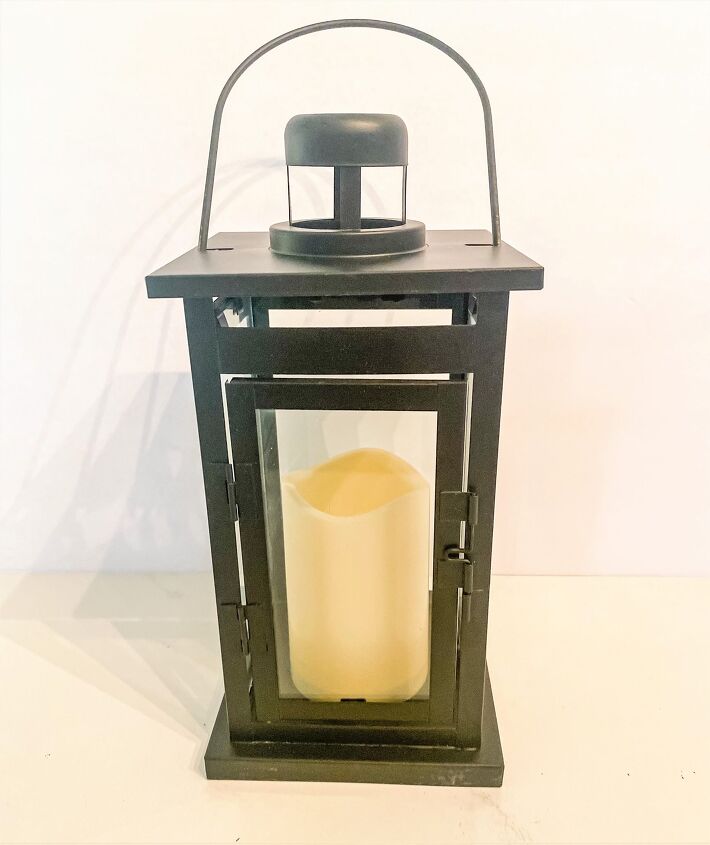
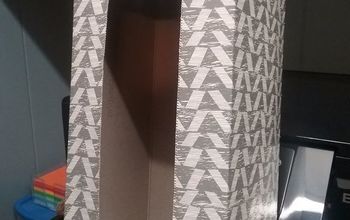
~Plain lattern
~ Wire edge ribbon, or a ready-made bow
~ Floral picks or bits of faux pine and berries
~ Floral wire
~ Wire cutters
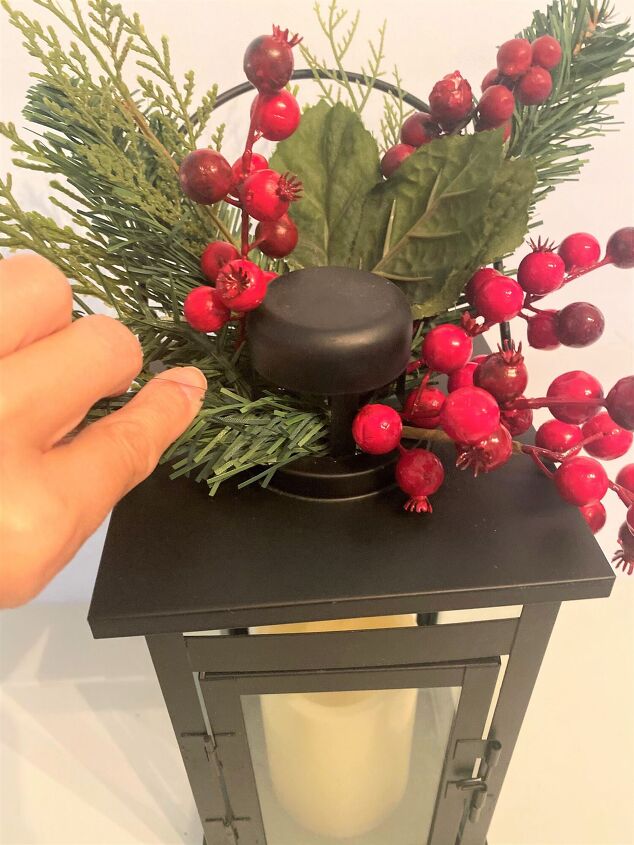
Step 1-Embellish with pine and berries
Gather picks, or remnants of faux pine and berries, and affix them to the lantern. Personally, I don’t like to attach anything permanently, because I like to reuse objects over and over for each season. For this lantern, I was able to just poke the stems in the opening, and they stayed. But if your lantern doesn’t have an opening, or the picks won’t stay by themselves, just attach with floral wire.
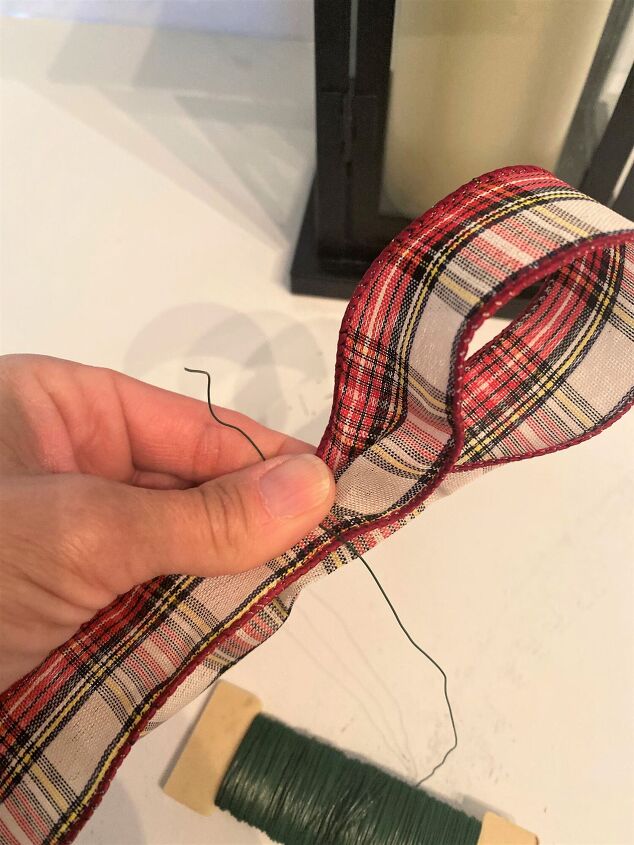
Step 2-Add a bow
Add a bow. You can either make one, or purchase a ready made bow. My bow method is very simple, but there are about a billion bow making tutorials out there!
For my method, pull out about 18″of ribbon. DO NOT CUT, leave the rest of it attached to the spool. Make a loop about 12″ into the pulled out ribbon, and secure with wire. Leave the wire attached to the spool as well.
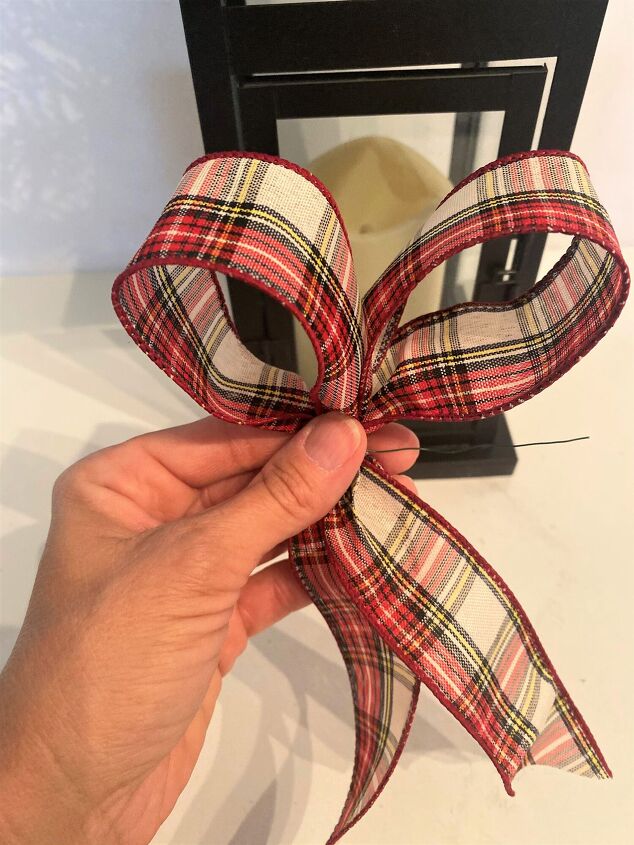
After winding the floral wire around the first loop, be sure that the wire comes up on the left side of the loop (this will be the center of the bow). This is where you will start the loop to make the left side of the bow. Make a second loop, and wind the floral wire around it, again be sure to come up in the middle of the bow. Continue wrapping the wire around the base of the loops until the bow is secure, and cut the wire off of the spool, but leaving a 12″ length to attach it to the lantern. Cut the left tail off of the spool of ribbon. Cut each tail in a diagonal for a finished edge.
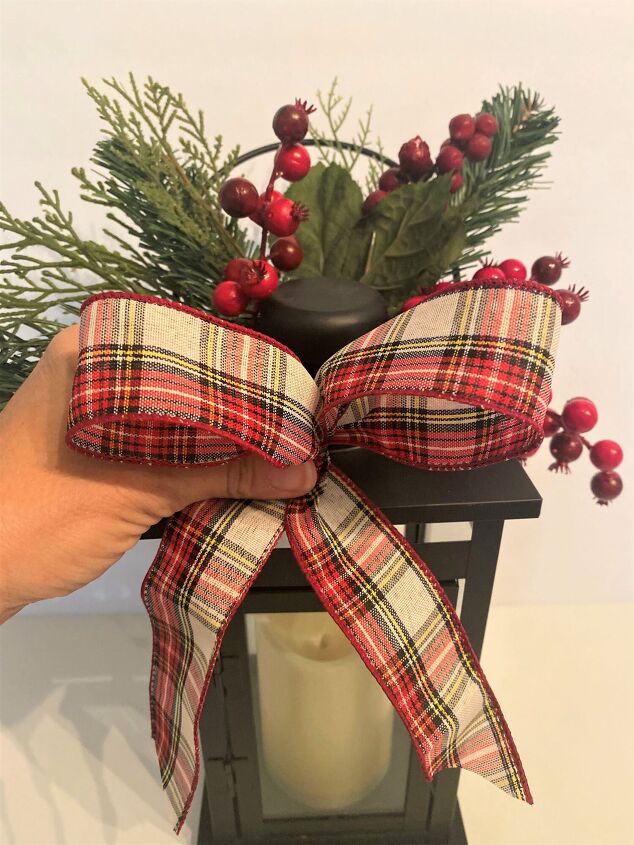
Step 3-Attach the Bow
Attach the bow to the lantern with the length of wire left hanging off of the bow.
That’s it! It only takes about 10 minutes, and now you have a Christmas lantern that you can change up for many Christmases to come, and use plain or embellished for each season!


Frequently asked questions
Have a question about this project?