


How to Make a Mason Jar Lantern
Learn how I made this mason jar lantern. I built a wooden lantern and included a mason jar and an LED puck light. Use your hand to push the jar up to turn on the light and push up to turn it off. A great home decor piece, and it's functional -- puts off plenty of light. A nice weekend project. You'll only need a few basic tools and basic woodworking knowledge.
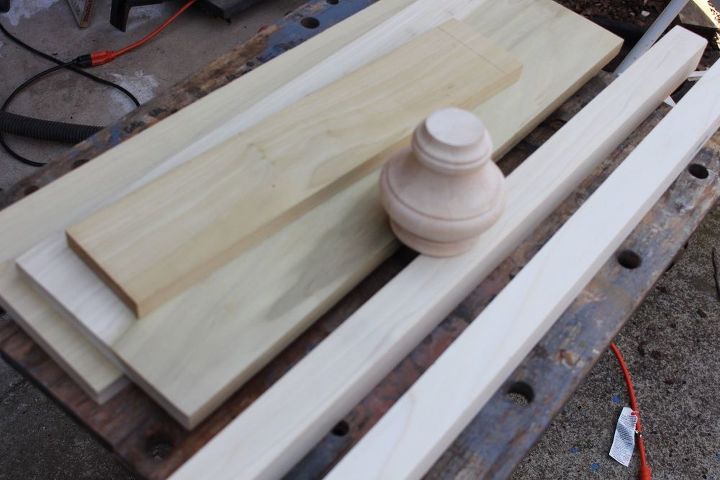
I used poplar boards because they're easy to cut and sand. And readily available from home improvement stores near you.
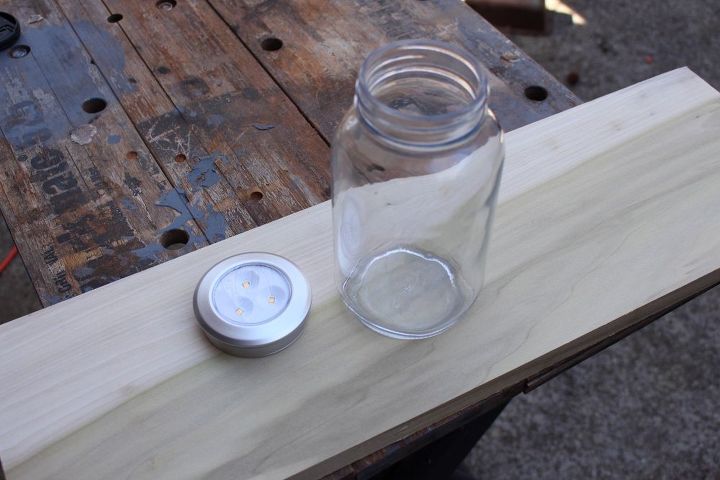
Here's a pic of the LED battery-powered light puck and Mason jar. You'll need a particular kind of mason jar which I spell out on my website (see project link below) The LED lights are cheap and available at your local home improvement store.
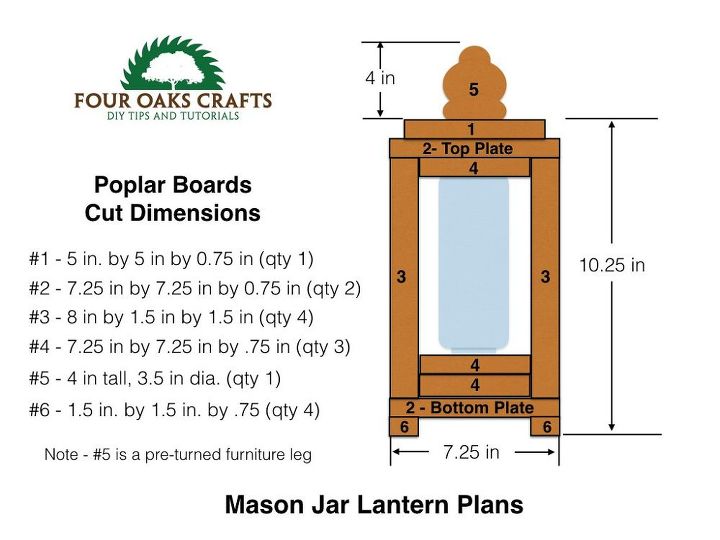
I created a cut list that's pretty easy to follow. I also have a hole placement diagram in the full tutorial on my site.
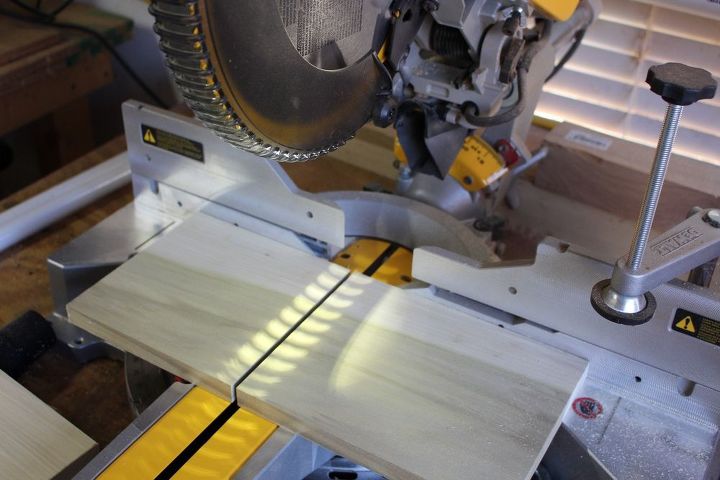
I cut my boards with a chop saw, but use a saw you are skilled with using. A bandsaw or jig saw would also work.

Fitting all the pieces before I nail and glue. You can see here how the mason jar is inverted and fits in a hole on the bottom of the lantern. The top of the lantern is shown on the right and you can see holes for the jar and the LED puck. The puck will sit on the inverted jar as shown in the picture. It's a click on / click off light. When finished you will be able to grab the jar with your hand to push it up to turn on and push up to turn off.
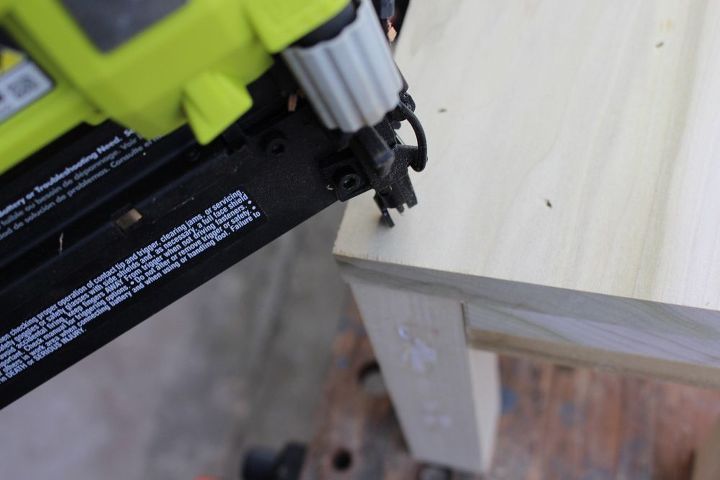
Once I'm sure everything will fit together, I begin nailing and glueing pieces together. My electric nail gun works great for this type project.
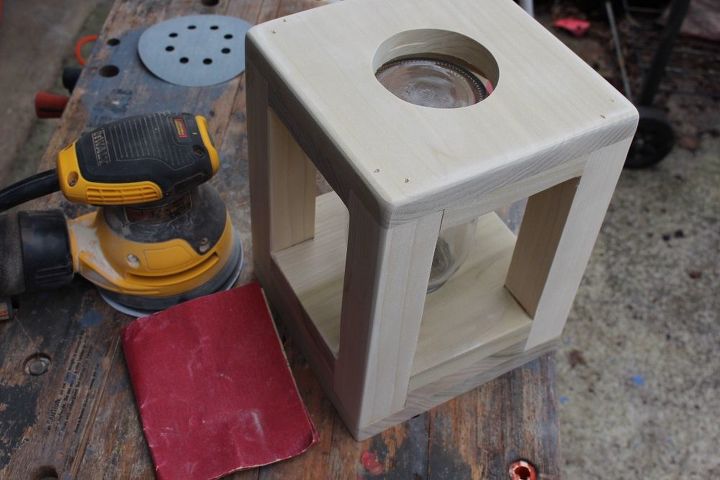
Next, I did some sanding. Used 40 and 80 grit to get everything flush and even. Then finished with 120 grit. Go to 220 if you like, but not really necessary.
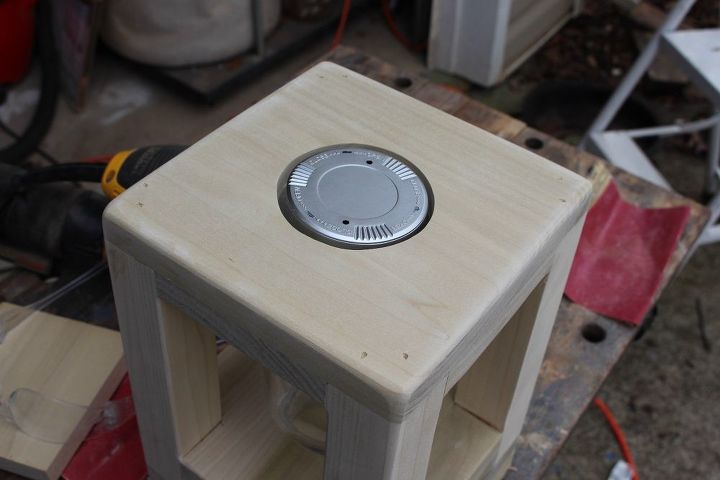
Checking the LED for fit before I attach the top of lantern.
Attached the top of the lantern with 2 black wood screws. I DID NOT glue this board. Reason? This will be how I access the LED when the battery drains down.
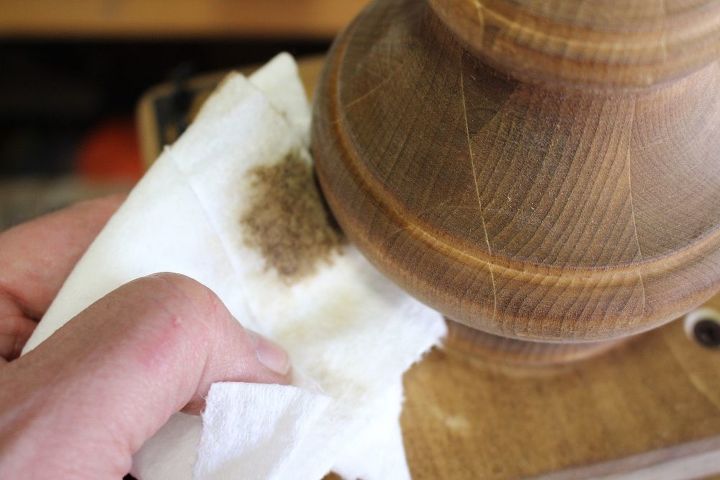
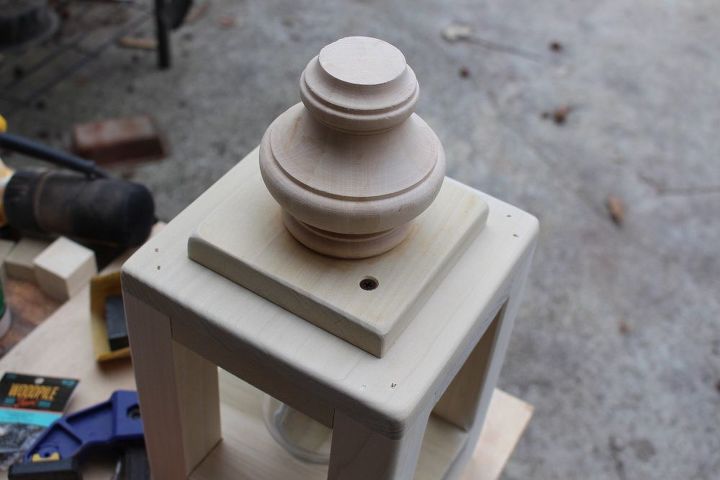
I finished the lantern with dark Danish Oil. I like how the Danish Oil gives it a rustic look. I plan to store the lantern indoors so I'm not really worried about a water resistant finish.
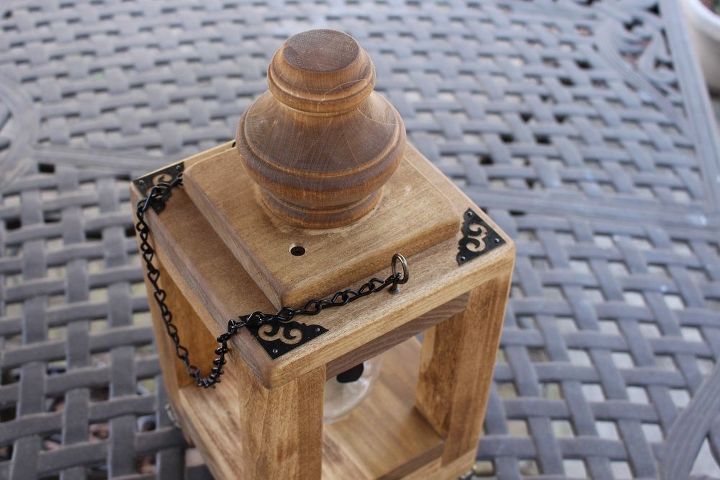
I also added a black chain which I got from my home improvement store. And the metal accents from local craft supply stores. The decoration options are endless.
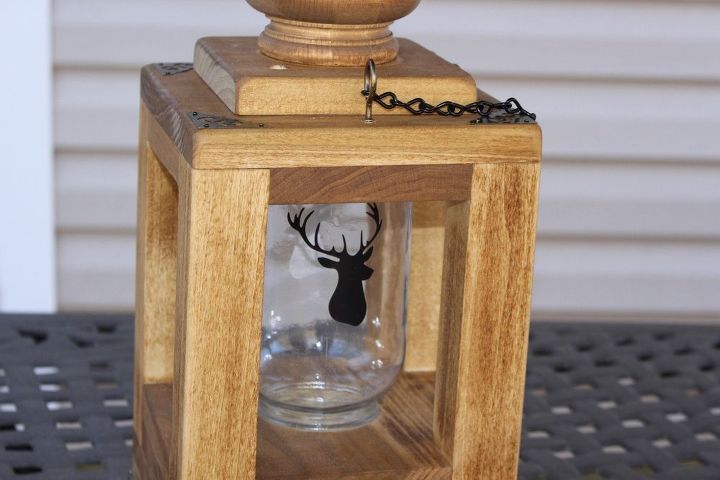
I added a deer head sticker for the final touch. I probably could have put stuff in the jar like marbles or wine corks. Lots of possibilities!
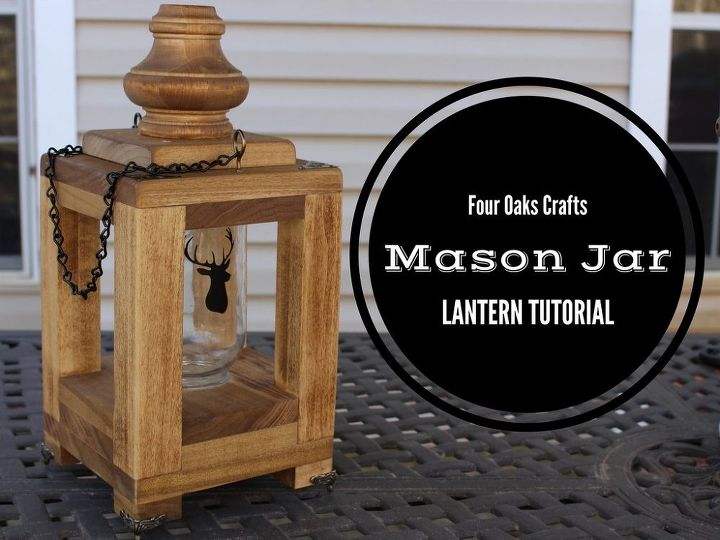
Here is the finished mason jar lantern. Check out my detailed tutorial at the link below.

Want to get more tutorials like this one in your inbox? Please consider subscribing to my website. Look for the signup form in the left hand sidebar. When you sign up, I'll send you my Home Shop Safety & Tool Checklist for free. Thanks for checking out my tutorial.

Want more details about this and other DIY projects? Check out my blog post!
Comments
Join the conversation
4 comments
-
This is amazing!!
-
Absolutely stunning! Great job! Fabulous tutorial! Thank you for sharing! =)


Frequently asked questions
Have a question about this project?