


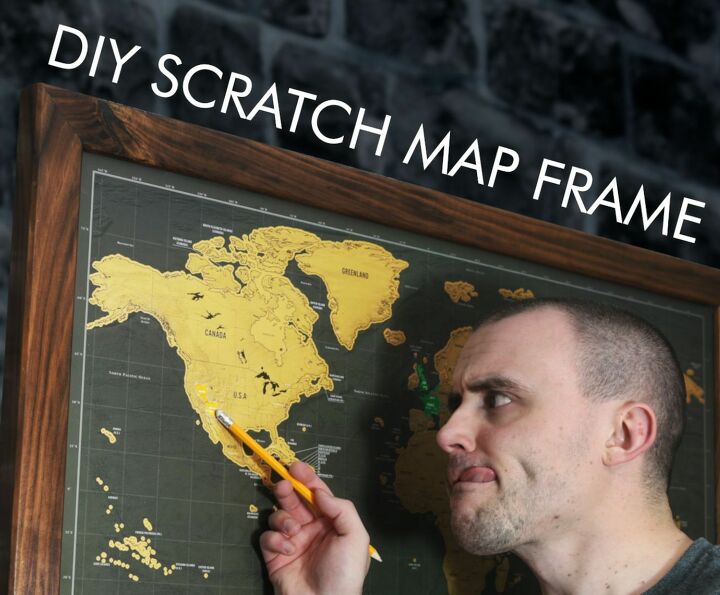
How To Make A Picture Frame For A Scratch Map
I've had my scratch map for a couple of years now. Never used it. So it's about time I did. Here is how to make a picture frame to mount the scratch map in. The DIY picture frame can be used for all sorts though, photos, paintings, shadow boxes, lots of possibilities. Not just for following where you have been on your travels around the world.
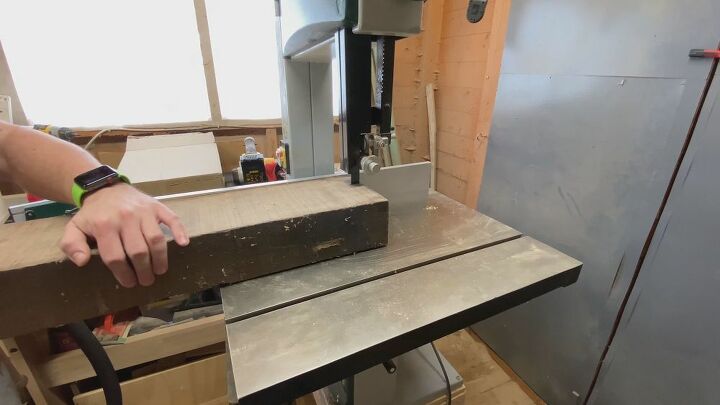
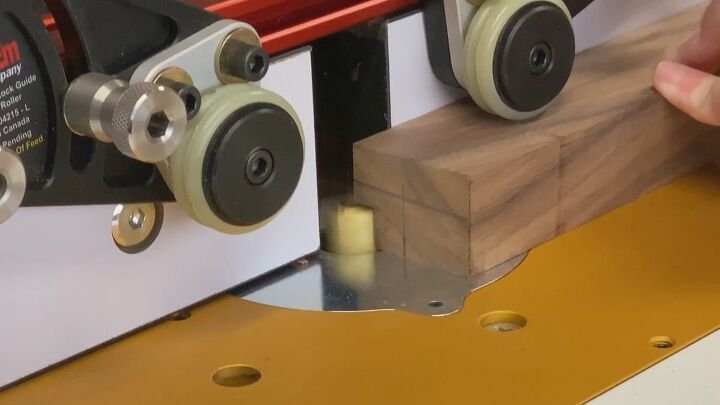
First step in this project is to resaw the walnut to size. You can of course buy wood ready planed to the size you want but I had this piece of walnut knocking around for over a year now so it was best to use it up.
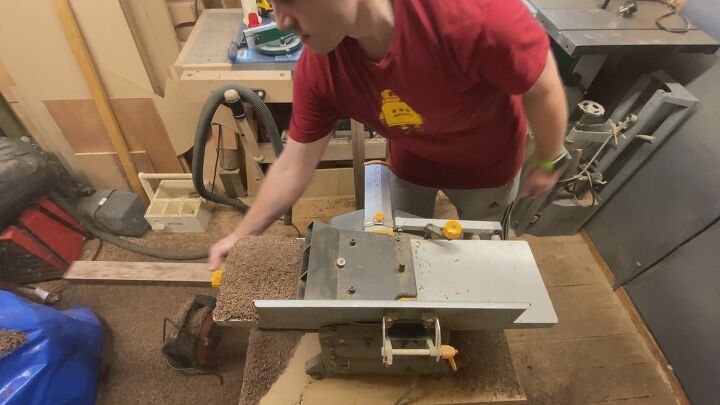
I planed the walnut to roughly 35mm x 45mm. This should give me nice proportions for the frame to the scratch map.
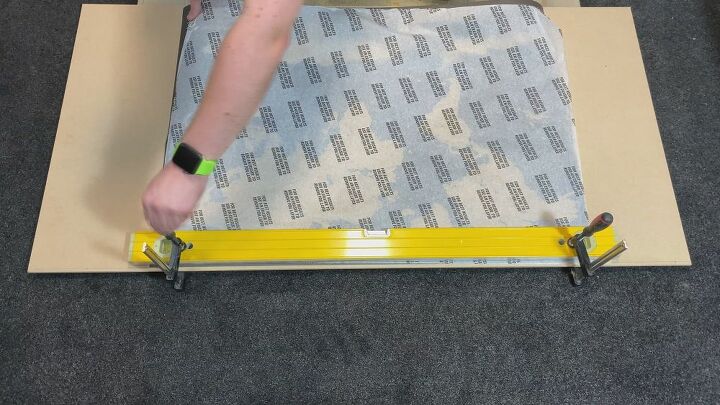
Speaking of the scratch map. It needs to be mounted to a board before going in the frame. I used a piece of 6mm MDF. I aligned the map to a line I marked on the board and clamped it in place.
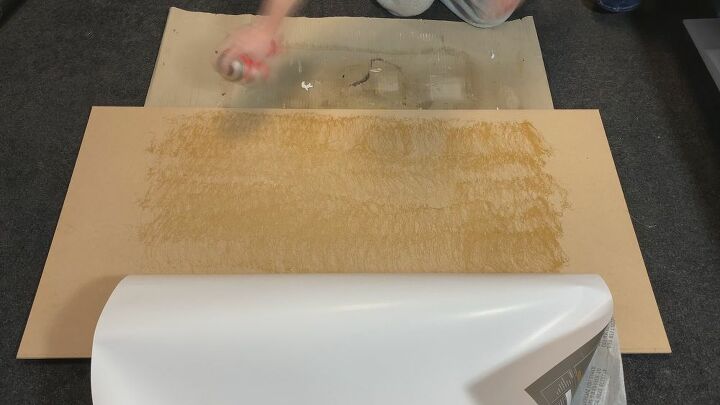
I could then fold the map back and apply spray adhesive to the board. The clamps ensure the map stay aligned correctly.
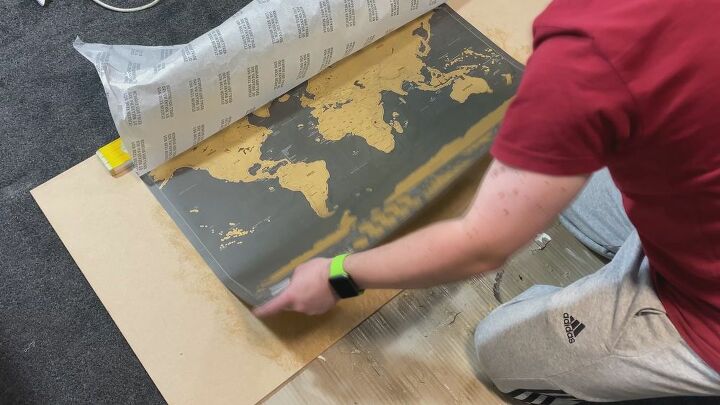
I then lowered the map slowly onto the adhesive. Making sure there were no bubbles or wrinkles in the map. Then it was just a case of removing the clamps and doing the same to the other side of the map.
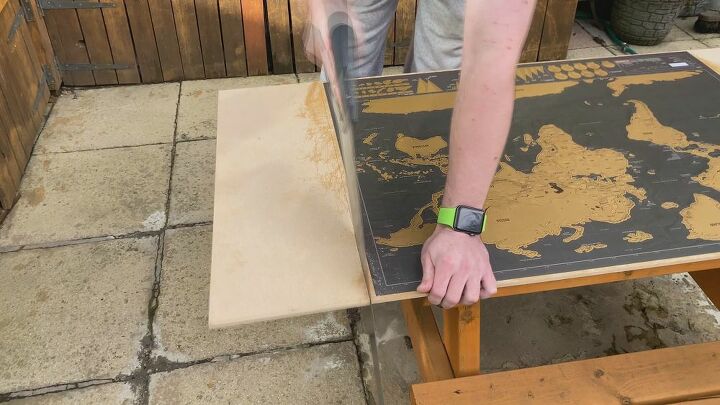
I marked a 10mm boarder around the scratch map and cut it to size using a handsaw. The handsaw allows me to make sure the map doesn't get scratched or scuffed. With the map adhered to the MDF and cut to size I could turn my attention back to the frame itself.
In order to set the map into the frame I needed to remove some material. I marked a 20mm square on the end of a walnut piece. This will be my guide for what needs to be removed. Using a straight cutting bit in the router table I nibbled away at the material that needed to be removed. I did this on all 4 pieces of walnut. This left me with an L shape to the pieces. To add a bit of detail to the front of the walnut pieces I used a chamfer bit to ease the edges.
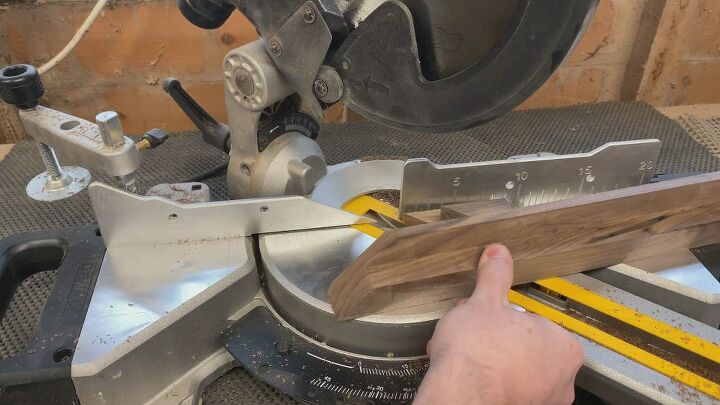
I wanted mitre joints on this picture frame so I used a mitre saw to cut the 45 degree cut on each end. The length is best to determine for the map itself. I offered up the pieces and marked the inside of the cut. A scratch Map is roughly 819mm x 582mm so they should be measurements for the inside of your mitre cuts.
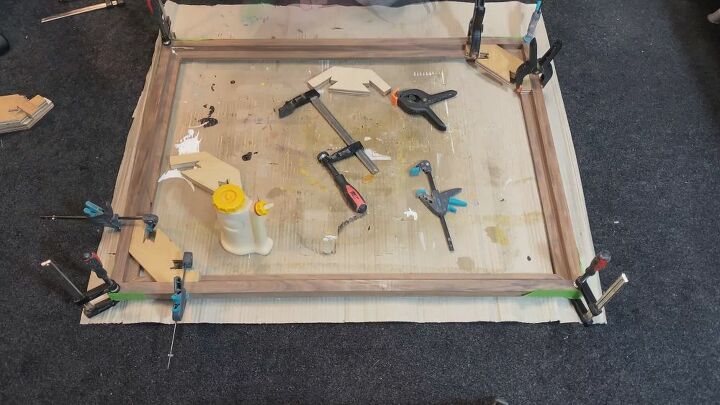
The glue up went a lot easier because I used the right angle clamping jigs I made previously. They held everything square while I added glue, clamps and tape. The walnut had some voids and knots so I filled them with Milliput epoxy putty. When its set and sanded I think it offers a really nice contrast against the walnut. To finish the frame I used a gloss spray lacquer. I gave it 3 coats, sanding between each coat.

To help align the map in the frame I used a couple of dots of super glue. This is enough to stop the map moving around when I flip the frame over.
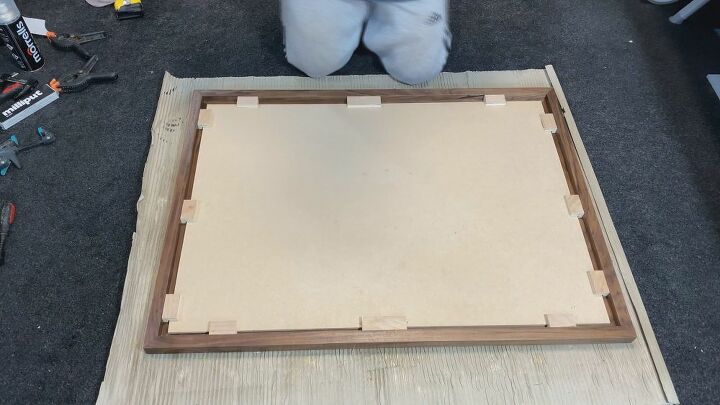
To hold the map in the frame I needed to make some clips. So back at the router table I routed a 6mm deep rebate into some 18mm plywood. This then got cut into 50mm clips. They will hug the 6mm MDF board and hold it tight against the frame. The plywood clips can now be added to the back. They are secured in place using super glue. This will be plenty strong enough for this application. I added clips all around the edge.
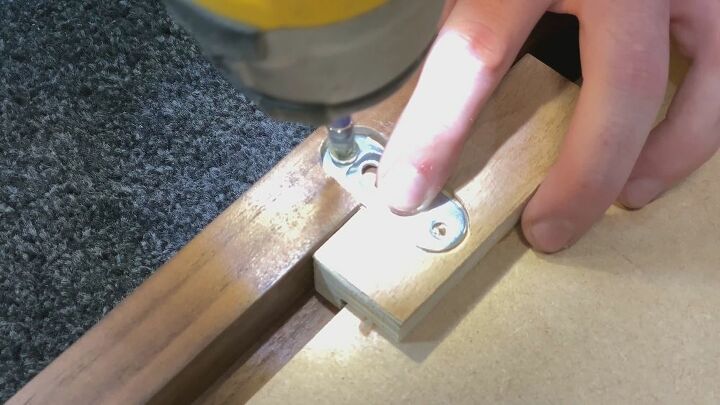
To hang the frame on the wall I opted to used keyhole hangers. I marked a centre line at the top of the frame and drilled 2 pilot holes for screws later. To make sure the keyhole sits flush in the back of the frame I used a trim router to route away an area for it to sit in. I used the keyhole hanger it self to set the depth of the router bit. The keyhole hanger can now sit flush in the back of the frame. Now it wont stick out from the wall when its hanging on a screw. 2 screws is all it takes the secure the keyhole hanger in place.
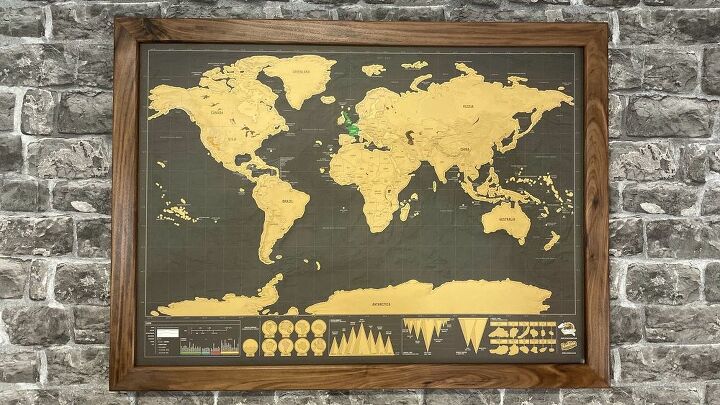
All that's left to do now is to hang the map on the wall. Its best to use an eraser to remove the foil layer on the map. It did work well but you have to press quite hard. It also uses up a lot of the eraser. Here is the finished frame for the scratch map. I hope you give it a go for yourself. A scratch map is a great way to keep track of your adventures around the world!
Give it a go!


Frequently asked questions
Have a question about this project?