


How To Make A Shabby Chic Lampshade and Distressed Lamp Base
9 Materials
Medium
Have you been wanting to upcycle an old lampshade and put it off for so long that you’re actually ashamed?! I am
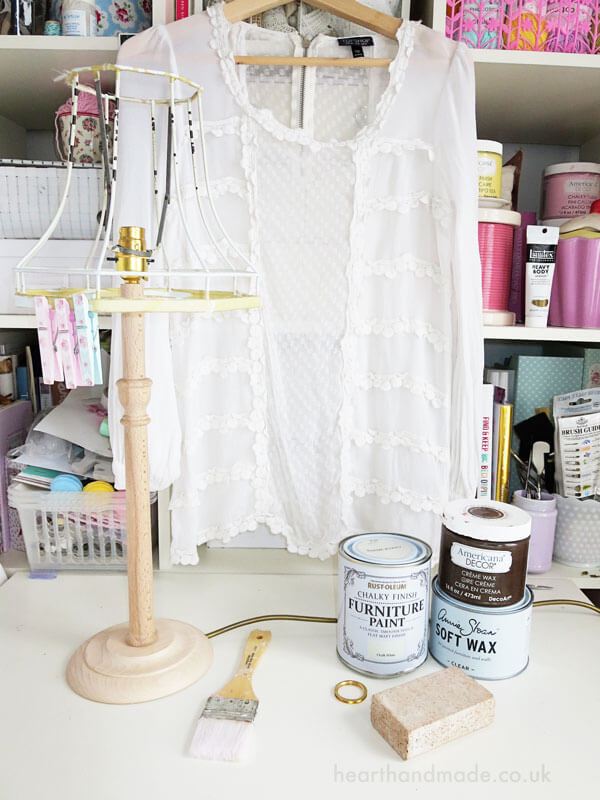
First I looked at my supplies....
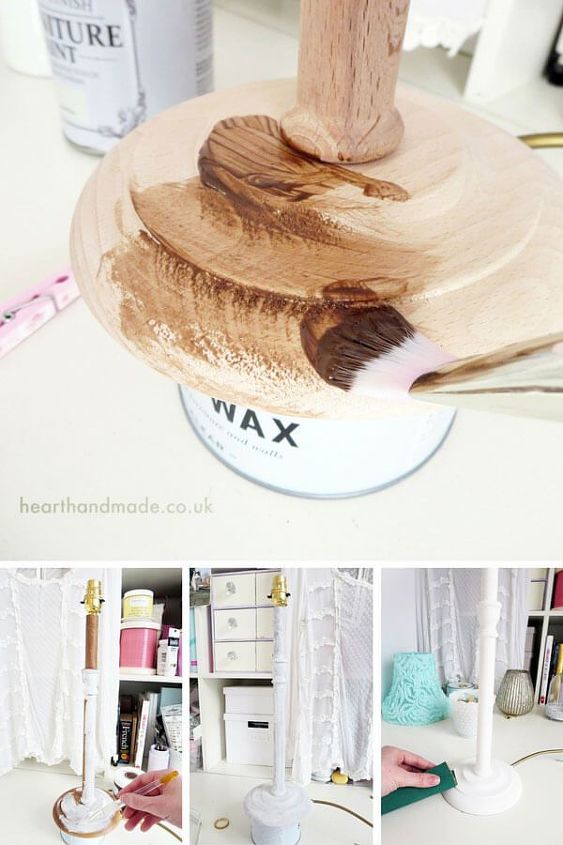
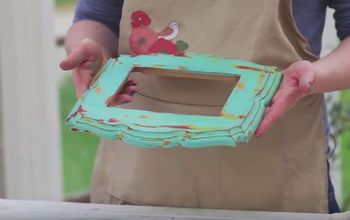
**Paint on the dark wax (I used decoart wax, it’s more like a cream)
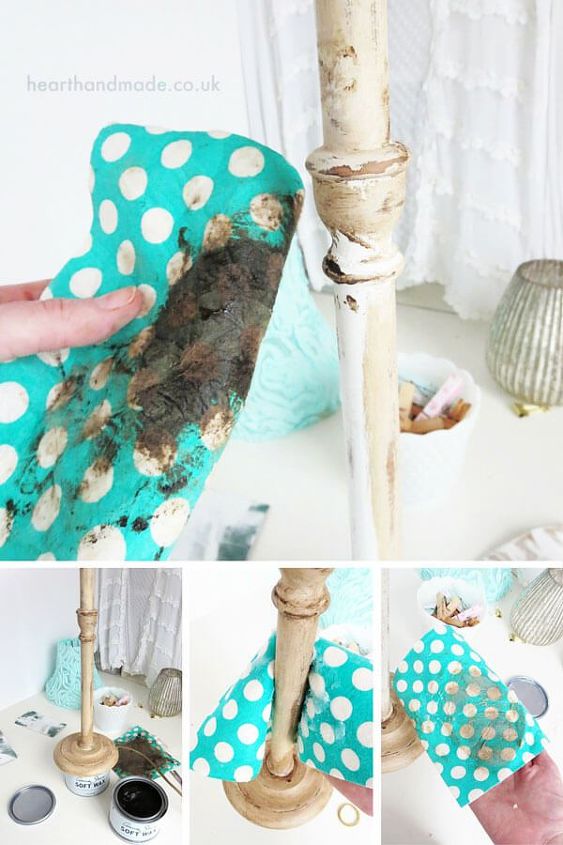
**Time for another coat of brown wax! For the top layer of brown wax, I used **Annie Sloan soft wax. The drying time for this wax is 24 hours.
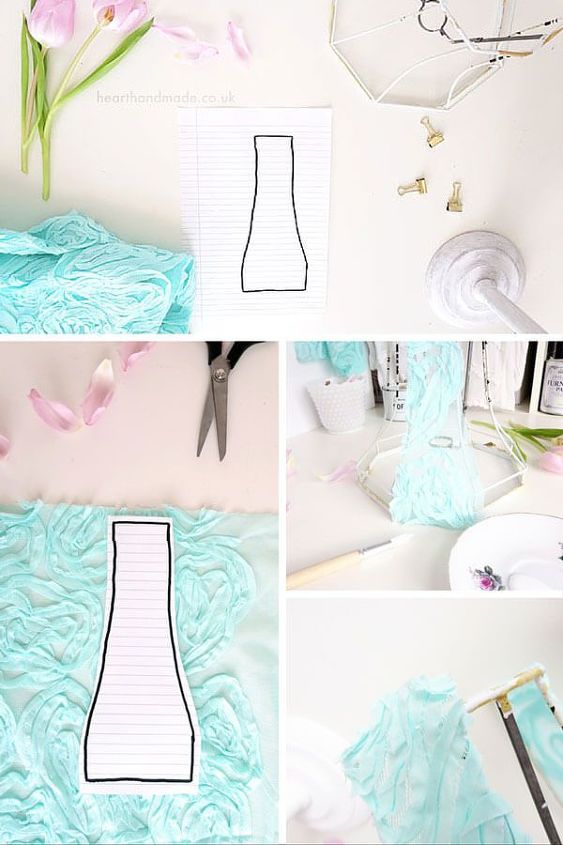
**This template is essential! To make my template I took a piece of regular ruled paper and wrapped it around the shape formed that is formed by one of the sections of the lampshade. Press down/wrap the paper around the shape (to create creases in the paper).
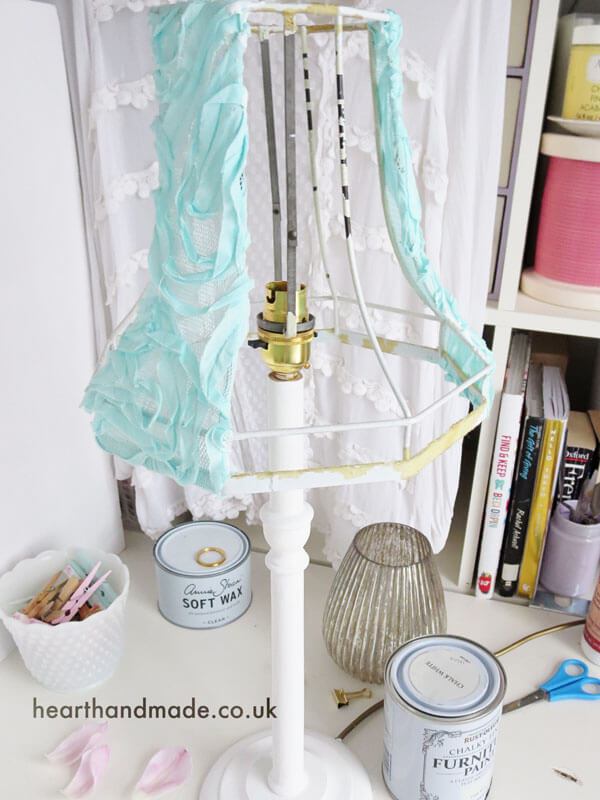
Go all the way around until you’ve completed your shade! You can trim around the fabric shapes if you need to, it might help lining up items that have already been glued. I chose the tulle fabric because it is more forgiving with the tacky glue. Lining up fabric patterns would be a nightmare. I don’t have time for that. Well, I do but I’m impatient. After all the drying time with the base! Are you kidding me?!
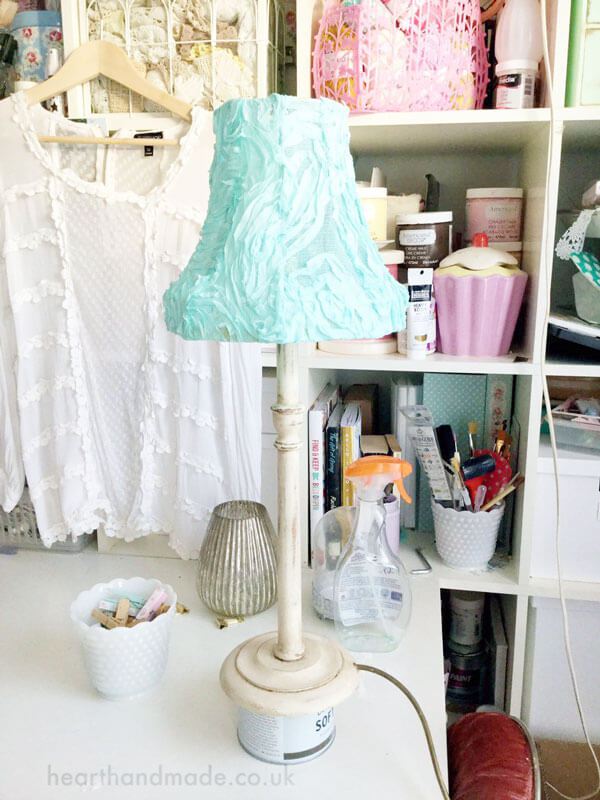
This process took a little while as I allowed the glue to dry naturally. I could have used a hair dryer or heat gun to speed things up.

Want more details about this and other DIY projects? Check out my blog post!
Comments
Join the conversation
2 of 13 comments
-
anything you want i just love looking at all these great tips and putting them in pinterest
-
Positively beautiful.


Frequently asked questions
Have a question about this project?
How did you attach sides of the fabric when the wire is already wrapped by the previous section of fabric?
Diana