


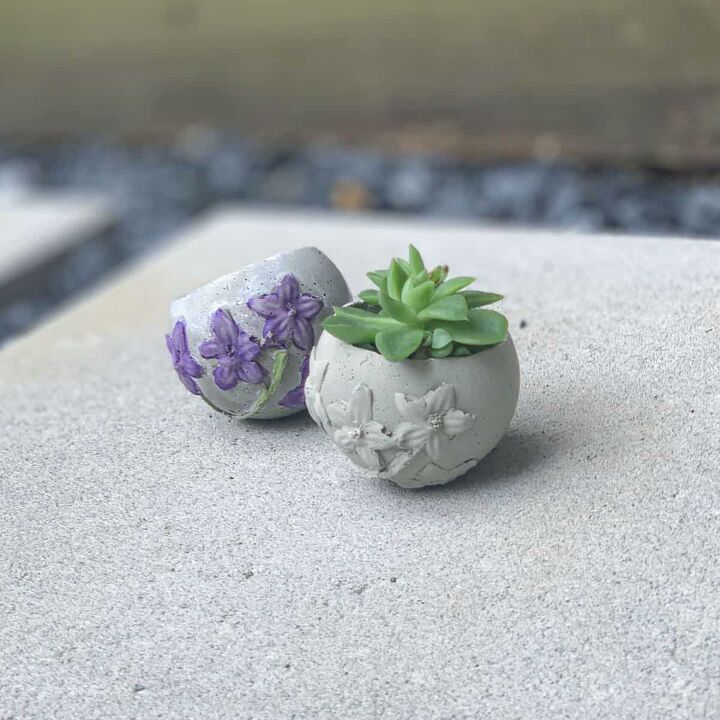
How To Make A Silicone Sphere Mold For A Round Cement Planter
I thought making a silicone sphere mold was going to be really tricky, time consuming.
I mean, a round object would most certainly have to be a two piece mold, or at least require a cut in to be able to demold, right?
I was wrong, completely wrong, and that makes me so happy!!!
Trying to pop spherical objects out of silicone is usually a challenge.
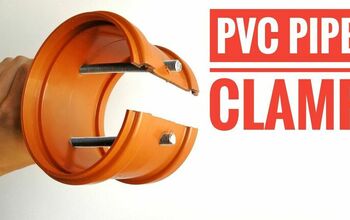
I know, because I’ve tried a few different things, like the Silicone Mold For A Textured Cement Planter and the Silicone Concrete Planter Mold from PVC pipes. And this tutorial for a larger concrete silicone mold.
I got really lucky because I was given this silicone mold material to try, at no cost. I’m under absolutely no obligation to say anything nice about it.
But, I had no idea –despite the name, that what I was about to use, really is amazing. This was the easiest mold making material I have worked with yet.
Not only was it easy to work with, but it also cures in just 30 minutes! And if you’ve read any of my other tutorials, you know I’m impatient and prefer cement that is fast curing too.
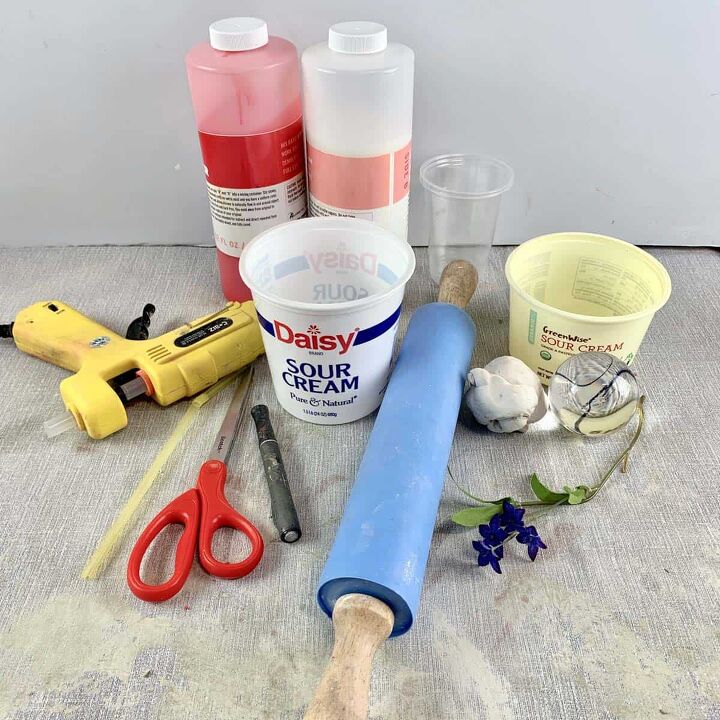
Material Notes:
- Flower Stem – when choosing the artificial flower stem, be sure whatever you use can lay flat against a round shape.
I tested several materials and the only ones that worked were the flowers made of material that feels like polyester.
I recommend testing your flower first on a flat object before you waste mold material. To test mine, I glued the flowers to the bottom of a container and poured the silicone over them.
- Container – be sure the container you use provides at least ½” of space all around the round object you are making a copy of. This will ensure that the sides of the silicone won’t be too thin and tear when removing the cement from the mold.
- Mold Material– Use the code ArtsySphere10 for 10% off– from Alumilite.
- -Easy to work with
- -30 minutes curing time
- -Cement releases easily from it- no lubricant needed- at least not for this project
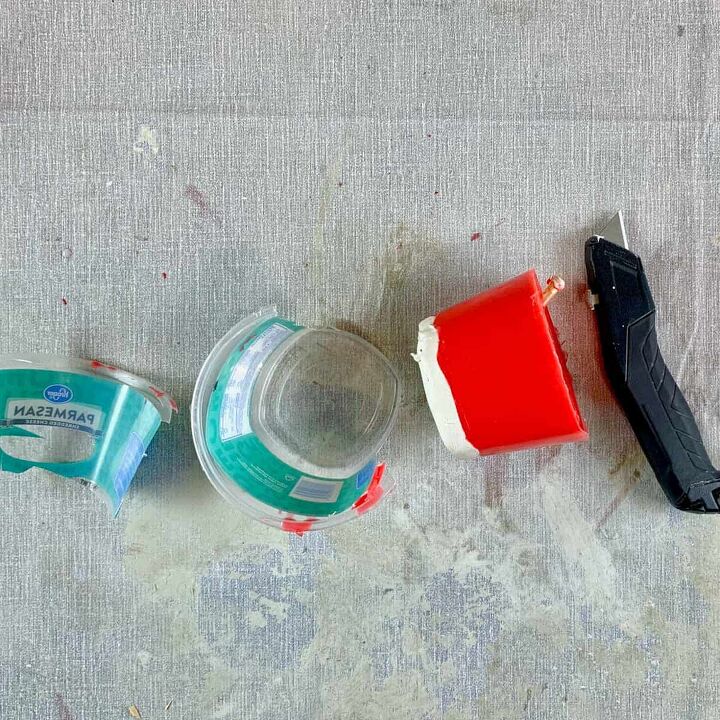
PART ONE: How to Make A Silicone Sphere Mold
1 . Secure The Flowers To The Object You Are Replicating
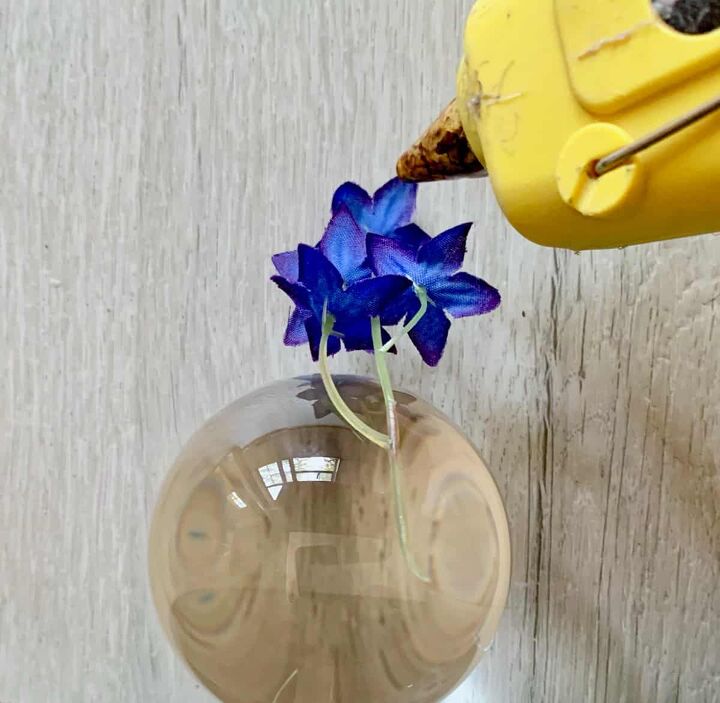
First, use hot glue to secure the artificial flower to the side of the glass sphere. You’ll need to take care to get the entire flower and stem glued flat to the ball.
If there’s any spot that is lifting from the sphere, then the silicone will get underneath and you’ll lose the imprint.
This will depend on the flowers and stem type you are using, but I found the easiest way to do this was to start with the top flower.
Glue that first and then glue the very bottom of the stem. This will help keep it in place while you glue the rest of the flowers.
If you want the stem to be relatively prominent, then you may need to add glue to it, so that it is thicker.
My stem was quite petite and I did build up part of it with glue and that’s the upper portion you can see in the photo.
To do this, I just added some hot glue to a craft stick and applied it to the side of the stem.
Also, because this silicone mold will make the planter perfectly round, make a small circle on the bottom of the glass ball, with hot glue.
This will give you a base that will keep the planter upright when it’s sitting on a table.
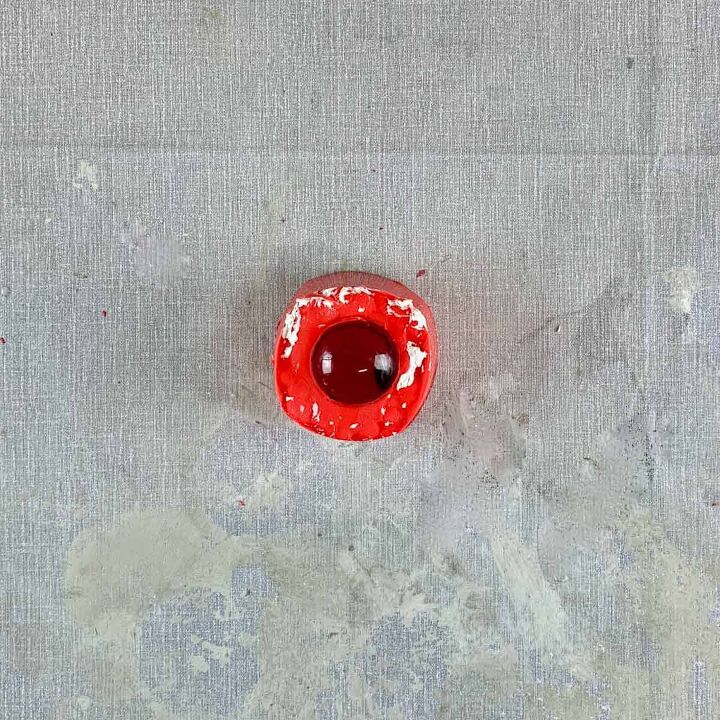
2 . Prepare The Container For The Mold Material
Consider how wide you want the opening to be for the planter. You’re going to press clay into the bottom of the container and then make a cut-out for it.
The width of the cut-out will dictate how wide the opening will be for the cement planter.
You also need the oil-based clay to be thick enough to hold the ball and that the top is fully immersed in the clay.
The clay is there to keep the sphere secured in place while you are casting the mold, as well as to take up the extra void space so you don’t waste the silicone material.
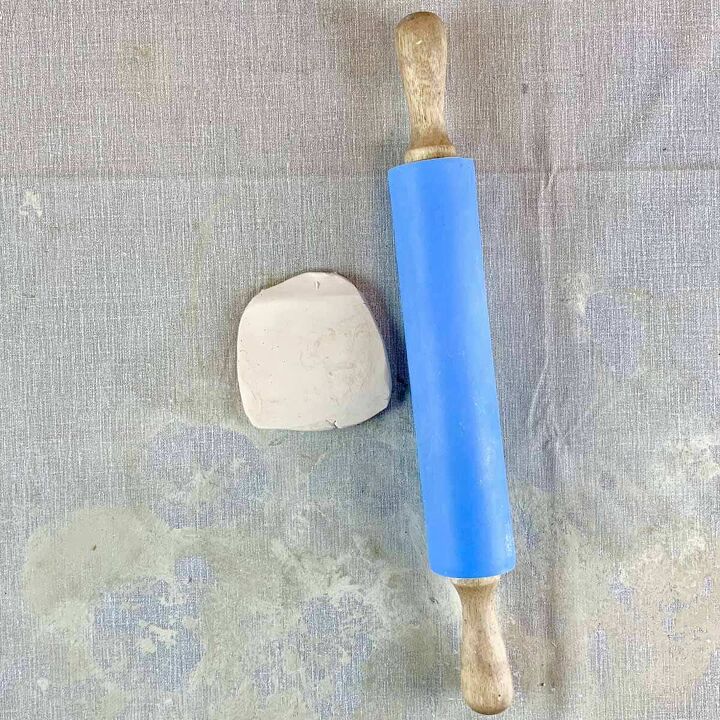
Roll the clay onto the table. The thickness you’re aiming for will depend on the hole size you cut.
I made the thickness of my clay about ½”, which was just enough for the size hole I cut.
If I were to do it again, I’d go slightly thicker because the glass sphere didn’t quite feel as tightly sealed as I felt it should.
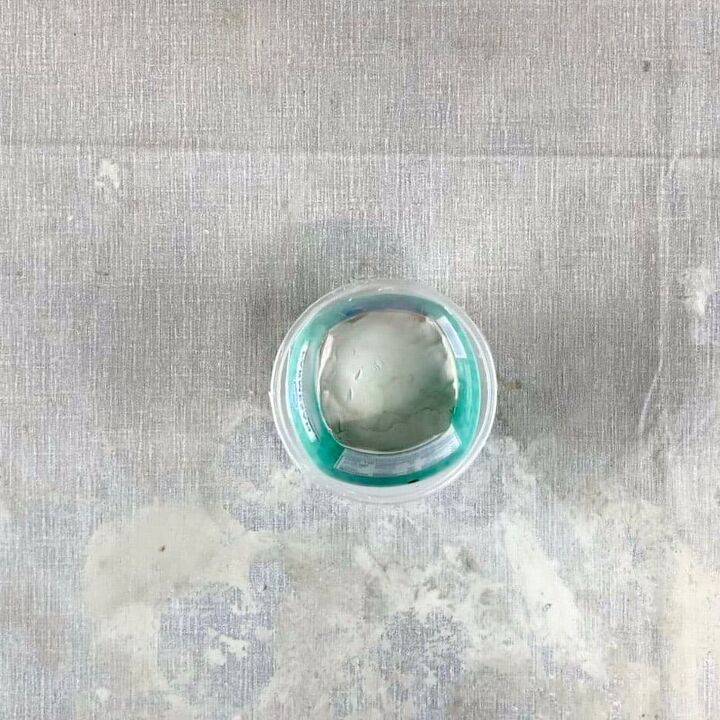
Lift the clay and place it into the bottom of the container and press it in so it fits securely.
Next, take the cookie cutter and center it and cut a hole in the bottom.
Then press the top of the sphere into the hole and so that it is sitting securely within the hole and the clay is sealing it.
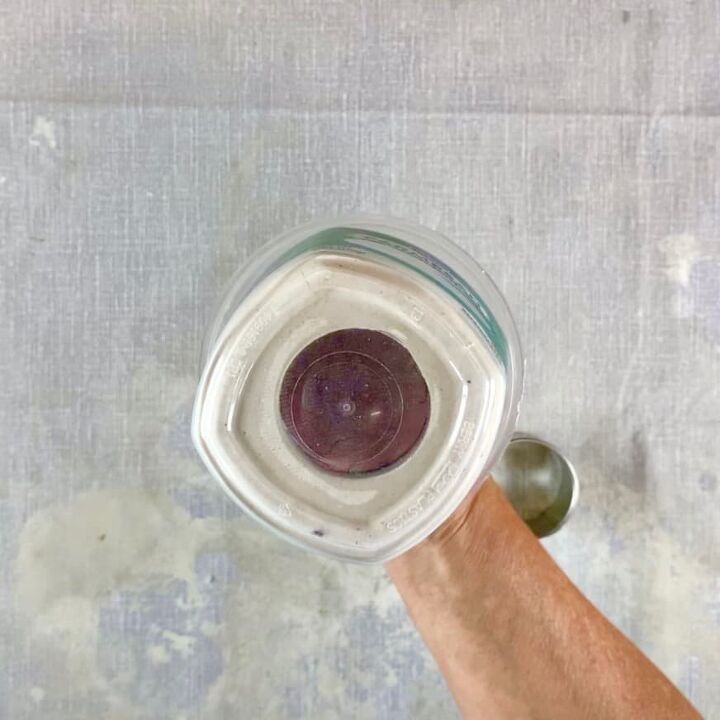
A good way to check that it is providing a secure seal is to turn it upside down. If the ball doesn’t fall out, then you should be good.
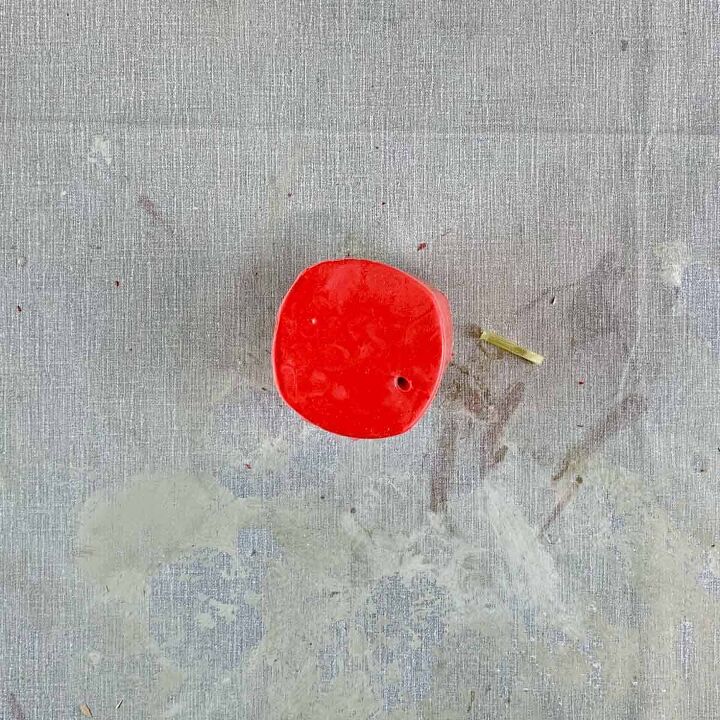
3 . Create The Drainage Hole In The DIY Sphere Mold
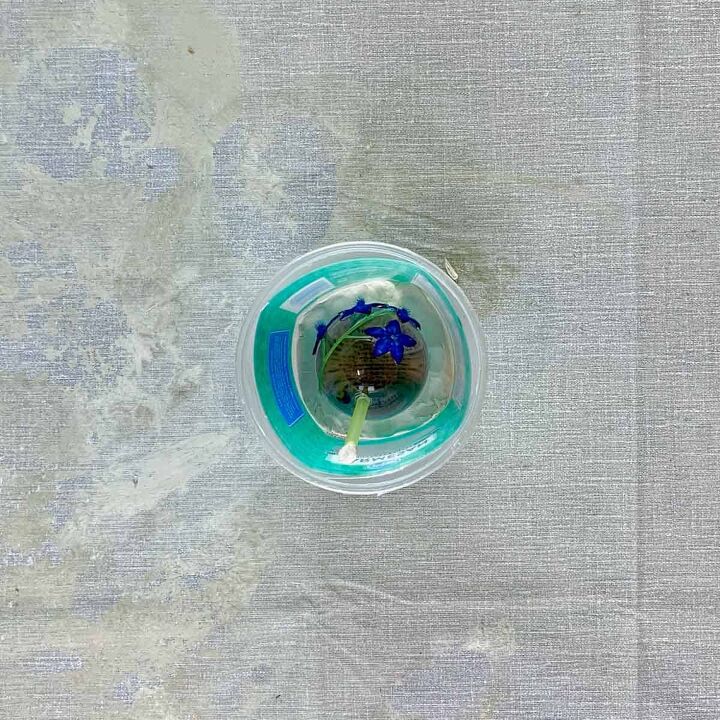
Now take a straw and cut it to about 1 ½” long. Place a little bit of clay in one end to plug the hole. This will prevent silicone from accidentally spilling in.
Next, use the hot glue to secure the other end to the bottom of the sphere.
I placed mine a little off center because I wanted the flexibility to add a magnet to these, like with my magnetic cement planters.
By placing a magnet inside during cement casting, it will allow me to hang this on the wall or on a magnet board.
The reason for the hole being off-center, is because it will be hidden when hanging on the wall.
4. Cast The Round Silicone Mold
First, take a marker and mark a line onto the container that is about ½” from the top of the sphere. This will be where you stop pouring the silicone.
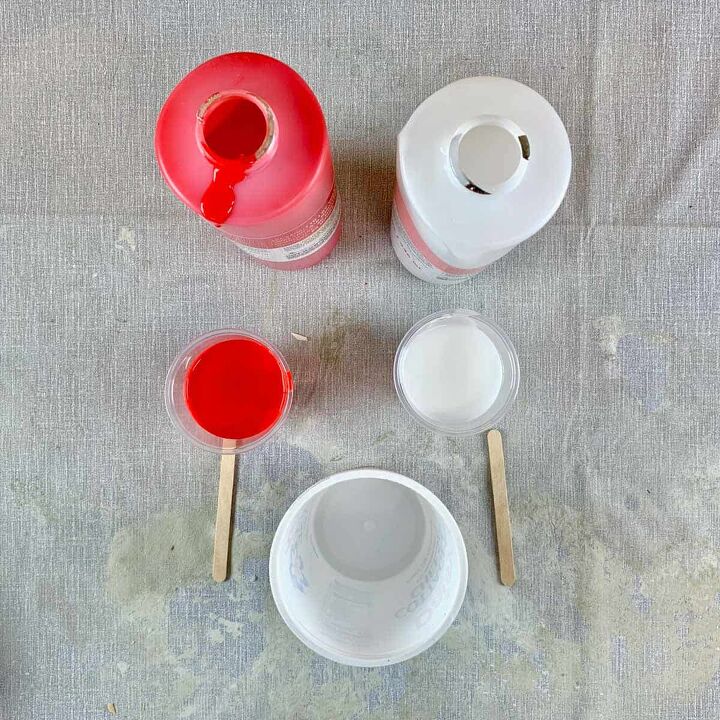
Pour Part A (red) into one cup and Part B (white) of the mold into another cup. Make sure you have equal amounts in each cup.
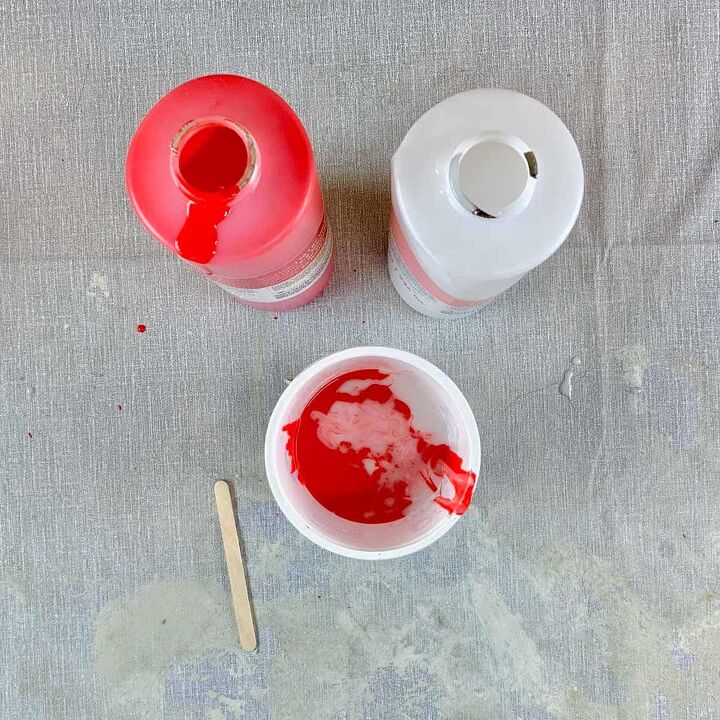
Now pour both of these into a larger cup.
You’ll need to quickly mix these together. You only have about 45 seconds before this starts setting.
Be sure you scrape the bottom and sides of the container while stirring. It will be fully combined when the white streaking disappears.
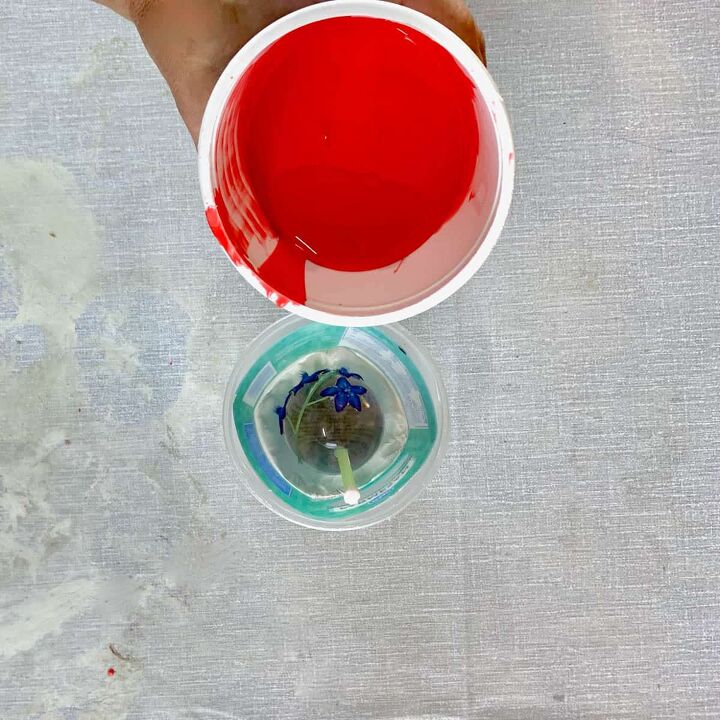
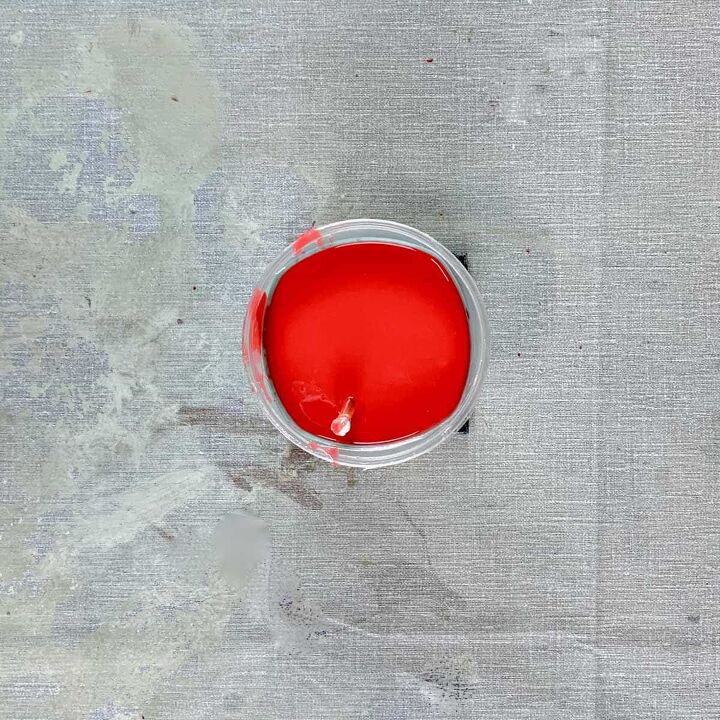
Next, pour this into the container and pour it starting from the lowest point and until you reach the marked line on the container.
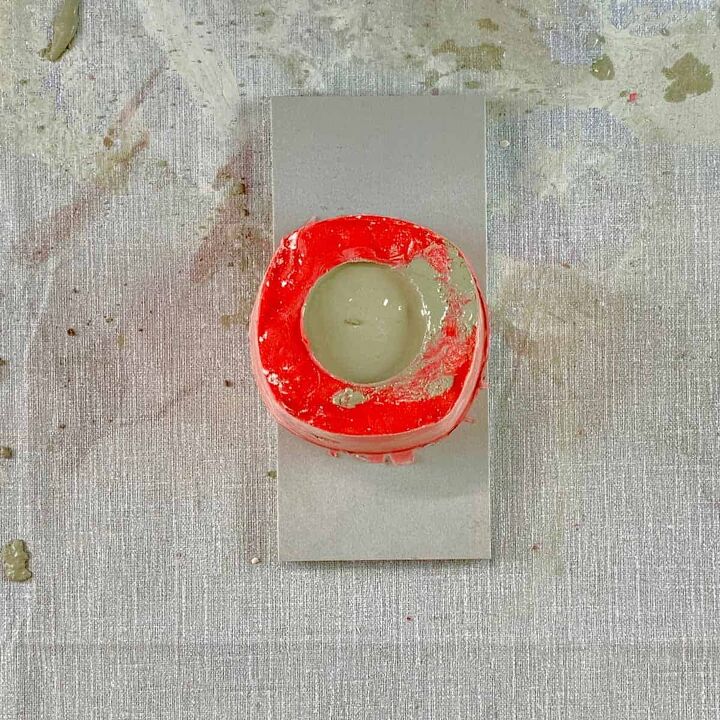
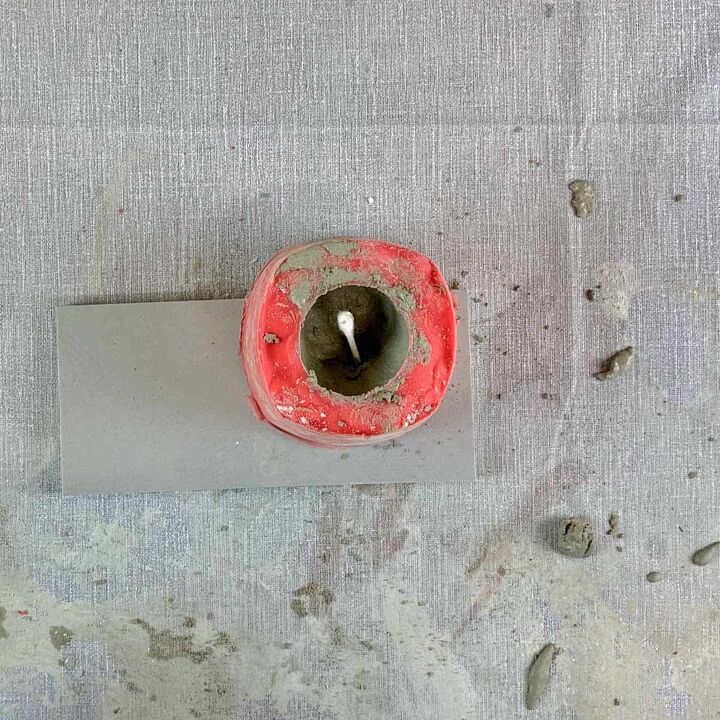
5. Demold The Sphere From the Silicone
Let this cure for 30 minutes. Check back in 30 minutes and if it is dry and bouncy when you press on it, then it is safe to remove the silicone mold from the container.
Carefully cut a slit in the side of the plastic container. And take care not to cut into the mold material.
Pull the straw out and peel the plastic container away from the silicone.
Then peel away the clay from the bottom.
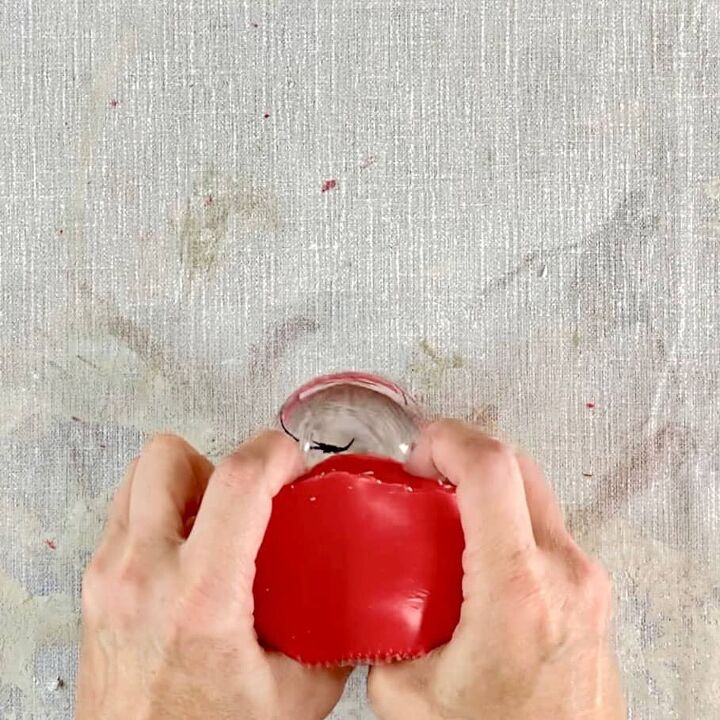
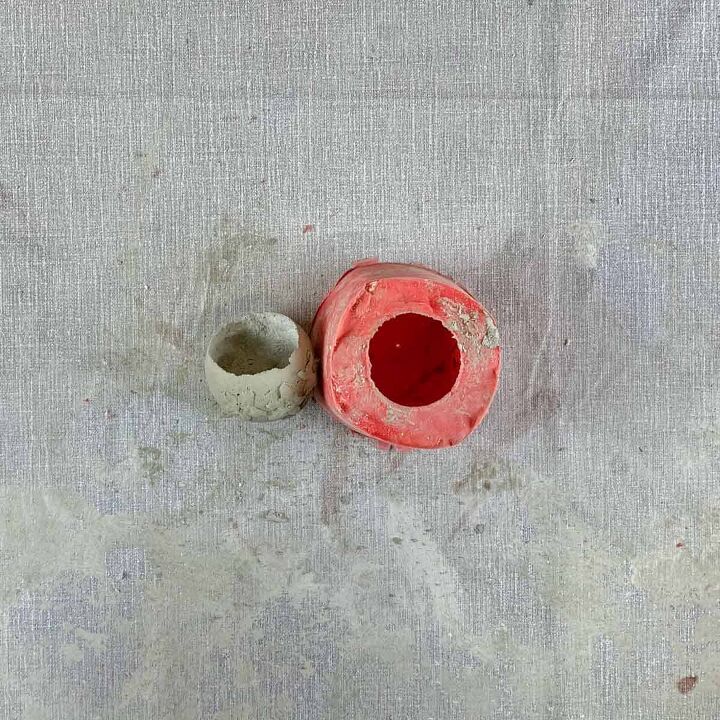
Now just push the ball through the hole. I was actually pleasantly surprised by how easily this came out.
The only resistance I had was due to some of the petals and the stem from sticking inside the imprints created in the silicone.
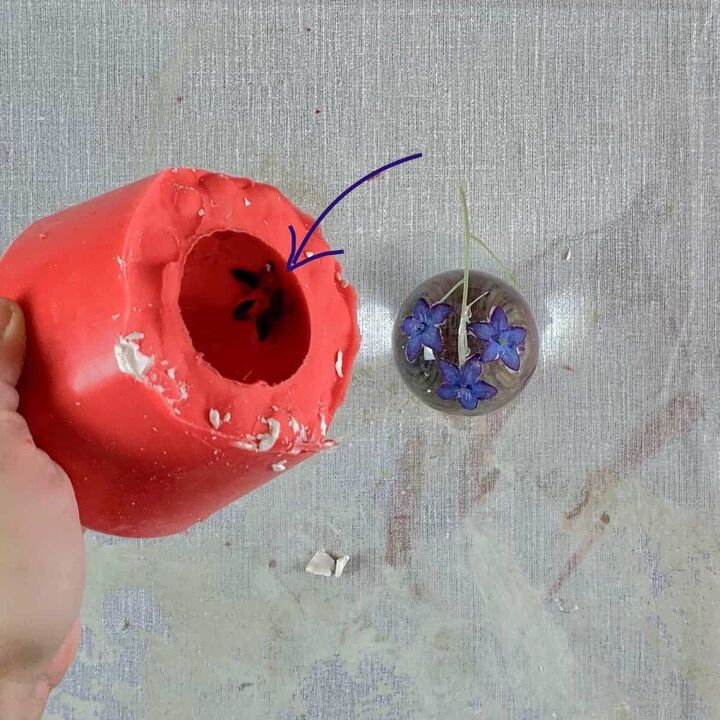
If this happens, just gently pry them free from the silicone.
Some silicone did seep behind one of my petals, so I used an X-acto knife to slice the silicone flap free. This left me with a nice open imprint of the flowers.
Here’s another round concrete planter tutorial- the Textured Cement Balloon Bowl.
PART TWO: How To Cast A Cement Planter Sphere From A DIY Silicone Mold
1. Mix The Cement For The Globe-Shaped Planter
**If you love making concrete projects, then check out my Pocket Guide to Concrete Mixes! I tested 6 mixes and made a handy reference chart. It's a FREE download. 😉
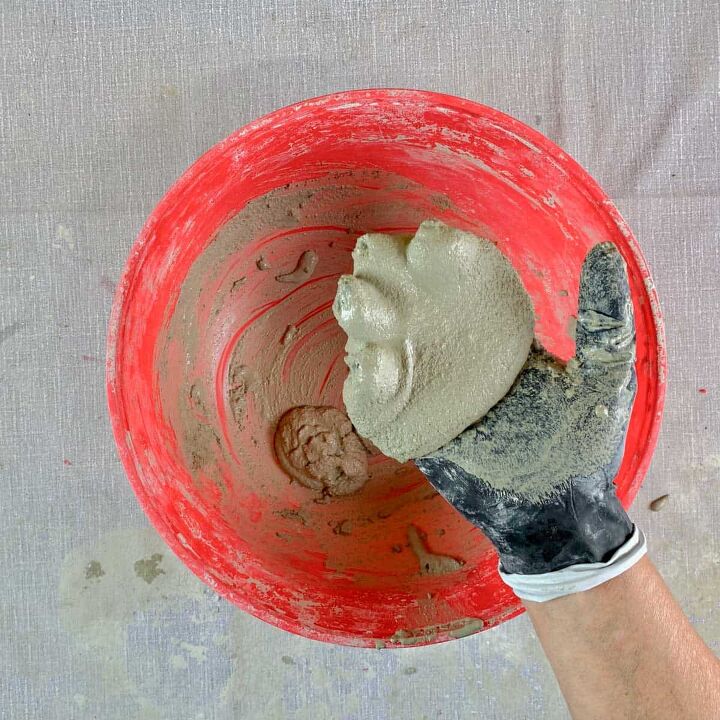
Mix the cement to a mud pie consistency, like you see in the photo.
The reason for this consistency is because we aren’t using an insert to create the planter’s potting opening, instead, we will just form it with our fingers.
Since this sphere is small and with a thicker consistency, simply sculpting it will allow it to hold its shape.
2. Cast The Cement
Note: I didn’t need any lubricant for this. This was super easy to demold.
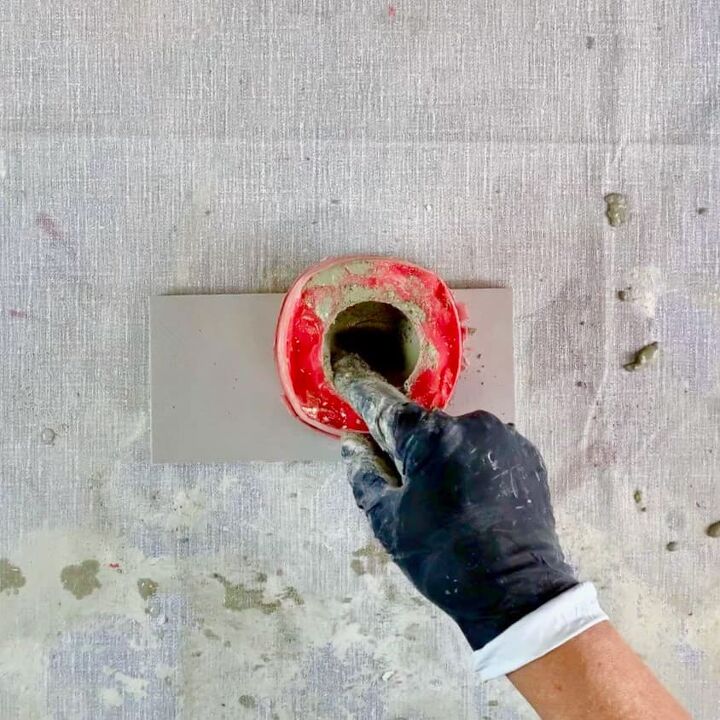
Place the silicone mold onto a rigid board or tile, and then scoop the cement and place it into the sphere, filling it to the top.
Now shake and tap the mold on the tile to settle cement and then vibrate the board on the table to also help release air bubbles.
Next, start removing cement from the middle until you have removed enough that your sides feel about ¼” thick.
If you press and your finger goes all the way through the sides, just patch it back up with extra cement.
Since this is small, it’s fairly easy to visually tell how thick you have the sides.
Smooth the sides and make sure they are also ¼” thick at the top and smooth there as well.
Once this is done, take a cotton swab and turn the sphere over and clear the drainage hole in the silicone mold.
If a large chunk of cement pushes through, just patch it back in around the hole.
Set this aside to cure for about an hour.
3. Demold The Sphere Planter And Sand The Top Edges
After an hour, check that the cement has cooled (it heats during the curing process).
If it’s cool to the touch and feels hard, then it is safe to remove from the mold.
Place a soft towel on the table and just push the sphere back out the silicone hole.
If you have rough edges at the top, use grit sandpaper to smooth them.
After use, always wash the mold with warm water and a mild soap, then let it air dry.
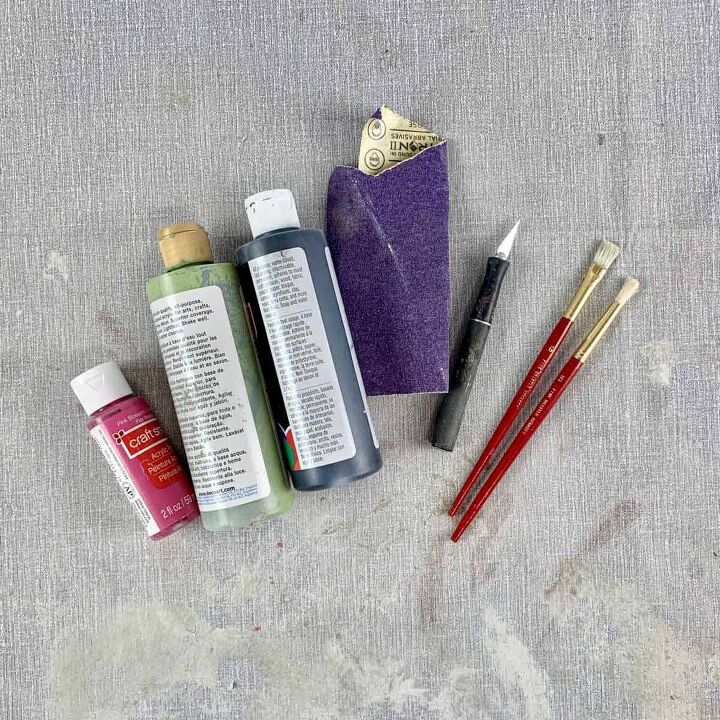
4. Add Finishing Touches By Painting Your Cement Planter
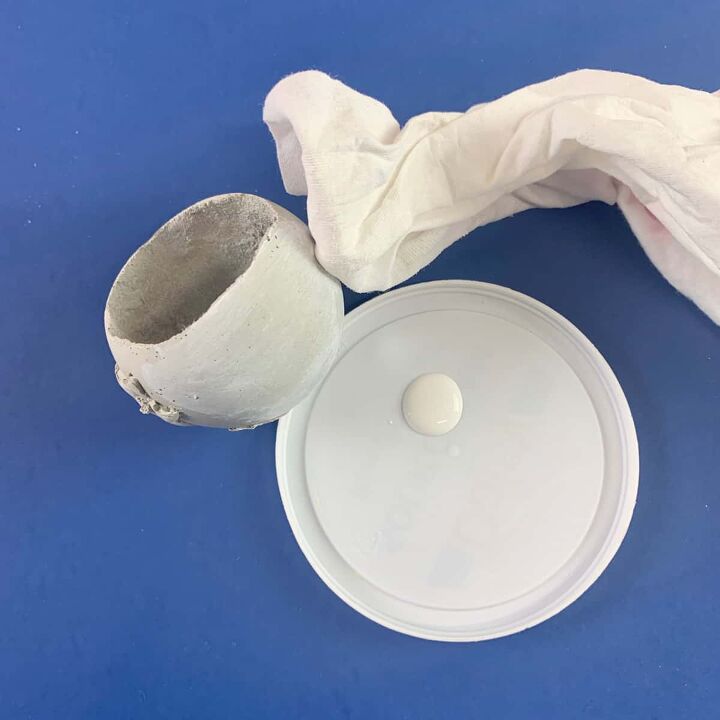
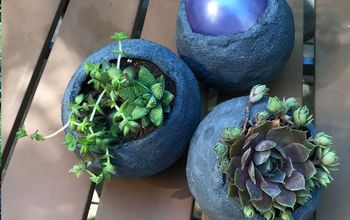
To bring out the depth of the botanical imprints, you can paint them.
After trying a few different methods, I found the best way to do this was just to take a soft rag and dip it into white paint and just a tiny bit of water.
Then rub it over the sphere, just a section at a time. As soon as you rub the paint on, use a piece of the cloth that is clean and wipe off the paint. Do this all around the planter.
If you want it even lighter, you can repeat the process. If you get too much paint on there, you can use more water to wipe it down.
The great thing about silicone molds is that you can make so many copies, so if you don’t love the way you’ve painted it, you can make more.
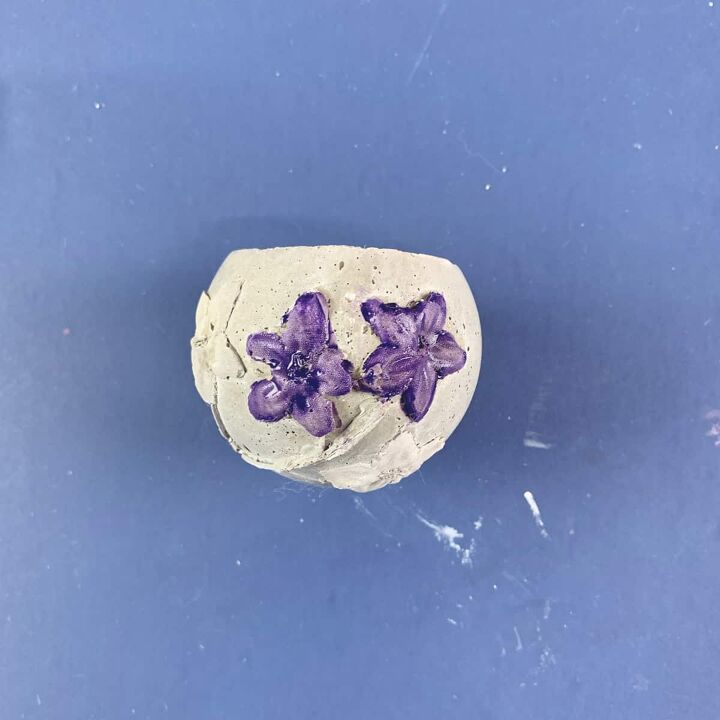
To paint the flowers, I just did the same and dipped the cloth in purple paint and then dipped it lightly in water and rubbed the paint on.
Instead of wiping right away, I let it dry. Once it was dry, I wet the cloth and then wiped some of it off.
For the stem, I just painted that with a tiny paint brush. I didn’t wipe the paint off the stem, I just left it as is.

Comments
Join the conversation
-
I found the whole process entirely confusing and frankly not worth the effort!
-
Yeah I was reading it and thought to myself when does the easy part come in?


Frequently asked questions
Have a question about this project?
I really love your end result can l just buy it? The project seems too complicated for my attention span!
I too found this confusing, quite impenetrable actually. Which is a shame because I have been looking for information on how to make a silicone mold. Maybe you could have a go at simplifying the instructions somehow in a "silicone molds for dummies" kind of way?
Did you use the white paint to try to cover up the bubbles? You can make a thick slurry of cement and fill in the bubbles, let it set a bit and then wipe off the surface so that it’s smooth again. You could even use a paint brush to fill in and shape the flowers, but those would need possibly a exact-O knife to shape the flowers after adding to the bubbles on the flowers and it’s set up. Just a thought.
Also have you made anything larger than this tiny pot? Also using something that vibrates (like to massage your muscles) and touch the tile that you set it on after adding the mold material and the vibration will transfer to the tile and then the mold and vibrate a lot of those bubbles out. And do it again when you add the concrete.