


How to Make a Teddy Bear From Paper Mache Paste

by
Troom Troom
How to make teddy bear from paper mache paste. Today we'll share with you a very usefull recipe. You will learn how to make diy paper mache clay and then you can craft a lovely handmade bear using this homemade paste!
{
"id": "3850640",
"alt": "",
"title": "",
"video_link": "https://www.youtube.com/embed/swv-qkLw4Kk",
"youtube_video_id": "swv-qkLw4Kk"
}
{
"width": 634,
"height": 357,
"showRelated": true
}
Check out the video above to learn how to make your own!
Prepare hot water. Tear out the napkins into small pieces and put them in the water.
Mix and leave for several minutes.
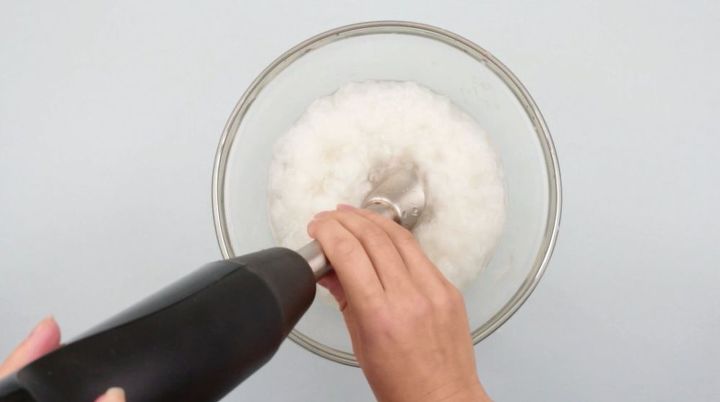
Now take a blender and start blending the napkins to soak fast. It will safe your time greatly.
You have got the mixture of lumpy batter consistency.
Add 2-3 teaspoons of salt as the simplest available antiseptic to protect your craft from mold and insects.
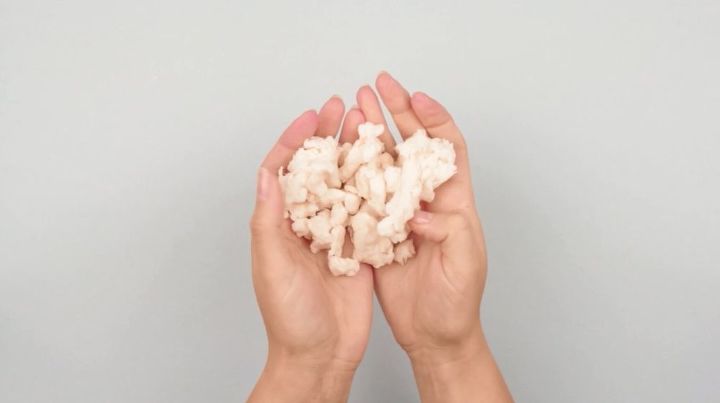
Filter through a cloth. Wring out.
You have got the paper pulp.
Add 2-3 tablespoons of paper mache paste. You can find a step-by-step instruction of how to make this paste on our channel.
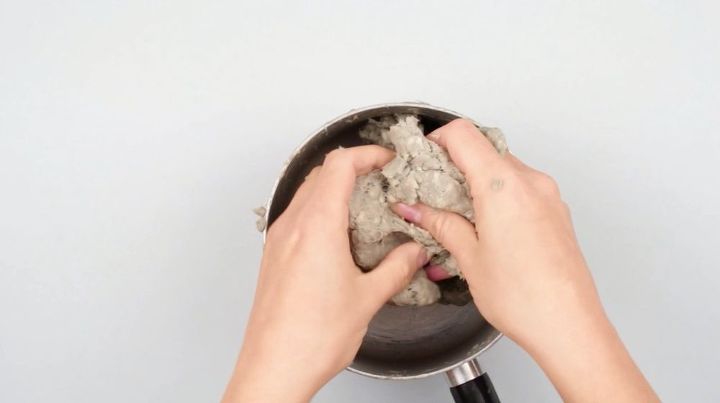
Add the clay powder to make your paper mache solid. Mix well.
Pour the dish detergent. Put the prepared paper. Stir well.
If the pulp is not thick enough add more paper.
Done! The clay is soft and pliable and doesn’t stick to your hands due to the dish detergent.
We have made the paper mache clay. Now we are going to show how to use it. Let’s mold a lovely teddy bear.
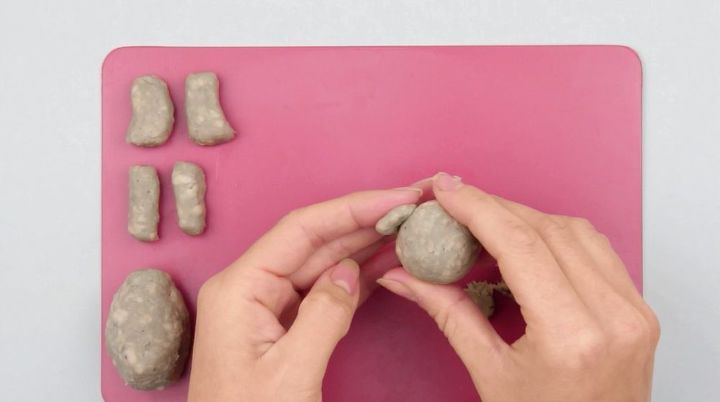
Take some clay and roll a small ball to make the head.
Now mold the body of an oblong shape. Roll between your hands and press over at the bottom to place the hind paws. Smooth with your fingers.
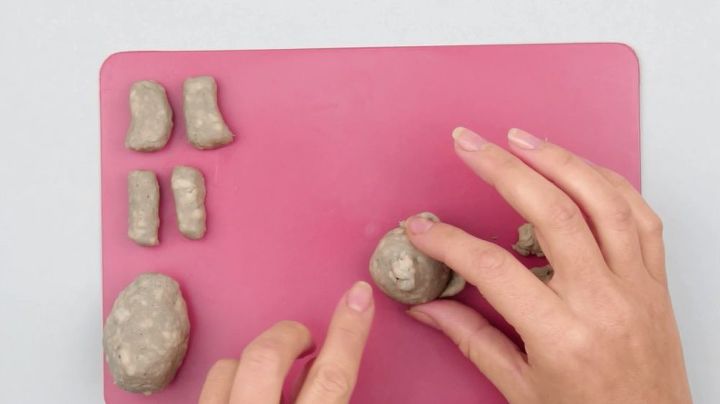
Form the paws. Roll a piece of the clay.
Split it in half to roll two same front paws.
Make the hind paws in the same way, but of a different shape. Form bigger rolls and press over at one end to form the foot leaving the other end of a bulb shape. Smooth with fingers.
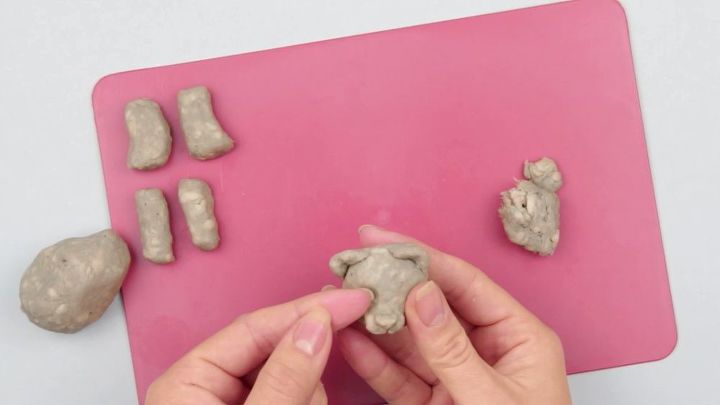
Mold an ear of a round shape. Attach to the head. Make another ear.
Attach it near the first one. Fold the ears to hold well and look natural.
Smooth the attachment place at the back side.
Use your thumbs to press over the head under the ears to form the eye areas.
Make the snout. Roll a small ball.
Attach it to the center lower the eyes. Press a little to shape well and smooth.
Divide the snout in two parts from the underside. Use your nails or a spatula, or craft knife.
Roll the mouth to attach to the snout underside.
Stick the nose on top. Smooth carefully.
Define the eye areas by pressing over again.
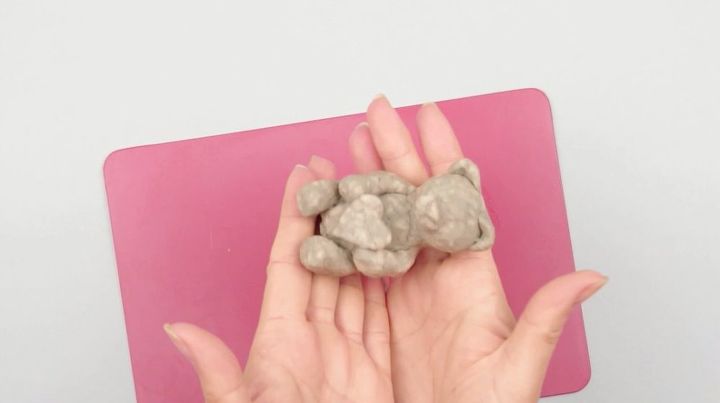
Join the head and body. Smooth carefully.
Attach the paws. We are making a sitting teddy bear, so put the figure onto the bottom and attach the hind paws to the sides. Press over and smooth.
Stick the front paws in the same way. Place them along the body.
Keep in mind to make the tail. Form a small heart to put it in the bear’s paws.
Done! Now we’ll have to wait until the paper mache dries, it will take about 2-3 days.
The teddy is dry. Let’s paint it.
Apply a ground coat first. Use water-based paint and a brush.
Paint the heart individually to attach it at the end of the job.
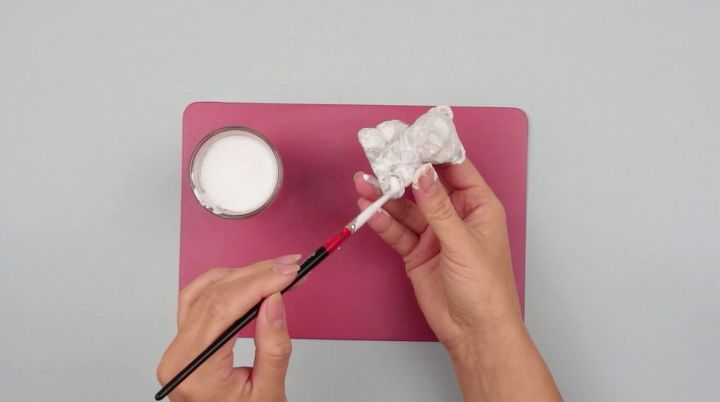
Cover the entire figure, don’t leave gaps.
Cover the entire figure, don’t leave gaps.
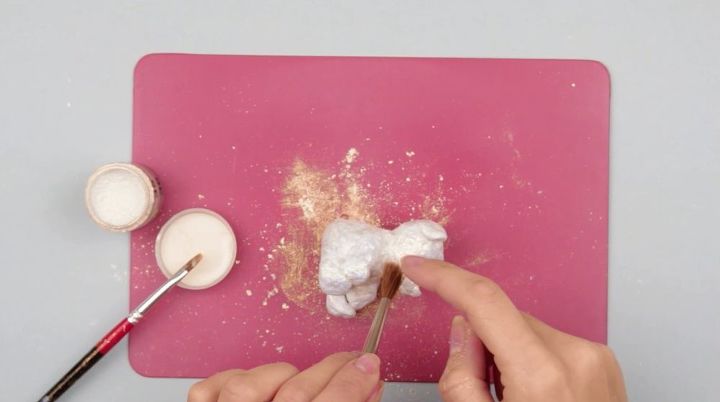
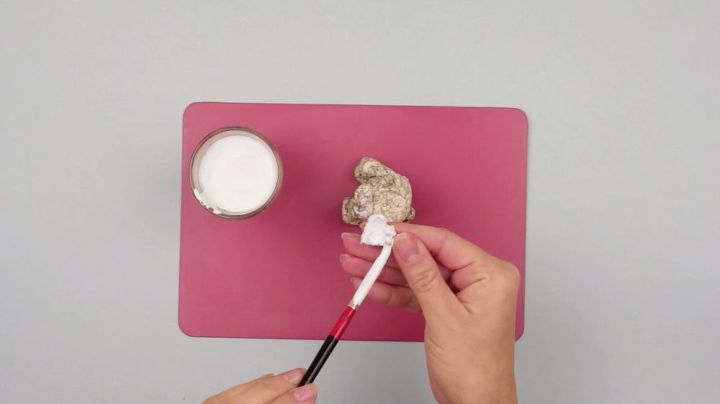
Decorate the bear with light glitter when dry. Use white glue and a brush. As the glue dries fast apply the glitter to small areas.
Cover the snout with the glue.
Dip your finger into the glitter and attach it to the glued area.
Use a brush for the areas which are hard to reach. Dip the brush and shake the glitter off to the bear.
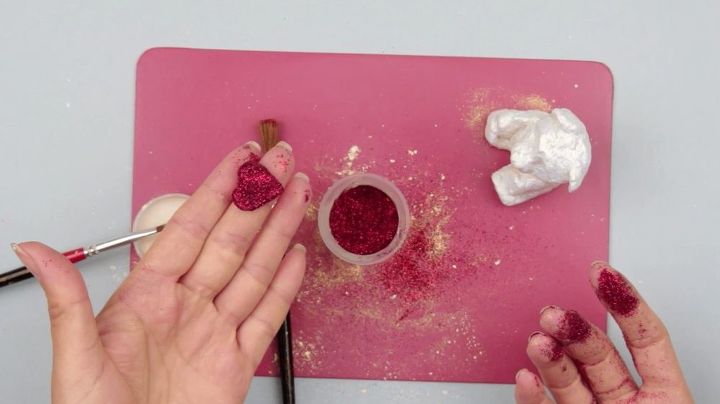
Cover the heart with the red glitter.
Put the heart back into the bear’s paws.
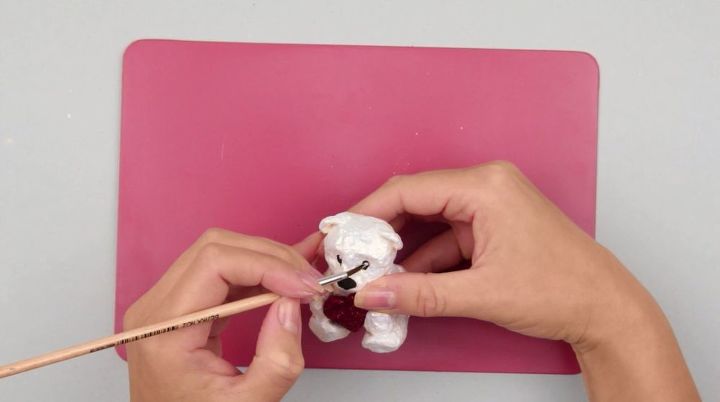
Define the eyes with black paint using a thin brush.
Paint the nose. Add the reflected light with white paint.
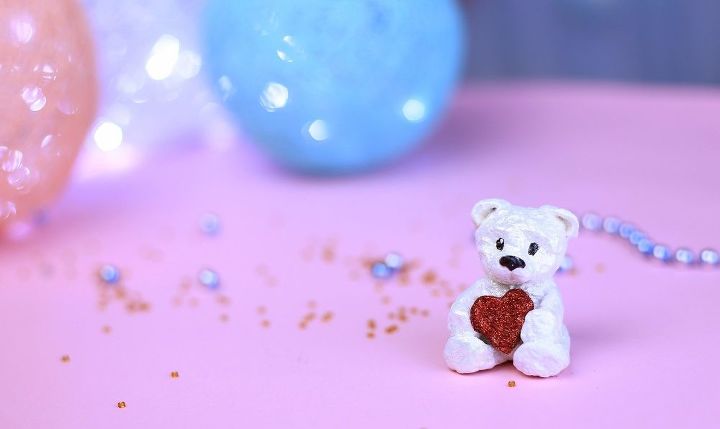
You can craft such a lovely handmade teddy bear from the clay we showed how to make today.
If you're like this project, check out our youtube channel OR our super cool website
Thanks so much for reading/watching!
Comments
Join the conversation
1 comment
-
Looks so cute. Made me smile! TROOM TROOM ON!


Frequently asked questions
Have a question about this project?