


How to Make a Wood Spoon Rack
I have always wanted a cute primitive wood spoon rack but didn't have the budget to buy one. So of course I thought why not make one! I found a cute old wood cutting board at the thrift store and knew that it would be perfect for this project.
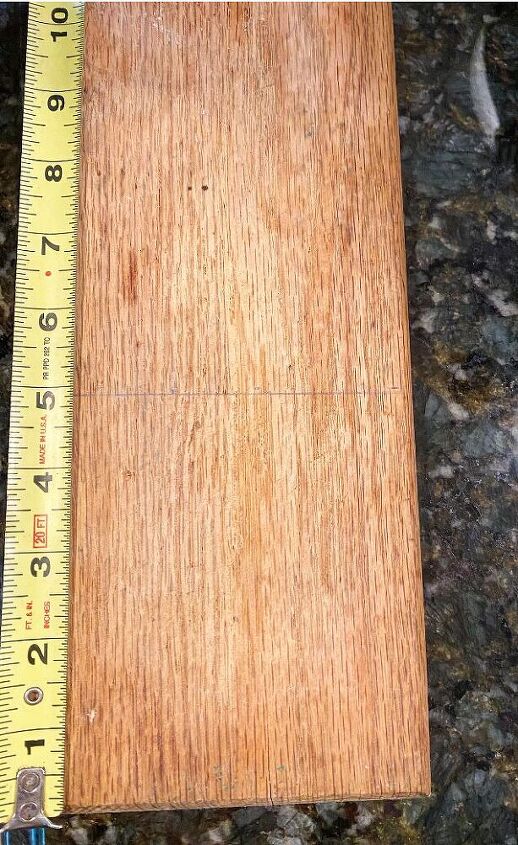
First I measured exactly where I wanted to make the cut and decided that 5 inches down looked the best. This will depend on the size of your cutting board and what you prefer visually. I measured and drew a cut line as a guide.
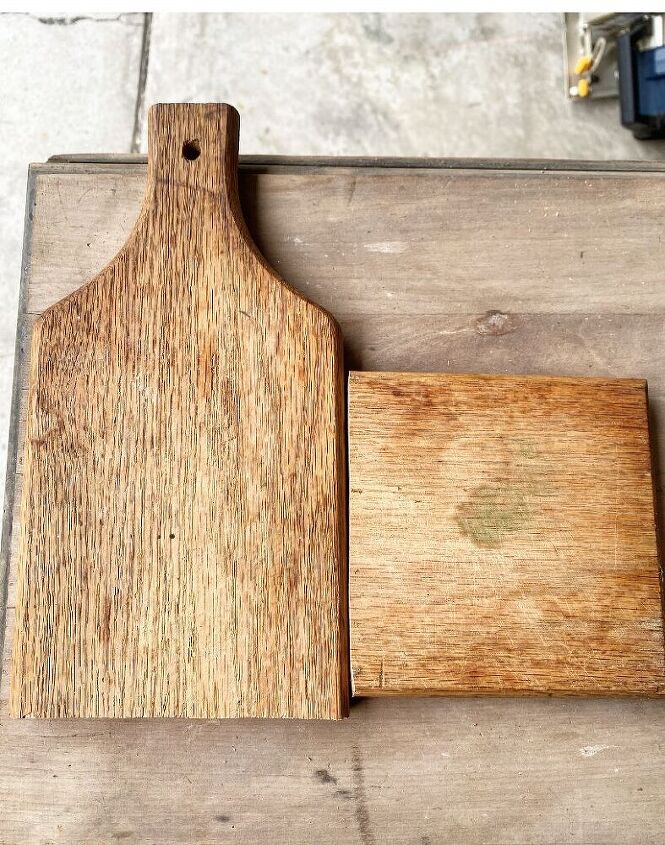
I cut the board on the cut line and then I made sure it would look the way I wanted before I predrilled the holes to screw them together. Measure where you want to make the holes on the back and predrill them. This will make it easier for the screws to go in.
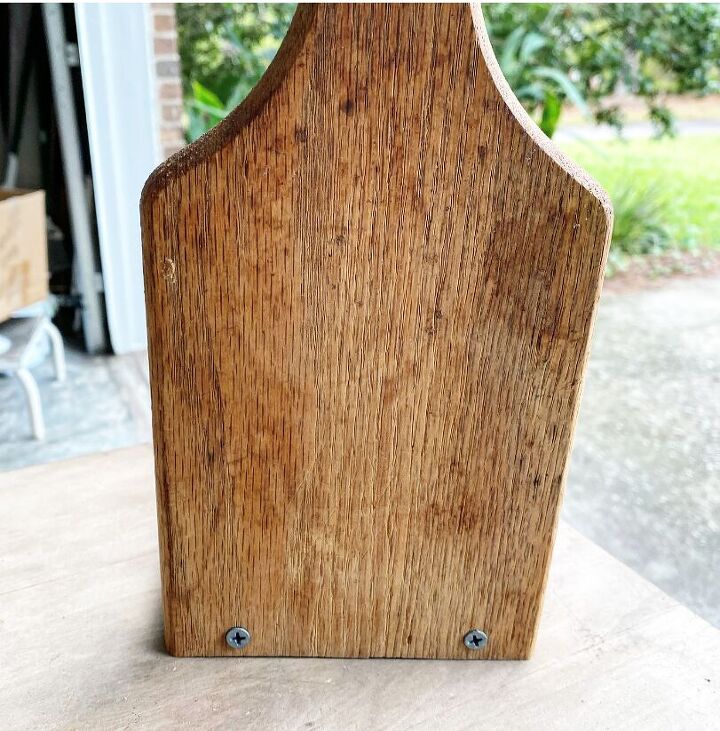
Next make sure you hold the two boards together ( I held them while my husband attached them with screws) when you screw them together. It helps to have two people for this.
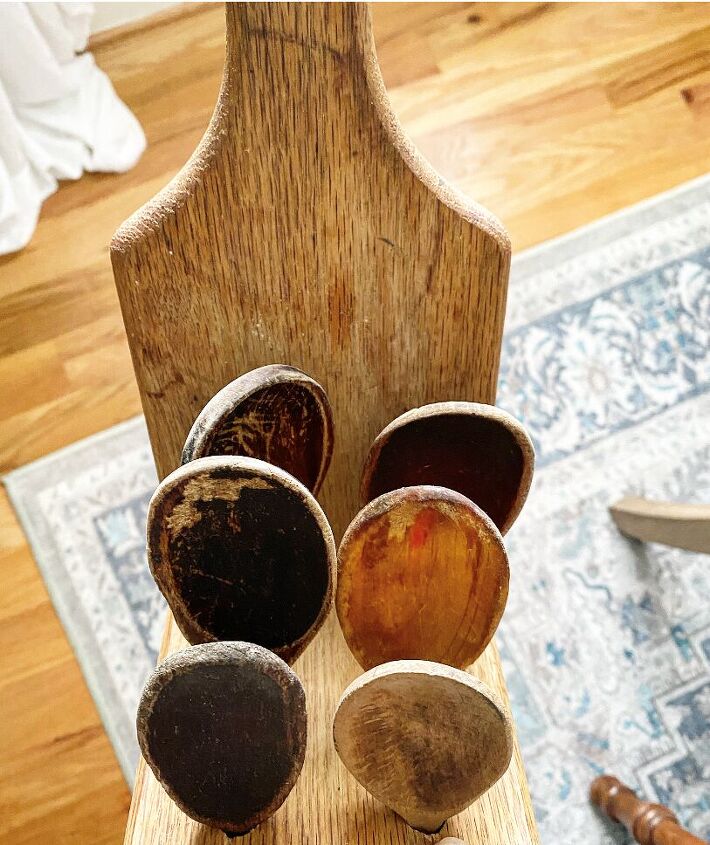
Finally I measured where I wanted the holes for the wood spoons and determined how many I wanted. This will be a personal preference depending on what you want visually. I decided two holes in each row with having three rows would look the best. We measured in equally on each row and made sure they were equal distance apart in each row. I measured the spoon to see which drill bit would work and then tested it on a spare piece of wood to make sure. I determined the biggest drill bit was perfect. Make sure that you watch out for the screws when you are drilling the holes.

After the holes are drilled put the spoons in and enjoy how cute it is! I love using a cutting board because it already has a hole to hang!
Resources for this project:
See all materials


Comments
Join the conversation
-
Nicely styled!
-
Very clever way of keeping track of your wooden spoons.


Frequently asked questions
Have a question about this project?
I like your project. But what I’d like to know is what color is one your wall?
Love the entire look !!!!! Yesterday’s beauty…