


DIY Wood Pie Box

by
Katie
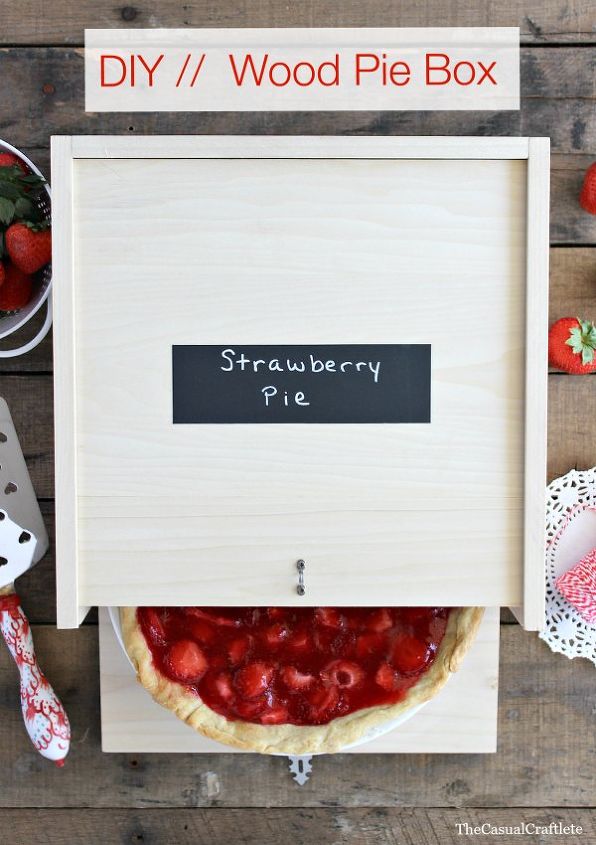
Create a diy wood pie box to transport your precious pies safely. This pie box would also make a great gift for the baker in you life.
I'm SO excited to share my DIY Wood Pie Box with you today! This project has been in the making for some time now and it's finally completed thanks to the help of my wonderful husband. I got the idea to make a wooden pie box about a month or two ago. I work at my friend's pie shop where I do prep work and box up the pies. At the shop we use kraft cardboard boxes, which is fine but they are really flimsy and pop open all the time. With a wooden pie box your precious homemade pie is safe and sound. You can transport your pie with ease.

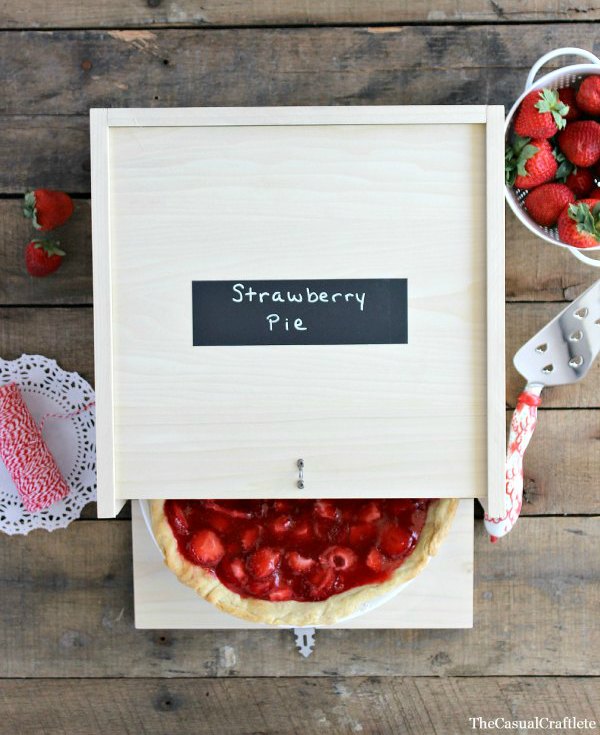
I love the clean design of this pie box. It is made with light poplar wood and nickel hardware. I added a piece of chalkboard tape to write the name of the pie inside the box. Super clever don't you think? I wanted to add a door that opened on the side. This makes it really easy to slide the pie in and out without worrying about dropping it like other box designs. I really like the way the latch looks too.
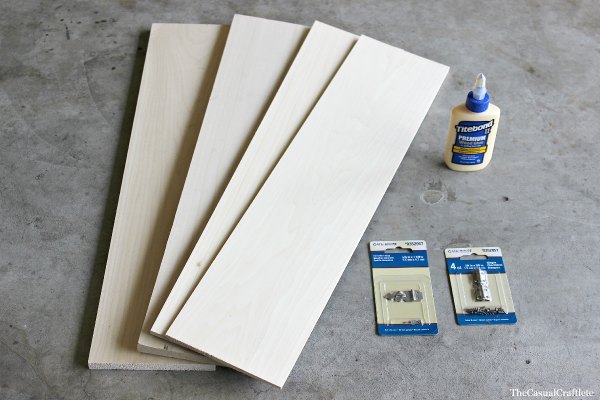
MATERIALS:
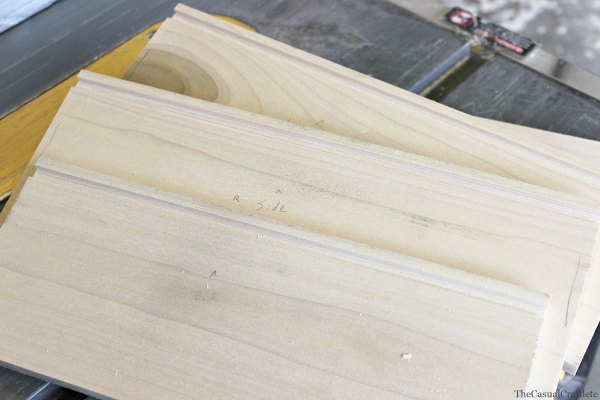
To start I cut all of my 24" boards in half to create the top, bottom, and sides. I used the 1/2" thick boards for the sides and bottom and the 1/4" boards for the top. To make the sides, front, and back I cut a small amount off the top and bottom edges to make sure the edges are straight and the boards are all 4 1/4" wide. I then cut each end of the sides to reach the length I wanted. I made the sides 11 3/4" long. I made the front and back 10 3/4" long. I then used the saw to cut a 1/4" x 3/16" groove that was located 1/4" from the top inside edge on the sides and back. When the box is assembled the top will slide in this groove. I made this cut by making multiple passes with the saw moving it a little bit at a time until my groove was the proper size. The picture above shows the finished sides and back. The front has no groove and sits flush against the top when the box is finished.
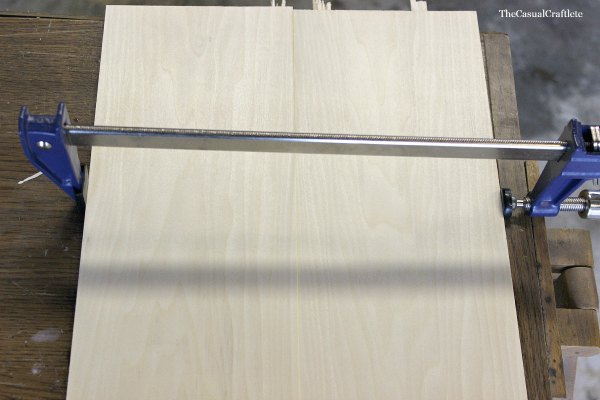
To make the bottom and top I took 2 12" pieces of the 1/2" thick and 2 12" pieces of the 1/4" thick and glued them together to make them wide enough. I cut a very small amount (1/16") off the edges that would be glued with the saw to make sure that the edges would fit tightly. Then I put wood glue on the edges that I was gluing and clamped them together. I used a damp rag to wipe all the excess glue off of the front, back, and sides of the joint. Make sure to clamp tightly enough to close the gap but not so tightly that the boards push up in the middle. Let them sit clamped for an hour or so for the glue to set before removing the clamps. I had to add some additional strips of wood to the bottom to make it wide enough since two boards by themselves are not wide enough to give the required width. The finished bottom measures 11 3/4" x 11 3/4". I cut the final dimensions after the glue had set to make sure the edges were all square and even. The finished top measures 11" wide by 10 7/8" deep. I also cut this after it was glued.
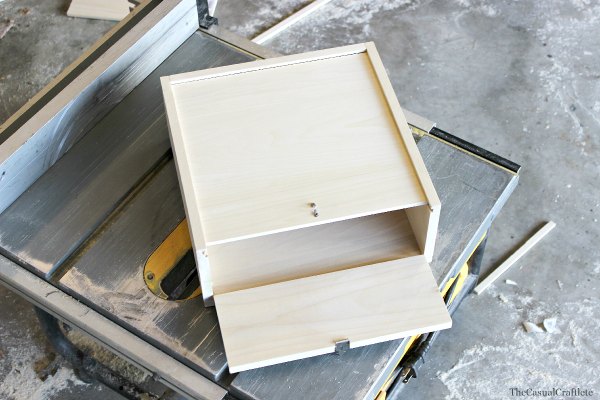
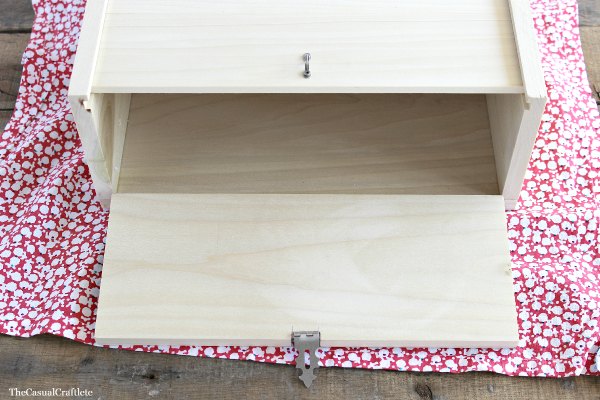
Now that the wood is all cut and glued it is time to assemble. To start I attached the sides and back to one another. I put a bead of glue on all of the parts that would meet and clamped them together, making sure that all of my grooves for the top lined up and were facing the top. I also put 3 nails in each joint on the back. Refer to the picture above to see the layout of the joint. The back is inserted flush with the end of both sides. After the sides and back set, I attached the bottom. The bottom will attach even with the outside edges of the sides and back for a nice finished look. I glued the joints, clamped, and used 3 nails on each side and on the back. Once the bottom was set I slid the top into the groove and placed a pea sized dot of glue in the inside center of the sides and back to keep it from moving. Now that the top, bottom and sides are finished it is time to attack the front. I marked a space the width of the latch in the center of the top edge of the front for the latch to sit in. It is cut with multiple passes on the saw down 1/4" so that the bottom of the recess is flush with the top. This allows the latch to fasten securely. Finally, I attached the hinges. I inserted the front into position and spaced the hinges evenly. I then attached them with the included screws following the instructions. Last, I attached the hinge.
I am just thrilled at how awesome this wood pie box turned out. It exceeded my exceptions. You can make the pie box for yourself or this would make a great gift for the baker in you life.
Want more details about this and other DIY projects? Check out my blog post!
Comments
Join the conversation
2 comments
-
I love this! Does the top piece slide out so you can just set the pie inside? I would love that if it did. Beautiful job!!!
-
This is such a wonderful idea!


Frequently asked questions
Have a question about this project?