


How To Make Beautiful Gold Leaf Votive Candle Holders
Here is a simple craft project on How To Make Beautiful Gold Leaf Votive Candle Holders. Wait until you see what they are made from!
For the past 6-months, I have been planning a bridal shower for my nephew’s fiancée. The invitations were orders. I began to make list of some decorating ideas.
One day while eating my lunch, I looked at my yogurt jar. I continued to stare at it when the light bulb went off in my brain.
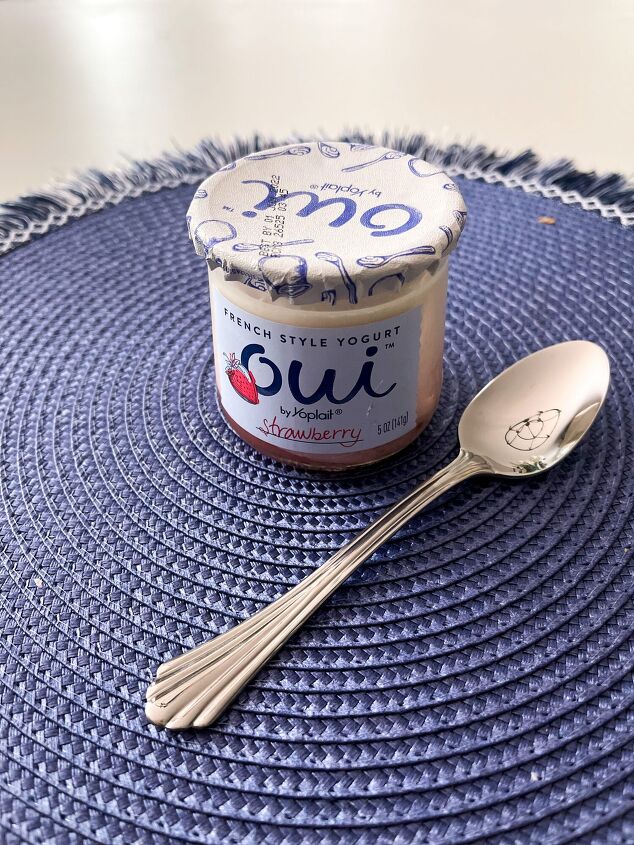
Hmmm, I could make votive candle holders from these little jars for the shower. Perfect!
I love to recycle items into something new. These OUI Yogurt jar are the perfect size and shape. Now what exactly was I going to do with them? Paint them? Gold kept popping in mind with with the blush pink table runners. Why not gold leaf them? It will add a touch of elegance to a plain little jar.
How To Make Beautiful Gold Leaf Votive Candle Holders
Empty OUI Yogurt Jars – Purchase at local supermarket or Target for pickup. After the family ate the yogurt, we removed the labels and placed the jars into the dishwasher.
For the shower, two votives were used on each table for a total of 12.
1. Wash Yogurt Jars
If hot soap water does not remove any adhesive residue from the yogurt label, Goo Gone works great. I like to keep this product on hand around the house.
Wash off any of the Goo Gone with hot soapy water. Rinse thoroughly and allow the jars to completely dry.
2. Apply The Adhesive to the Jar
Follow the directions on the adhesive. The kit that I ordered came with gloves, two brushes for applying the adhesive and the varnish.
Put a drop cloth over your table to protect it. I used a paper plate to sit the jar on.
Determine how high you want your gold leafing to be on the jar. Brush on the adhesive where you will be applying the gold leaf. It look like cloudy white glue going on to the jar.
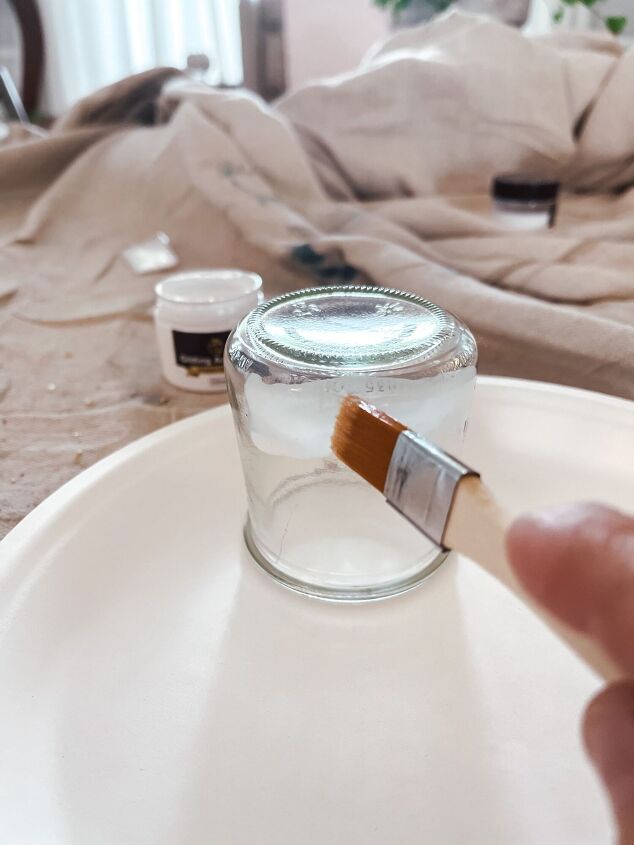
As it dries, the adhesive will become clear and tacky to the touch. The directions said to wait 1 hour before adding the gold leaf.
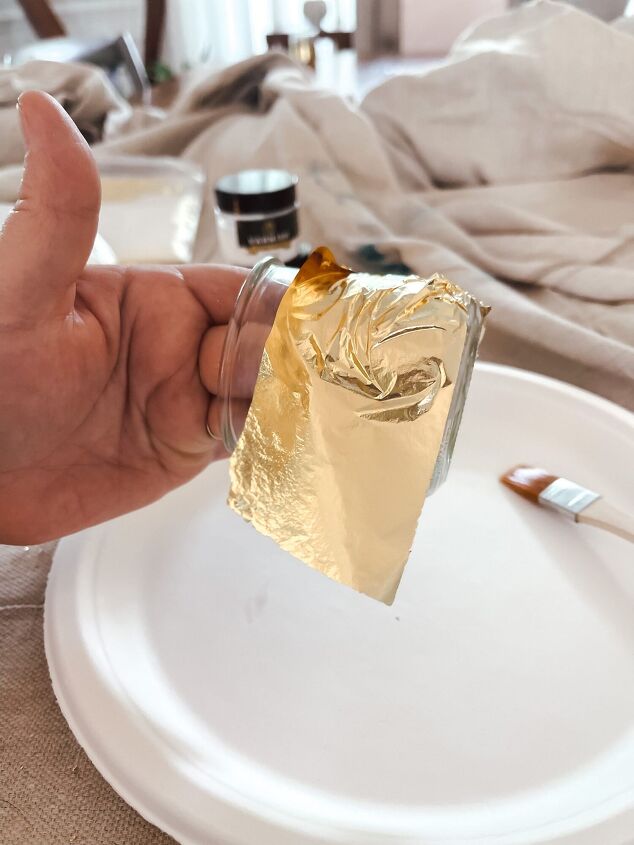
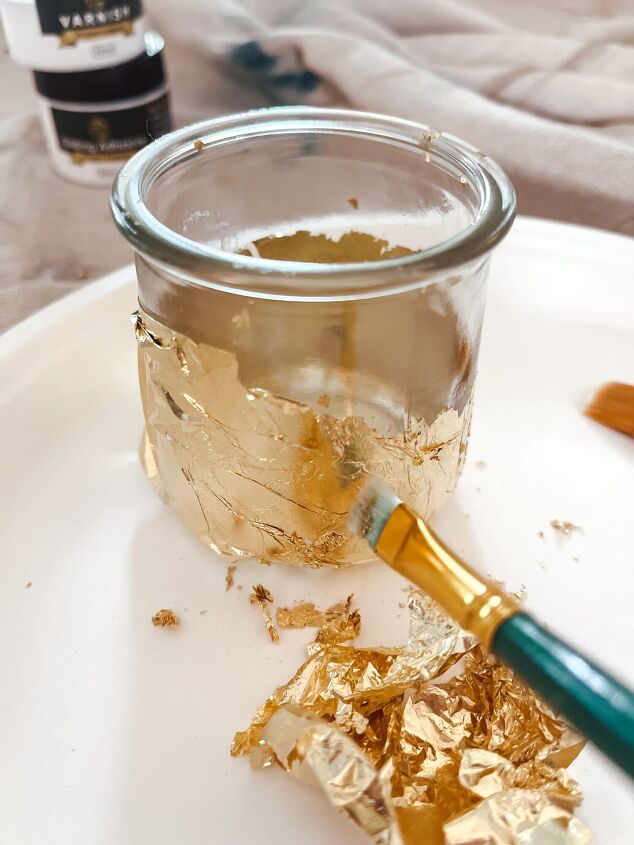
3. Adding the Gold Leaf
Carefully, separate the gold leaf sheet from the paper. You will need to tear it in half and wrap one piece around half of the jar. I repeated the same process over lapping slightly with the second strip to cover the rest of the jar.
With my hand (wearing a glove), I patted the gold leaf onto the adhesive. Then smoothed it with my finger. Using an artist brush, I went over rubbing to press the gold leaf into the adhesive while removing the extra.
You will need to pat over the entire surface with an artist brush to remove or put extra on in spots missed. You can keep the jar on the paper plate to keep the gold leafing contained. Be careful not to cough or sneeze while working on this part. You will have specks of gold leafing go everywhere. It actually happened to me with an expected cough.
On my blog, there is a short video of me applying the gold leaf to the jar.
4. Final Step – Applying the Varnish
Now that your gold leafing in on your jar, let’s finish the project. The final step is applying a coat of the varnish over top of the gold leaf. The varnish will protect the gold leaf from chipping off or scratching. It’s essentially adding a protected top coat to your project and sealing the gold leaf.

A light coat of varnish goes a long way. It dries quickly within 30 minutes.
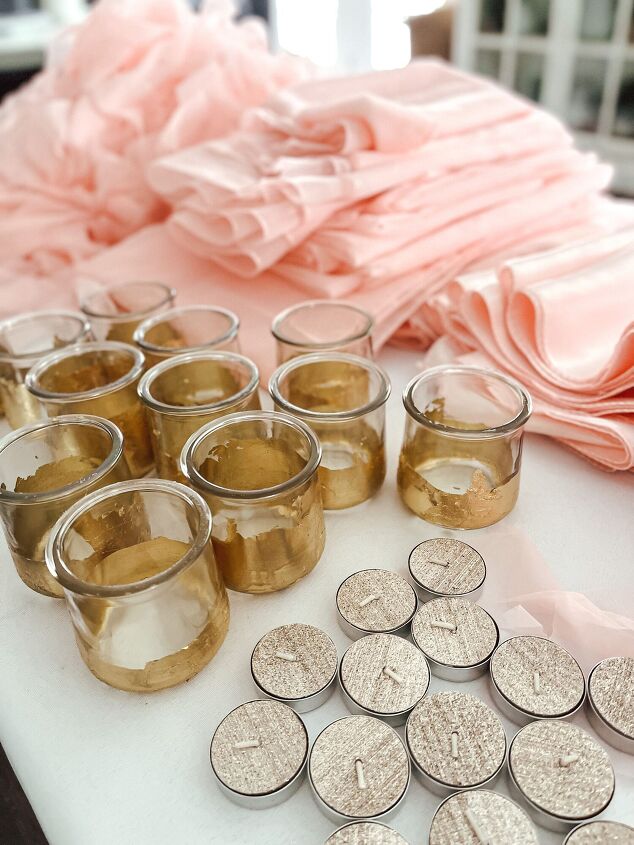
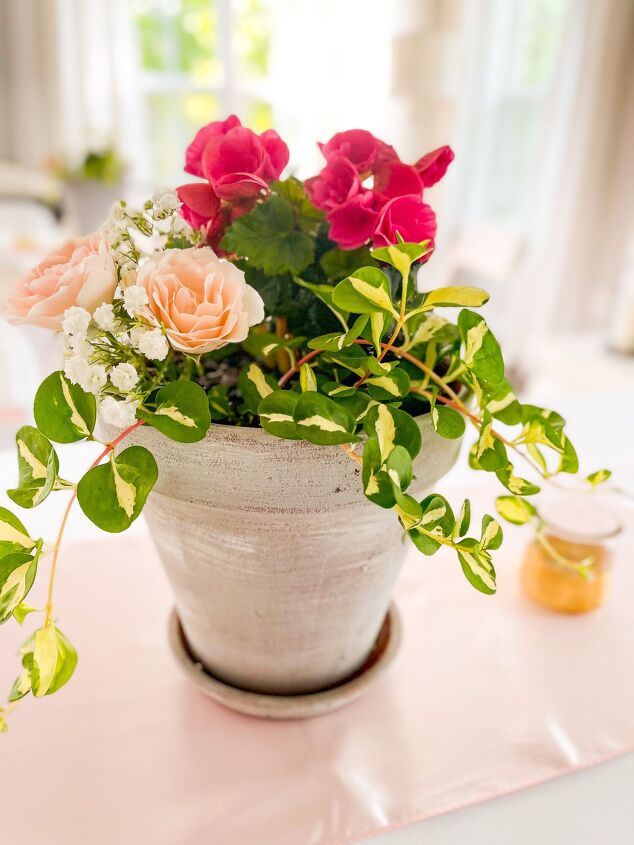
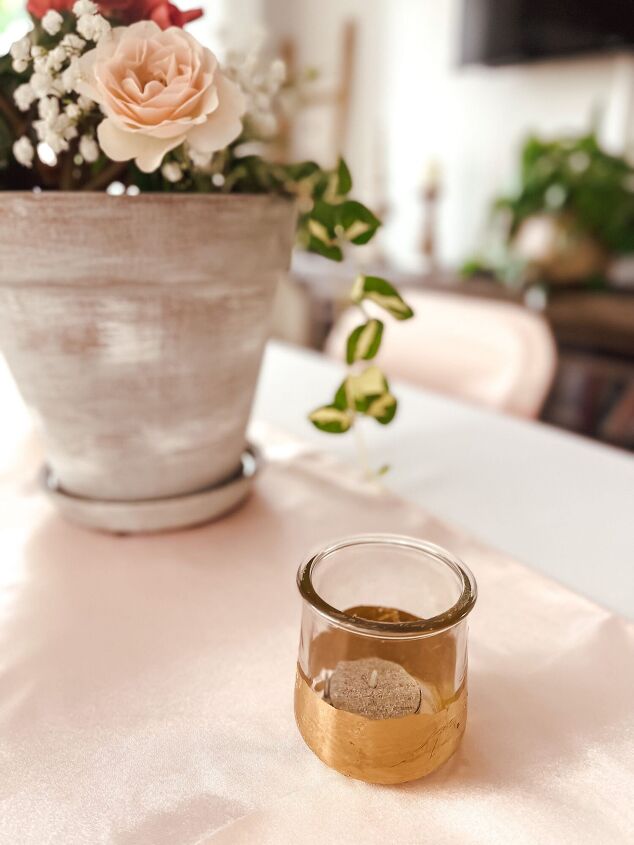
How to style your new votives
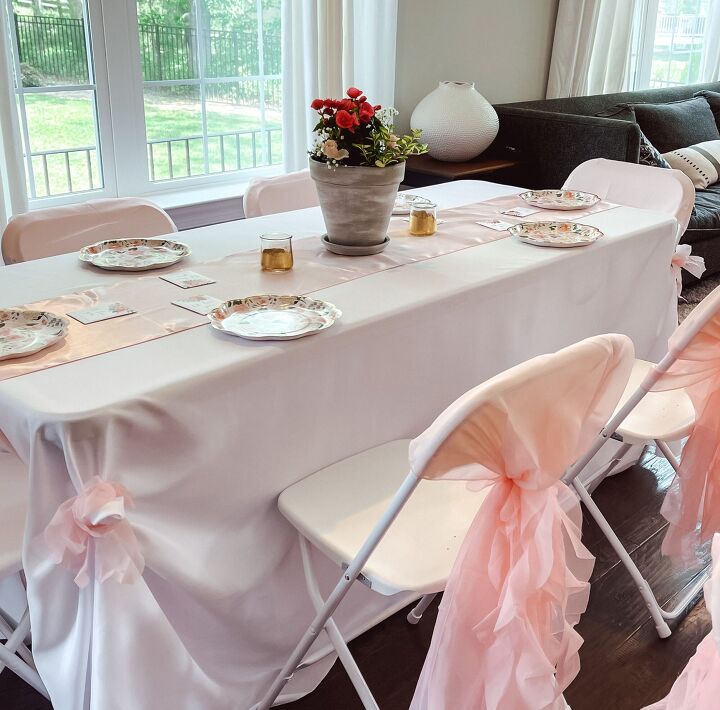
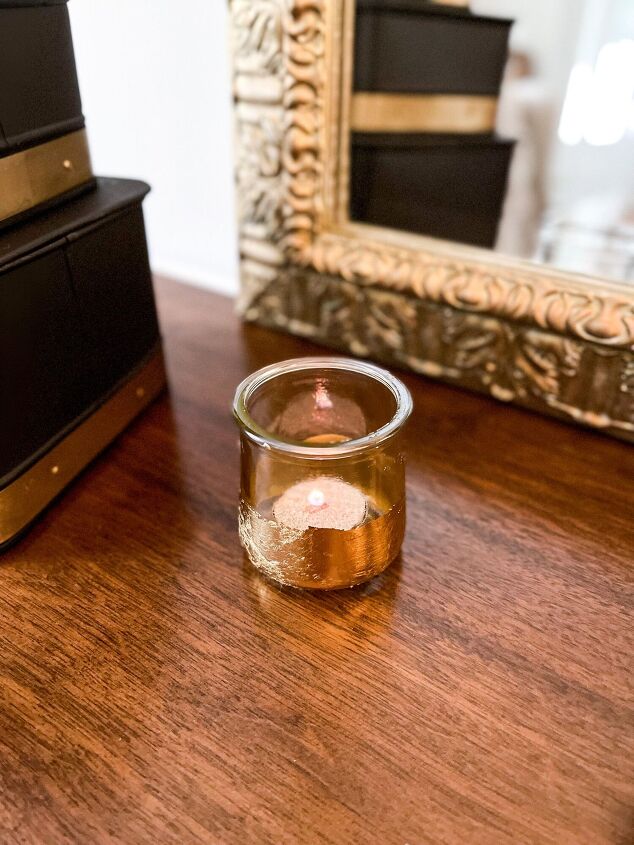
The votives look beautiful with tealight candles on each side of the flowers. The gold leafing adds a touch of elegance to the table.
After the shower was over, here are some other ways to style these beautiful gold leaf votive candle holders.
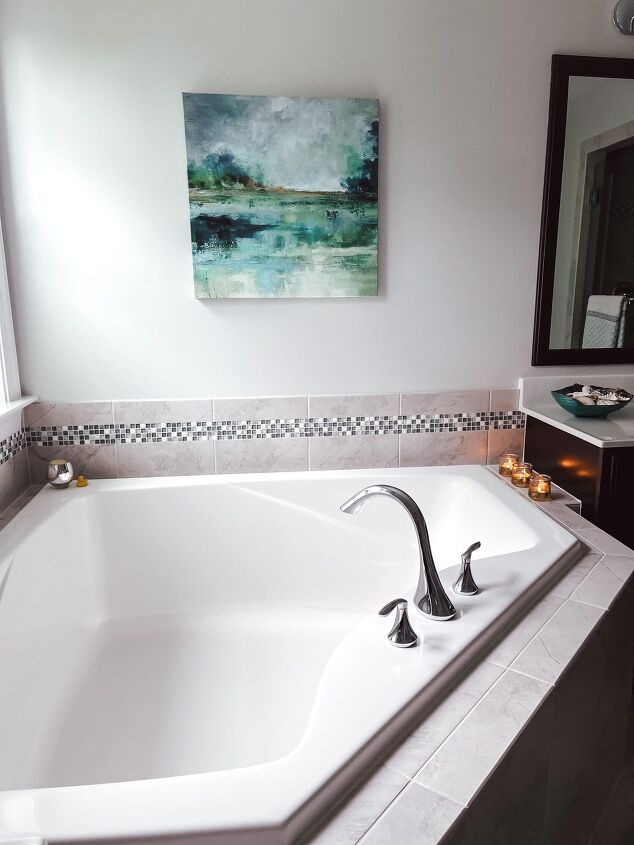
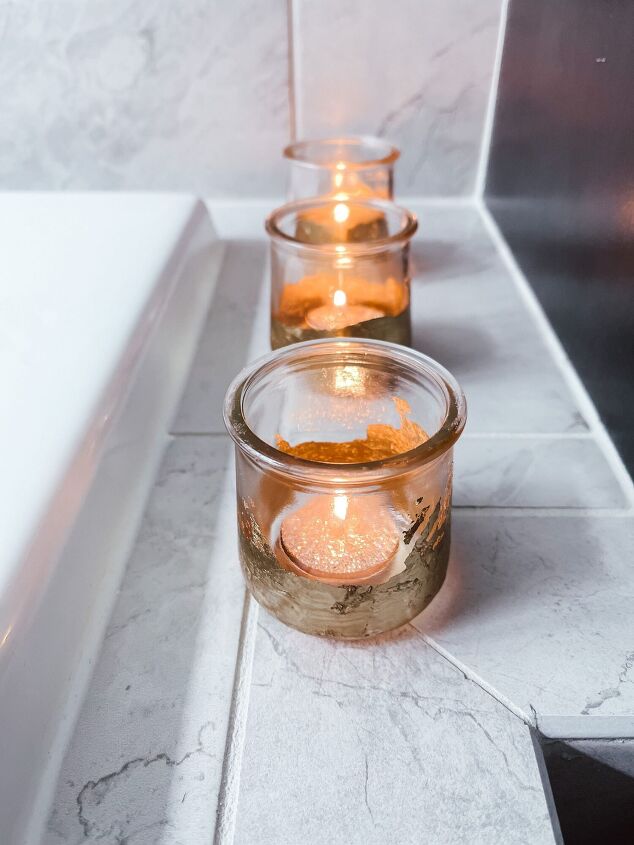
They are perfect in the bathroom around my tub. It creates a sense of serenity with the candles lit.
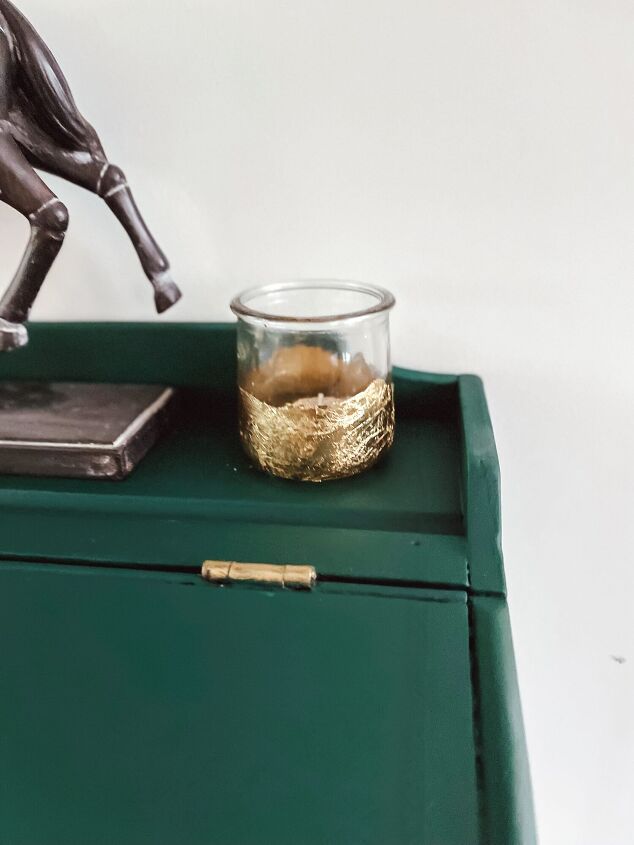
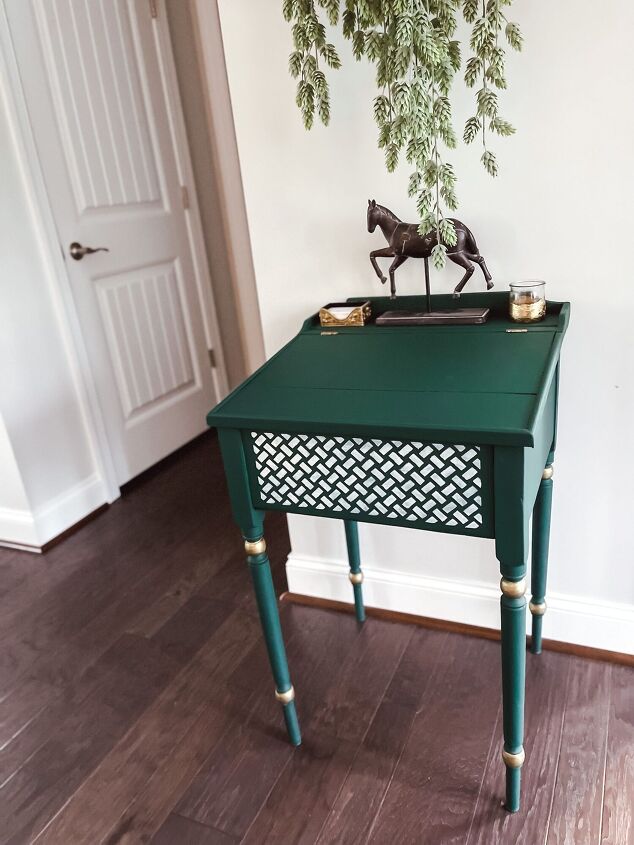
One votive was place on my painted table. It ties in the gold paint details of the legs and hardware.
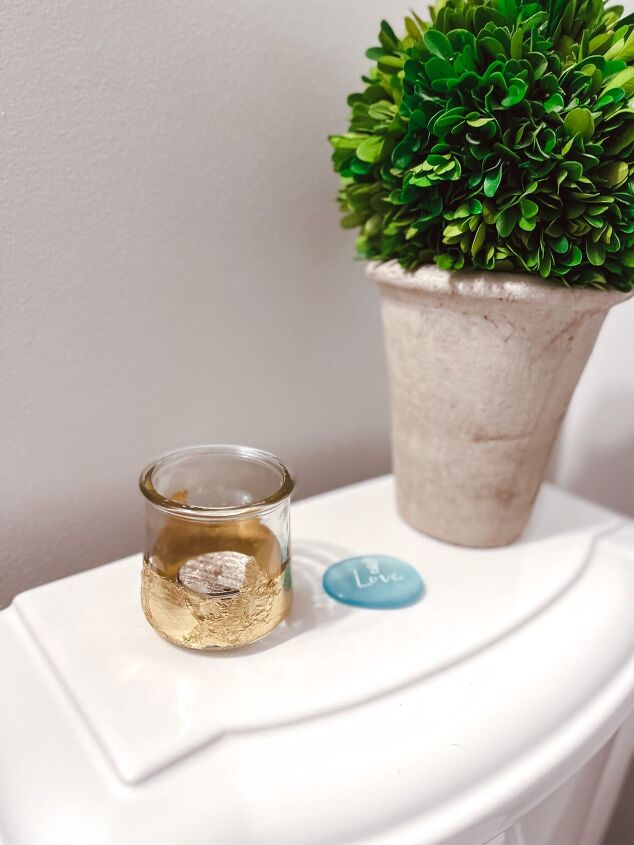
These votives make great accent pieces on the back of the toilet in a bathroom or on the buffet. They are perfect for many areas of the home.
Hope this inspired you to save some jars and make some of your own. You can also use the gold leaf on thrift store vases. You can create a beautiful modern look to a clear cylinder vase. There are so many possibilities. I need to hit the thrift store this week.

Comments
Join the conversation
-
They look so lovely and elegant. Great share


Frequently asked questions
Have a question about this project?