


How to Make Cute Felt Flowers
Don't you love flowers? Take a look at my felt flowers tutorials for a fun DIY home decor project that will last for so many years!

This is kind of flowers are super easy to make. There are so many ways and so different techniques that I hope my way makes it a little bit easy for you.
You don't need to be a pro crafter to make these. Just need I few supplies and your hands.
For the sake of this tutorial, I'll show you how to make a cute rosette.
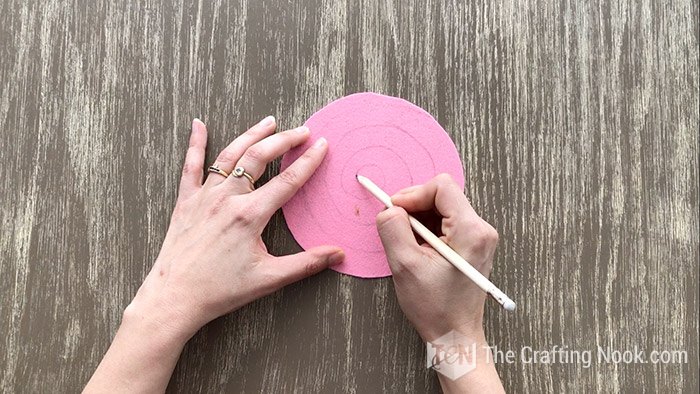
Cut a felt circle. I used a dish to trace the shape. Then draw a spiral from the outer edge to the center until you get a small circle left.
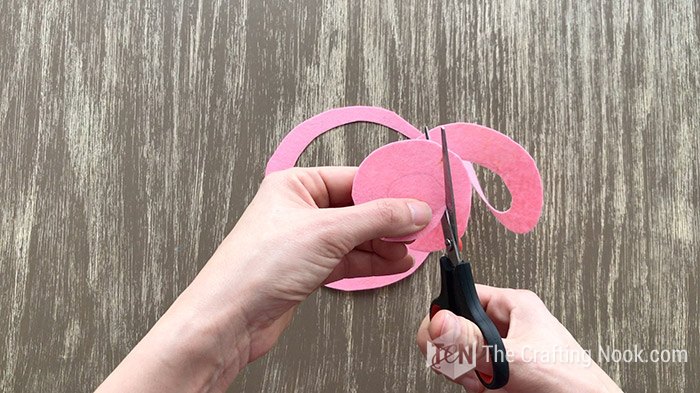
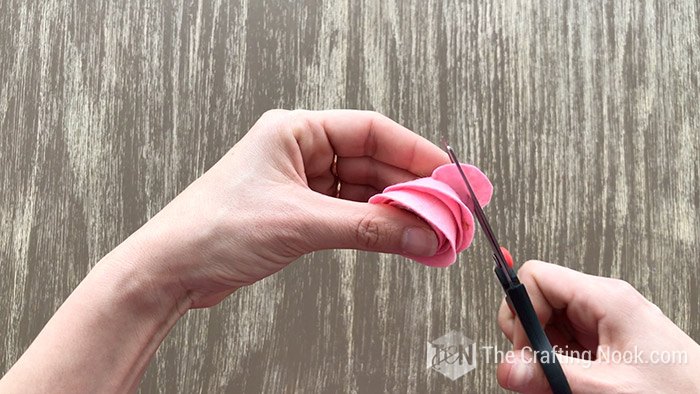
Cut along the spiral lines.
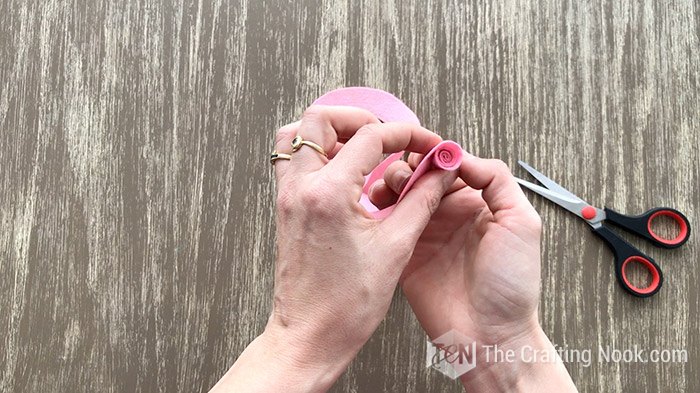
Starting at the outer end, start rolling. You will see how the rosette starts to form.
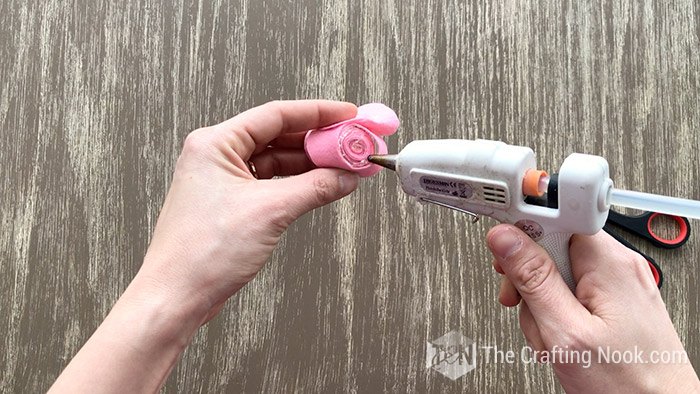
Keep rolling until you get to the end, apply some hot glue, and secure with the end circle of the spiral.
Cut any leftover felt and your rosette is done!
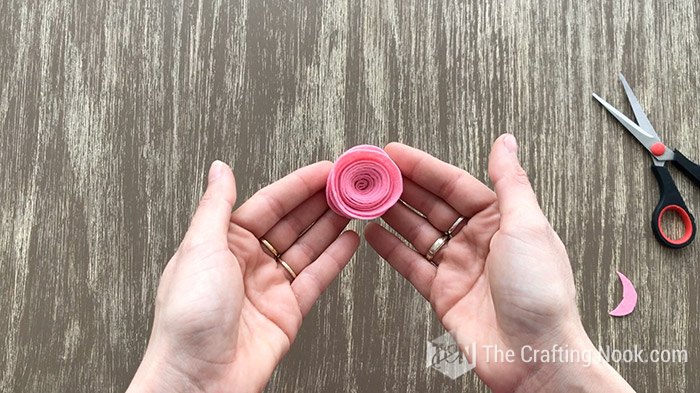
There you go! How cute is this?
The larger the circle, the bigger your rosette will be.
Make as many as you want and vary the colors.
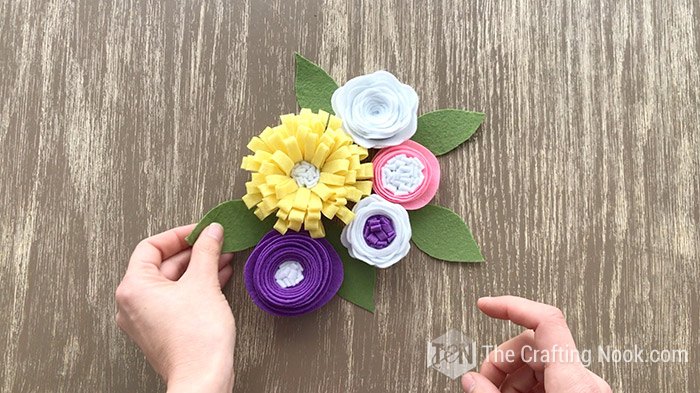
From this basic tutorial, you can make variations and create different flowers.
Cutting some leaf shapes from green felt you can create cute bouquets.
These flowers are meant for a cute rustic wreath, that I'll show you very soon!
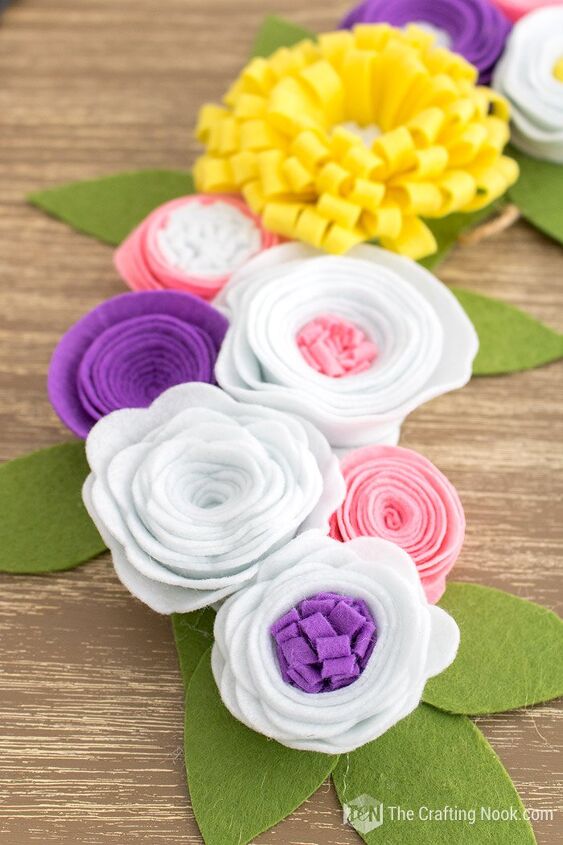
This is how my super cute Spring Felt Flowers turned out! I’m so in love!
If you would like a more in-detail step-by-step tutorial for all 3 of these felt flowers, jump over to the blog HERE where I share all the details of the process.
Hope you enjoyed this project! 
Talk soon!


Frequently asked questions
Have a question about this project?