


How to Make Vases From Upcycled Aluminum and Tin Cans
Are you on the hunt for the easiest and most inexpensive DIY projects? Well today’s your lucky day because I’ll be sharing three easy projects with you.
Do you have canned good and soda cans laying around in your recycling bin? Well go grab ’em and give ’em a rinse. Let’s make some vases!
PROJECT 1
You’ll need:
-A few soda cans in varying sizes
– Spray paint (the kind that covers plastic is the best bet – it’s a one coat wonder)
-Scissors
-Flowers (or any filler you prefer)
Take a can, and poke a small hole in the top part with some sharp scissors. Stick your scissors in and cut around the can until the top comes off, and discard the top. The cutting doesn’t have to be perfect.
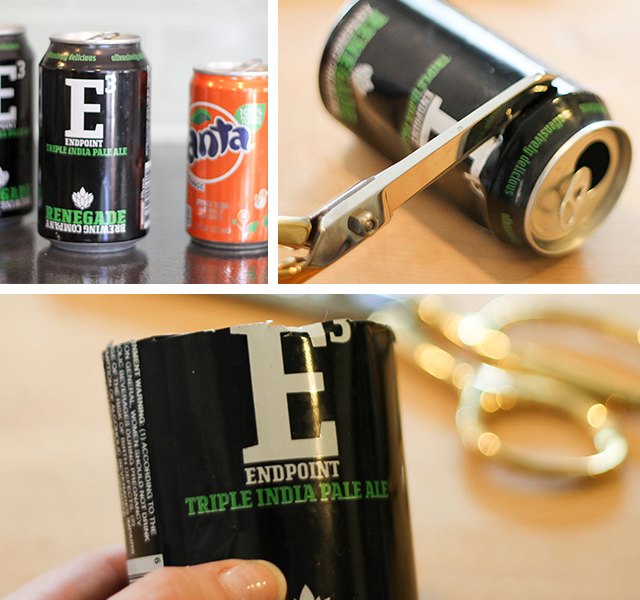
Take the can and gently start crushing it until you’re happy with the shape and level of crushing.

Take your spray paint and give the can an even coat, and let it dry. Fill with your preferred filler. Repeat these steps with each can.
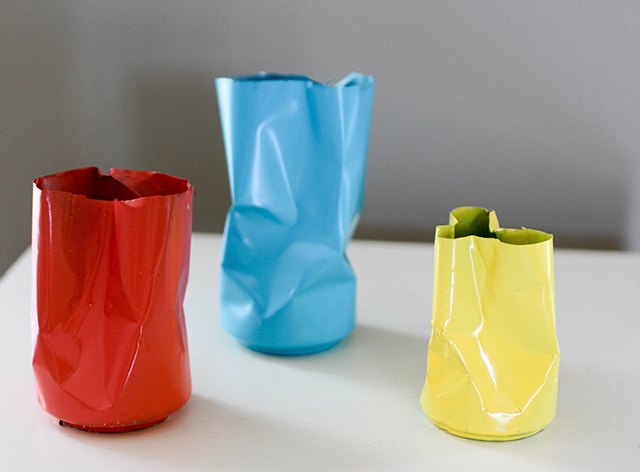
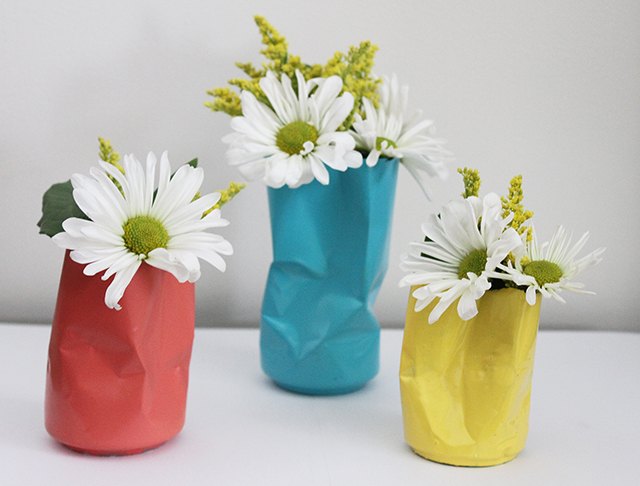
The end result is pretty unique looking, huh?
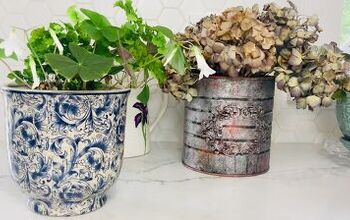
PROJECT 2
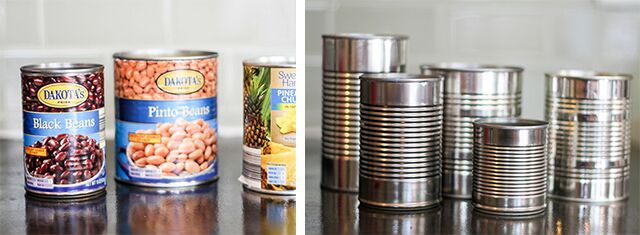
You’ll need:
-A few canned good cans in varying sizes
-Spray paint in coordinating colors
-Flowers (or any filler you prefer)
Gather your cans (I like working with odd numbers). Peel the labels off of your cans, rinse and dry.
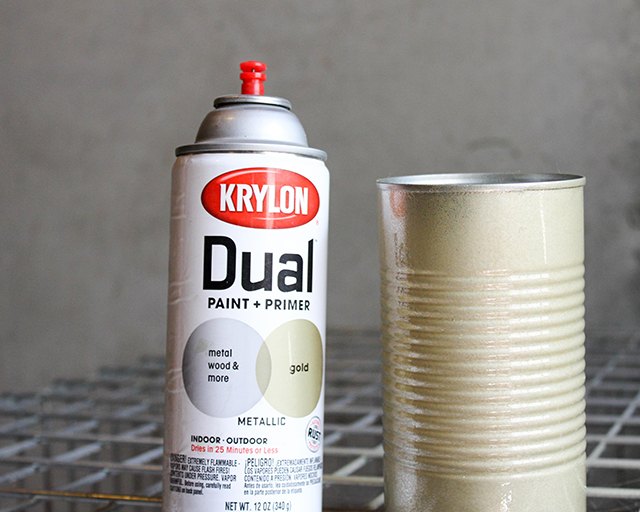
Gather your spray paint, and spray each can with one or two coats.
I decided to mix different finishes of gold (matte, metallic, etc) and white spray paint for mine to mix it up a bit. I always think the spray paints made especially to cover plastics (or have primer in them) work best, and usually only require one coat.
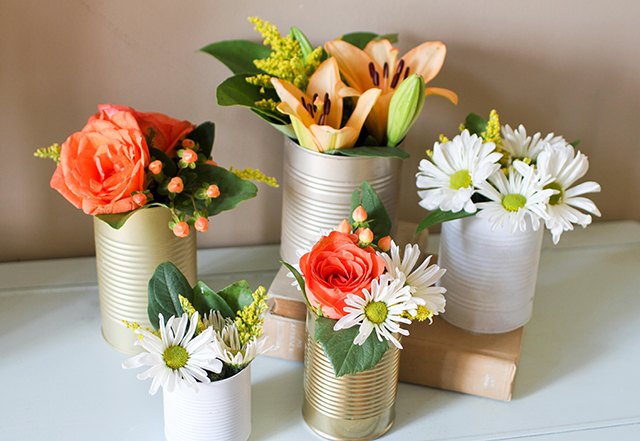
Let each can dry, and fill with your favorite fillers. These would work well for party centerpieces on a budget.
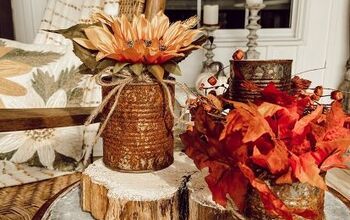
PROJECT 3
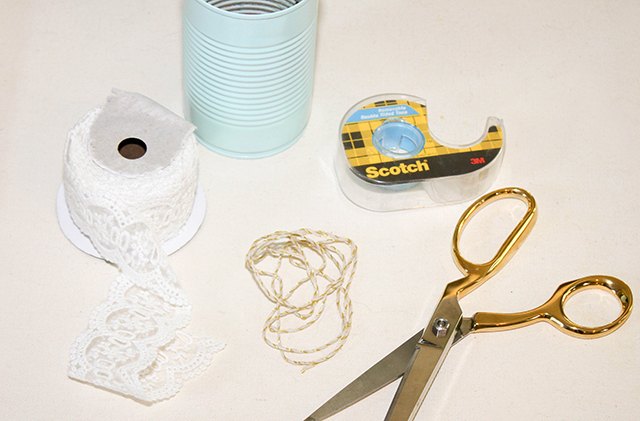
You’ll need:
-A few canned good cans in varying sizes
-Spray paint
-Flowers (or any filler you prefer)
-Thick lace ribbon
-Coordinating thin ribbon
-Double sided tape (or a hot glue gun)
-Scissors
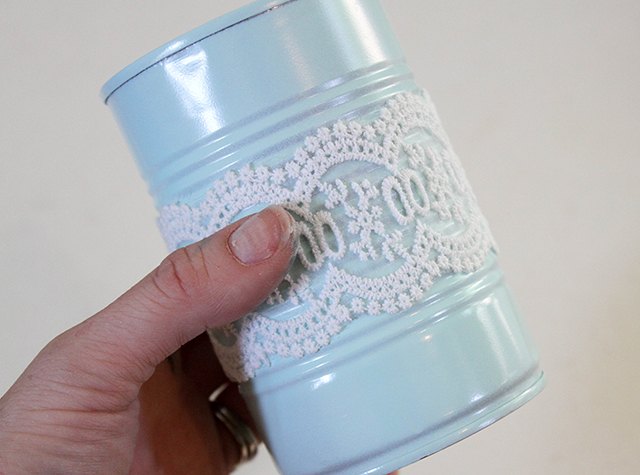
Follow the same steps in the above project, and once your spray painted can has dried, take your double sided tape and add some to the back side of your can tall enough to cover the height of your ribbon.
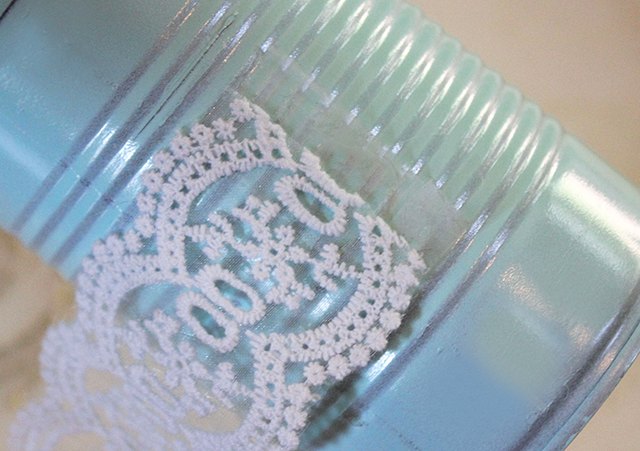
Place your ribbon on half of the double sided tape, and pulling tightly, wrap the ribbon around your can util it meets up with the beginning of the ribbon. Take your scissors and cut the ribbon so it slightly overlaps the beginning section of ribbon.
Add more double sided tape underneath the overlapped ribbon if needed so it’s securely stuck to the can.
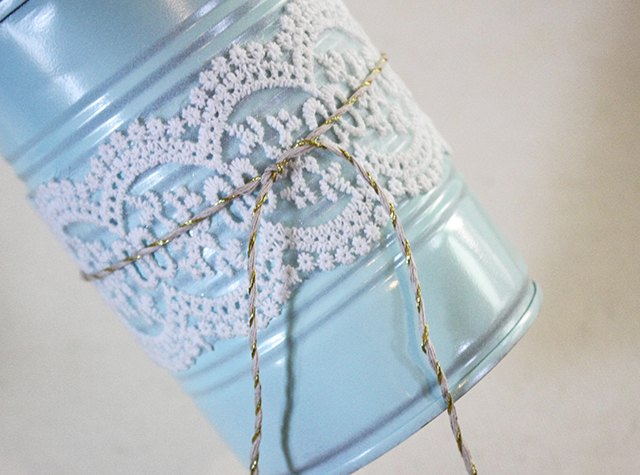
If you want to add more to it, take your ribbon, and wrap it around the can and double knot it. The tie a ribbon, cutting off the excess.
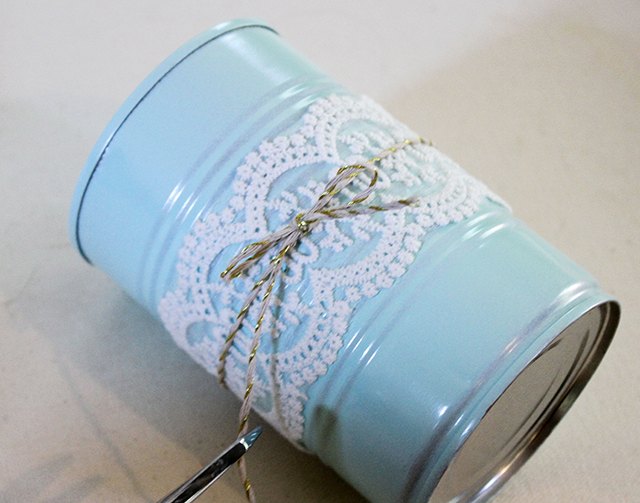
This would make an adorable (and majorly affordable) centerpiece for any occasion.
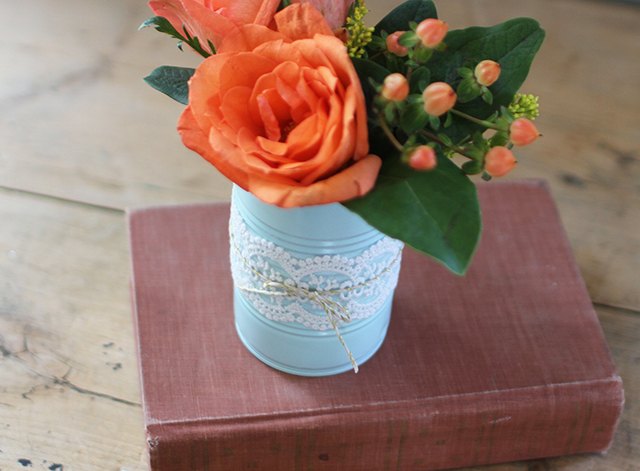
So simple and pretty, and one of my favorite uses of old tin cans!
What do you think? Do you see any projects that you want to try?xoxo


Frequently asked questions
Have a question about this project?